Overview #
The Employee Module is the central repository for managing all employee-related information within the ERPat system. It provides a unified interface to view, update, and manage employee records, personal details, payroll information, and more. This module ensures HR personnel have quick access to employee data for administrative, payroll, and reporting purposes.
Key Features #
- Centralized employee record management
- Detailed personal, employment, and payroll information
- Contribution tracking (SSS, PhilHealth, Pag-IBIG, TIN)
- Employee categorization using labels and tags
- Bulk import and export of employee data
- User access and password management
- Birthday tracking and reminders
- Role-based access control
- Audit logging for all employee-related actions
Accessing the Employee Module #
- Log in to the ERPat System.
- From the main sidebar, navigate to Human Resource.
- Select Employee.
- You will be directed to the Employee Listing page.

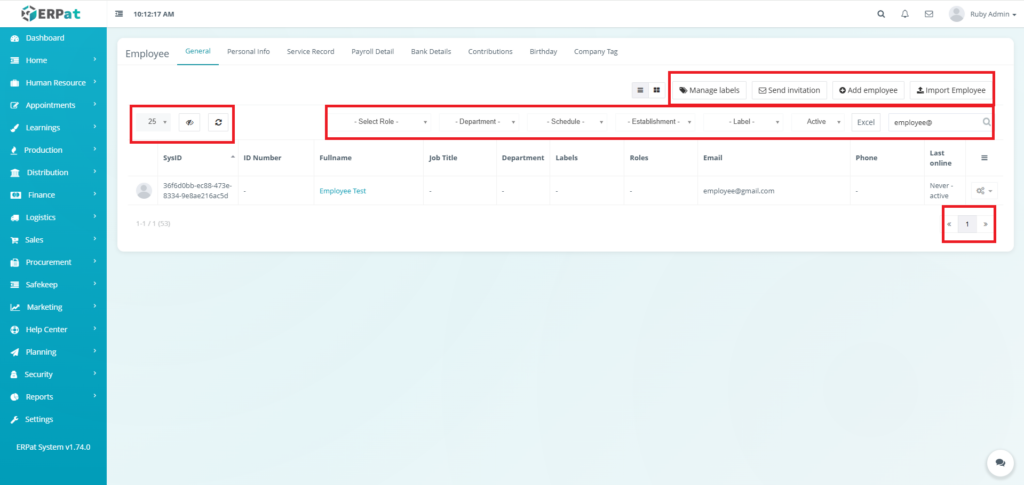
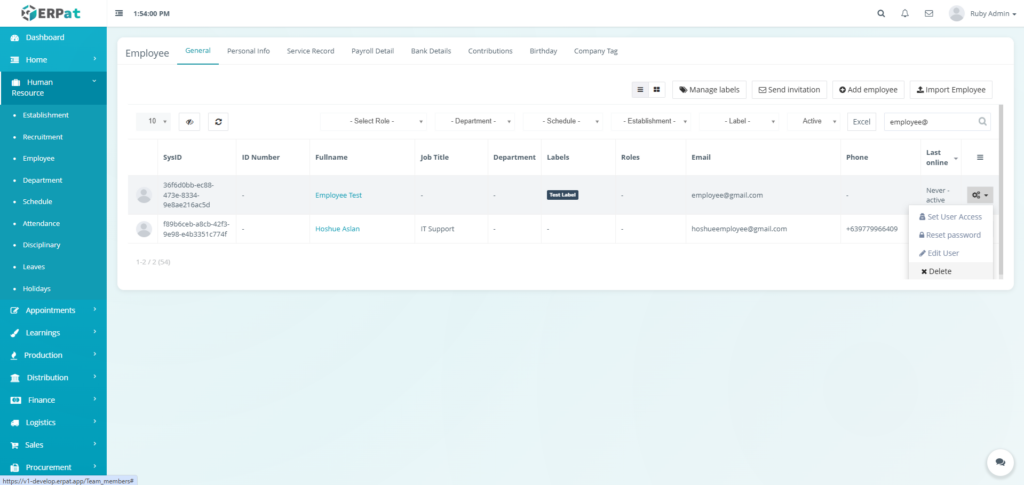
Employee General Listing Page #
The Employee General Listing Page displays all employees in a table format with the following information:
- SysID – System-generated unique identifier
- ID Number – Company-assigned employee ID
- Fullname – Employee full name
- Job Title – Assigned position or role title
- Department – Employee’s department
- Labels – Custom employee labels
- Roles – System access roles
- Email – Registered email address
- Phone – Contact number
- Last Online – Last recorded system activity
- Actions – View, Edit, or Manage options

Page Controls and Tools #
- Manage Labels – Create and manage employee labels
- Send Invitation – Send system access invitation to employees
- Add Employee – Create a new employee record
- Import Employee – Bulk upload employees via file import
- Role filter
- Department filter
- Schedule filter
- Establishment filter
- Label filter
- Status filter
- Search bar
- Export to Excel
- Pagination controls
- Refresh and table view controls
Employee General Add Employee #
STEPS #
- Click the Add employee button.
- Fill in the required fields.
- Page 1
- First name
- Last name
- Street
- City
- State
- Country
- Zip
- Phone
- Gender
- Page 2
- Job Title
- Date of hire
- SSS
- TIN
- Pag-ibig
- PhilHealth
- Page 3
- Password
- Page 1
- Click Save button to add the employee.


Result #

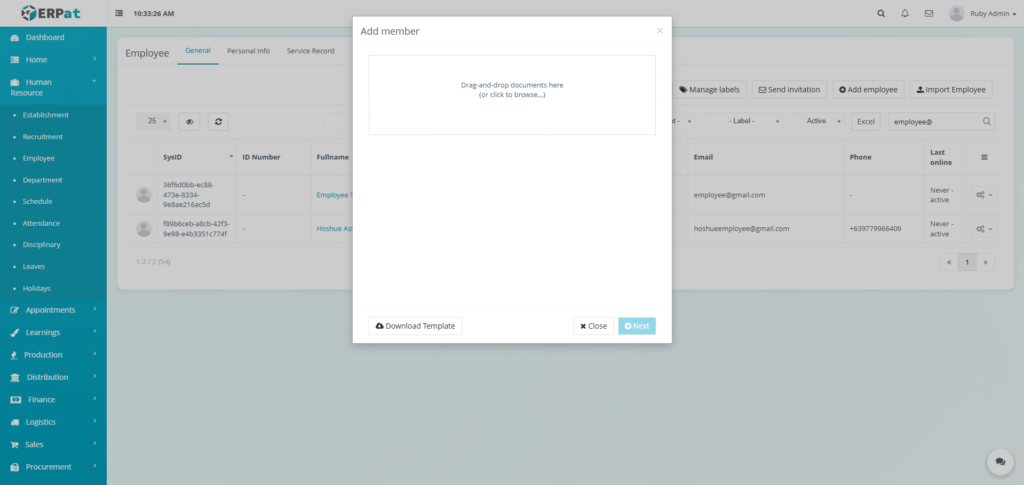
Employee General Bulk Add Employee #
STEPS #
- Click the Import Employee button.
- Click the Download Template button.
- Fill the template with the required information.
- Upload the filled template and click Next button to add the employees.

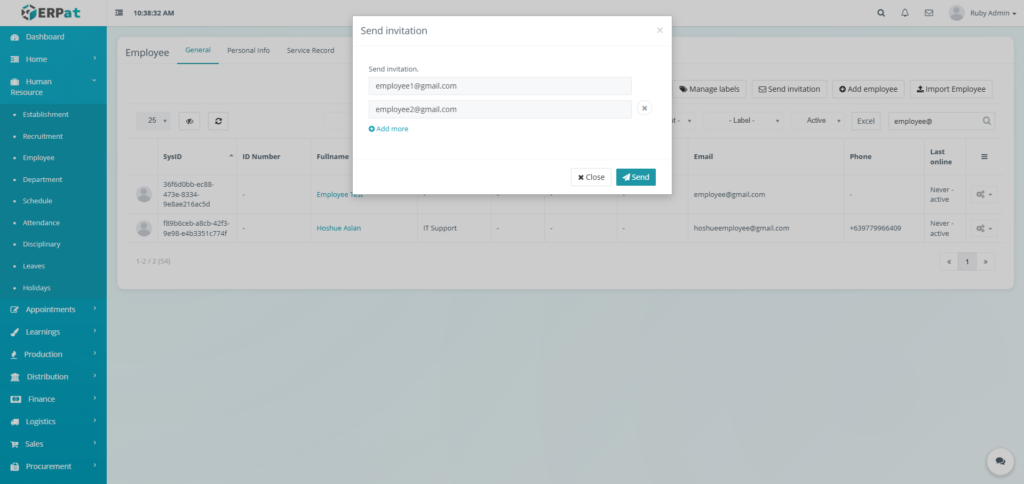
Employee General Invite Employee #
STEPS #
- Click the Send Invitation button.
- Fill the email of the employee that will be invited.
- Click the Send button to send the invitation.
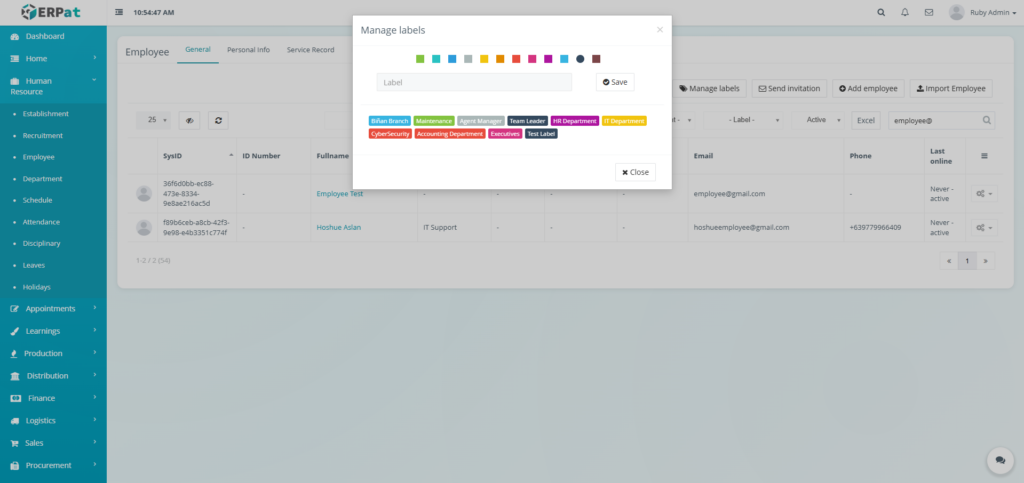
Employee General Add Label #
STEPS #
- Click the Manage labels button.
- Fill the necessary field.
- Select a color for the label.
- Click the Save button to add the label.
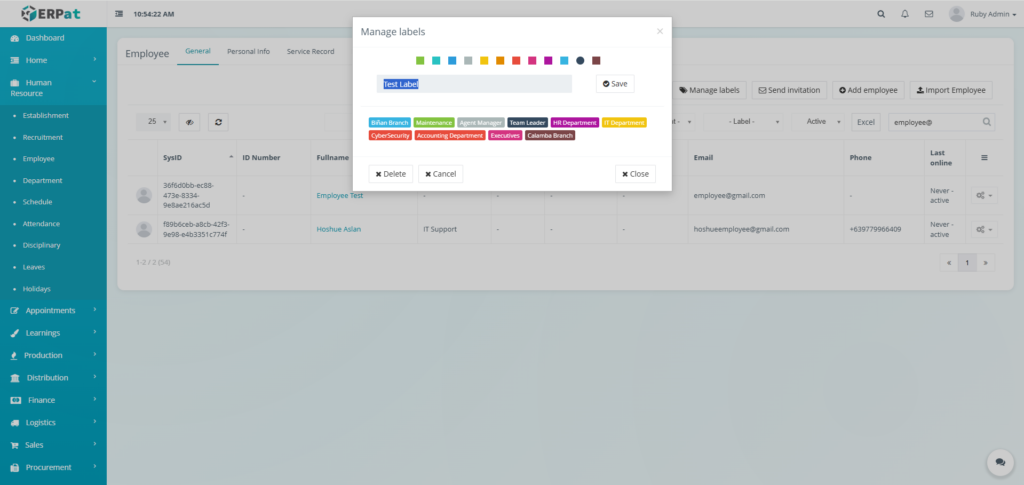
Result #
Employee General Download Employee Data (Excel) #
STEPS #
- Locate the Excel button.
- Click the Excel button.
- An excel file containing the Employee Data will be downloaded.

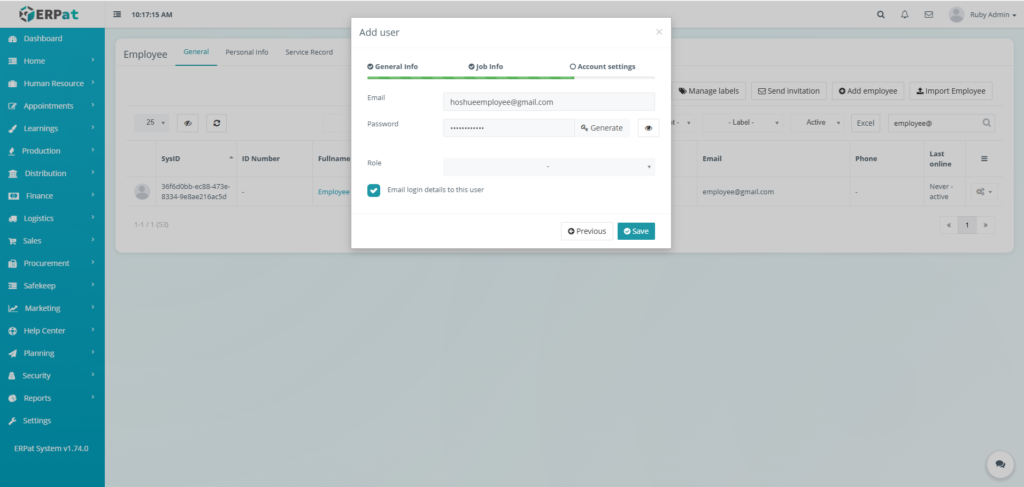
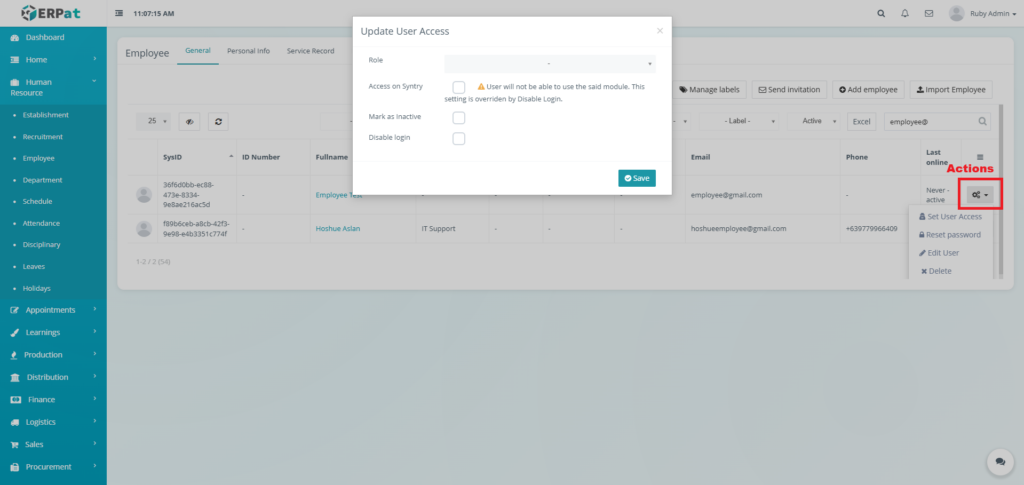
Employee General Set User Access #
STEPS #
- Click the Actions button.
- Click the Set User Access option.
- Apply the desired access.
- Click Save button to apply the access.
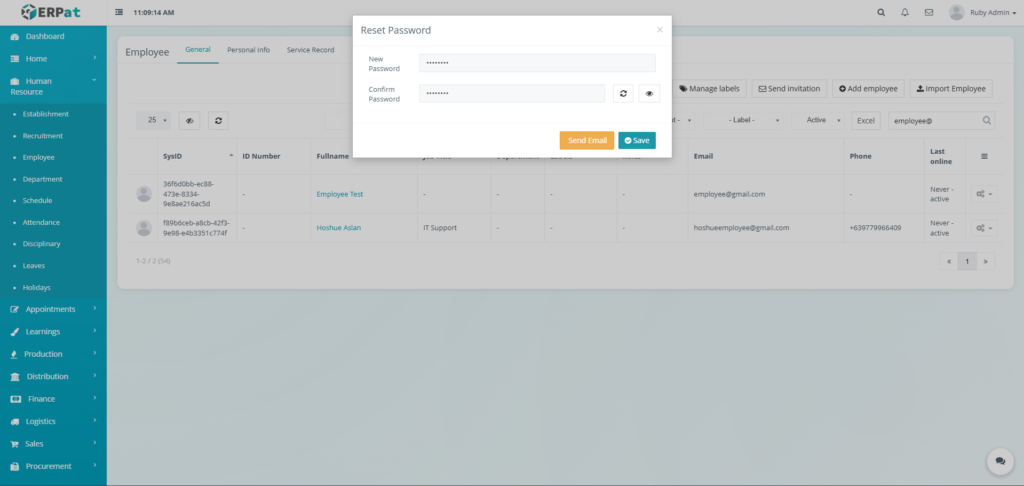
Employee General Reset Password #
STEPS #
- Click the Actions button.
- Click the Reset password option.
- Fill the new password.
- Click Save button to apply the password
- Or click the Send Email button to apply the change password while sending the new password to the registered email of the employee.
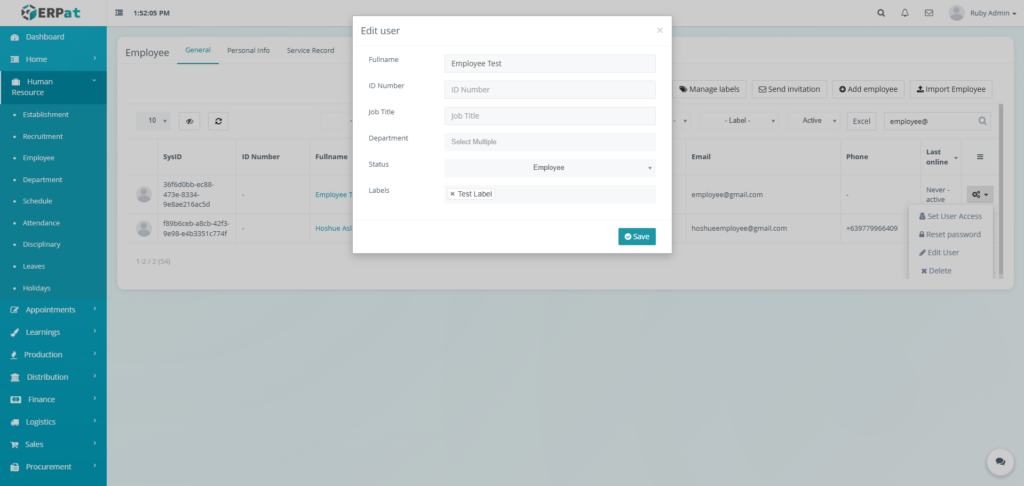
Employee General Edit User #
STEPS
- Click the Actions button.
- Click the Edit User option.
- Fill in the necessary information.
- Click Save to apply the changes.
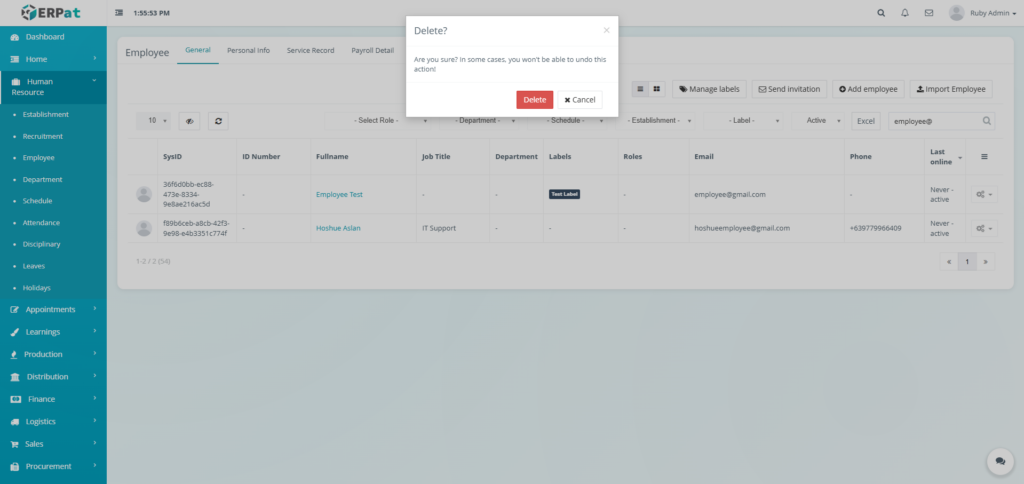
Employee General Delete User #
STEPS
- Click the Actions button.
- Click the Delete option.
- Click the Delete button in the popup to delete the user.
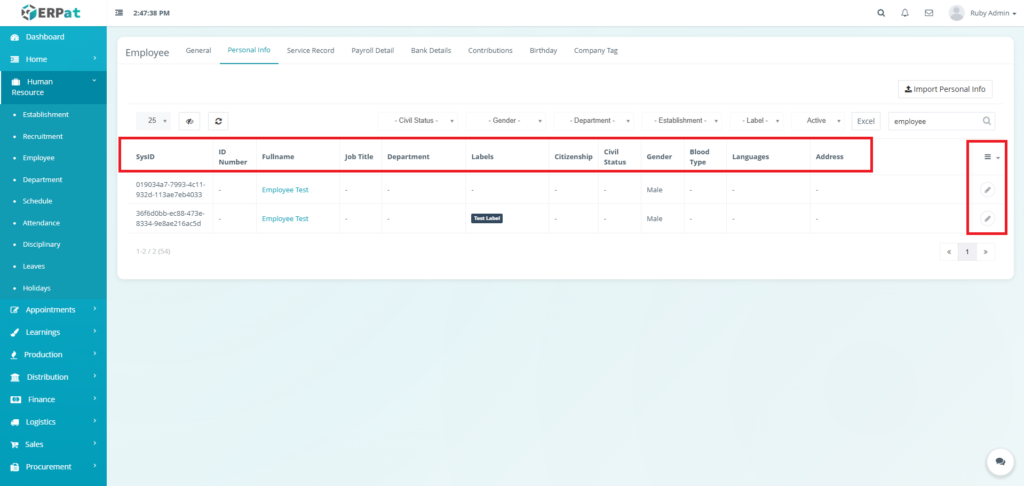
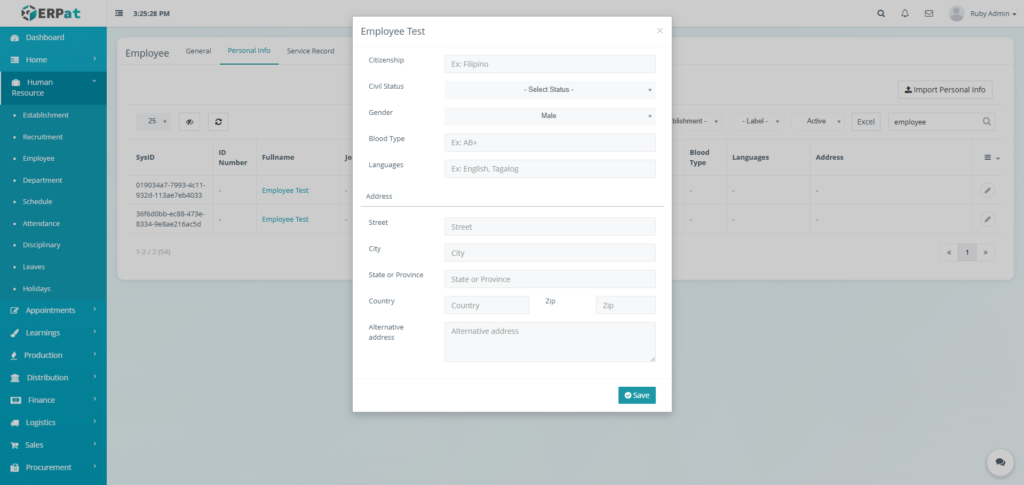
Employee Personal Info Listing Page #
The Employee Personal Info Listing Page displays all employees’ personal info in a table format with the following information:
- SysID – System-generated unique identifier
- ID Number – Company-assigned employee ID
- Fullname – Employee full name
- Job Title – Assigned job position
- Department – Employee department
- Labels – Custom employee labels
- Citizenship – Nationality or citizenship
- Civil Status – Single, Married, etc.
- Gender – Male / Female
- Blood Type – Employee blood type
- Languages – Spoken or known languages
- Address – Residential address
- Actions – Edit controls
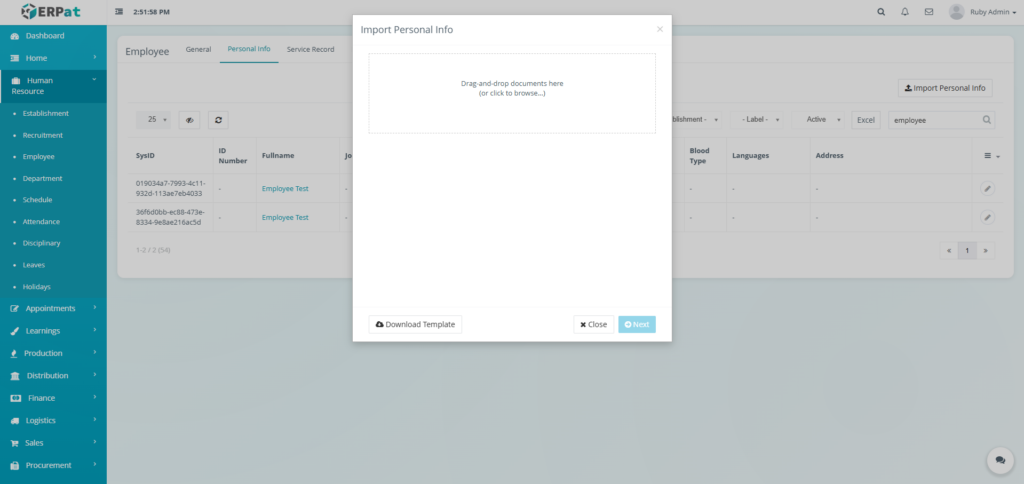
Employee Personal Info Import Personal Info #
STEPS #
- Click the Import Personal Info button.
- Click the Download Template button.
- Fill the template with the required information.
- Upload the filled template and click Next button to add the Personal Info.

Employee Personal Info Edit Personal Info #
STEPS #
- Click the Edit Icon on the Action Section of the table.
- Fill in the information for the changes.
- Click the Save button to apply the changes.
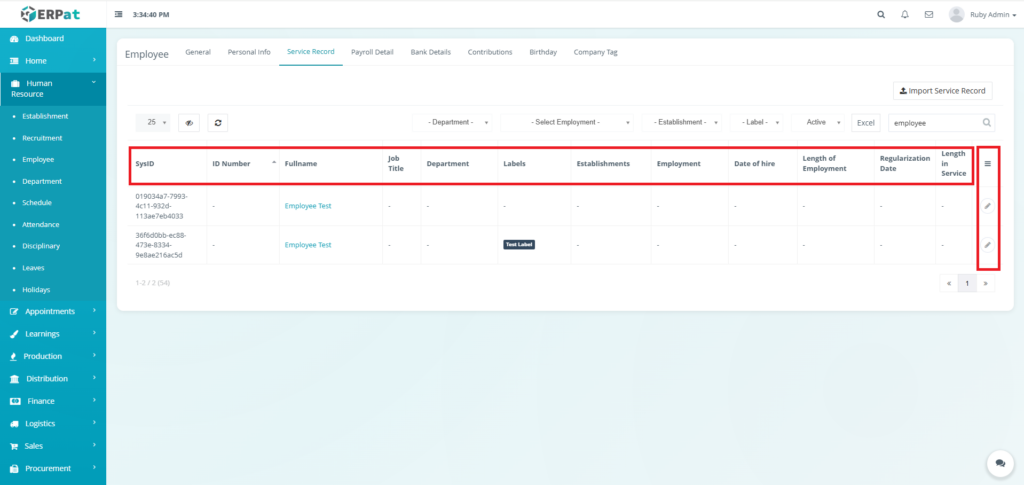
Employee Service Record Listing Page #
The Employee Service Record Listing Page displays all employees’ personal info in a table format with the following information:
- SysID – System-generated unique identifier.
- ID Number – Company-assigned employee identification number.
- Fullname – The complete name of the employee.
- Job Title – The current professional role or position assigned to the employee.
- Department – The specific organizational unit or department the employee belongs to.
- Labels – Custom organizational tags or labels assigned to the employee.
- Establishments – The specific branch, office, or site location where the employee is based.
- Employment – The current status or type of employment (e.g., Full-time, Probationary).
- Date of hire – The official calendar date the employee started working for the company.
- Length of Employment – Calculated duration of the employee’s tenure since their hire date.
- Regularization Date – The date on which the employee transitioned to a regular employment status.
- Length in Service – Total cumulative time the employee has served within the organization.
- Actions – Edit controls
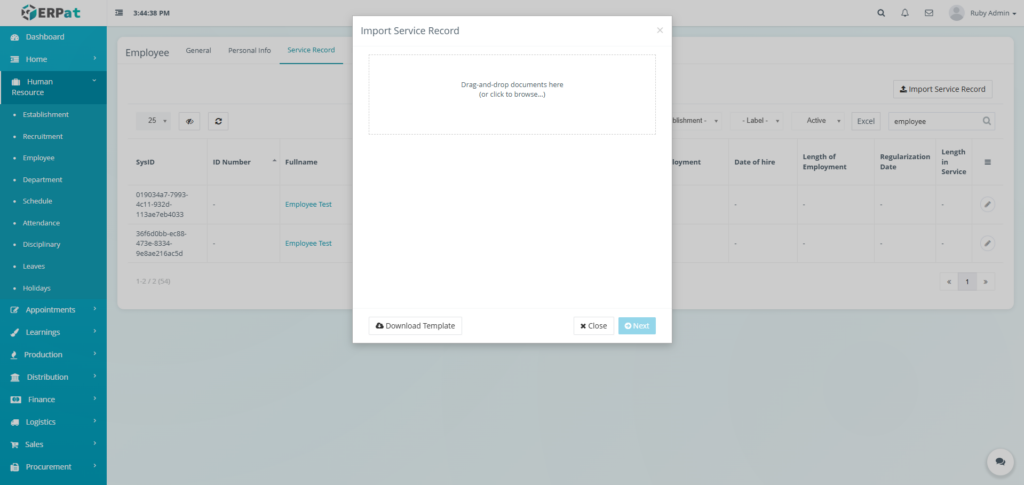
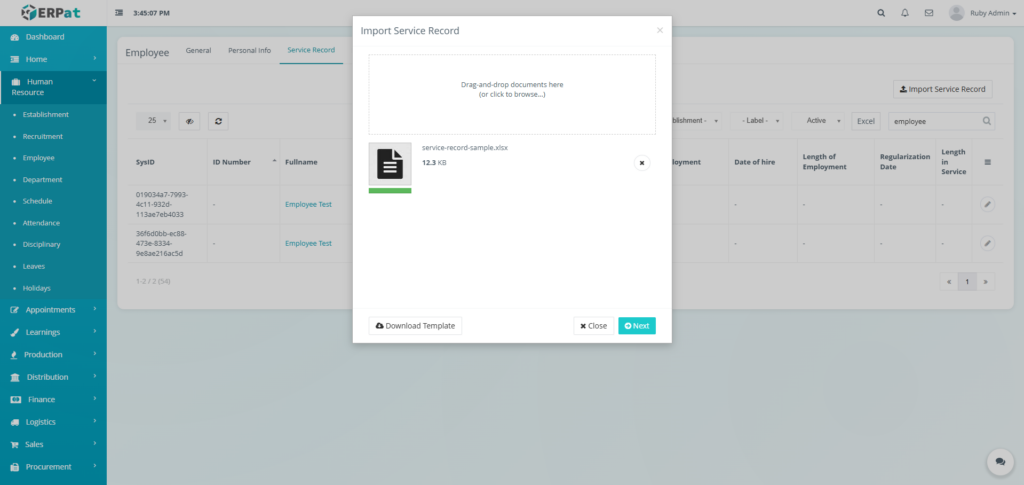
Employee Service Record Import Service Record #
STEPS #
- Click the Import Service Record button.
- Click the Download Template button.
- Fill the template with the required information.
- Upload the filled template and click Next button to add the Service Record.
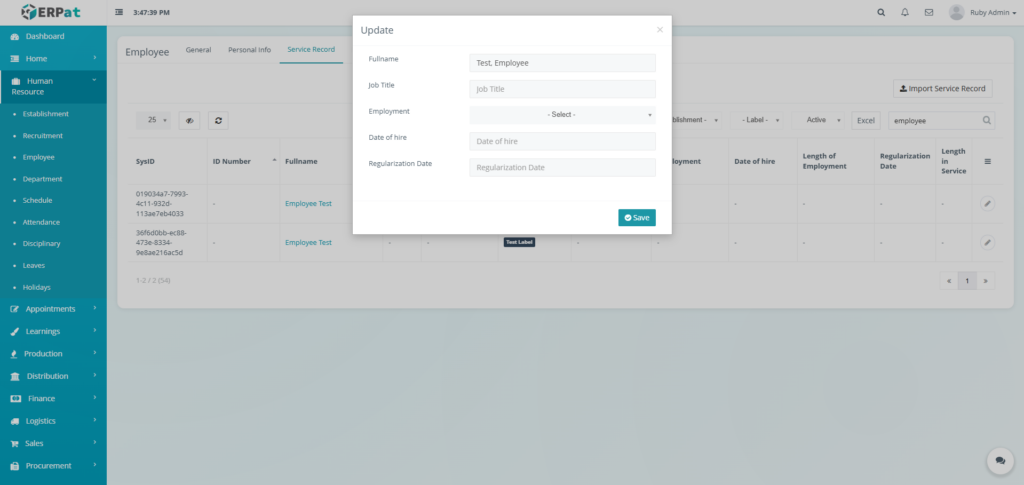
Employee Service Record Edit Service Record #
STEPS #
- Click the Edit Icon on the Action Section of the table.
- Fill in the information for the changes.
- Click the Save button to apply the changes.
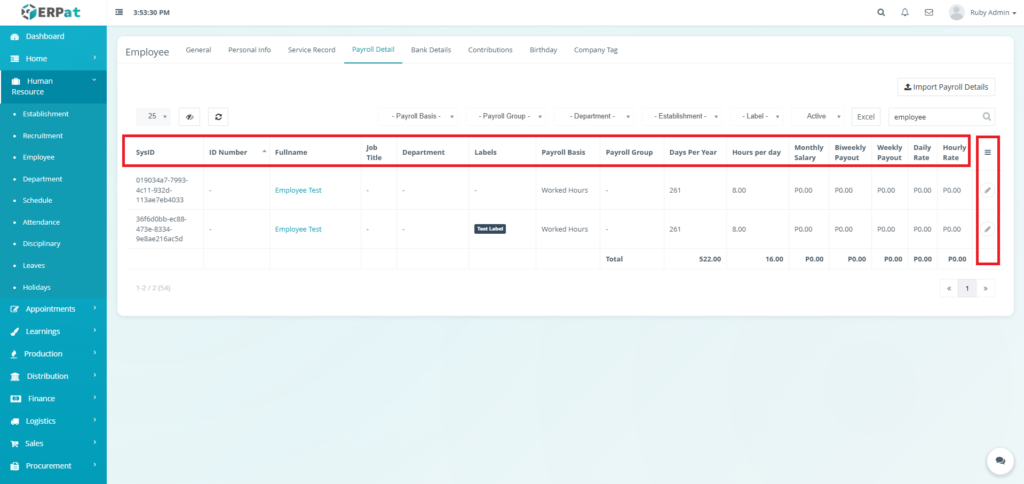
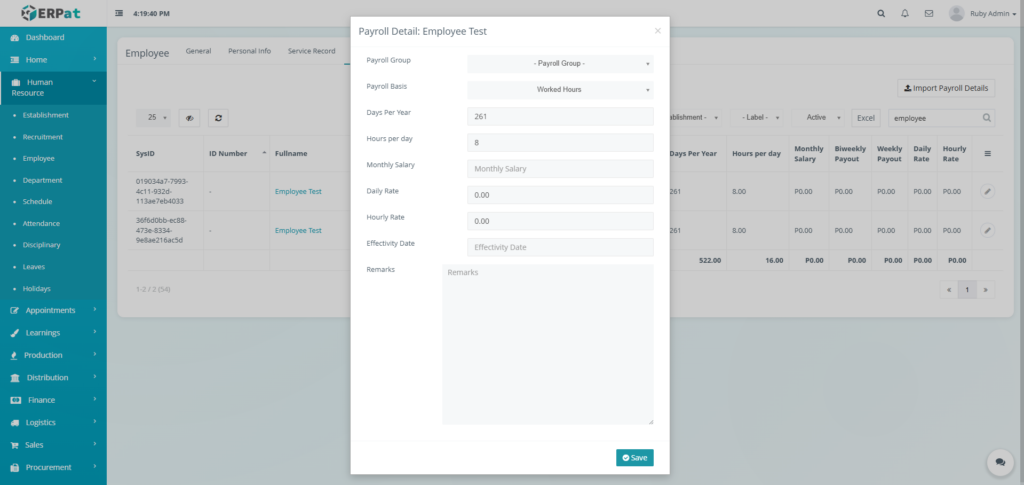
Employee Payroll Detail Listing Page #
The Employee Payroll Detail Listing Page displays the compensation structure, rates, and salary breakdown for all employees in a table format with the following information:
- SysID – System-generated unique identifier.
- ID Number – Company-assigned employee identification number.
- Fullname – The complete name of the employee.
- Job Title – The current professional role or position assigned to the employee.
- Department – The specific organizational unit or department the employee belongs to.
- Labels – Custom organizational tags or labels assigned to the employee.
- Payroll Basis – The specific logic or basis used to calculate pay (e.g., Worked Hours).
- Payroll Group – The specific classification group used for batch payroll processing.
- Days Per Year – The total number of scheduled working days for the employee within a calendar year.
- Hours per day – The standard number of working hours the employee is expected to fulfill daily.
- Monthly Salary – The fixed gross compensation amount the employee receives per month.
- Biweekly Payout – The calculated salary amount for a two-week (fortnightly) pay period.
- Weekly Payout – The calculated salary amount for a one-week pay period.
- Daily Rate – The computed amount of pay assigned to the employee for a single day of work.
- Hourly Rate – The computed amount of pay assigned to the employee for a single hour of work.
- Actions – Edit controls
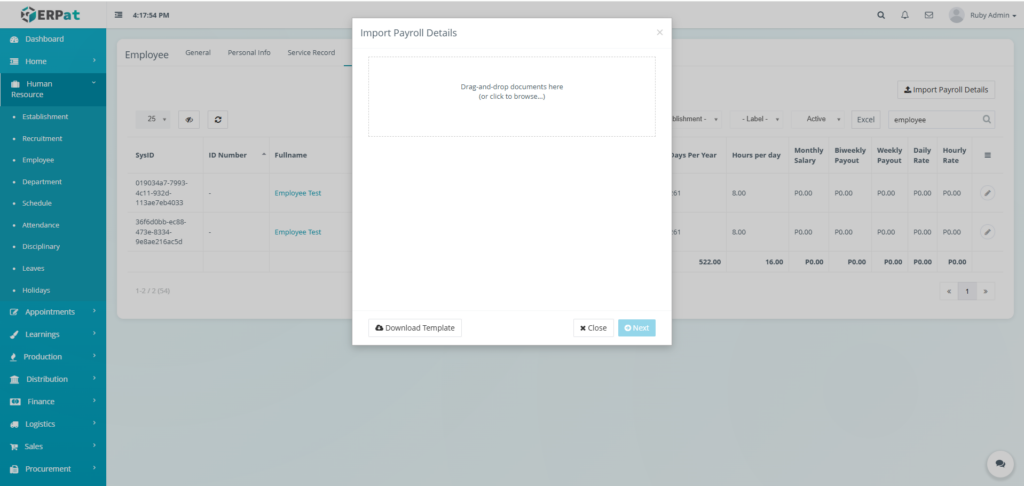
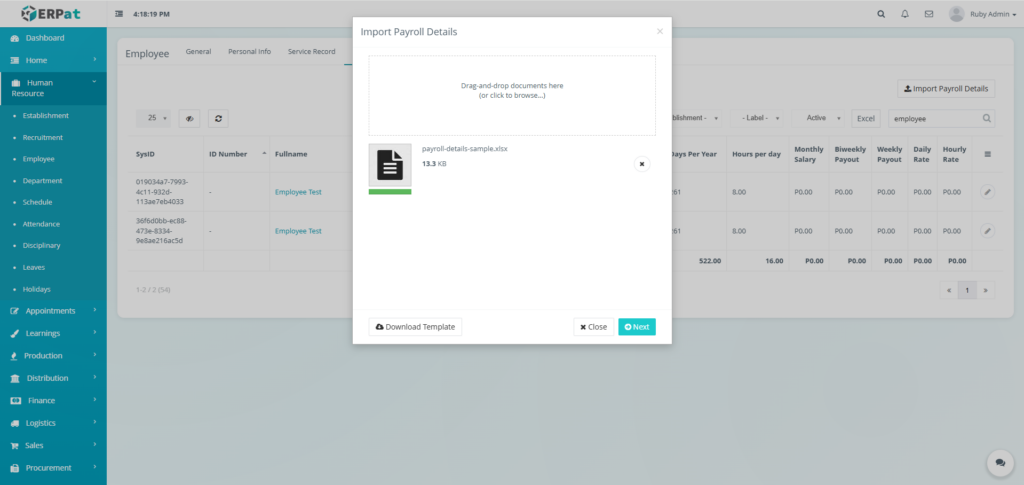
Employee Payroll Detail Import Payroll Details #
STEPS #
- Click the Import Payroll Details button.
- Click the Download Template button.
- Fill the template with the required information.
- Upload the filled template and click Next button to add the Payroll Details.
Employee Payroll Detail Edit Payroll Details #
STEPS #
- Click the Edit Icon on the Action Section of the table.
- Fill in the information for the changes.
- Click the Save button to apply the changes.
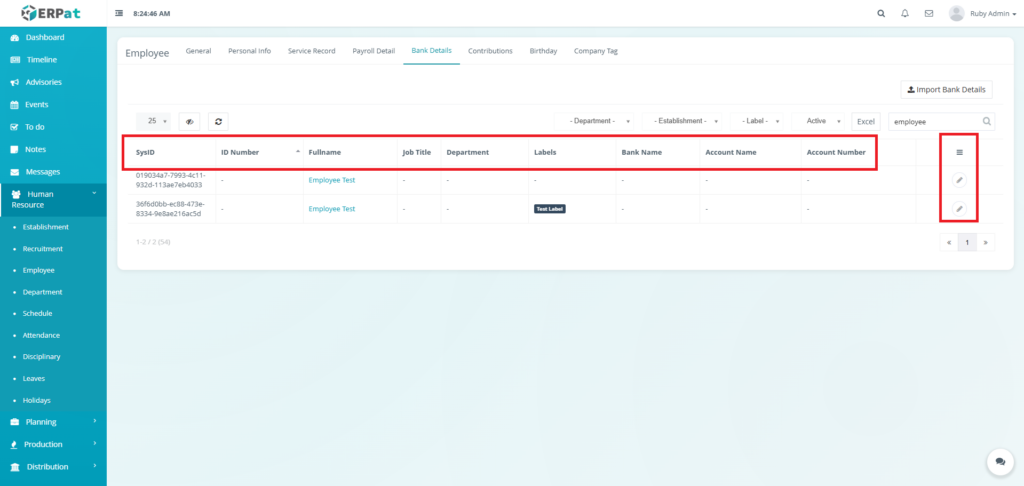
Employee Bank Details Listing Page #
The Employee Bank Details Listing Page displays the banking and account information for all employees in a table format with the following information:
- SysID – System-generated unique identifier.
- ID Number – Company-assigned employee identification number.
- Fullname – The complete name of the employee.
- Job Title – The current professional role or position assigned to the employee.
- Department – The specific organizational unit or department the employee belongs to.
- Labels – Custom organizational tags or labels assigned to the employee.
- Bank Name – The name of the financial institution where the employee’s payroll account is held.
- Account Name – The specific name registered on the employee’s bank account.
- Account Number – The unique bank account number used for electronic fund transfers and payroll disbursements.
- Actions – Edit controls
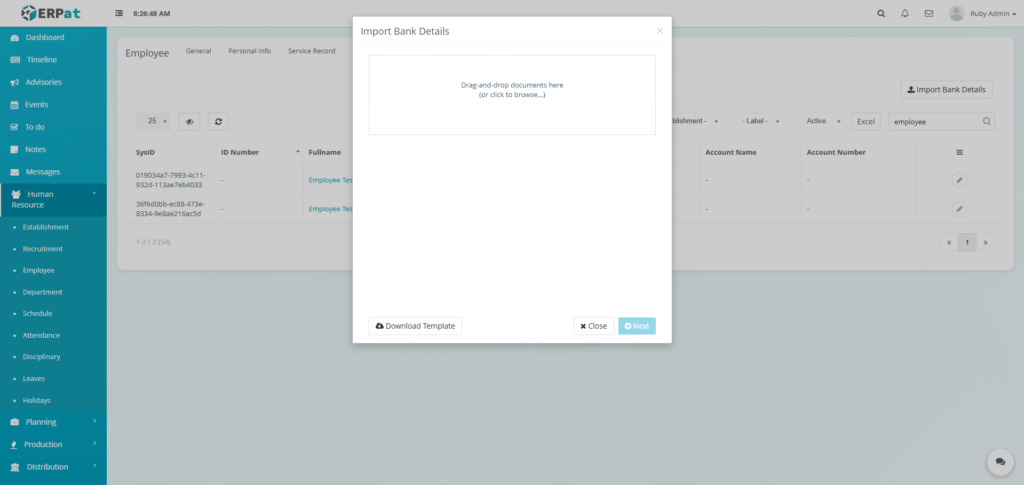
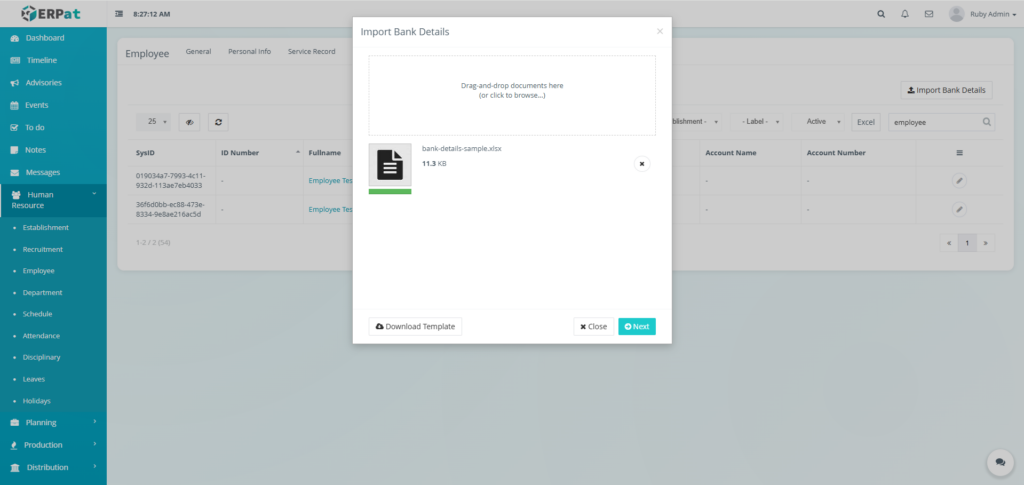
Employee Bank Details Import Bank Details #
STEPS #
- Click the Import Bank Details button.
- Click the Download Template button.
- Fill the template with the required information.
- Upload the filled template and click Next button to add the Bank Details.
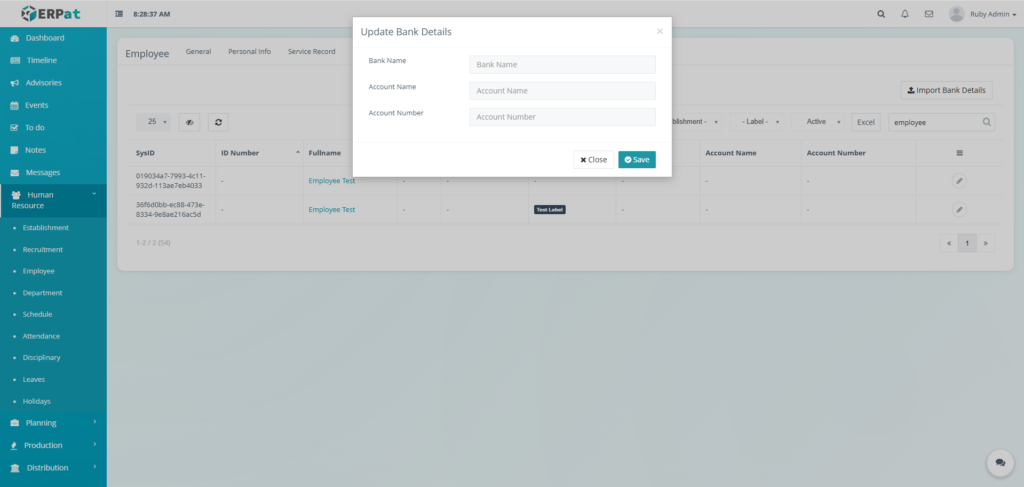
Employee Bank Details Edit Bank Details #
STEPS #
- Click the Edit Icon on the Action Section of the table.
- Fill in the information for the changes.
- Click the Save button to apply the changes.
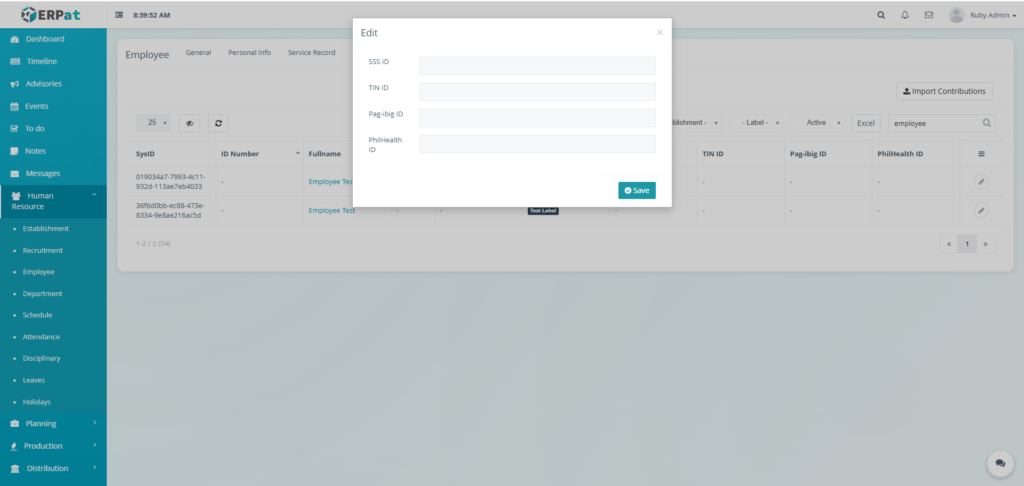
Employee Contributions Listing Page #
The Employee Contributions Listing Page displays the mandatory government contribution identification numbers for all employees in a table format with the following information:
- SysID – System-generated unique identifier.
- ID Number – Company-assigned employee identification number.
- Fullname – The complete name of the employee.
- Job Title – The current professional role or position assigned to the employee.
- Department – The specific organizational unit or department the employee belongs to.
- Labels – Custom organizational tags or labels assigned to the employee.
- SSS ID – The employee’s unique Social Security System identification number.
- TIN ID – The employee’s Taxpayer Identification Number.
- Pag-ibig ID – The employee’s Home Development Mutual Fund (HDMF) identification number.
- PhilHealth ID – The employee’s Philippine Health Insurance Corporation identification number.
- Actions – Edit controls

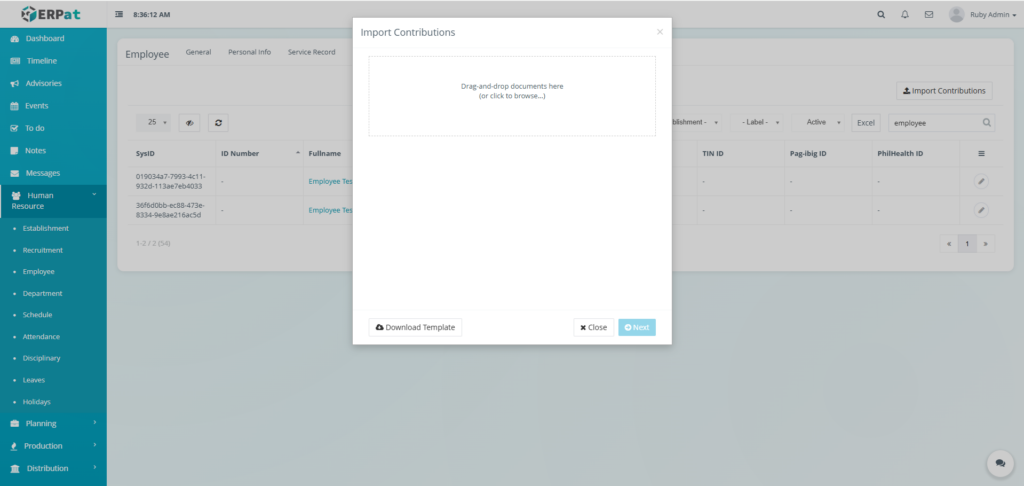
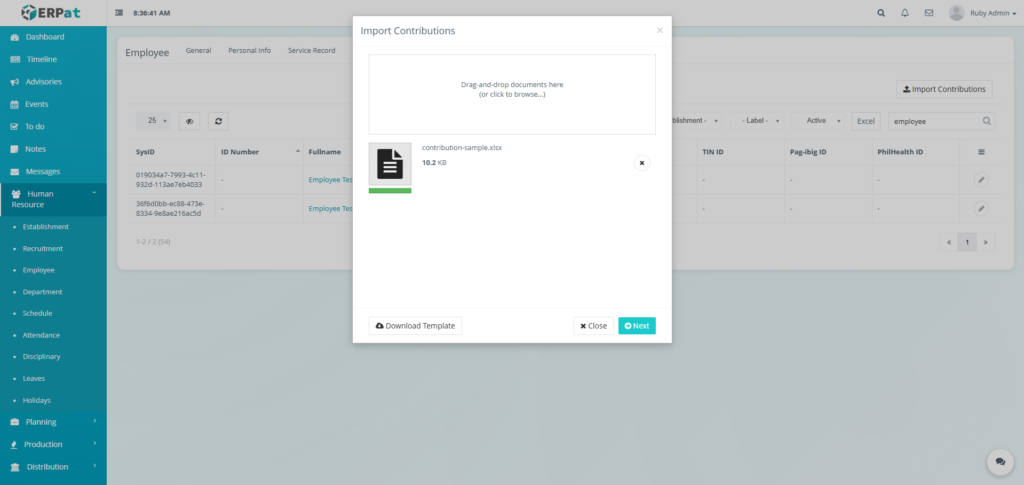
Employee Contributions Import Contributions #
STEPS #
- Click the Import Contributions button.
- Click the Download Template button.
- Fill the template with the required information.
- Upload the filled template and click Next button to add the Contributions.
Employee Contributions Edit Contributions #
STEPS #
- Click the Edit Icon on the Action Section of the table.
- Fill in the information for the changes.
- Click the Save button to apply the changes.
Employee Birthday Listing Page #
The Employee Birthday Listing Page displays employee birth dates and age tracking information in a table format with the following information:
- SysID – System-generated unique identifier.
- ID Number – Company-assigned employee identification number.
- Fullname – The complete name of the employee.
- Job Title – The current professional role or position assigned to the employee.
- Department – The specific organizational unit or department the employee belongs to.
- Labels – Custom organizational tags or labels assigned to the employee.
- Birthday – The recorded calendar date of the employee’s birth.
- Age – The current calculated age of the employee.
- Next Birthday – Information or countdown regarding the employee’s upcoming birthday.
- Actions – Edit control

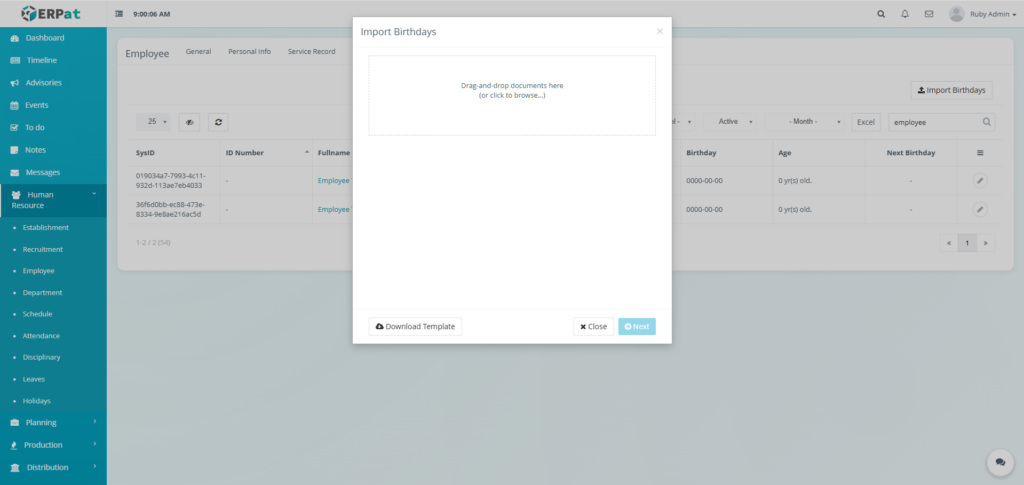
Employee Birthday Import Birthday #
STEPS #
- Click the Import Birthdays button.
- Click the Download Template button.
- Fill the template with the required information.
- Upload the filled template and click Next button to add the Birthday.
Employee Birthday Edit Birthday #
STEPS #
- Click the Edit Icon on the Action Section of the table.
- Fill in the information for the changes.
- Click the Save button to apply the changes.

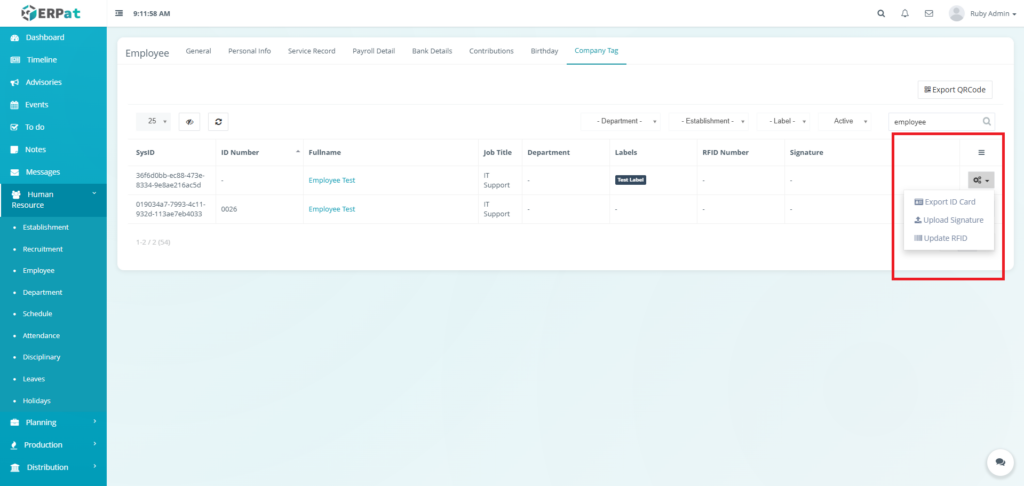
Employee Company Tag Listing Page #
The Employee Company Tag Listing Page displays physical identification and authentication data for all employees in a table format with the following information:
- SysID – System-generated unique identifier.
- ID Number – Company-assigned employee identification number.
- Fullname – The complete name of the employee.
- Job Title – The current professional role or position assigned to the employee.
- Department – The specific organizational unit or department the employee belongs to.
- Labels – Custom organizational tags or labels assigned to the employee.
- RFID Number – The unique identification number associated with the employee’s RFID card or tag, typically used for access control or automated timekeeping.
- Signature – A recorded digital representation or status of the employee’s official signature.
- Actions – Export ID Cards, Upload Signature, or Update RFID controls.

Employee Company Tag Export QR Code #
STEPS #
- Click the Export QRCode button
- Fill the name of the employees.
- Click the Export button to export the QRCode.


Employee Company Tag Export ID Card #
STEPS #
- Click the Actions button in the table.
- Click the Export ID Card option in the actions dropdown.

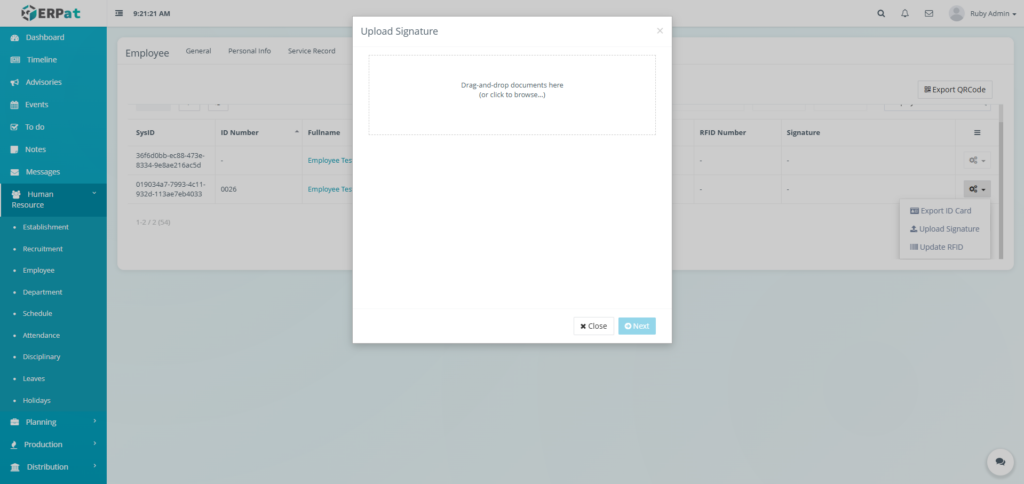
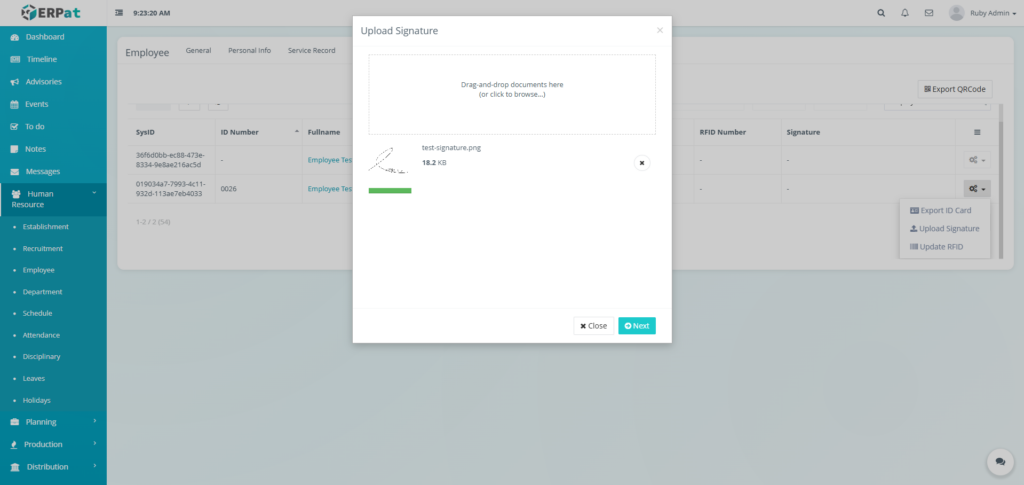
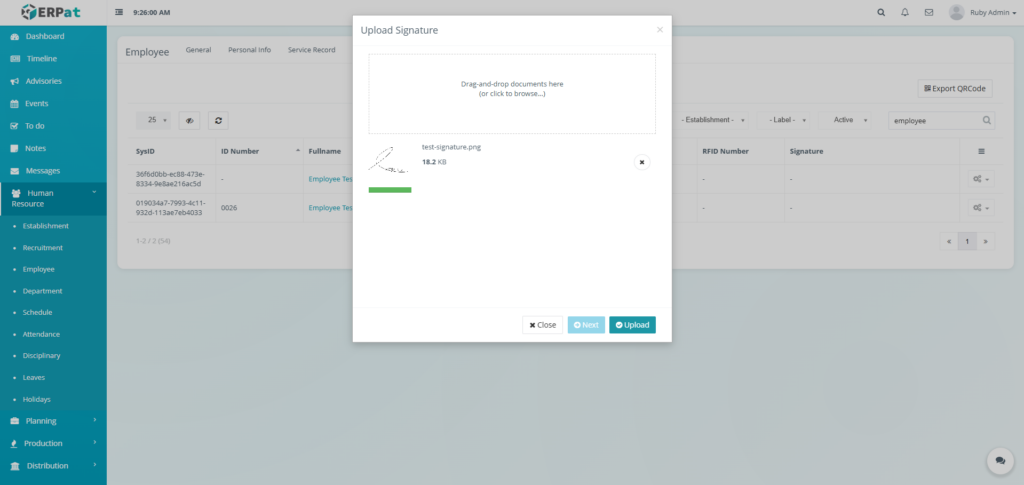
Employee Company Tag Upload Signature #
STEPS #
- Click the Actions button in the table.
- Click the Upload Signature option in the actions dropdown.
- Upload the file for signature.
- Click the Next button.
- Click the Upload button.
Employee Company Tag Update RFID #
STEPS #
- Click the Actions button in the table.
- Click the Update RFID option in the actions dropdown.
- Fill in the RFID of the employee.
- Click the Save button to update the RFID

Permissions and Access Control #
- Only authorized HR or Admin roles can add, edit, or delete employee.
- View-only access may be granted to supervisory roles.
Best Practices #
- Maintain accurate and up-to-date employee records.
- Use labels consistently for easy grouping and reporting.
- Assign roles carefully to enforce proper access control.
- Deactivate employees instead of deleting records to preserve data integrity.
Audit & Logs #
All employee-related actions (create, update, status change) are logged for audit and compliance purposes within the ERPat System.
Last Updated: [December 23, 2025] Module Owner: Human Resource IS – ERPat System


