Overview #
The Vendors and Contacts sections under the Procurement module in the ERPat system are used to manage supplier information and vendor contact details. These sections allow authorized users to store vendor company records and maintain communication contacts associated with those vendors.
The module provides tools for recording vendor information such as company details, tax identification numbers, vendor groups, and preferred currencies. It also enables the management of vendor representatives through the Contacts tab.
Within the Procurement module, users can access the following tabs:
- Vendors Tab – Used to manage vendor company records.
- Contacts Tab – Used to manage contact persons associated with vendors.
Key Features #
- Centralized vendor management for maintaining supplier records
- Vendor information storage including contact and business details
- Quick vendor lookup through search functionality
- Filtering and sorting options for easier vendor management
- Ability to add new vendor records to the system
- Viewing detailed vendor information from the vendor list
- Editing and updating existing vendor information
- Deletion of vendor records when no longer required
- Pagination support for efficient navigation of large vendor lists
- Secure role-based access control for vendor data management
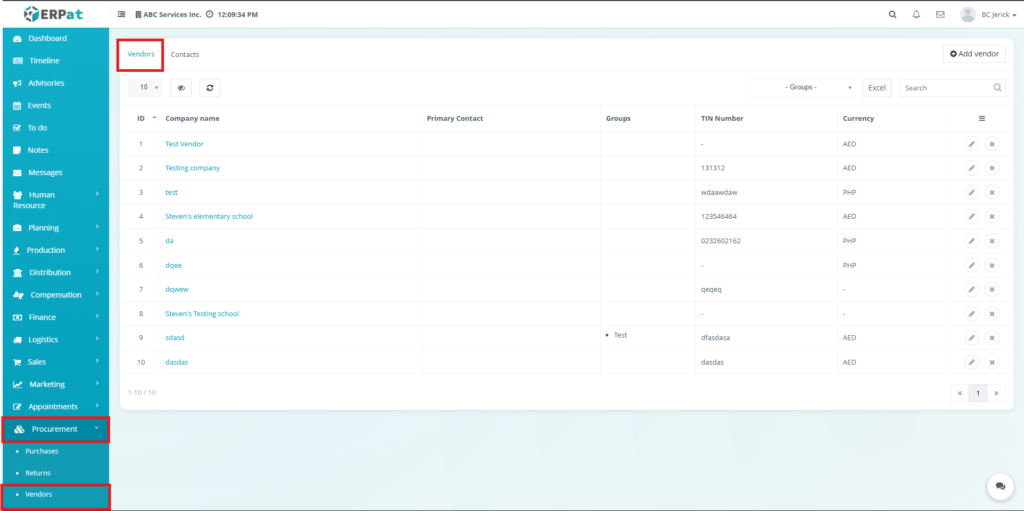
Accessing Vendors Tab #
The Vendors Tab is used to manage vendor company records within the Procurement module. It allows users to add, edit, delete, search, and export vendor information.
Vendor records are displayed in a table format where users can easily manage supplier data.
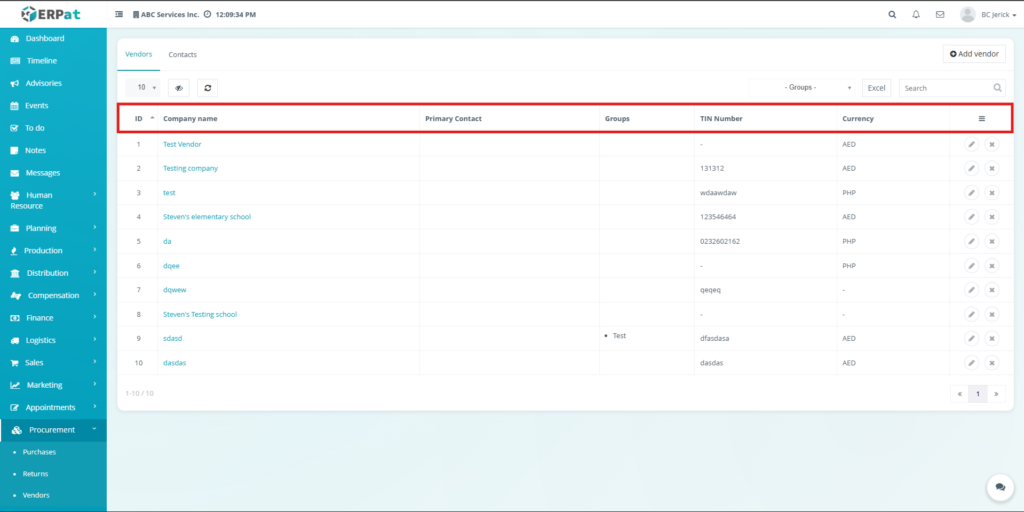
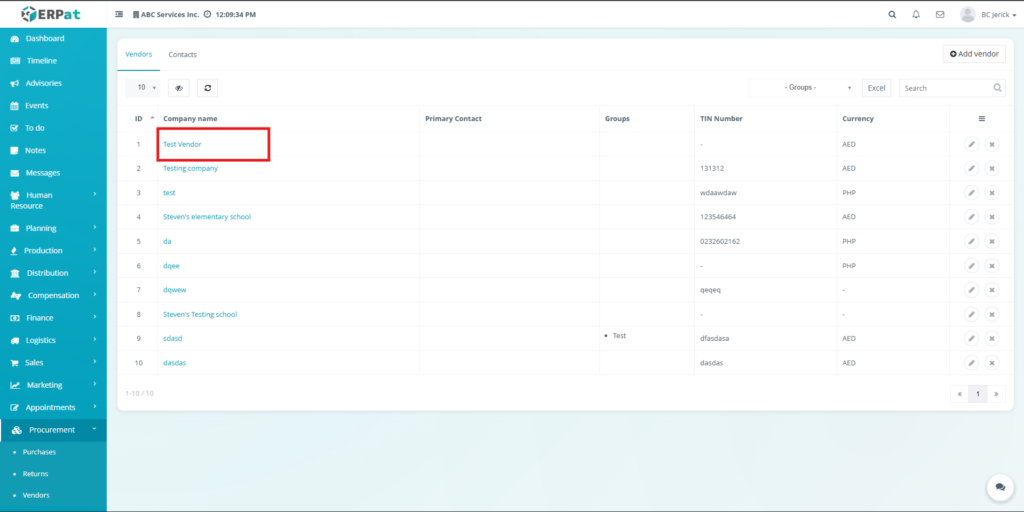
Vendor Table #
The vendor table displays all vendor companies registered in the system.
Table Columns #
- ID – Unique system identifier assigned to the vendor.
- Company Name – Name of the vendor company.
- Primary Contact – Main contact person associated with the vendor.
- Groups – Vendor category or classification.
- TIN Number – Vendor Tax Identification Number.
- Currency – Preferred vendor transaction currency.
- Actions – Options to edit or delete vendor records.
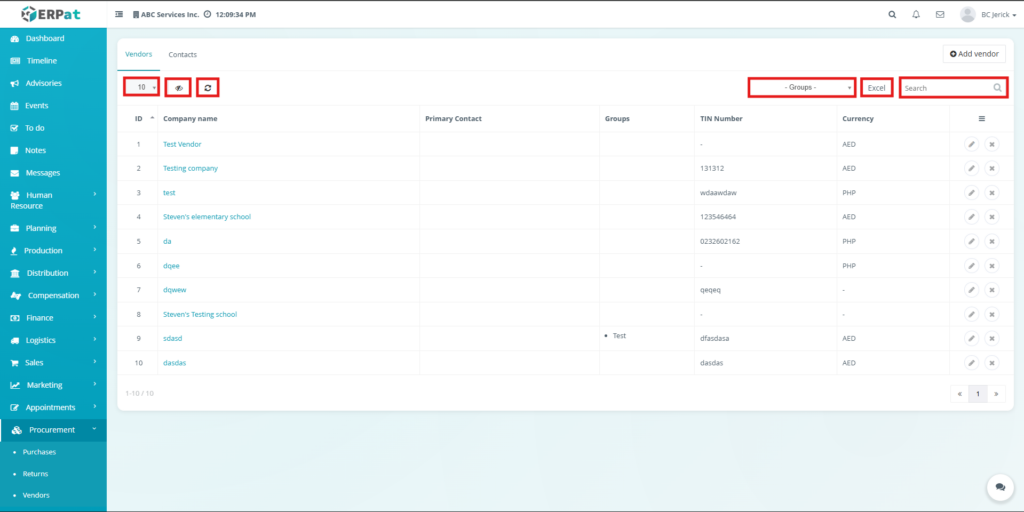
Vendors Tab Controls #
The Vendors tab includes several tools to help users manage vendor records.
Additional Controls #
- Add Vendor Button – Opens the form used to create a new vendor record.
- Records Dropdown – Controls how many records are displayed per page.
- Column Visibility Toggle – Allows users to hide or show table columns.
- Refresh Button – Reloads the vendor listing.
- Groups Filter – Filters vendors based on group classification.
- Excel Button – Exports vendor records into an Excel file.
- Search Bar – Allows users to locate vendor records quickly.
- Pagination Controls – Navigate through multiple pages of records.
- Column Sorting – Allows sorting of table data by clicking column headers.
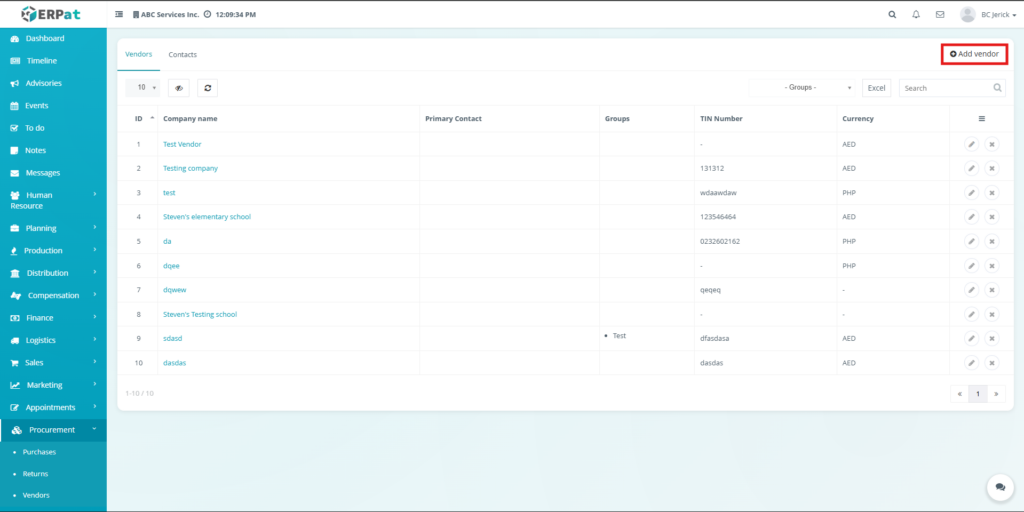
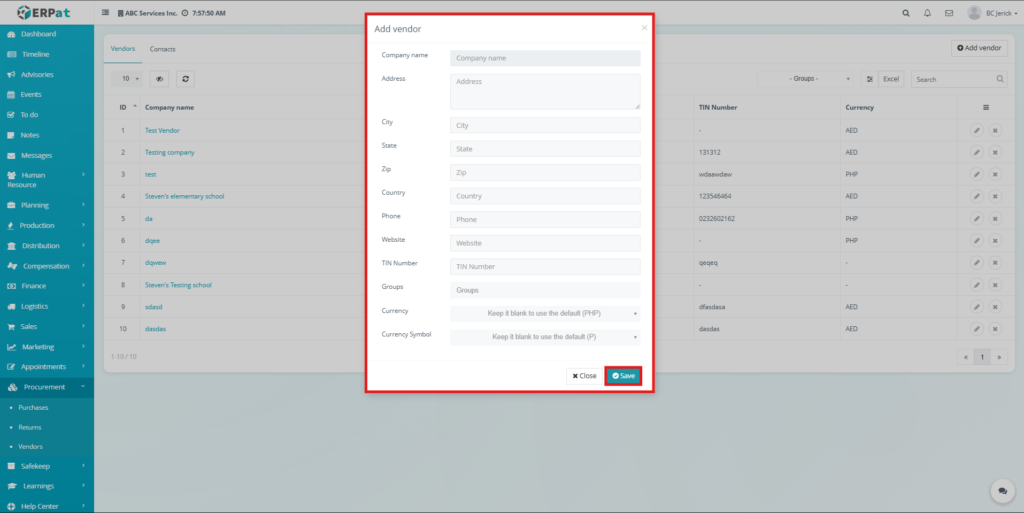
Steps for Adding a Vendor #
Users can create a new vendor record using the Add Vendor function.
Steps #
- Navigate to Procurement Module.
- Open the Vendors Tab.
- Click the Add Vendor button.
- The Add Vendor Form will appear.
- Enter the vendor information.
- Click Save to store the vendor record.

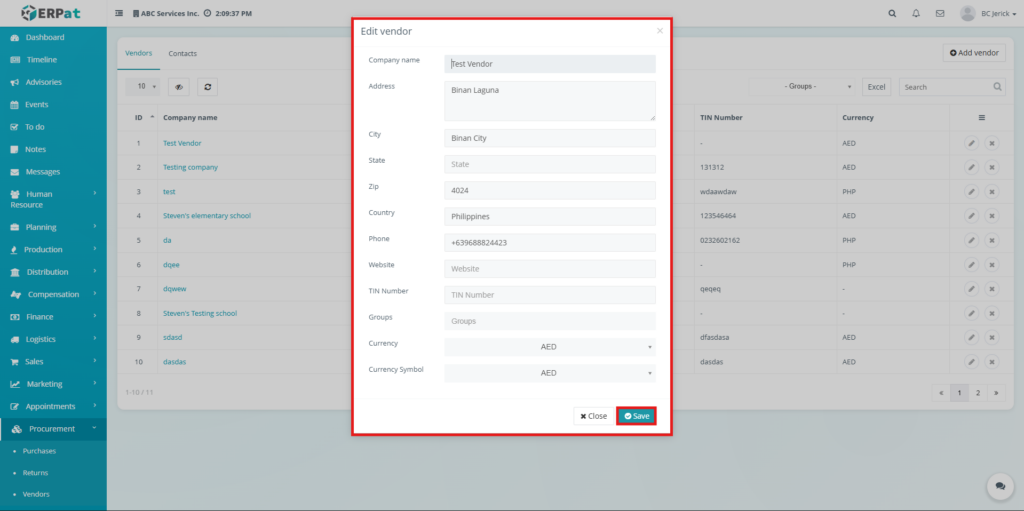
Vendor Information Fields #
The vendor form contains fields used to record vendor company details.
Vendor Details #
- Company Name – Registered vendor company name.
- Address – Vendor company address.
- City – Vendor city location.
- State – Regional location.
- Zip Code – Postal code.
- Country – Vendor country location.
- Phone – Vendor contact number.
- Website – Vendor company website.
- TIN Number – Vendor Tax Identification Number.
- Groups – Vendor classification or category.
- Currency – Vendor’s preferred currency.
- Currency Symbol – Symbol associated with the selected currency.

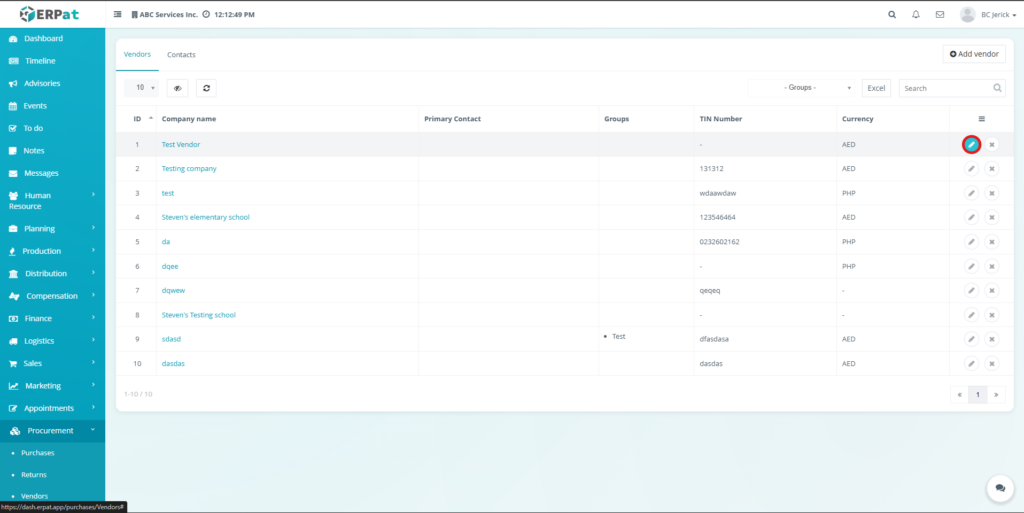
Steps for Editing Vendor Records #
Vendor information can be updated when company details change.
Steps #
- Locate the vendor in the Vendor Table.
- Click the Edit icon under the Actions column.
- Update the necessary information.
- Click Save to apply the changes.
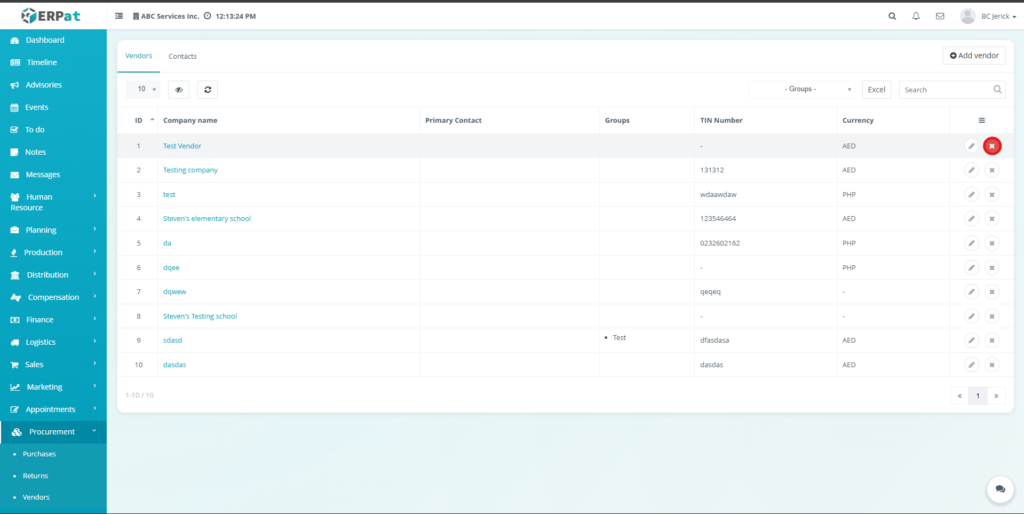
Steps for Deleting Vendor Records #
Authorized users can delete vendor records when necessary.
Steps #
- Locate the vendor in the Vendor Table.
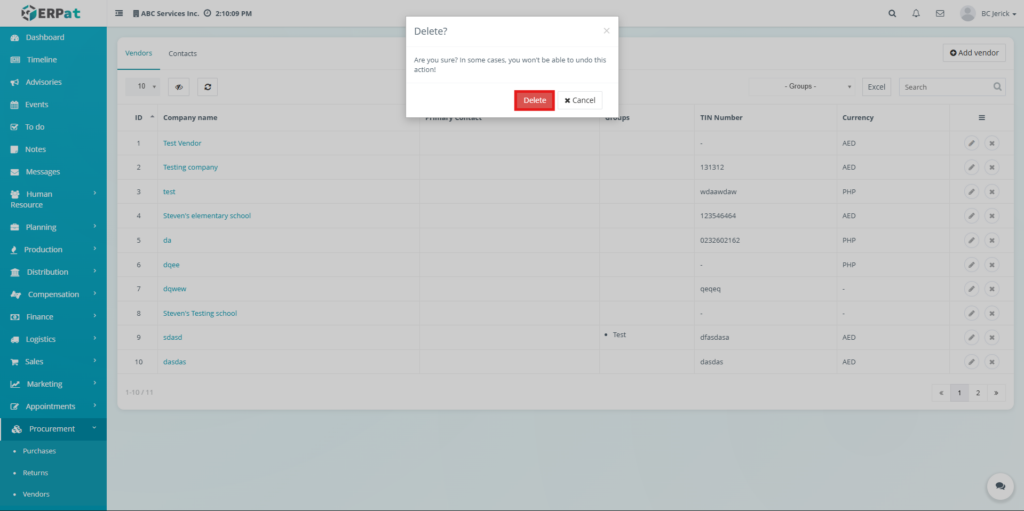
- Click the Delete icon under the Actions column.
- Confirm the deletion when prompted.
Vendor Profile View #
When a user clicks the Company Name from the Vendors table, the system opens the Vendor Profile View. This page provides a detailed view of the selected vendor and organizes vendor-related information into multiple tabs.
The Vendor Profile allows users to manage vendor contacts, view company information, monitor related purchase orders, track support tickets, create notes, and upload vendor-related files.
Vendor Profile Tabs #
The Vendor Profile contains several tabs that organize vendor-related information:
- Contacts
- Information
- Purchase Orders
- Tickets
- Notes
- Files
Each tab provides specific functions for managing vendor data
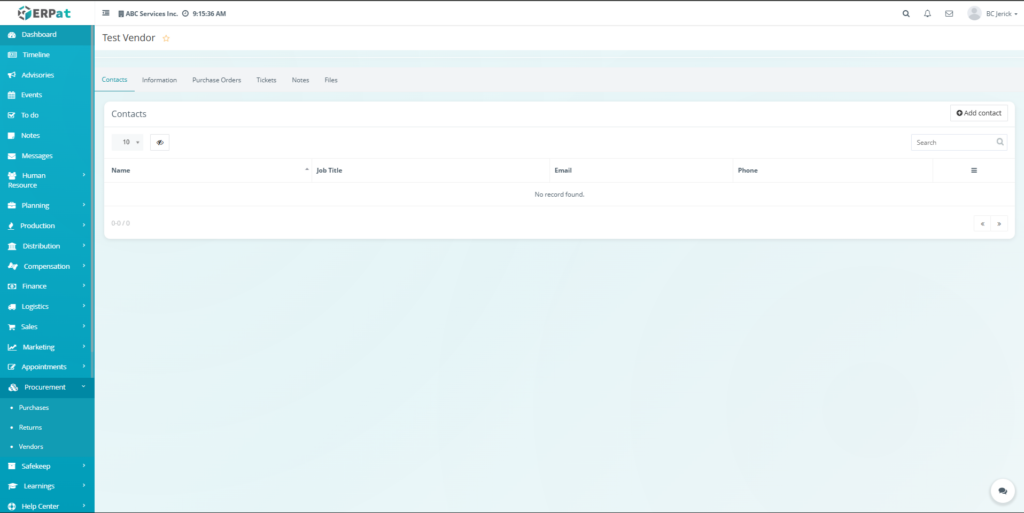
Contacts Tab (Vendor Profile) #
The Contacts Tab inside the Vendor Profile displays contact persons associated with the selected vendor.
Users can manage vendor representatives such as account managers, sales personnel, or support staff.
Available Functions #
- View vendor contact records
- Add new contacts
- Search existing contacts
- Manage contact information
Adding a Vendor Contact #
Users can add a new contact person for the vendor using the Add Contact function.
Steps: #
- Click the Add Contact button located in the Contacts section.
- The Add Contact popup window will appear.
- Enter the required contact details:
- First Name – Contact person’s first name.
- Last Name – Contact person’s last name.
- Email – Contact email address.
- Job Title – Position or role in the vendor company.
- Phone – Contact phone number.
- Gender – Select Male or Female.
- Click Save to store the contact information.
- Click Close to cancel the action.
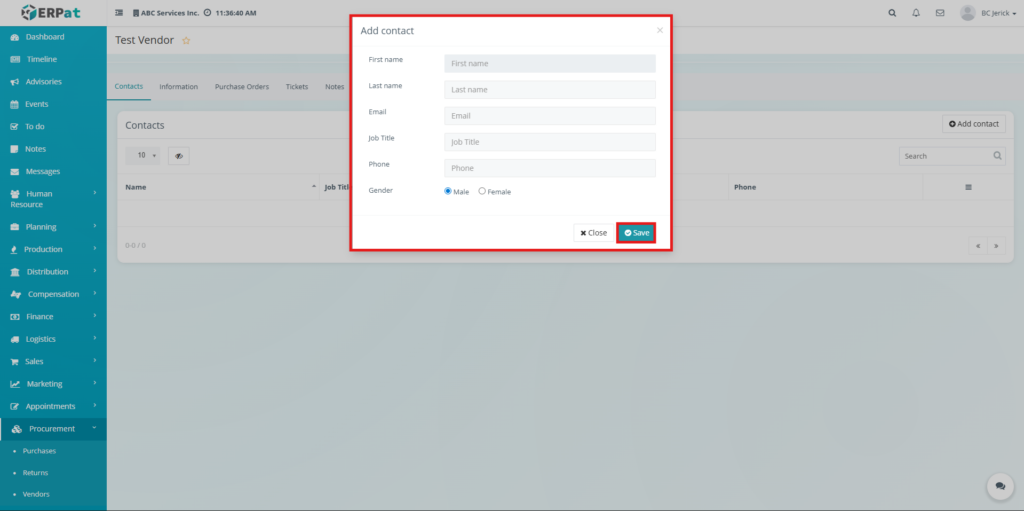
Once saved, the contact will appear in the Contacts table linked to the vendor.
Notes #
- Adding Vendor Contacts: The function to add a new vendor contact is not available directly within the Vendor Profile page. Vendor contacts must be created from the Purchase Module before they appear in the Vendor Profile Contacts tab.
- Reference: For instructions on how to create and manage vendor contacts, please refer to the knowledge base article titled “Adding a Vendor Contact from the Purchase Module” located under Procurement / Vendors.
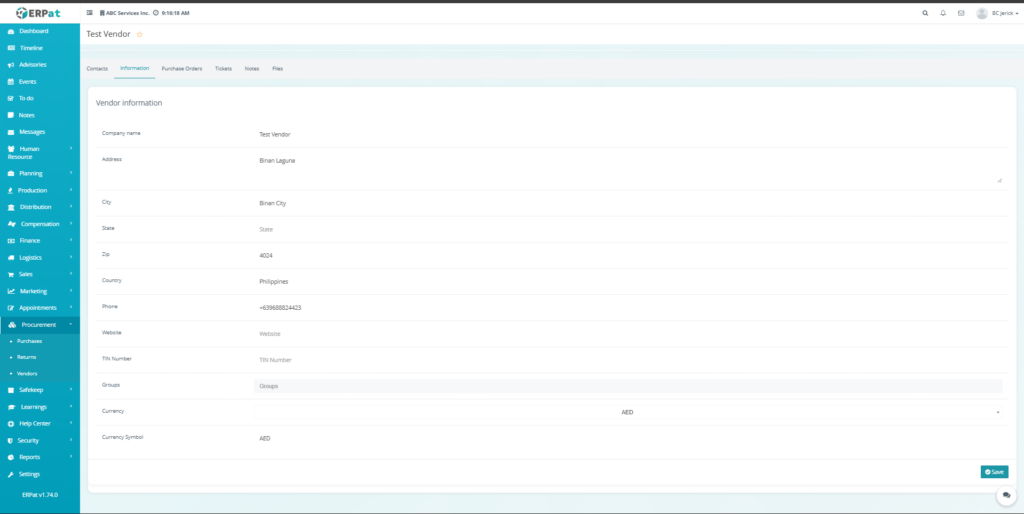
Information Tab (Vendor Profile) #
The Information Tab displays detailed vendor company information and allows authorized users to edit the vendor record.
Vendor Information Fields #
- Company Name
- Address
- City
- State
- Zip Code
- Country
- Phone
- Website
- TIN Number
- Groups
- Currency
- Currency Symbol
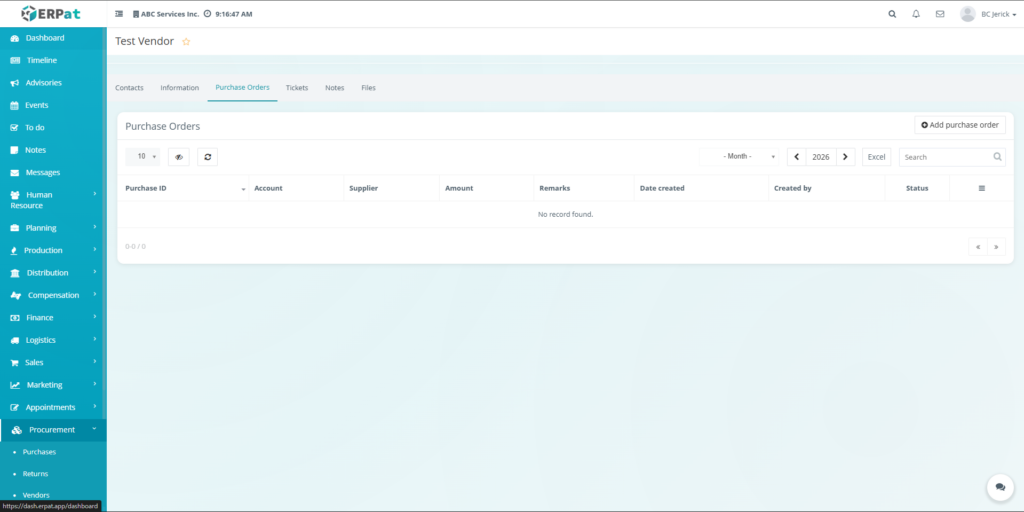
Purchase Orders Tab (Vendor Profile) #
The Purchase Orders Tab allows users to view and manage purchase orders associated with the selected vendor.
This section helps procurement teams monitor vendor transactions and track purchasing records.
Available Functions #
- View vendor purchase orders
- Add purchase orders
- Search and filter records
- Export purchase order data
Steps for Creating a Purchase Order from the Vendor Profile #
Users can generate a new purchase order directly from the vendor profile.
Steps: #
- Click the Add Purchase Order button.
- The Add Purchase Order popup window will appear.
- Fill in the purchase order details:
- Account – Select the account to be used for the purchase.
- Remarks – Optional notes or additional information regarding the order.
- Click Save to create the purchase order.
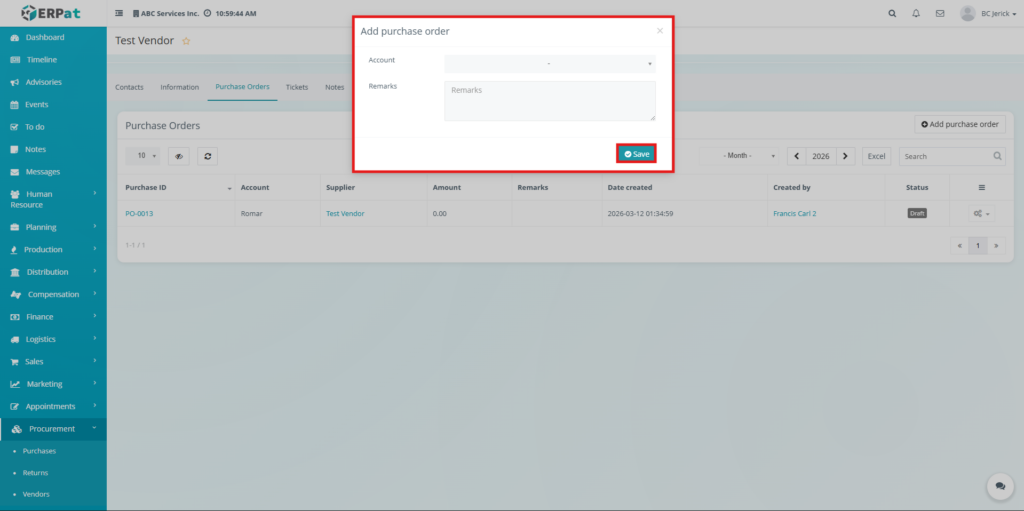
After saving, the purchase order will appear in the purchase orders table and can be accessed for further processing.
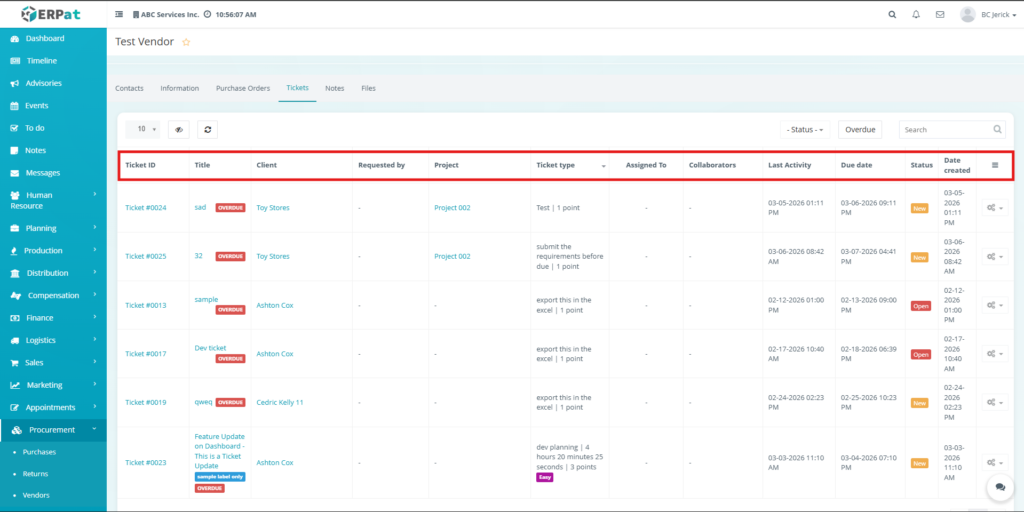
Tickets Tab (Vendor Profile) #
The Tickets Tab displays support or task tickets related to the vendor.
Tickets may represent vendor issues, procurement tasks, or support requests associated with vendor transactions.
Ticket Information #
- Ticket ID
- Title
- Client
- Requested By
- Project
- Ticket Type
- Assigned To
- Collaborators
- Last Activity
- Due Date
- Status
- Date Created
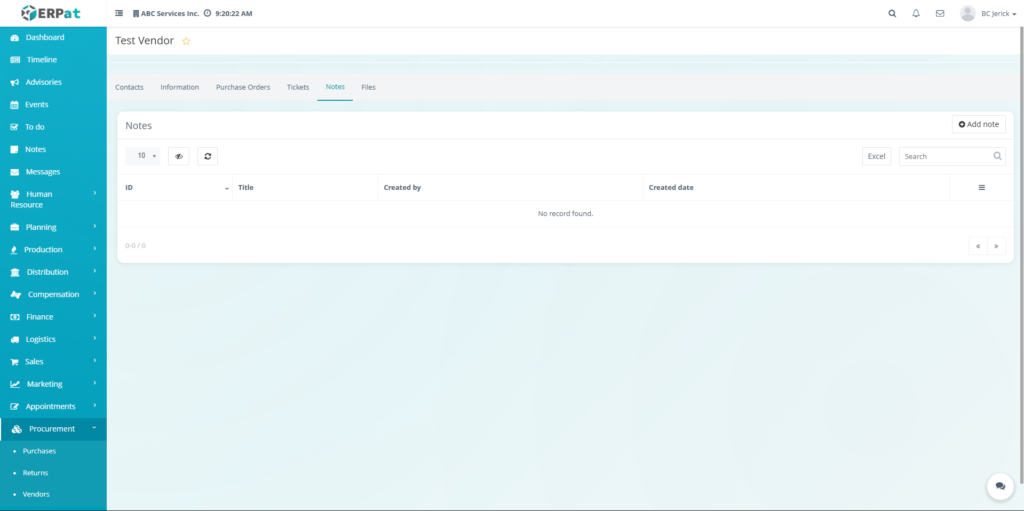
Notes Tab (Vendor Profile) #
The Notes Tab allows users to create and store notes related to the vendor. These notes may contain internal remarks, procurement references, or additional vendor information.
Available Functions #
- Add notes
- View vendor notes
- Search notes
- Export note records
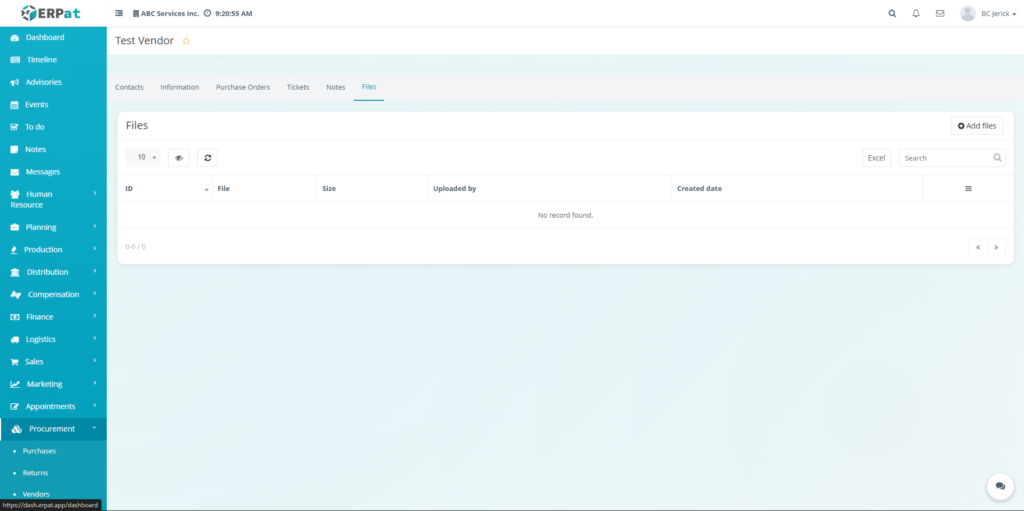
Files Tab (Vendor Profile) #
The Files Tab allows users to upload and manage files related to the vendor. These may include contracts, agreements, invoices, or other procurement-related documents.
Available Functions #
- Upload vendor files
- View uploaded files
- Search file records
- Export file listings
Steps for Uploading Vendor Files #
Users can upload vendor-related documents through the Add Files function.
Steps #
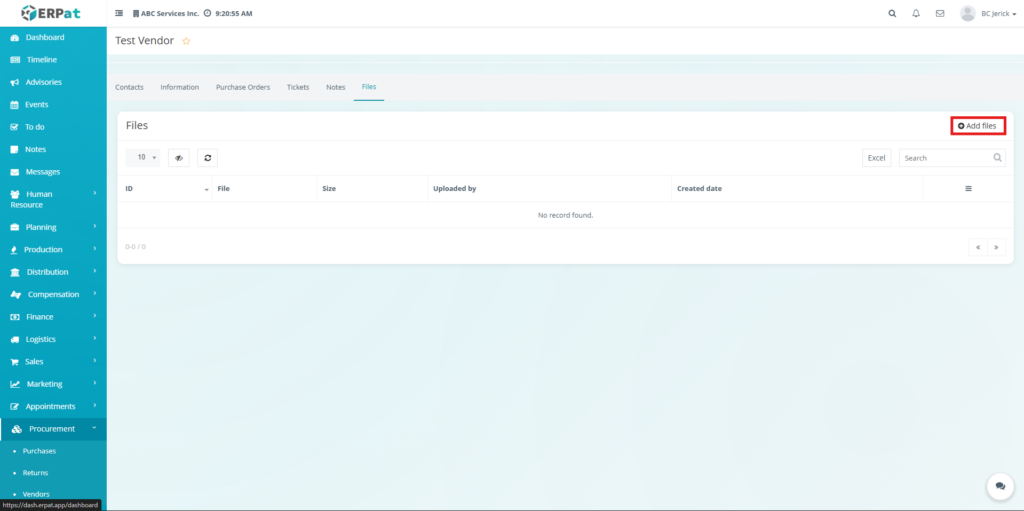
- Navigate to the Files Tab in the Vendor Profile.
- Click the Add Files button.
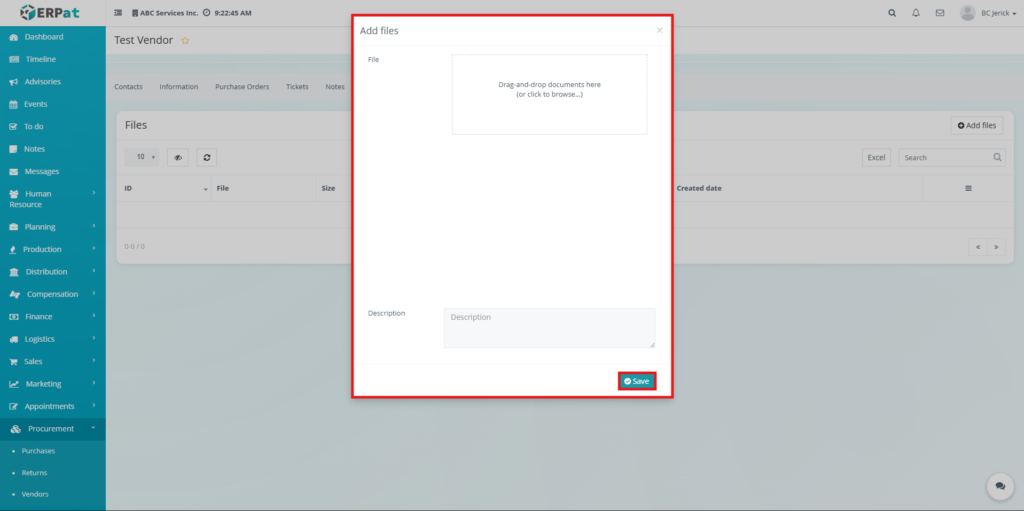
- The Add Files window will appear.
- Drag and drop files into the upload area or browse from the device.
- Enter an optional Description for the file.
- Click Save to upload the document.
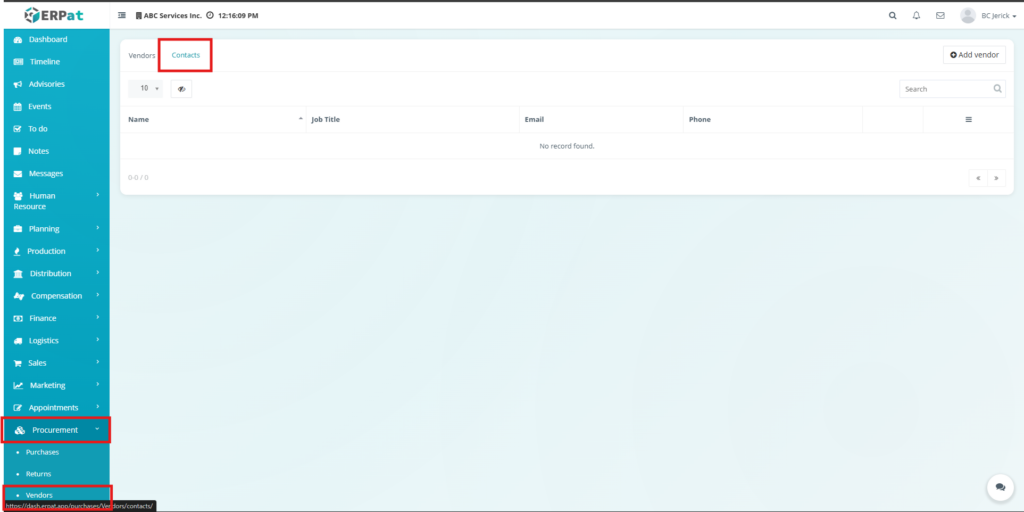
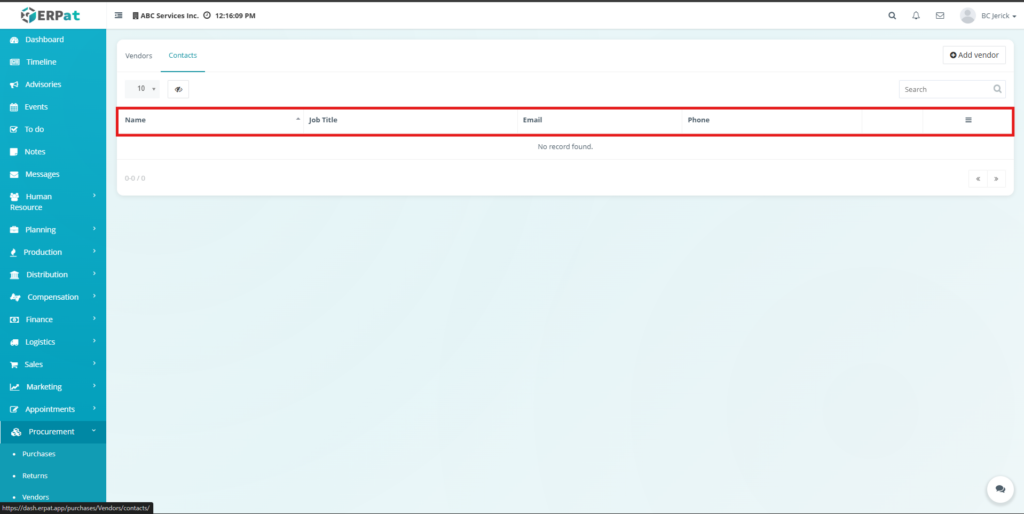
Contacts Tab #
The Contacts Tab within the Procurement module allows users to manage vendor contact persons independently from the Vendors table.
This tab provides a centralized list of all vendor contacts registered in the system.
Contacts Table #
The Contacts table displays vendor contact records and their details.
Table Columns #
- Name – Contact person name.
- Job Title – Position within the vendor company.
- Email – Contact email address.
- Phone – Contact phone number.
- Actions – Options to manage contact records.
Steps for Adding Vendor Contacts #
Users can create contact records associated with vendor companies.
Steps #
- Navigate to the Procurement Module.
- Select the Contacts Tab.
- Click the Add Contact button.
- Enter the contact details.
- Assign the contact to the appropriate vendor.
- Click Save.

Search and Filtering #
Users can quickly locate vendor and contact records using built-in filtering and search tools.
- Use the Search field to find vendors by company name, primary contact, or tax identification number.
- Use the Groups filter to display vendors based on their assigned vendor classification.
- Use the Contacts search field to locate vendor representatives by name, email address, or phone number.
- Sorting options allow records to be organized by company name, contact name, or other table columns.
- Pagination controls allow efficient navigation through large datasets of vendor or contact records.
Permissions and Access Control #
Access to vendor and contact records depends on assigned system roles and permissions.
- Authorized users can create and manage vendor records.
- Users with appropriate permissions may edit or delete vendor information.
- Contact records can be created or updated by authorized personnel managing vendor relationships.
- Administrative roles typically have full visibility and management capabilities across vendor and contact records.
Best Practices #
To maintain accurate vendor records within the Procurement module, users should follow these recommended practices.
- Always enter complete and accurate company information when creating vendor records.
- Assign vendors to the correct vendor group for easier filtering and reporting.
- Maintain updated contact information for vendor representatives.
- Upload important vendor-related files, such as contracts or agreements, in the Files tab.
- Use the Notes tab to record important vendor-related information or internal remarks.
- Avoid deleting vendor records that may be required for procurement history or auditing purposes.
Audit & Logs #
All create, update, and delete actions related to vendor and contact records are logged within the ERPat system to ensure traceability and accountability.
Last Updated: March 16, 2026 Module Owner: Vendors Module – ERPat System


