Overview #
The Events Module is a comprehensive calendar and scheduling system within the ERPat platform that enables users to create, manage, and track events across the organization. It provides both a traditional calendar view and a detailed list view for scheduling meetings, appointments, deadlines, and other time-bound activities. The module integrates with various organizational functions including client management, internal planning, and resource coordination.
This module serves as the central hub for time management, allowing teams to visualize schedules, avoid conflicts, and maintain organized records of all organizational activities.
Key Features #
- Event Scheduling – Create events with start/end dates, times, and descriptions
- Client Association – Link events to specific clients or internal departments
- Event Categorization – Label and categorize events for easy filtering
- Recurring Events – Support for repeating events (daily, weekly, monthly)
- Search & Filter – Find events by date, client, or keywords
- Google Calendar Integration – Events can be synced to Google Calendar.
- Audit Trail – Track event creation and modifications
Accessing the Events Module #
- Log in to the ERPat System
- Select Events from the sidebar
- The events list will display.
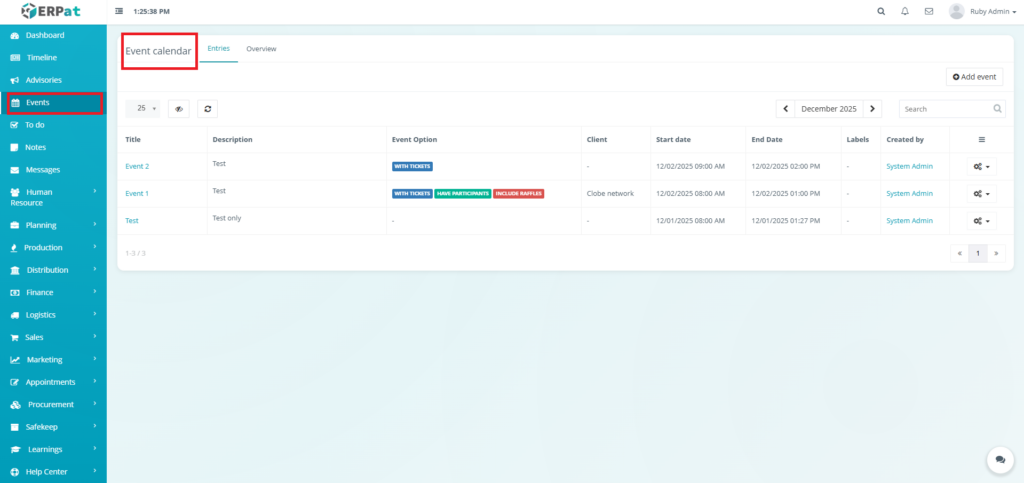
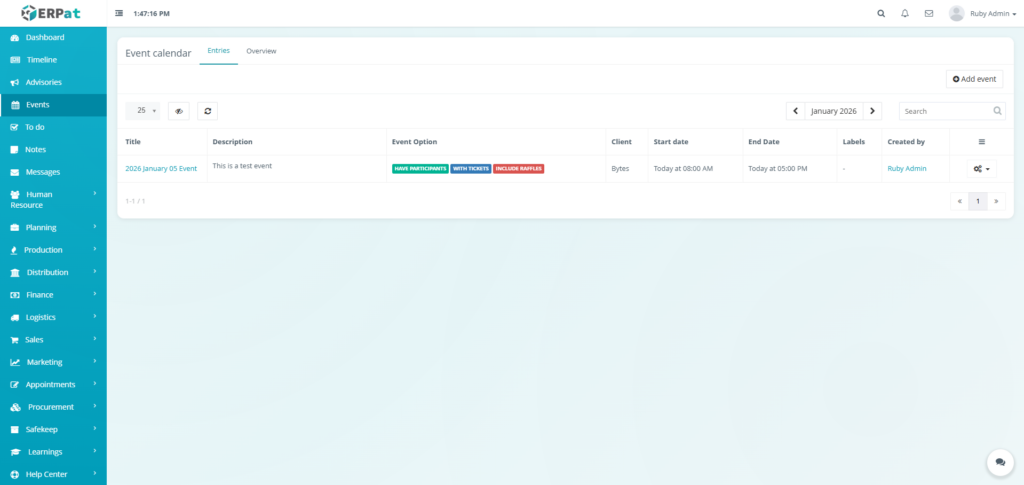
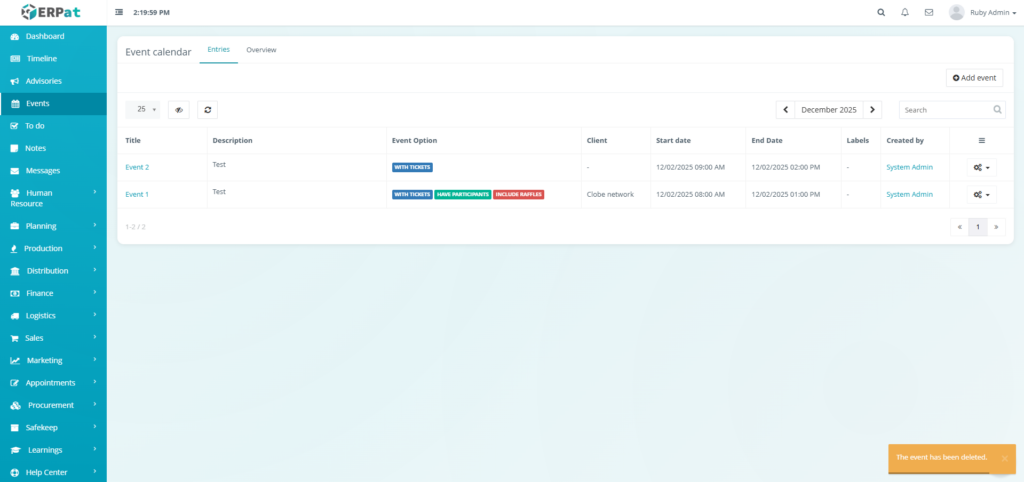
Events Listing Page #
The event list provides a tabular overview with the following columns:
- Title – Name of the event
- Description – Title and brief details of the event
- Event Option – Type or category of event
- Client – Associated client or internal department
- Start date – Date and time when the event begins
- End Date – Date and time when the event concludes
- Label – Tags or priority indicators
- Created by – Name of the event creator
- Actions – Edit or delete controls
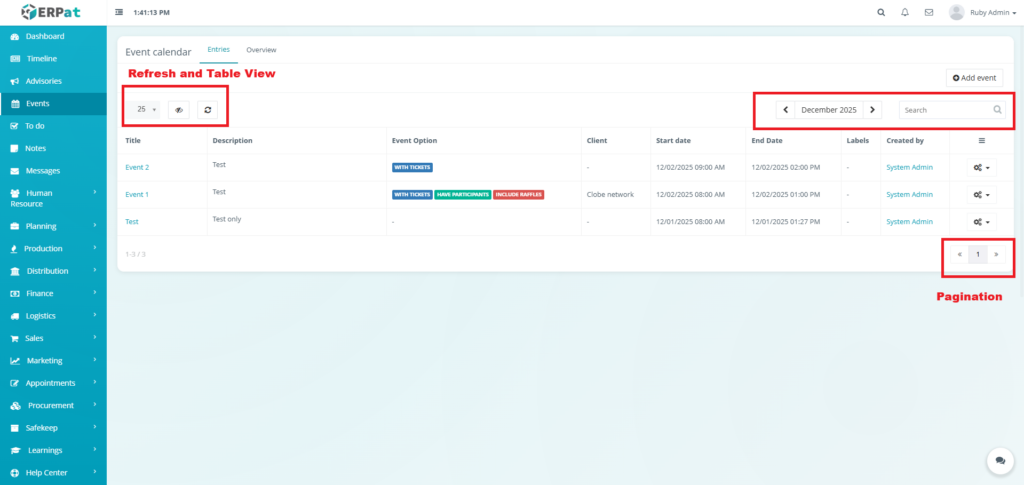
Page Control and Tools #
- Year Selector
- Search Bar
- Pagination
- Refresh and Table View Control
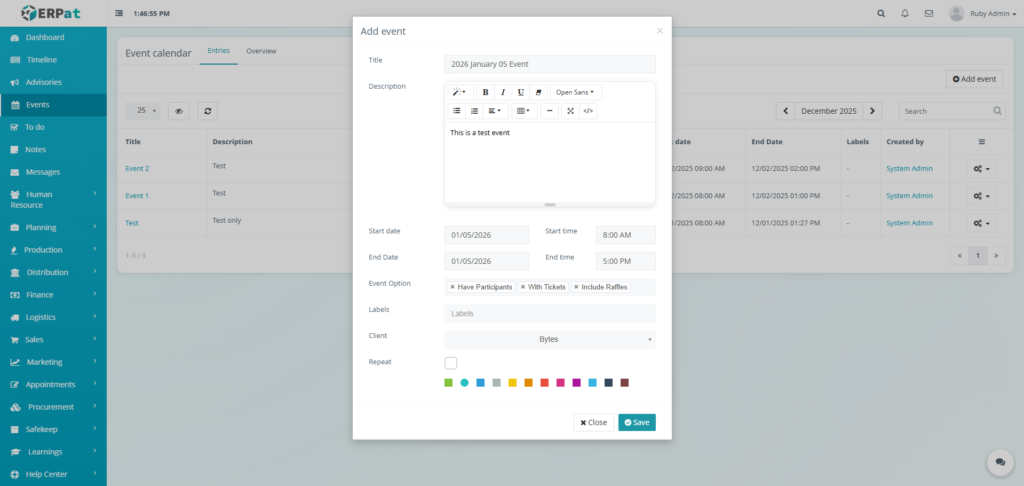
Events – Steps for Adding an Event #
STEPS #
- Click the “Add event” button.
- Fill in the necessary details.
- Click the Save button to add the event.
Result #
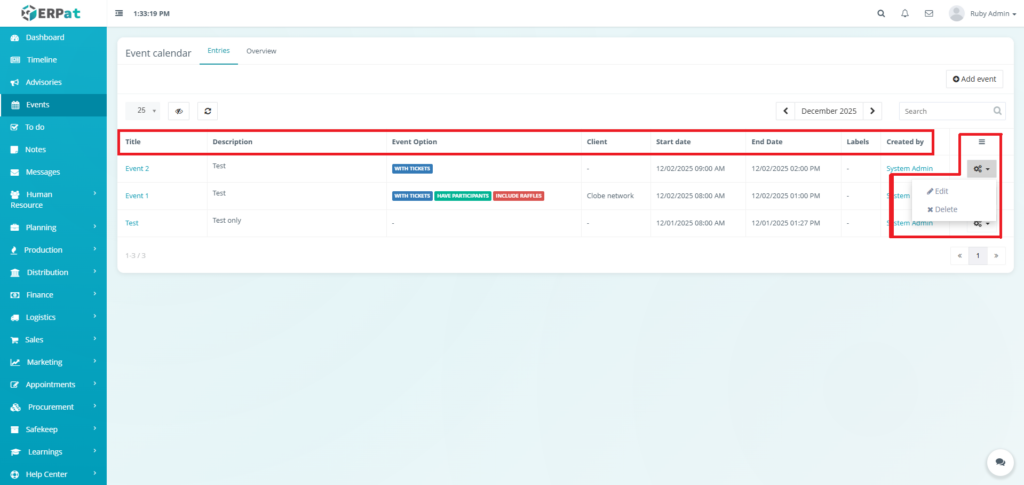
Events – Steps for Editing an Event #
STEPS #
- Click the actions icon.
- Click the Edit option on the actions dropdown.
- Fill in the necessary details.
- Click the Save button to add the event.
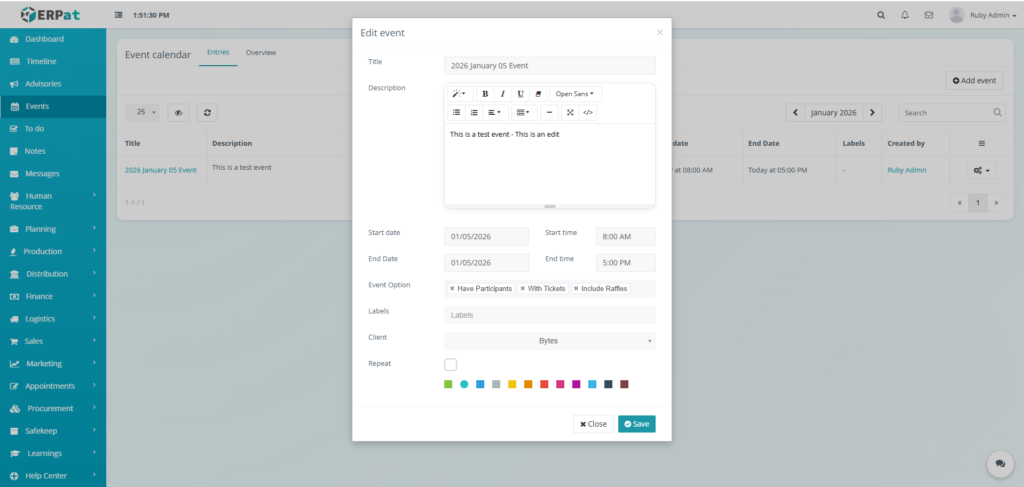
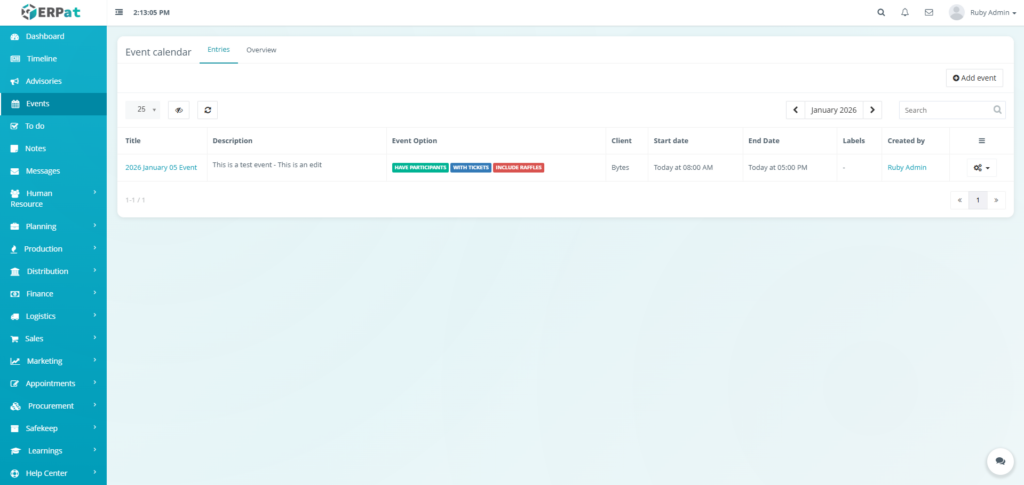
Result #
Events – Steps for Deleting an Event #
STEPS #
- Click the actions icon.
- Click the Delete option on the actions dropdown.
- Click the Delete button to remove the event.

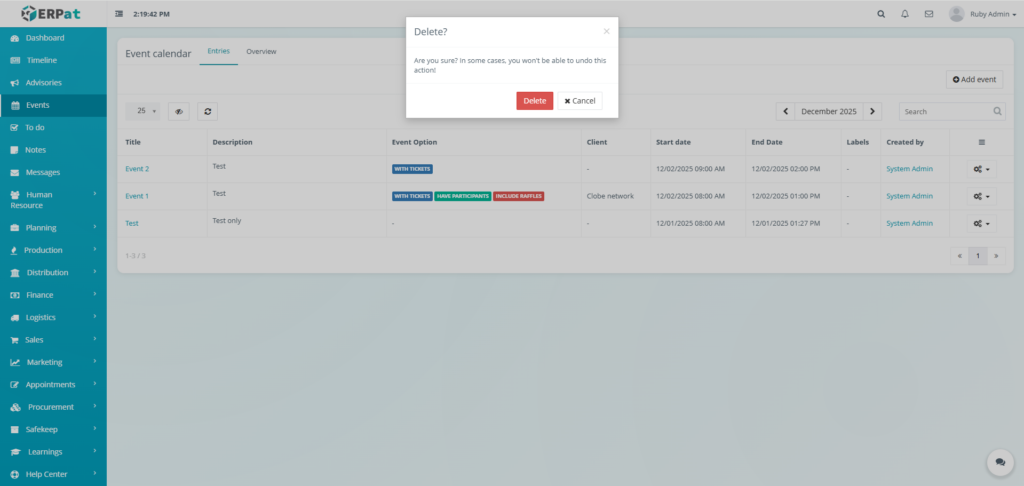
Result #
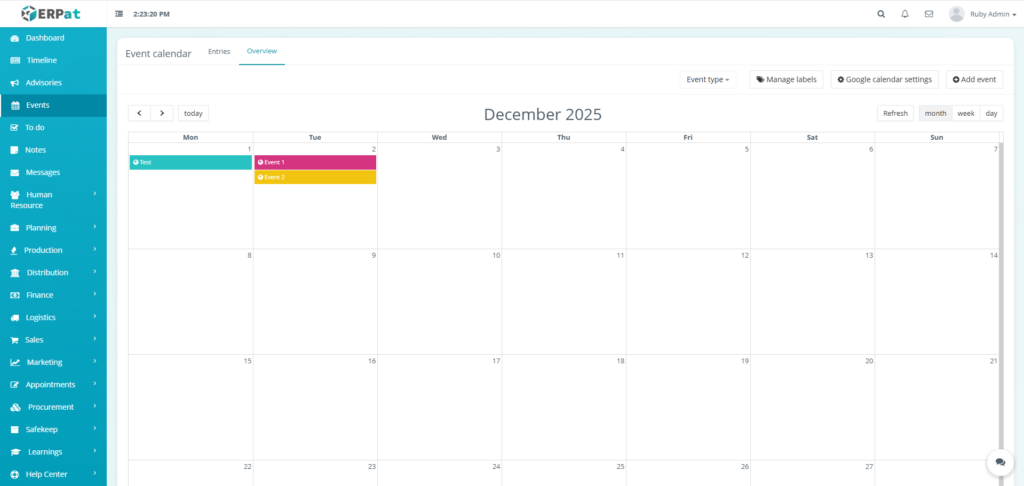
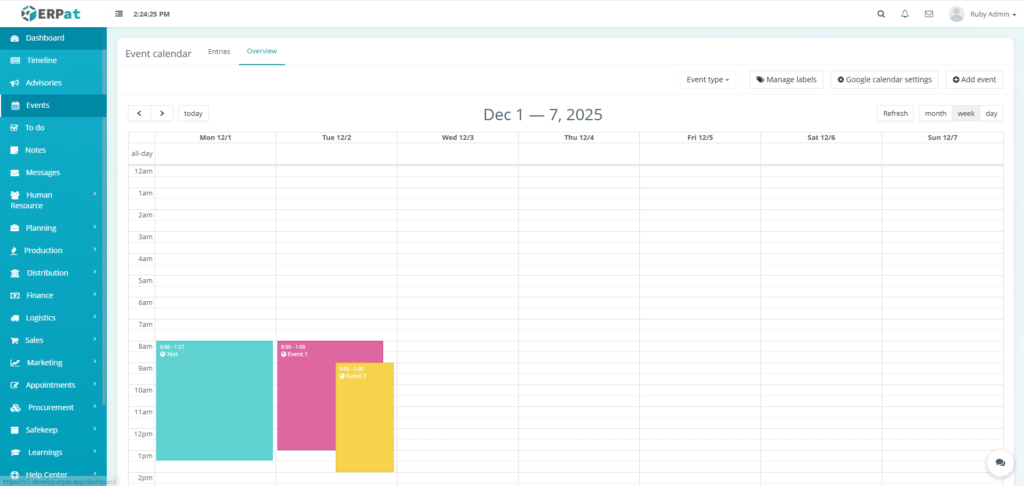
Events Listing Page (Calendar View) #
Filter View
- Month
- Week
- Day

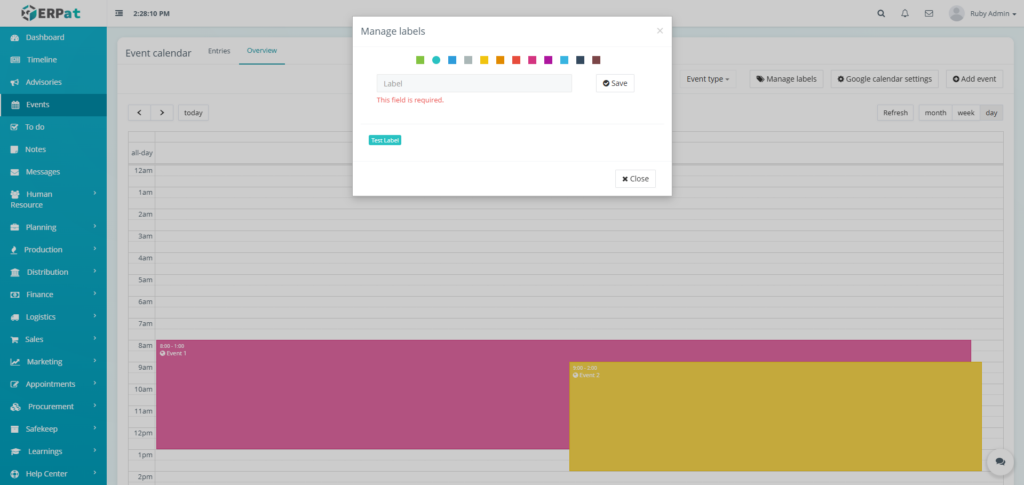
Events – Steps for Adding a Label #
STEPS #
- Click the “Manage labels” button.
- Fill the necessary details.
- Select color for the label.
- Click the Save button to add the label.
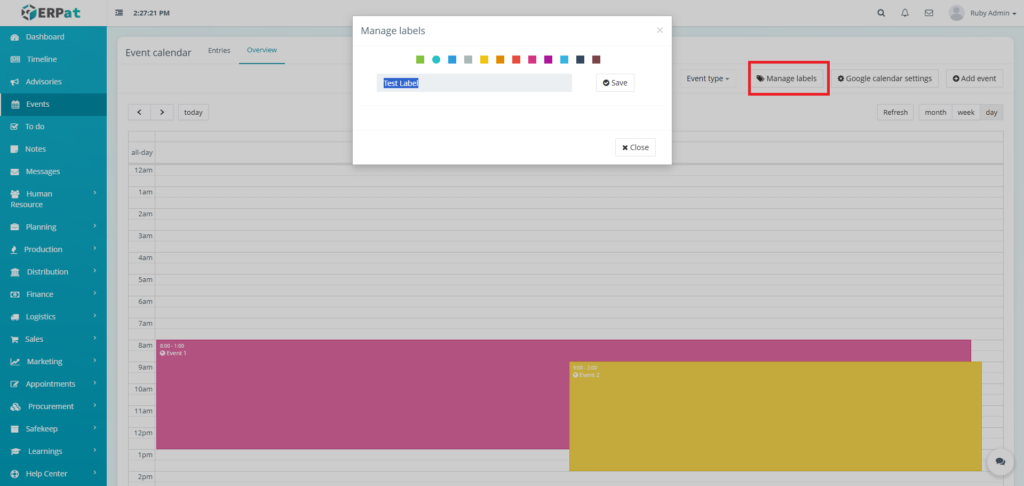
Result #
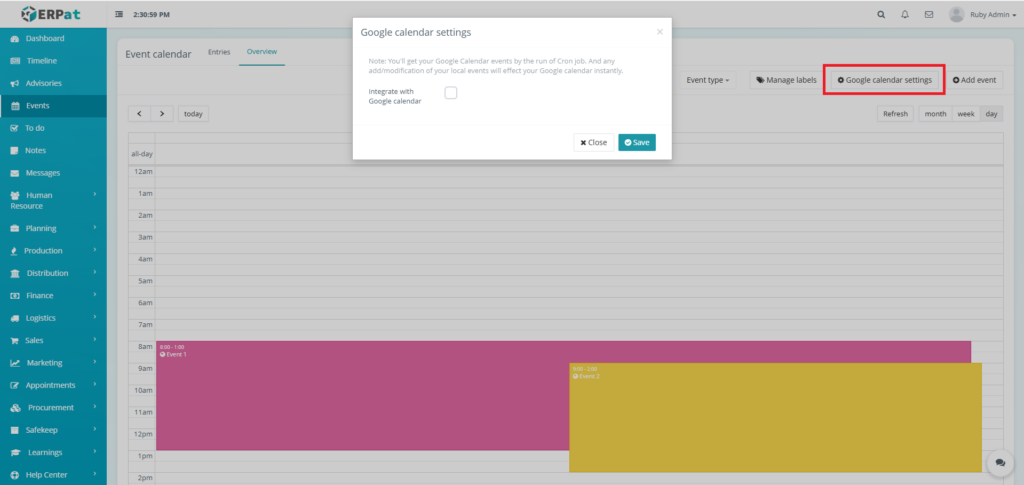
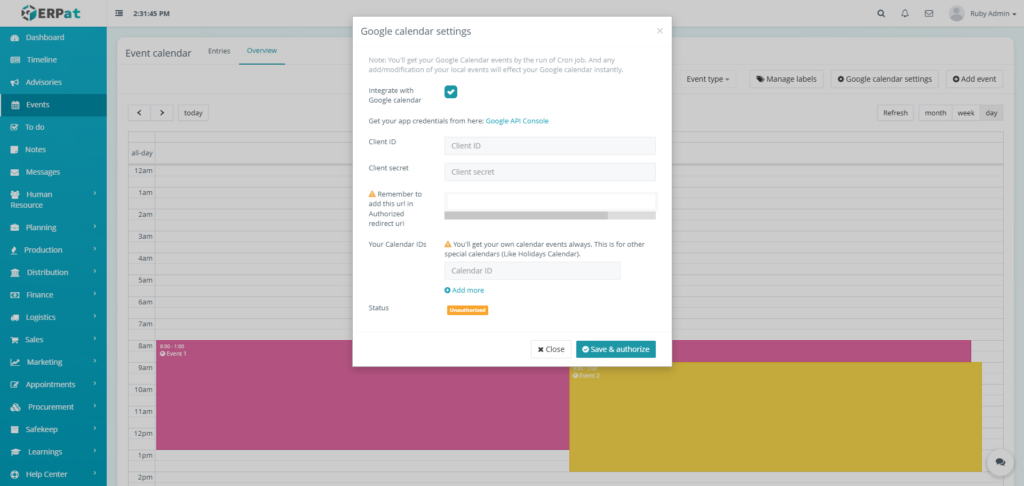
Events Google Calendar Integration #
STEPS #
- Click the “Google calendar settings” button.
- Check the checkbox.
- Fill in the necessary details.
- Click the “Save & authorize” button to integrate the Google Calendar.
Permissions and Access Control #
- System Admins – Can create, edit, delete, and view all events.
- Department Managers – Can manage events for their department and assigned clients.
- Team Members – Can view events they are invited to and create personal events.
- Clients/External Users – Can view only events shared with them (if externally enabled).
Best Practices #
- Use clear, descriptive titles that include purpose and key participants.
- Associate events with correct clients to maintain accurate records.
- Set appropriate reminders for time-sensitive meetings and deadlines.
- Archive or delete past events regularly to keep calendars current.
- Use labels consistently for filtering and reporting.
Audit & Logs #
All actions related to events (creation, editing, rescheduling, and deletion) are logged with timestamps and user identification for audit and compliance purposes within the ERPat System.
Last Updated: [January 05, 2026] Module Owner: Home IS – ERPat System


