Overview #
The Timeline Module serves as a centralized activity feed within the ERPat System where users can share updates, announcements, documents, and collaborate in real time. It functions as an internal communication hub, allowing teams to stay informed about company activities, system updates, and user interactions.
The Timeline provides visibility into posts, tagged users, shared files, and public or restricted updates, ensuring transparent and efficient communication across departments.
Key Features #
- Centralized activity and announcement feed.
- Real-time posting of updates and messages.
- File upload and document sharing.
- User tagging for targeted notifications.
- Public and restricted post visibility options.
- Reply and engagement support.
- Role-based posting permissions.
- Integration with user profiles and team listing.
Accessing the Timeline Module #
- Log in to the ERPat System.
- From the main sidebar, select Timeline.
- You will be directed to the Timeline page displaying the latest posts and updates.
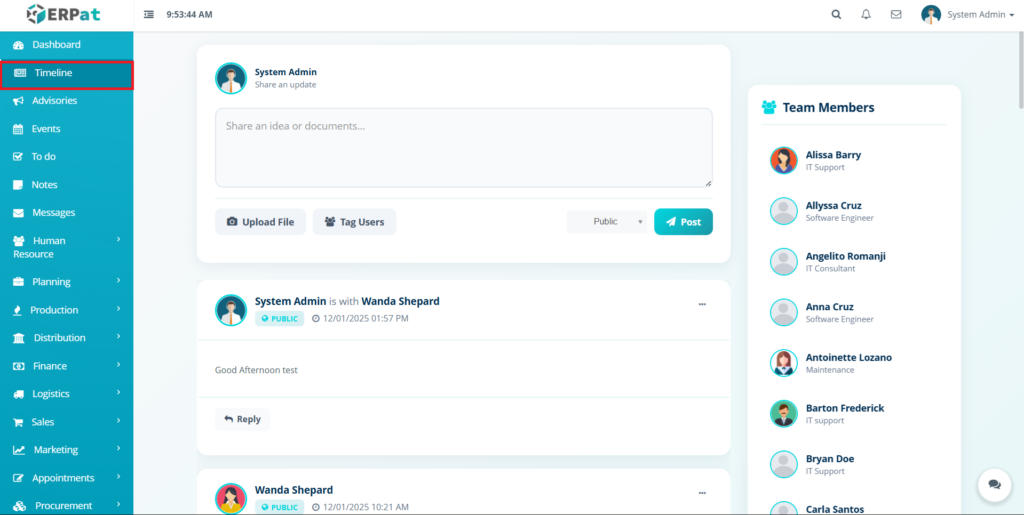
Timeline Main Page #
The Timeline page provides a real-time view of all shared updates with the following sections:
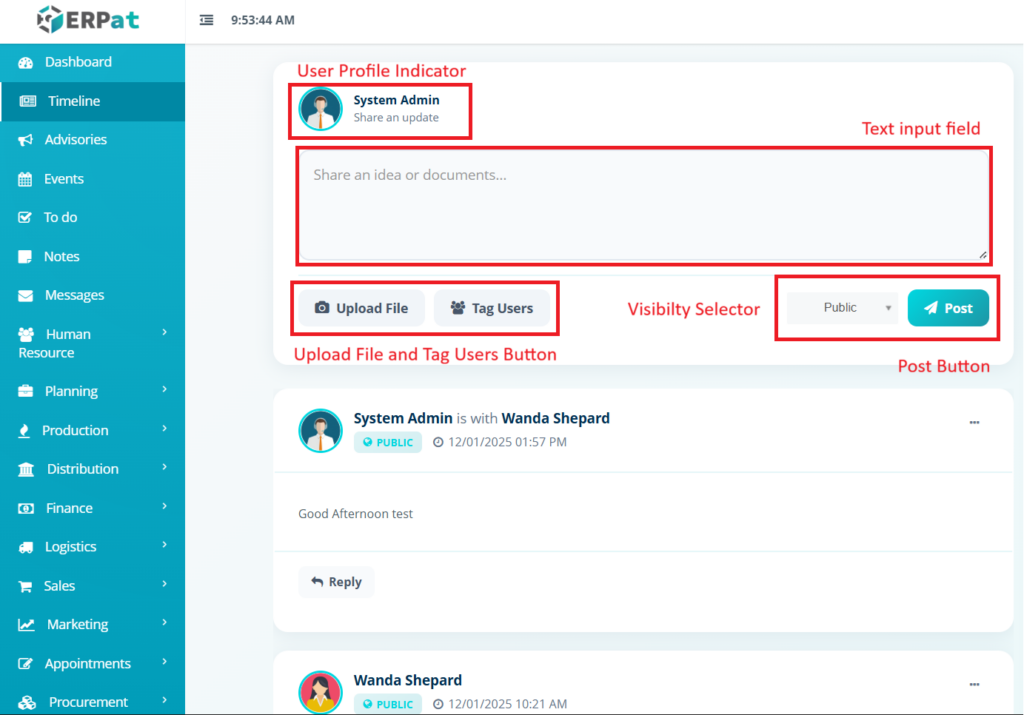
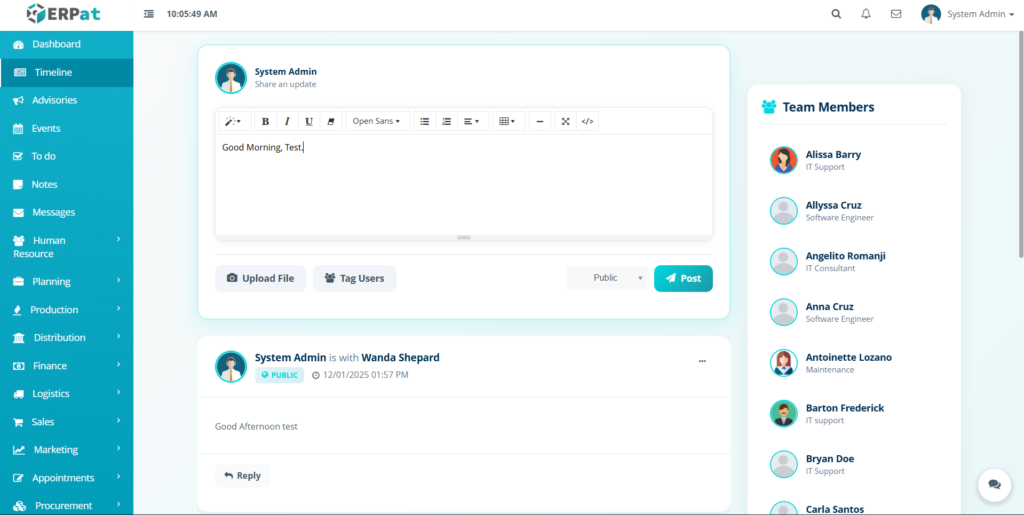
Shared Update Panel #
- User profile and role indicator.
- Text input field for posting updates or announcements.
- Upload File button for attachments.
- Tag Users option to notify specific team members.
- Visibility selector (Public or restricted).
- Post button to publish the update.
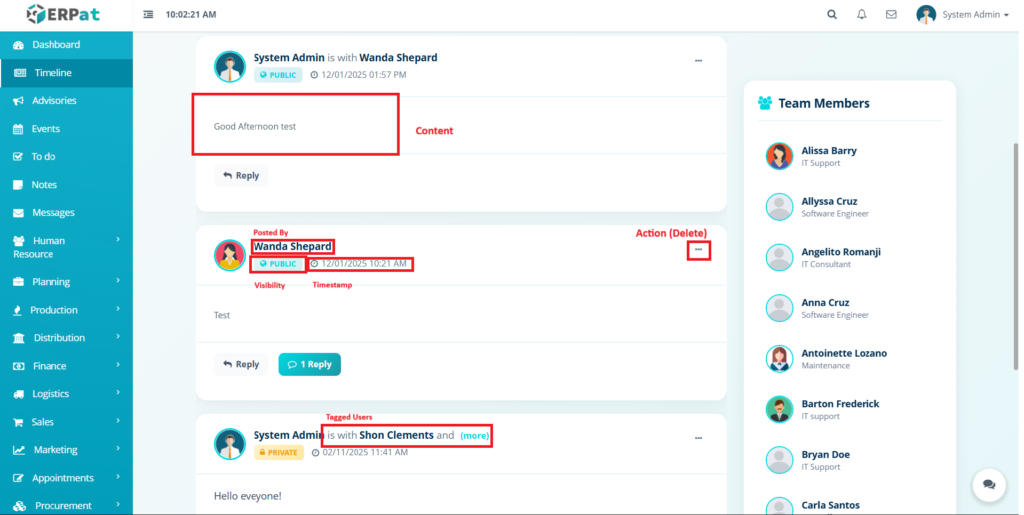
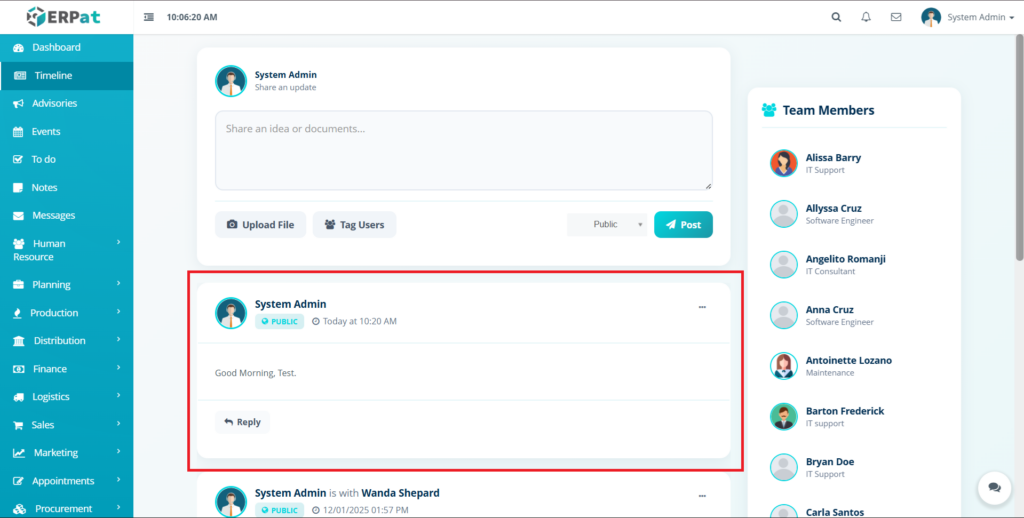
Timeline Post Details #
Each post displayed in the Timeline includes:
- Posted by – User name of the user
- Visibility – Public or restricted indicator.
- Date & Time – Timestamp of the post.
- Tagged Users – Mentioned participants (if any)
- Content – Message or announcement text.
- Attachments – Uploaded files (if applicable)
- Actions – Reply and more options (three-dot menu)
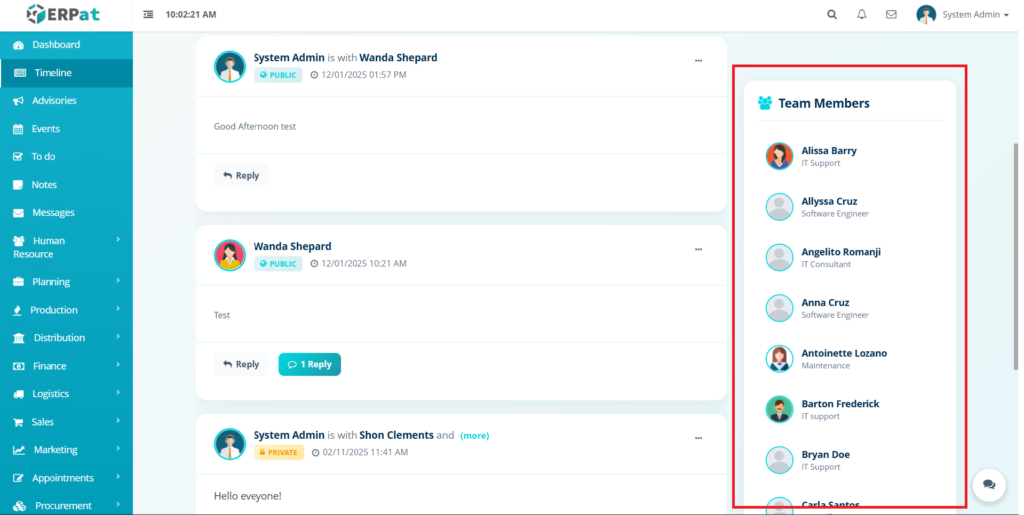
Team Members Panel #
Located on the right side of the Timeline page, this panel displays:
- List of active team members.
- Profile Avatars.
- User names.
- Assigned roles or departments.
This panel allows users to quickly identify collaborators and understand team structure.
Steps for Creating a New Post #
Steps #
- Navigate to the Timeline module.
- In the Share Update panel, enter your message or annoouncement.
- (Optional) Click Upload File to attach documents.
- (Optional) Click Tag Users to notify specific team members.
- Select the visibility level (Public or restricted).
- Click Post to publish the update.
Result #
The post will appear in the Timeline feed and be visible to the selected audience. Tagged users will receive notifications.
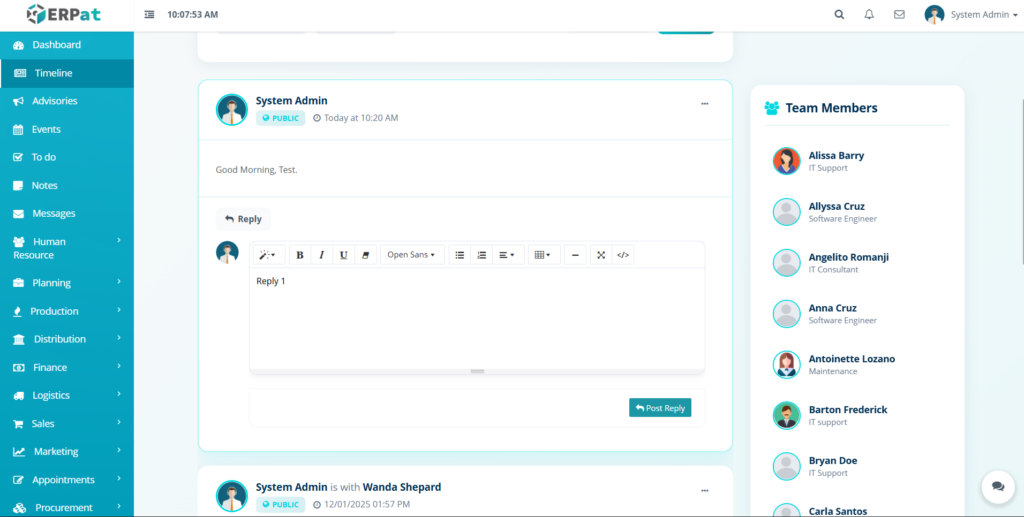
Steps for Replying to a Post #
Steps #
- Locate the post in the Timeline feed.
- Click the Reply button below the post.
- Enter your response.
- Submit the reply.
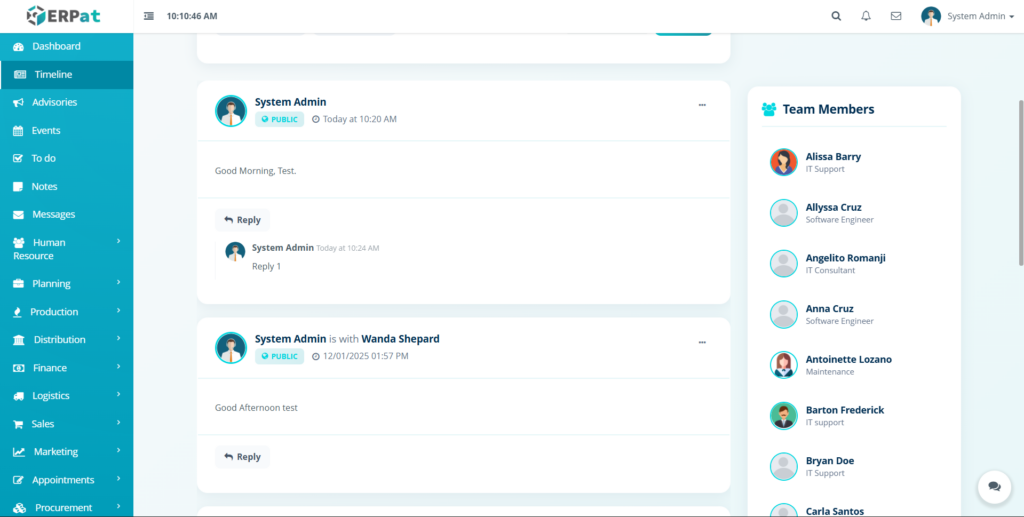
Notes #
Replies help maintain contextual discussions and improve collaboration within teams.
Visibility and Access Control #
- Public posts are visible to all authorized system users.
- Restricted posts are visible only to selected users or roles
- Posting, tagging, and file uploads may be limited based on user role permissions.
Search and Navigation #
- Timeline posts are displayed in chronological order.
2. Latest updates appear at the top.
3. Scrolling allows access to older posts.
4. User avatars and role labels help identify contributors quickly.
Permissions and Access Control #
- Only authorized users can create posts and upload files.
- Admin and HR roles may have elevated posting and moderation privileges.
- View-only access may be granted to standard or supervisory roles.
Best Pratices #
- Use clear and concise messages for announcements.
- Tag only relevant users to avoid unnecessary notifications.
- Set appropriate visibility levels for sensitive updates.
- Avoid sharing confidential files in public posts.
- Keep posts professional and work-related.
Audit & Logs #
All Timeline activities—including post creation, file uploads, replies, and visibility changes—are logged within the ERPat System for audit, traceability, and compliance purposes.
Last Updated: January 05, 2025
Module Owner: System Administration & Collaboration – ERPat Syste


