Overview #
The Chart of Accounts Module in the ERPat System serves as the foundational accounting structure for managing financial records. It allows finance users to create, organize, classify, and maintain general ledger (GL) accounts used across all financial transactions within the system.
This module ensures consistent financial categorization by defining account types, detailed classifications, and hierarchical groupings. It supports accurate reporting, transaction tracking, and integration with other finance modules such as Payrolls, Payments, Expenses, Loans, Taxes, and Vouchers.
Key Features #
- Create and manage general ledger (GL) accounts
- Organize accounts into structured groups and hierarchies
- Assign account types and detail types
- Classify accounts for financial reporting
- Support multi-currency account setup
- Track account balances automatically
- View account transaction history
- Import accounts in bulk
- Filter accounts by group, currency, account type, and detail type
- Export chart of accounts data to Excel
- Search and paginate account records
- Maintain audit trails for account creation and updates
Accessing the Accounts Module #
- Log in to the ERPat System.
- Navigate to Finance from the primary sidebar.
- Select Accounts.
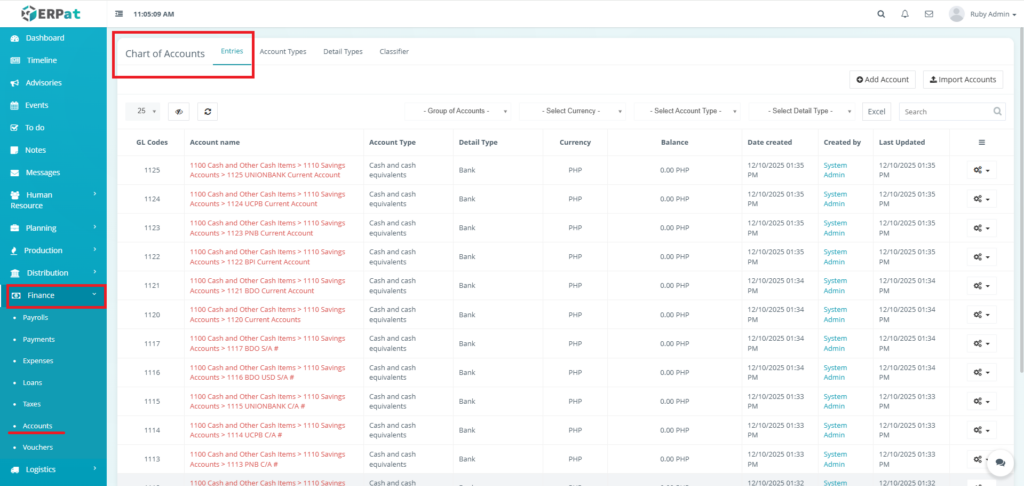
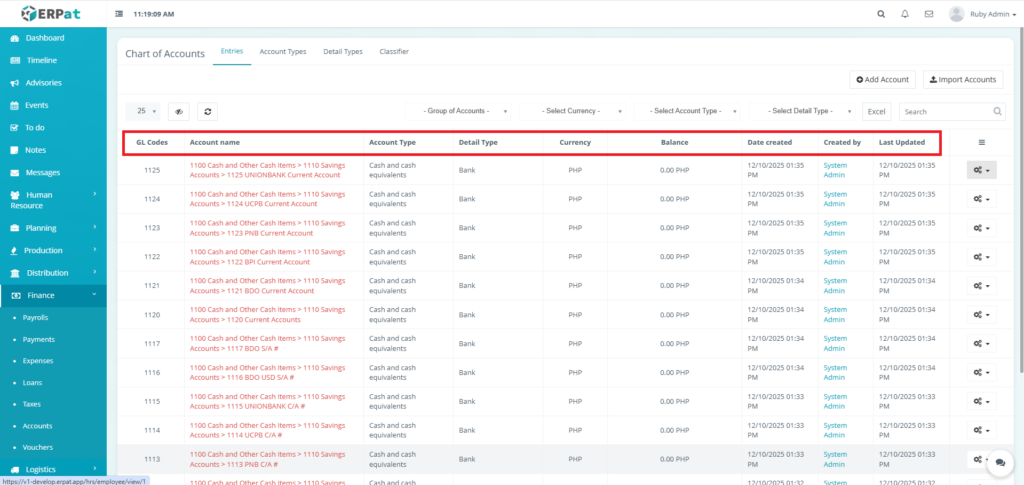
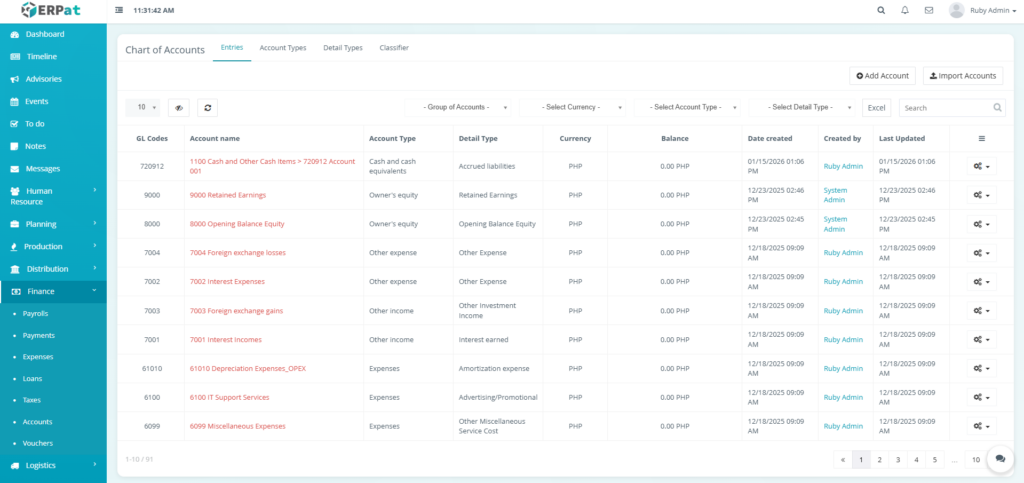
Accounts Entries Listing Page #
The Entries Listing Page displays tab displays the complete list of general ledger accounts with the following columns:
- GL Codes – Unique general ledger account identifier
- Account Name – Full account name with hierarchy
- Account Type – High-level classification
- Detail Type – Specific account category
- Currency – Assigned account currency
- Balance – Current account balance
- Date Created – Account creation timestamp
- Created By – User who created the account
- Last Updated – Most recent modification timestamp
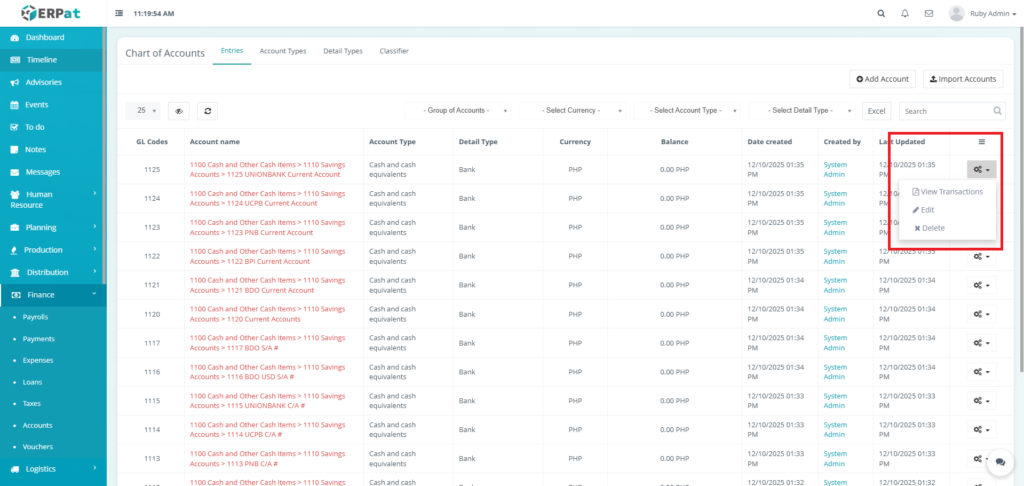
- Actions – View Transactions, Edit, or Delete Controls
Page Control and Tools #
- Filters
- Group of Accounts
- Currency
- Account Type
- Detail Type
- Excel Export
- Search Bar
- Pagination
- Table Refresh and Visibility Controls

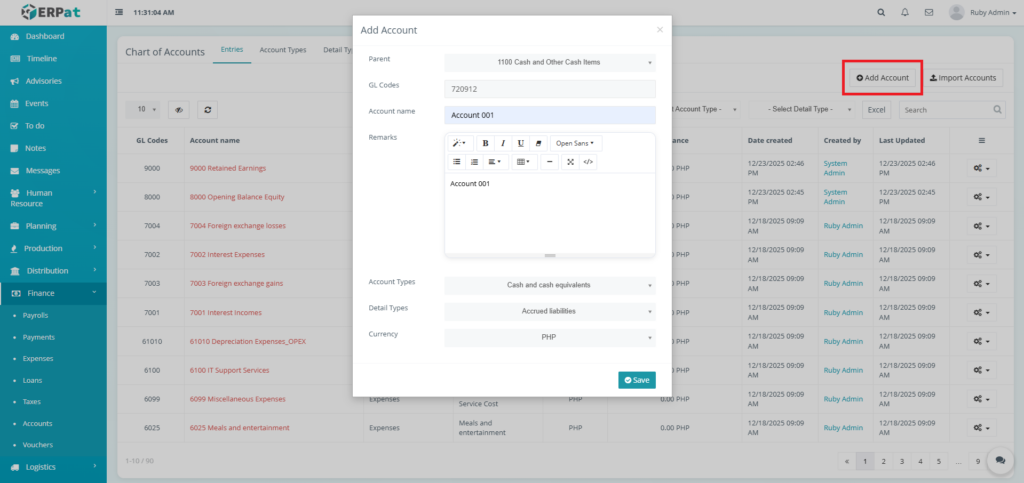
Steps for Adding an Account #
STEPS #
- Click the “Add Account” button.
- Fill in the necessary details.
- Click the Save button to add the Account.
Result #
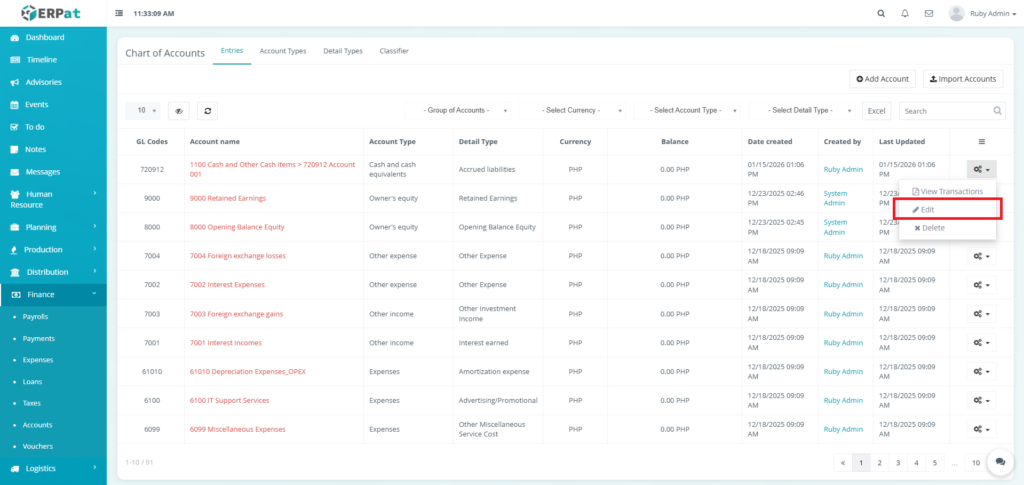
Steps for Editing an Account #
STEPS #
- Click the actions icon in the table.
- Click the edit option in the dropdown.
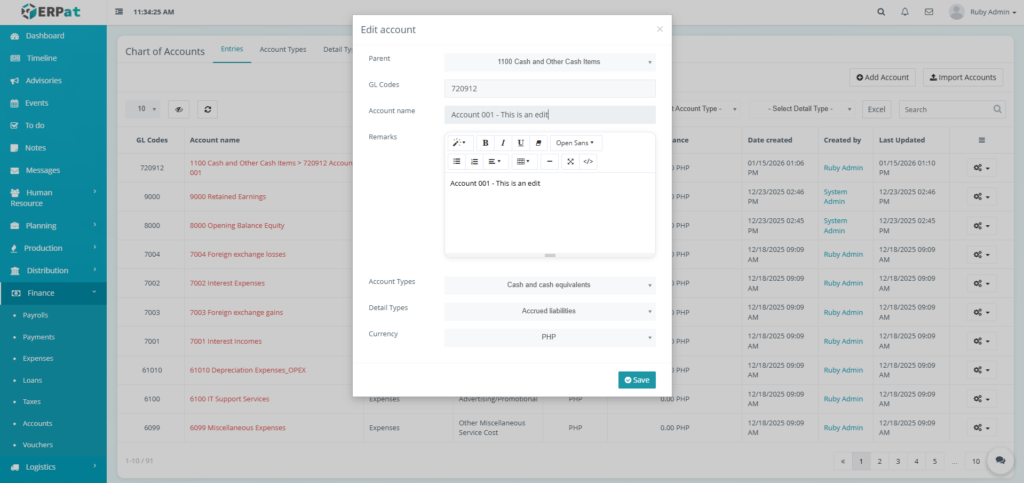
- Fill in the changes.
- Click the Save button to apply the changes.
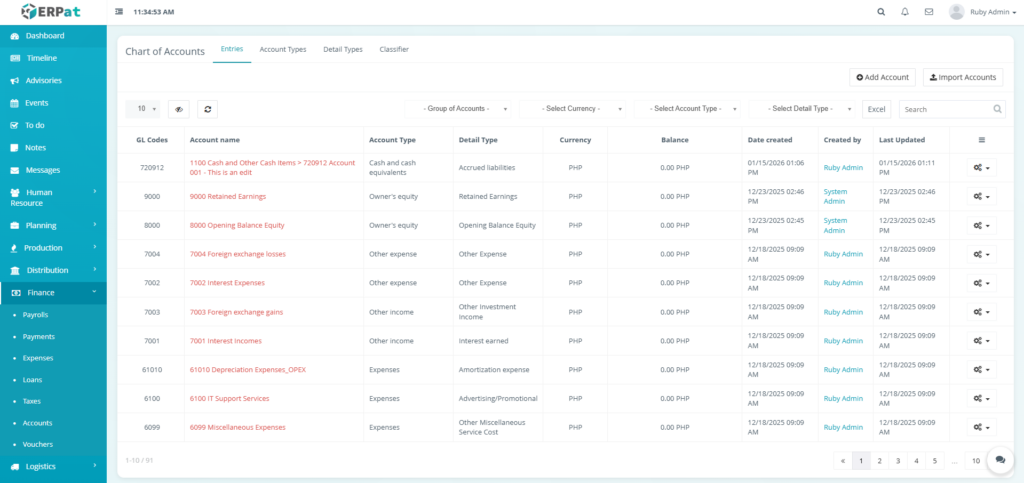
Result #
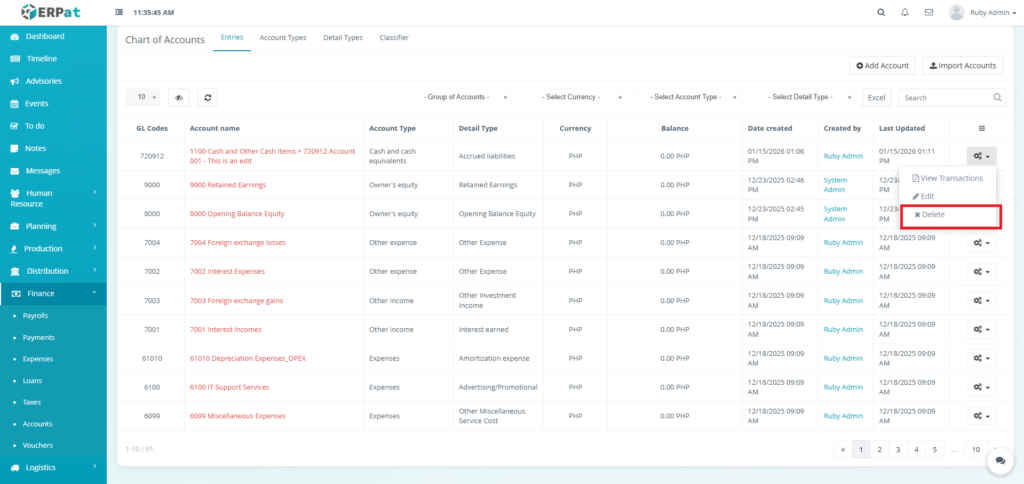
Steps for Deleting an Account #
STEPS #
- Click the actions icon in the table.
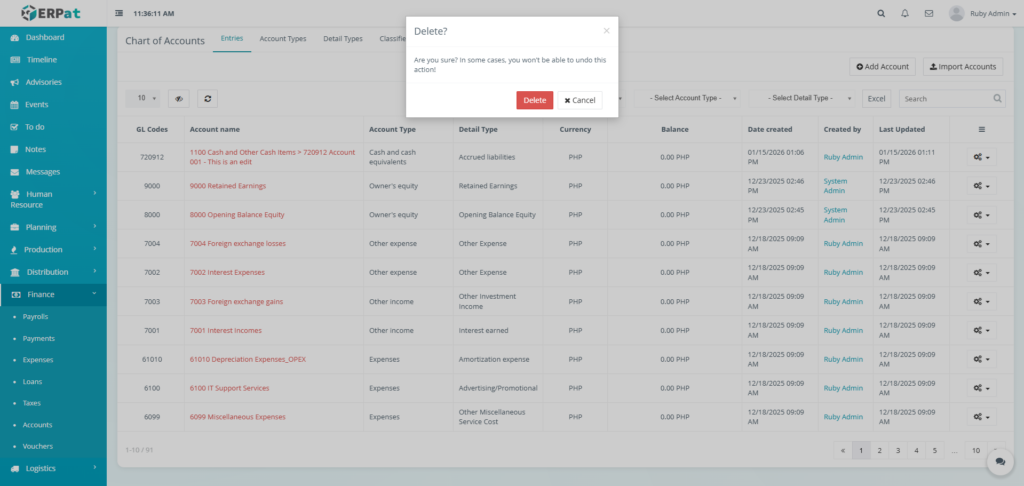
- Click the delete option in the dropdown.
- Click the Delete button to remove the account.
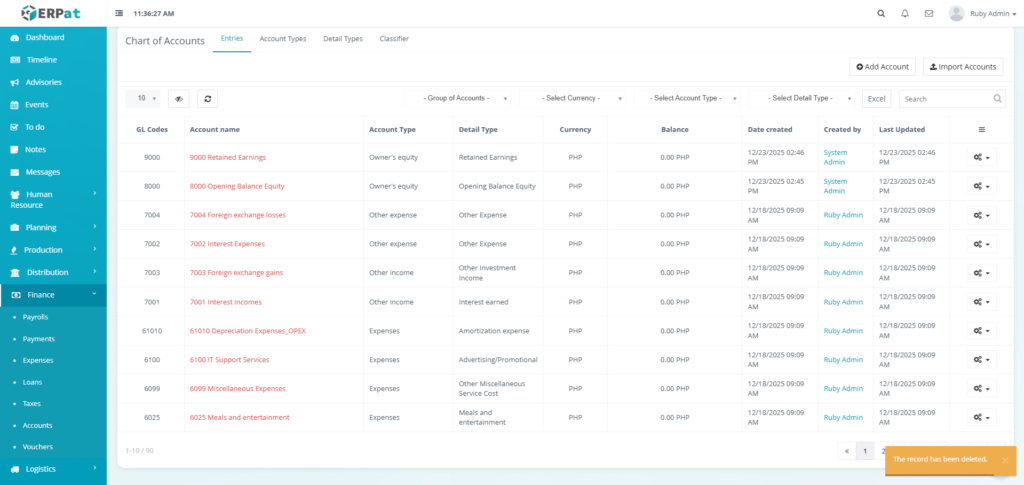
Result #
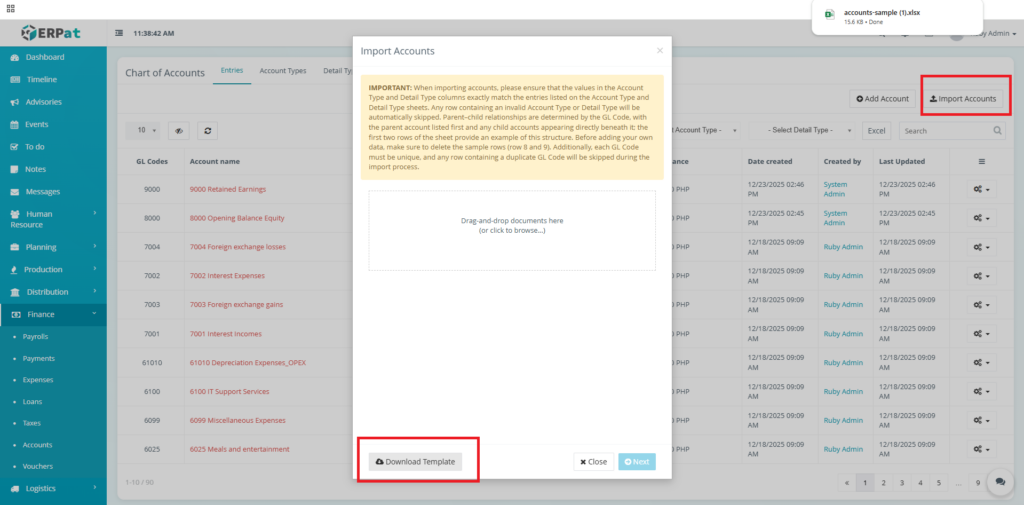
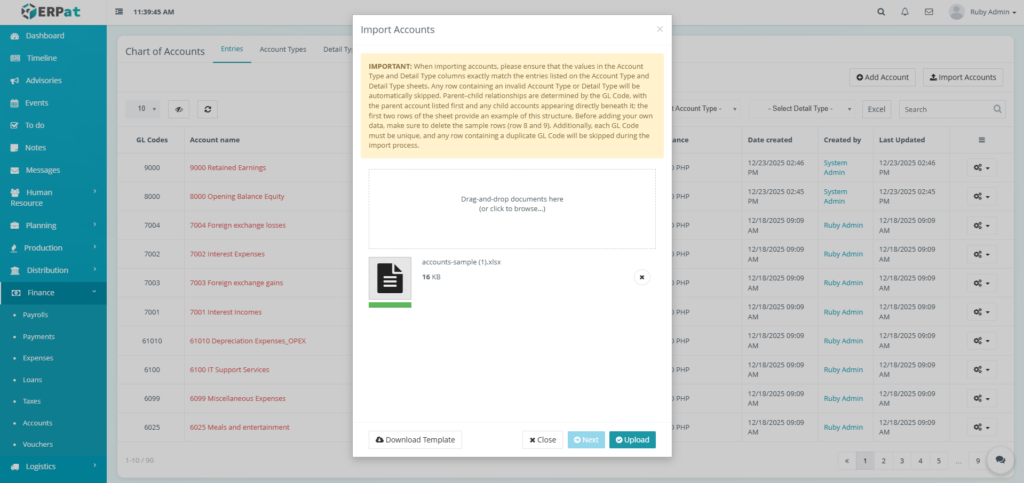
Steps for Adding Multiple Accounts #
STEPS #
- Click the “Import Accounts” button.
- Click the “Download Template” button.
- Fill in the details in the template.
- Upload the filled template.
- Click the Next then Upload button.
Result #
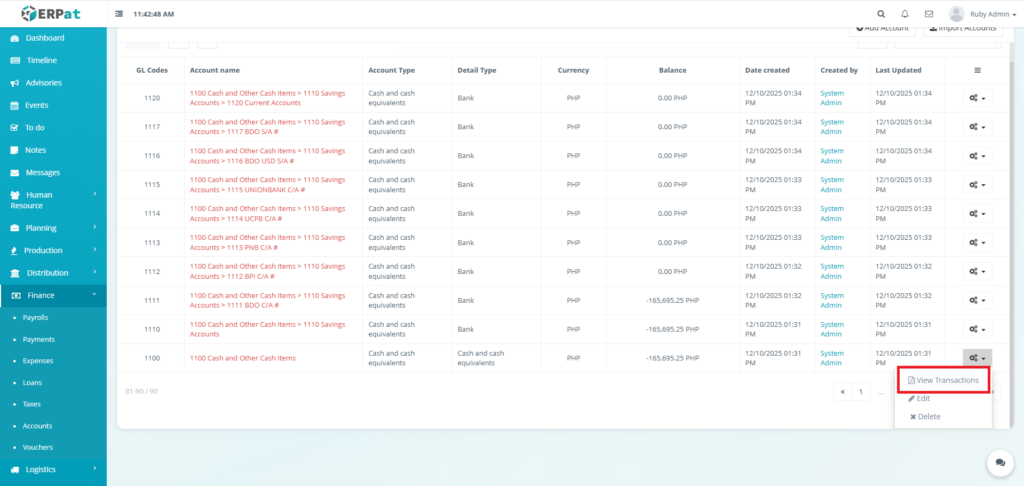
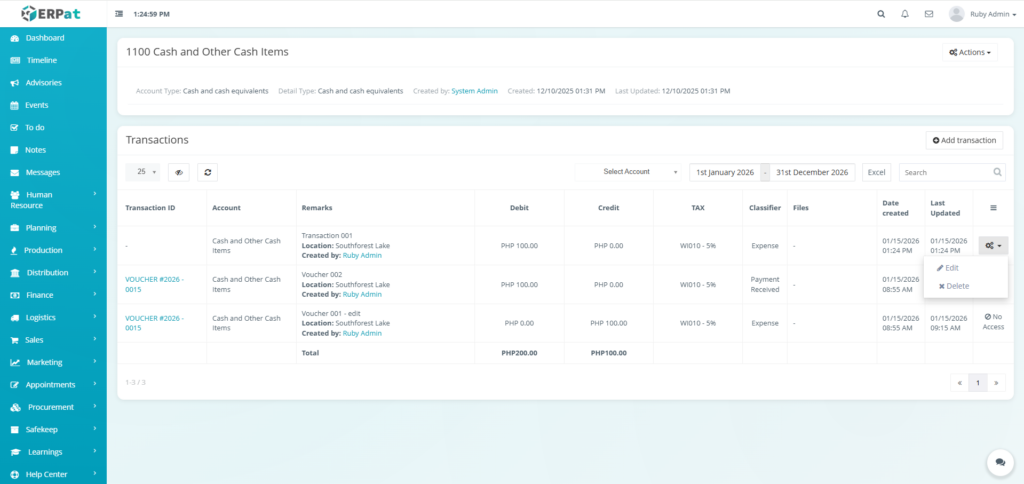
Steps on Adding Transactions into an Account #
STEPS #
- Click the actions icon in the table.
- Click the “View Transactions” option in the dropdown.
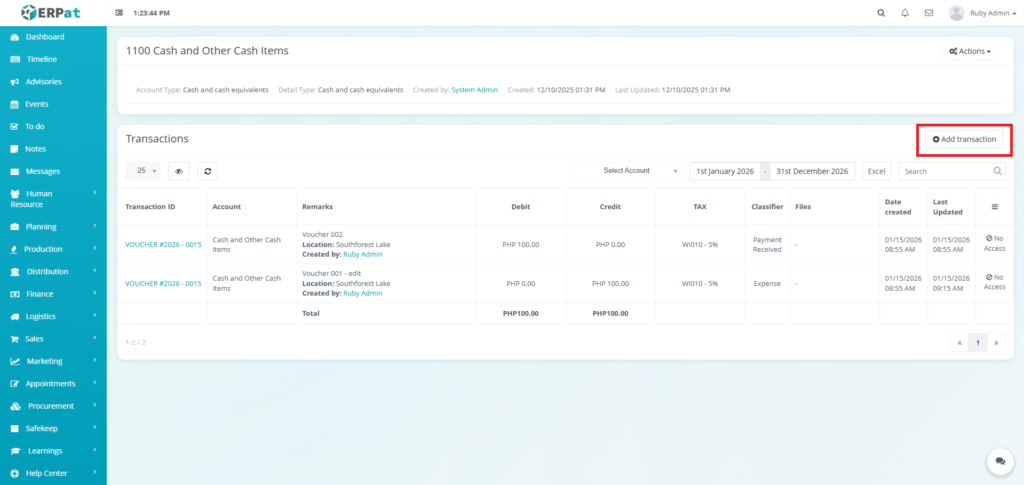
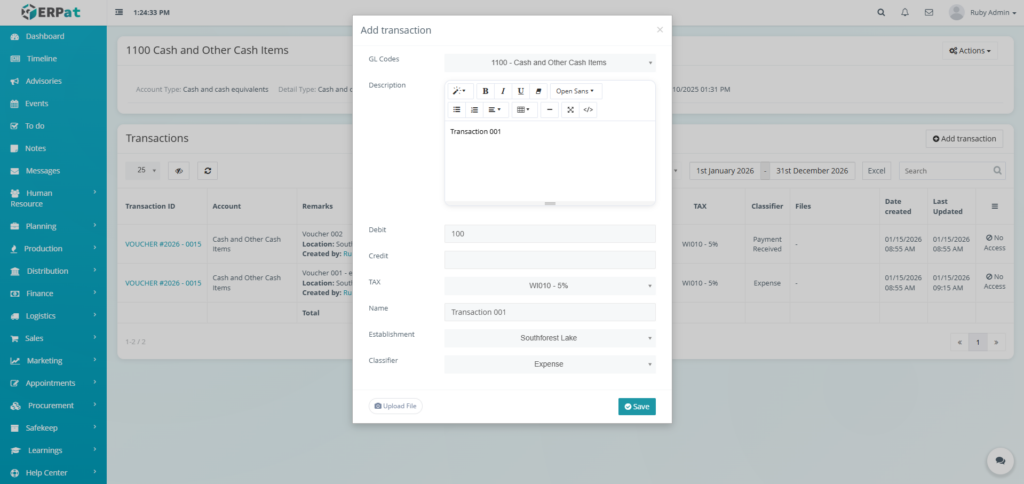
- Click the “Add Transaction” button in the newly opened interface.
- Fill in the necessary details.
- Click the Save button to add the transaction.
Result #
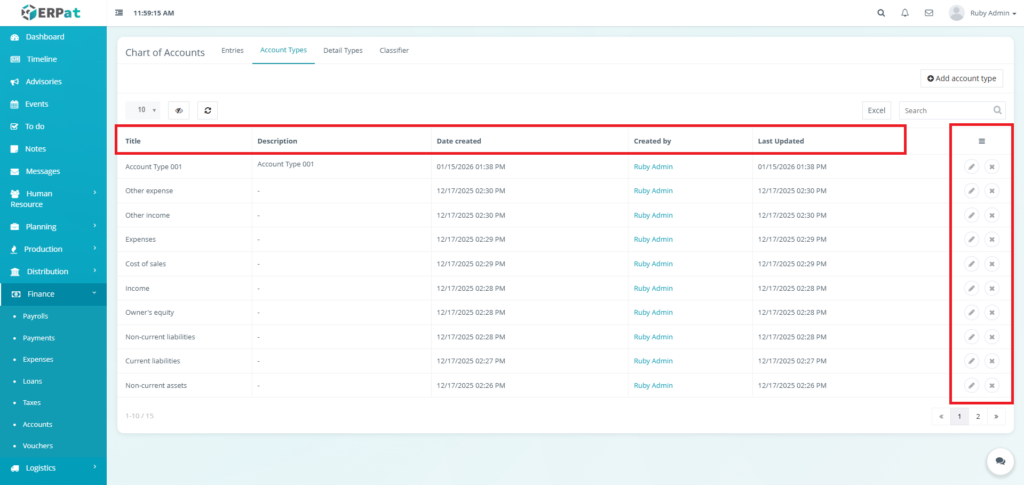
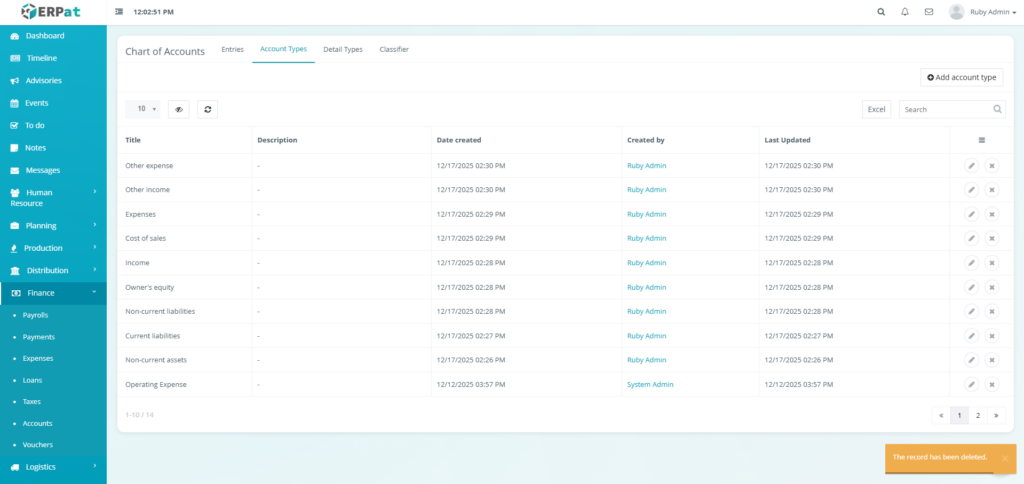
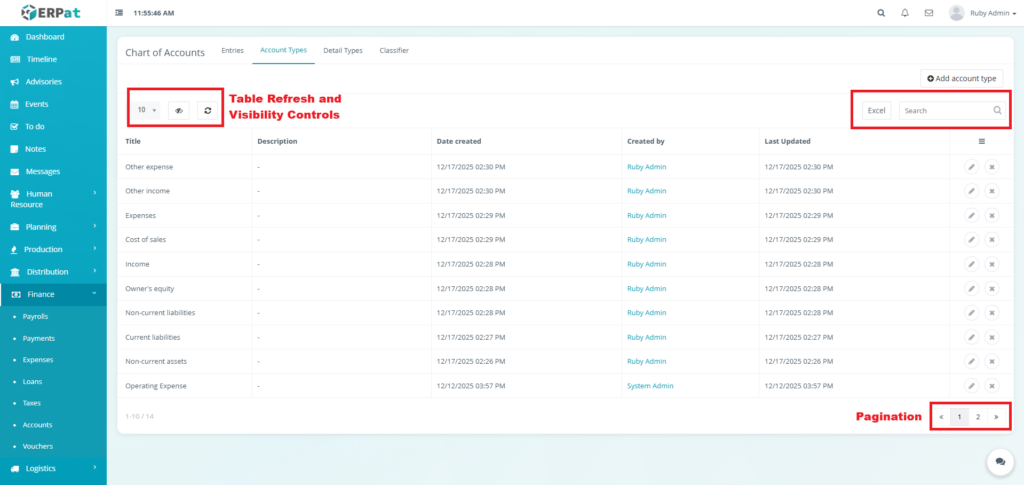
Account Types Listing Page #
The Account Types Listing Page provides a high-level view of the primary account categories with the following columns
- Title – The official name of the account type.
- Description – A brief explanation of the nature of the accounts that fall under this type.
- Date created – Timestamp of when the account type was created.
- Created by – The administrator who created the account type.
- Last Updated – Timestamp of the most recent modification to the account type.
- Actions – Edit or Delete Controls.
Steps for Adding an Account Type #
STEPS #
- Click the “Add account type” button.
- Fill in the necessary details.
- Click the Save button to add the account type.

Result #

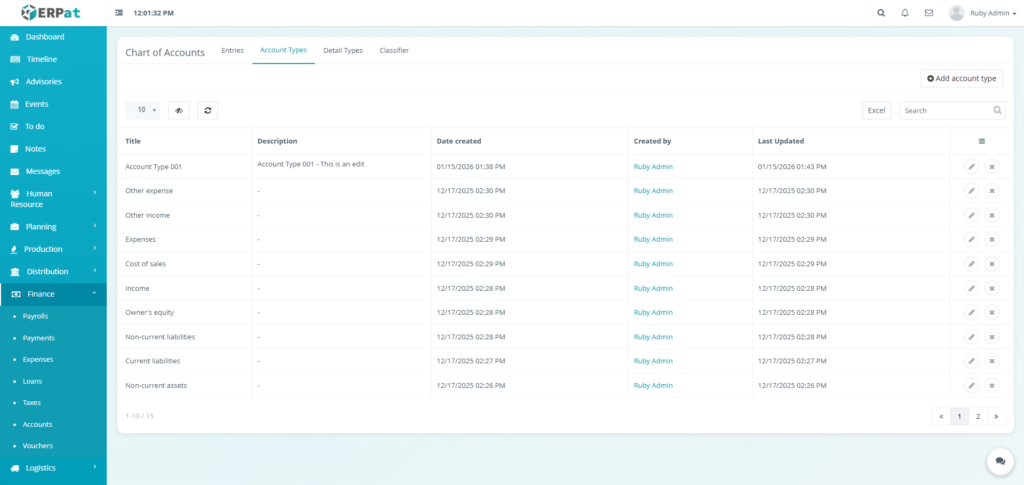
Steps for Editing an Account Type #
STEPS #
- Click the edit icon in the actions of the table.
- Fill in the changes.
- Click the Save button to apply the changes.
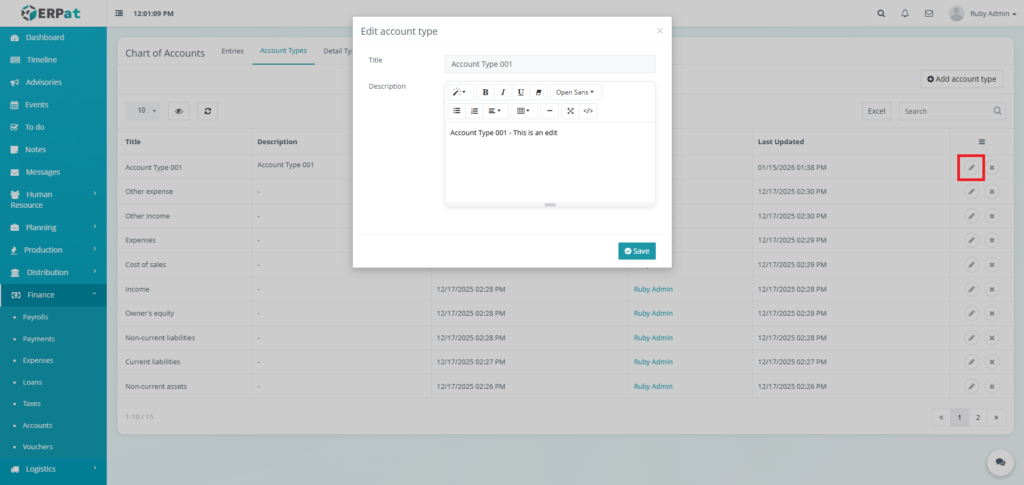
Result #
Steps for Deleting an Account Type #
STEPS #
- Click the delete icon in the actions of the table.
- Click the Delete button to remove the account type.

Result #
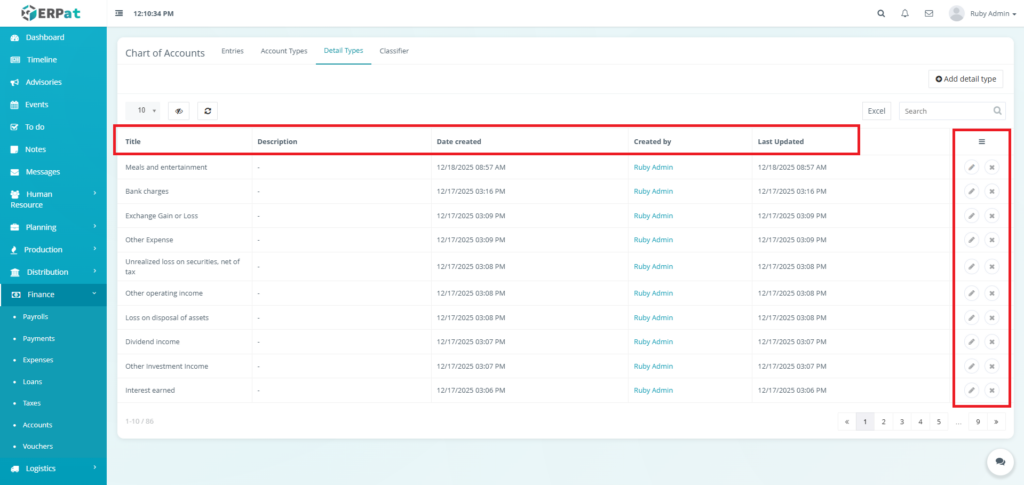
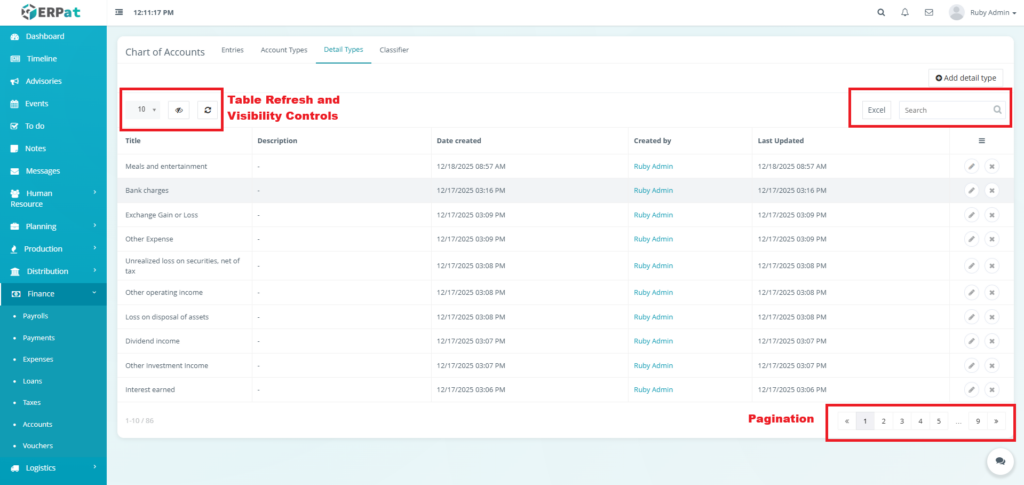
Account Detail Types Listing Page #
The Account Detail Types Listing Page provides a list of detail types with the following columns:
- Title – The official name of the detail type.
- Description – A brief explanation of the nature of the accounts that fall under this detail type.
- Date created – Timestamp of when the detail type was created.
- Created by – The administrator who created the detail type.
- Last Updated – Timestamp of the most recent modification to the detail type.
- Actions – Edit or Delete Controls.
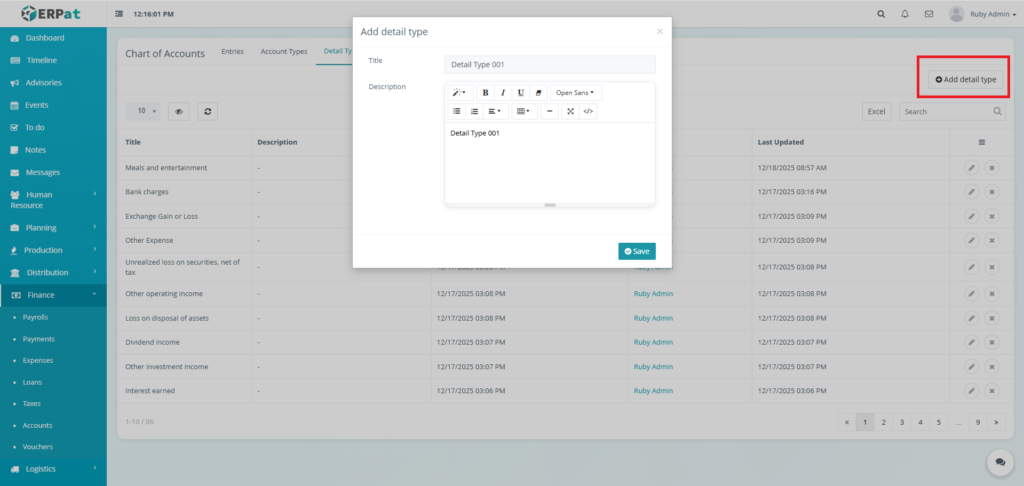
Steps for Adding a Detail Type #
STEPS #
- Click the “Add detail type” button.
- Fill in the necessary details.
- Click the Save button to add the detail type.
Result #

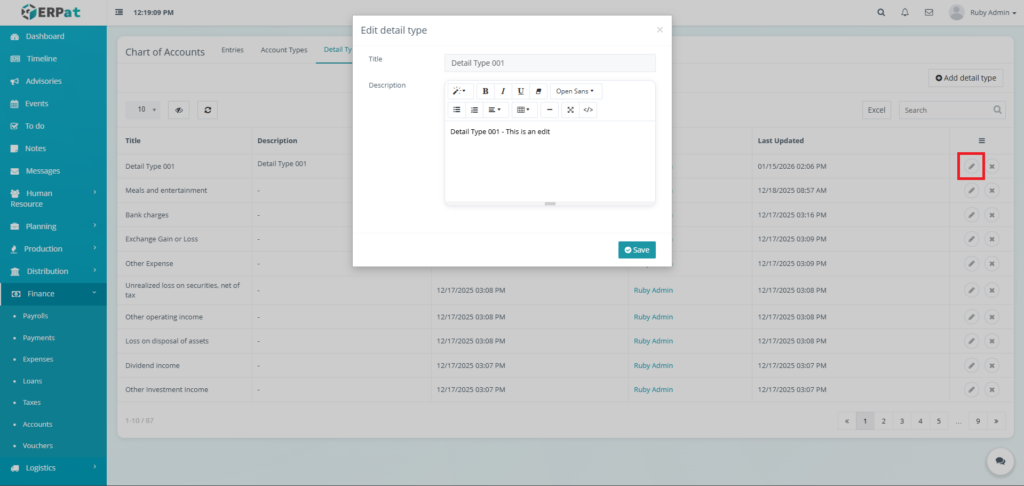
Steps for Editing a Detail Type #
STEPS #
- Click the edit icon in the actions of the table.
- Fill in the changes.
- Click the Save button to apply the changes.
Result #

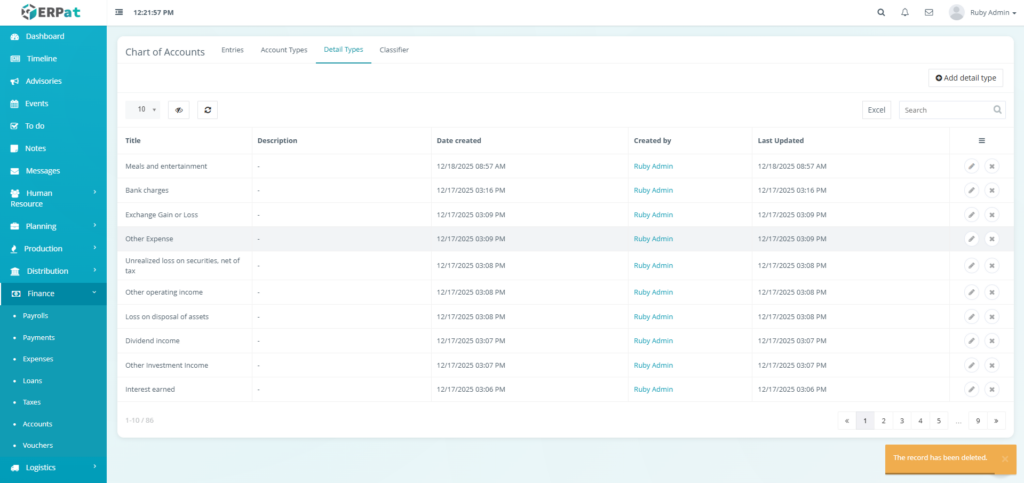
Steps for Deleting a Detail Type #
STEPS #
- Click the delete icon in the actions of the table.
- Click the Delete button to remove the detail type.
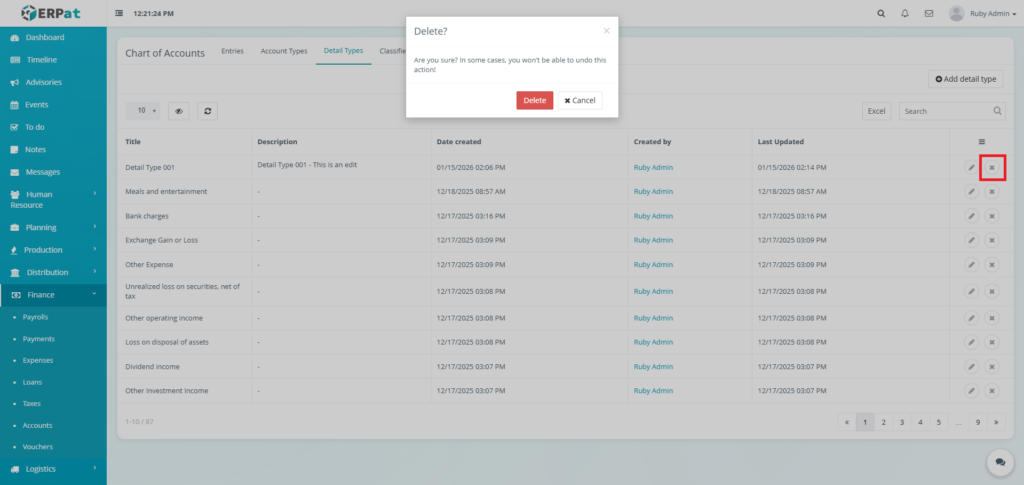
Result #
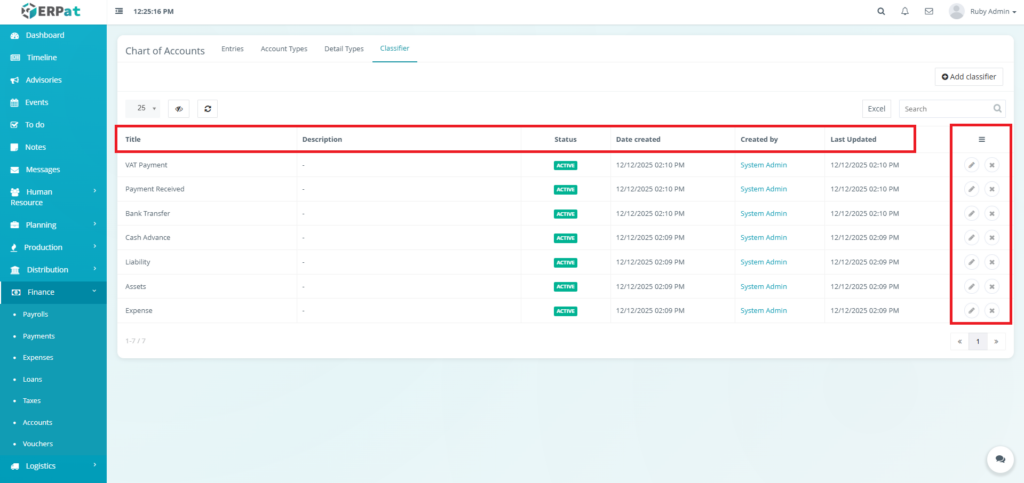
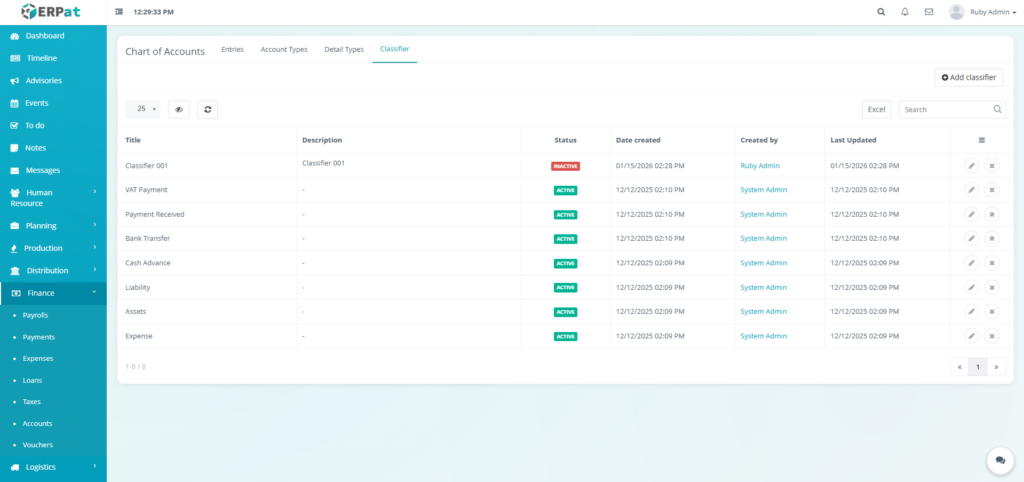
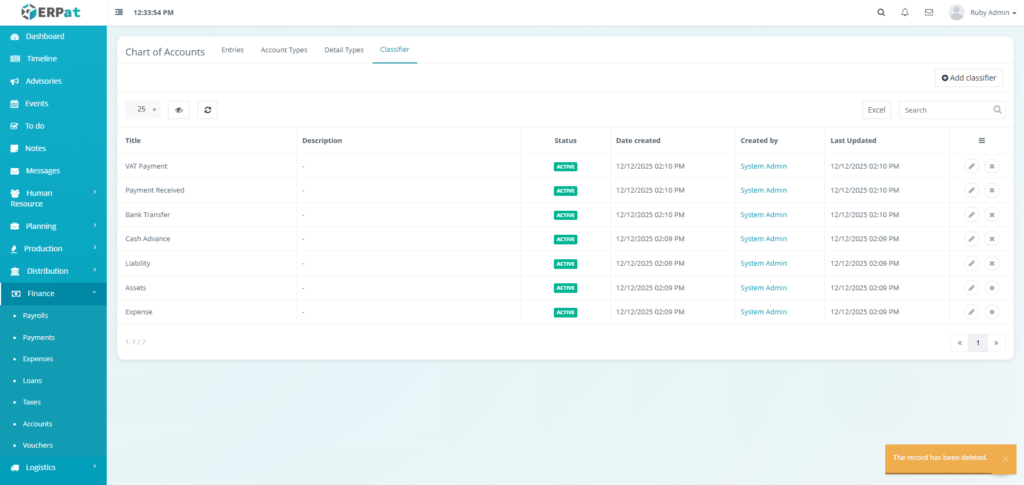
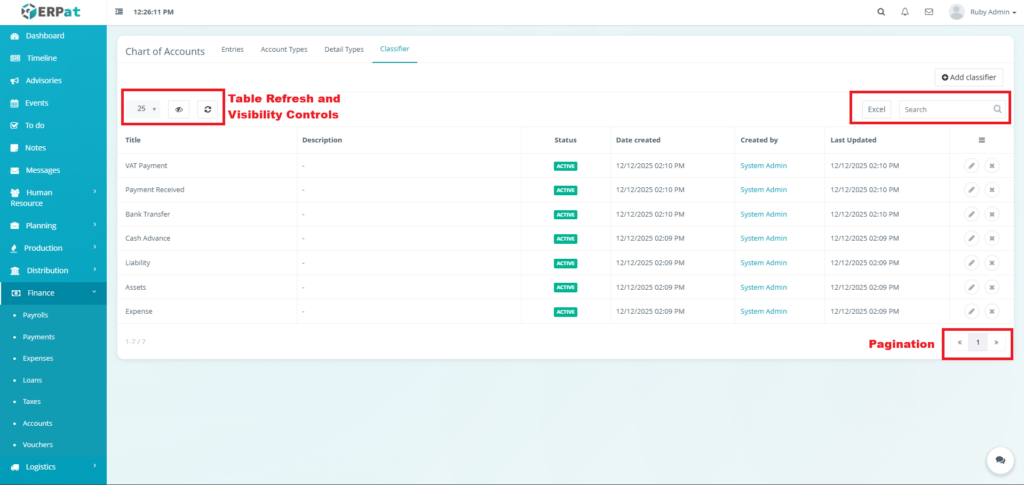
Account Classifier Listing Page #
The Classifier Listing Page provides a list of classifiers with the following columns:
- Title – The official name of the classifier.
- Description – A brief explanation of the nature of the accounts that fall under this classifier.
- Date created – Timestamp of when the classifier was created.
- Created by – The administrator who created the classifier.
- Last Updated – Timestamp of the most recent modification to the classifier.
- Actions – Edit or Delete Controls.
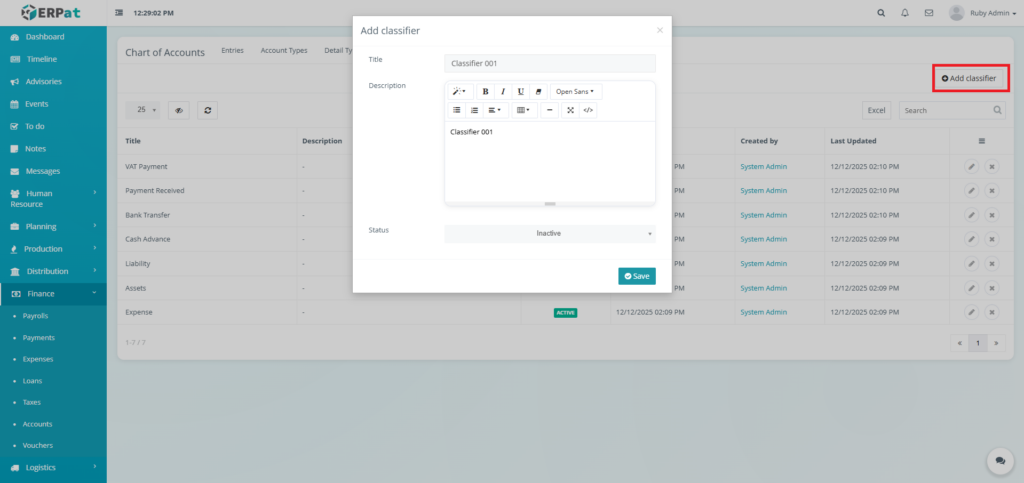
Steps for Adding a Classifier #
STEPS #
- Click the “Add classifier” button.
- Fill in the necessary details.
- Click the Save button to add the classifier.
Result #
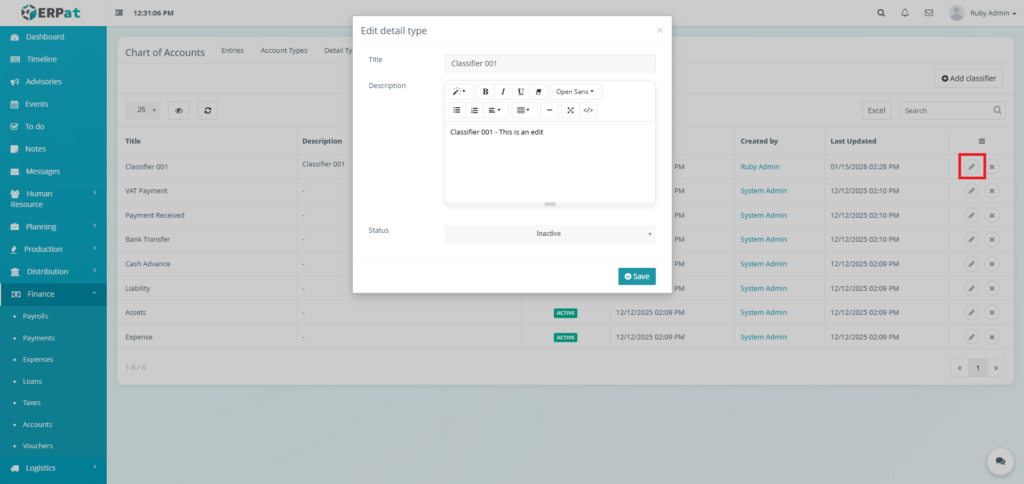
Steps for Editing a Classifier #
STEPS #
- Click the edit icon in the actions of the table.
- Fill in the changes.
- Click the Save button to apply the changes.
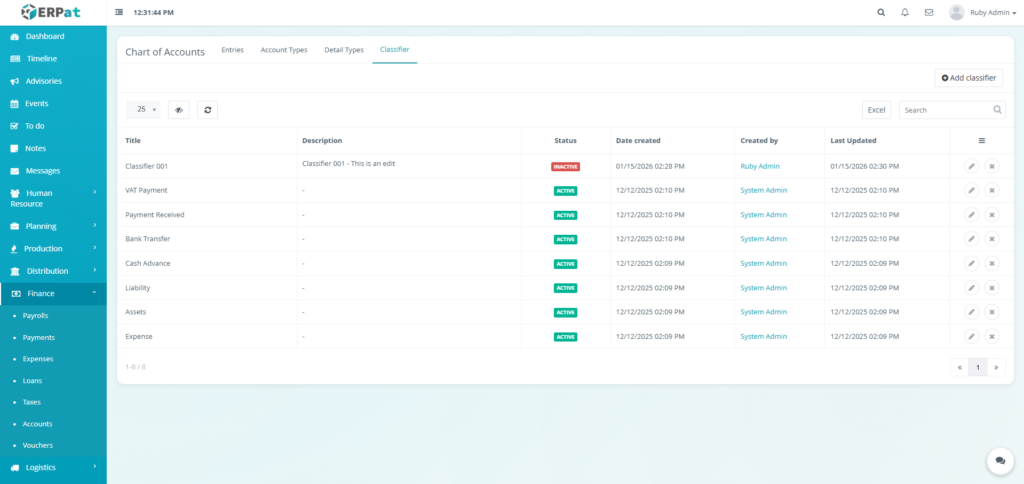
Result #
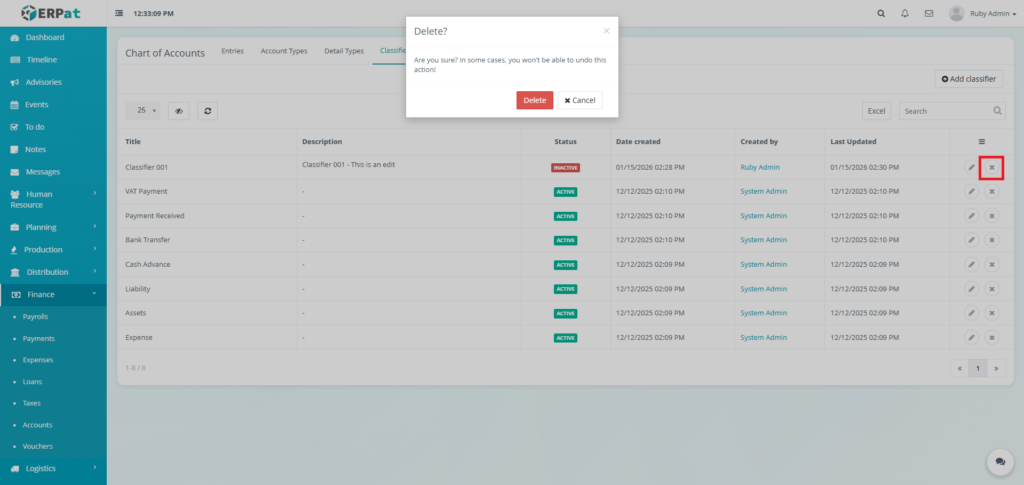
Steps for Deleting a Classifier #
STEPS #
- Click the delete icon in the actions of the table.
- Click the Delete button to remove the classifier.
Result #
Page Controls and Tools #
- Excel Export
- Search Bar
- Pagination
- Table Refresh and Visibility Controls
Permissions and Access Control #
- Chart of Accounts management is restricted to authorized Finance users.
- Account creation, editing, and deletion follow role-based permission rules.
Best Practices #
- Maintain consistent naming conventions for account clarity.
- Use proper account and detail types to ensure accurate reporting.
- Avoid deleting accounts with existing transaction history.
Audit & Logs #
All account-related actions are automatically logged with timestamps and user attribution to ensure accountability and compliance with financial audit requirements.
Last Updated: [January 15, 2026] Module Owner: Finance IS – ERPat System


