Overview #
The Loans Module in the ERPat System provides a centralized platform for managing employee loans throughout their full lifecycle. It allows Finance and HR teams to create loan records, define loan categories and fees, track repayment schedules, record payments, and monitor outstanding balances.
This module ensures accurate loan administration by automating payment schedules, applying interest rates and fees, tracking loan statuses, and maintaining complete financial records for payroll deductions and audits.
Key Features #
- Create and manage employee loan records
- Assign loan categories and binding schedules (e.g., biweekly)
- Define loan principal, interest rates, and repayment terms
- Automatically calculate minimum payments and balances
- Track loan repayment schedules
- Record loan payments and associated fees
- Monitor outstanding balances and loan status
- Filter loans by category, department, employee, and status
- Export loan data to Excel
- Search and paginate loan records
- Maintain audit trails for loan creation, updates, and payments
Accessing the Loans Module #
- Log in to the ERPat System.
- Navigate to Finance from the primary sidebar.
- Select Loans.
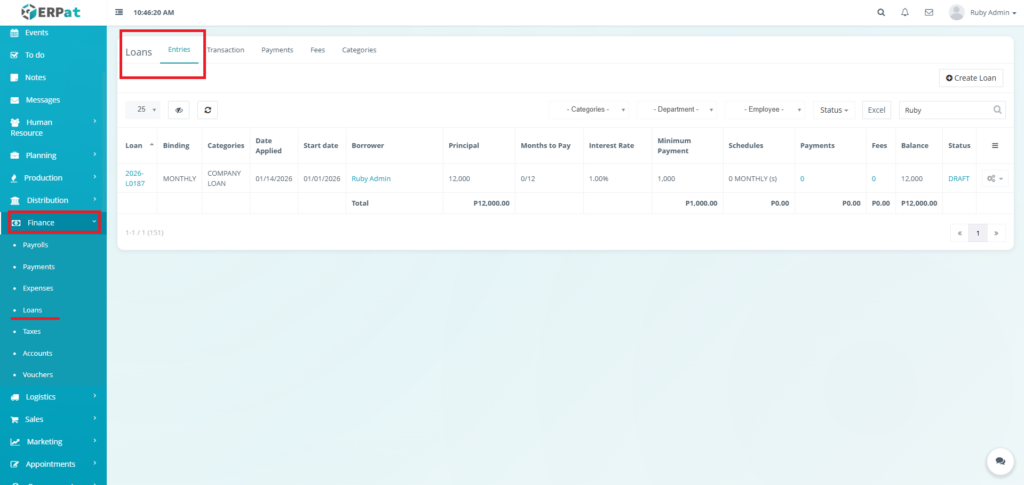
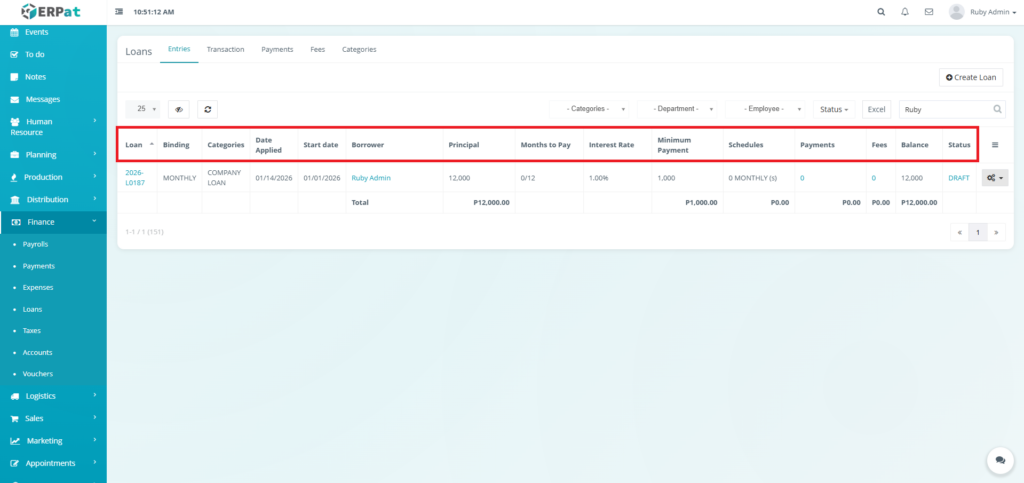
Loans Entries Listing Page #
The Entries page displays a comprehensive table of all loans with the following columns:
- Loan – Unique loan reference number
- Binding – Repayment frequency
- Categories – Loan classification
- Date Applied – Date the loan was created
- Start Date – Date repayment begins
- Borrower – Employee receiving the loan
- Principal – Original loan amount
- Months to Pay – Repayment duration
- Interest Rate – Applied interest percentage
- Minimum Payment – Required payment per period
- Schedules – Number of repayment schedules generated
- Payments – Total payments made
- Fees – Applied loan fees
- Balance – Remaining loan balance
- Status – Current loan state
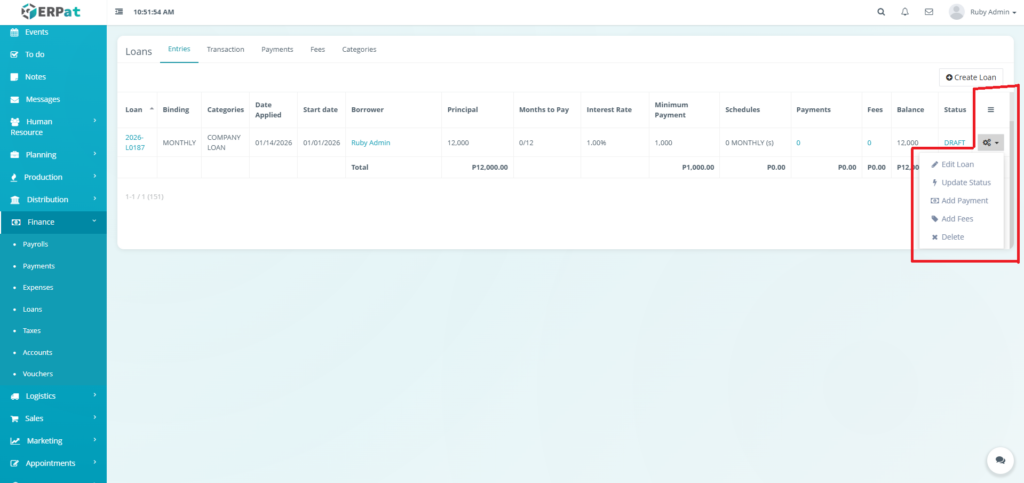
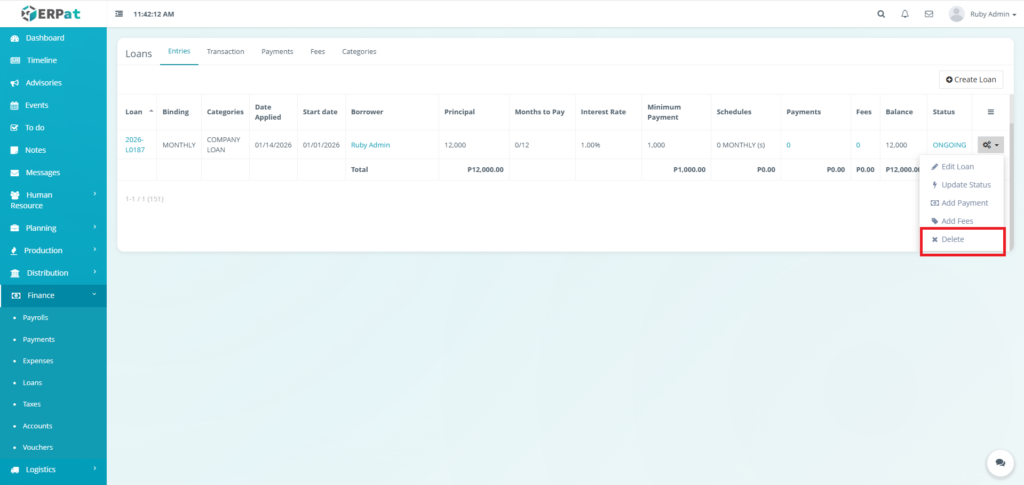
- Actions – Edit Loan, Update Status, Add Payment, Add Fees, or Delete controls
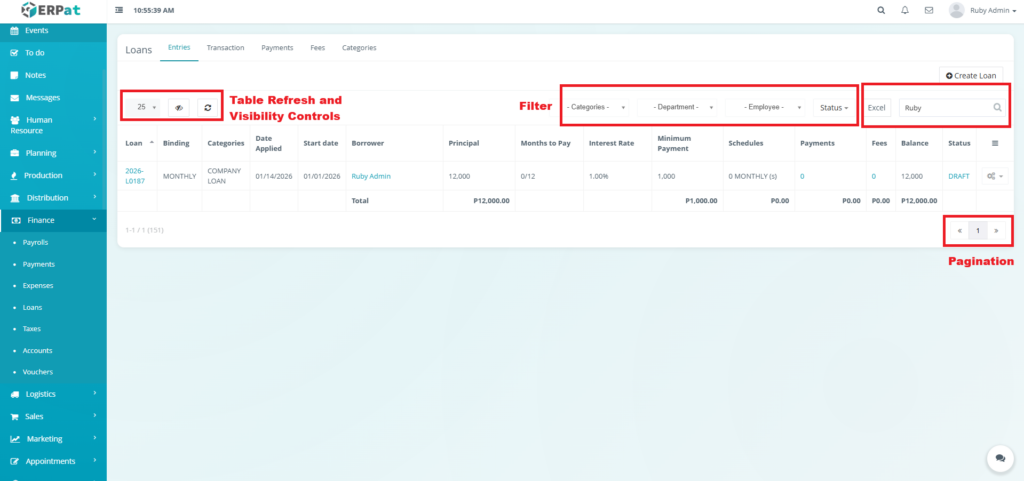
Page Control and Tools #
- Filters
- Categories
- Department
- Employee
- Status
- Excel Export
- Search Bar
- Pagination
- Table Refresh and Visibility Controls
Steps for Adding a Loan #
STEPS #
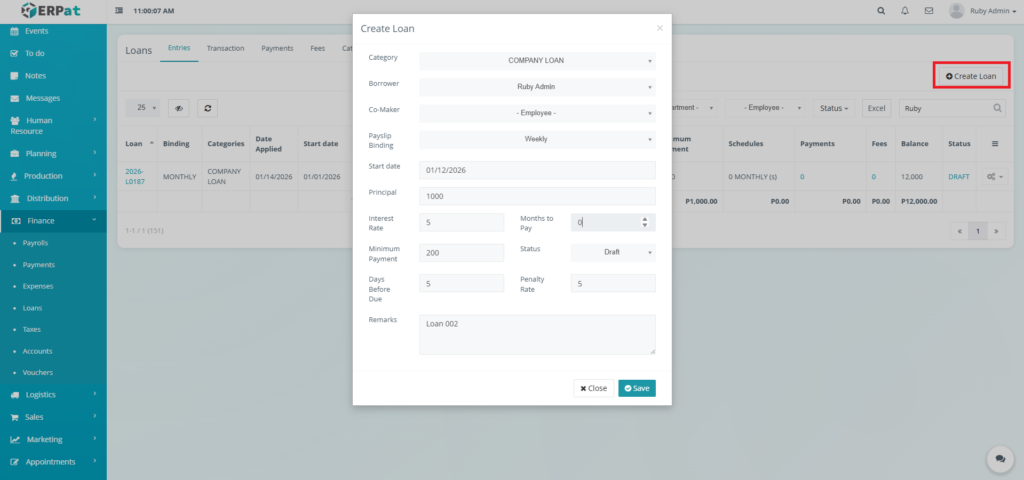
- Click the “Create Loan” button.
- Fill in the necessary details.
- Click Save to add the Loan.
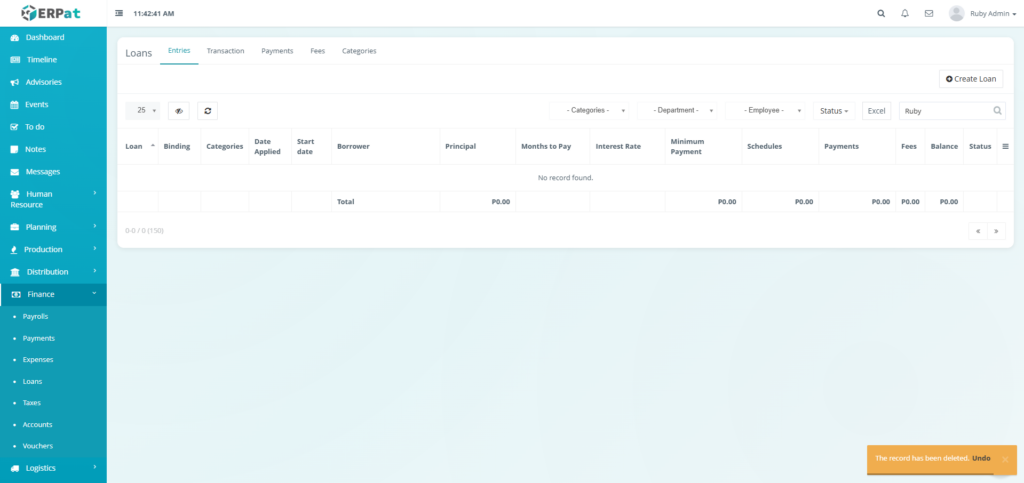
Note: If the page is refreshed the entry can be found in the Transaction tab.
Result #

Steps for Editing a Loan #
STEPS #
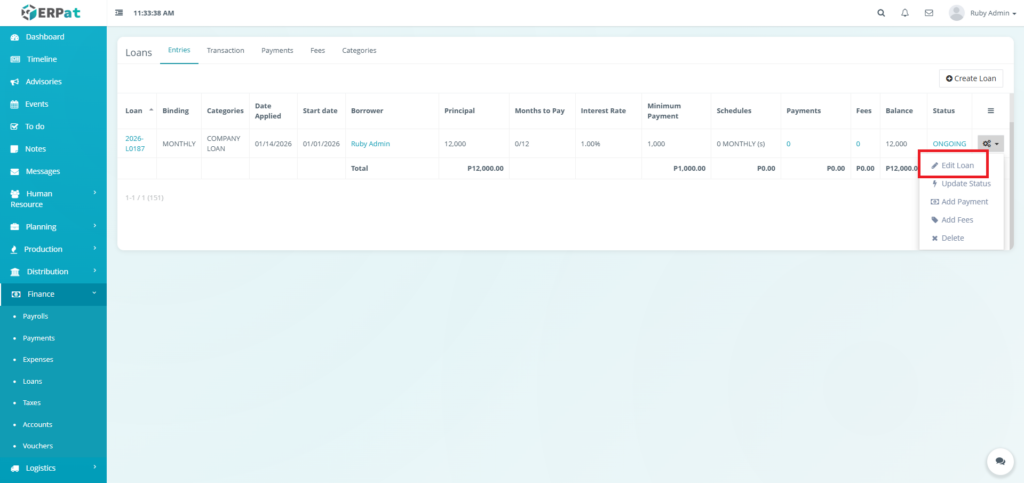
- Click the Actions button.
- Click the “Edit Loan” option in the dropdown.
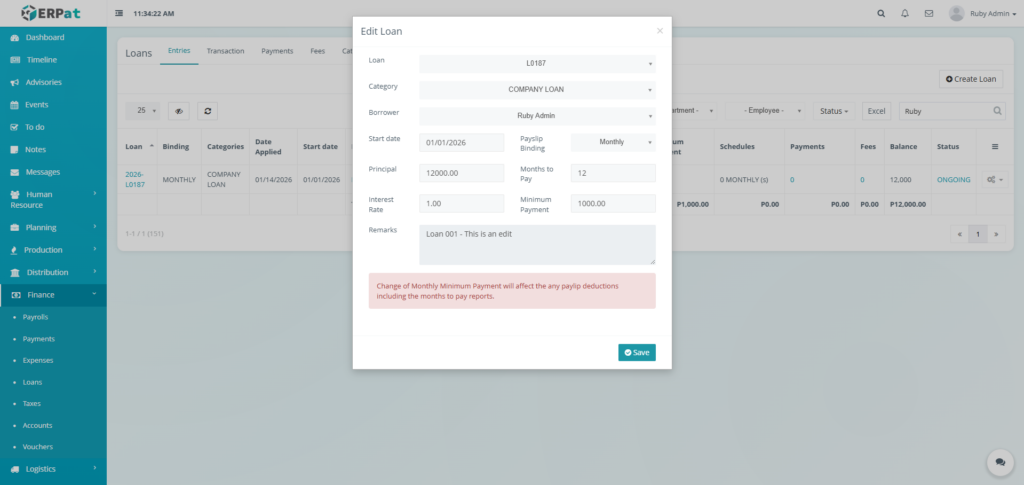
- Fill in the changes.
- Click Save to apply the changes.
Result #
Steps for Deleting a Loan #
STEPS #
- Click the Actions button.
- Click the Delete option in the dropdown.
Result #
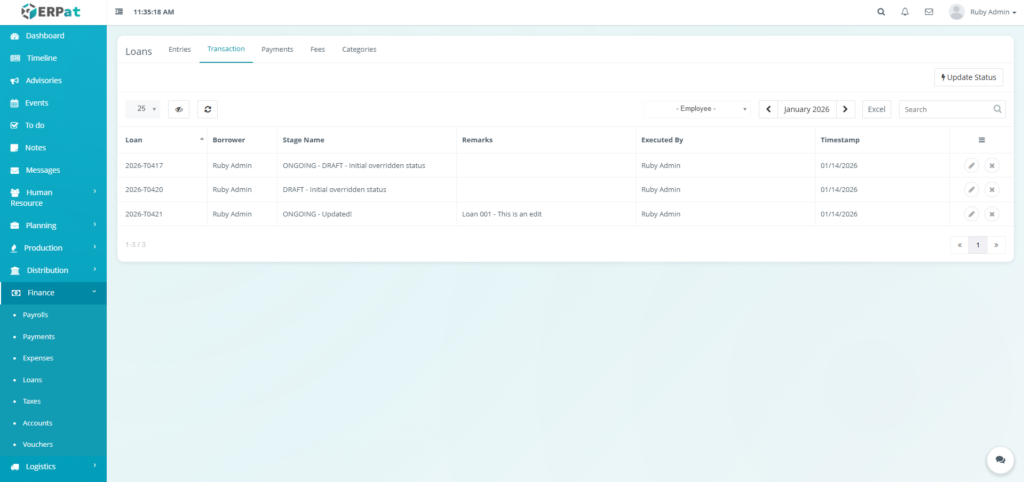
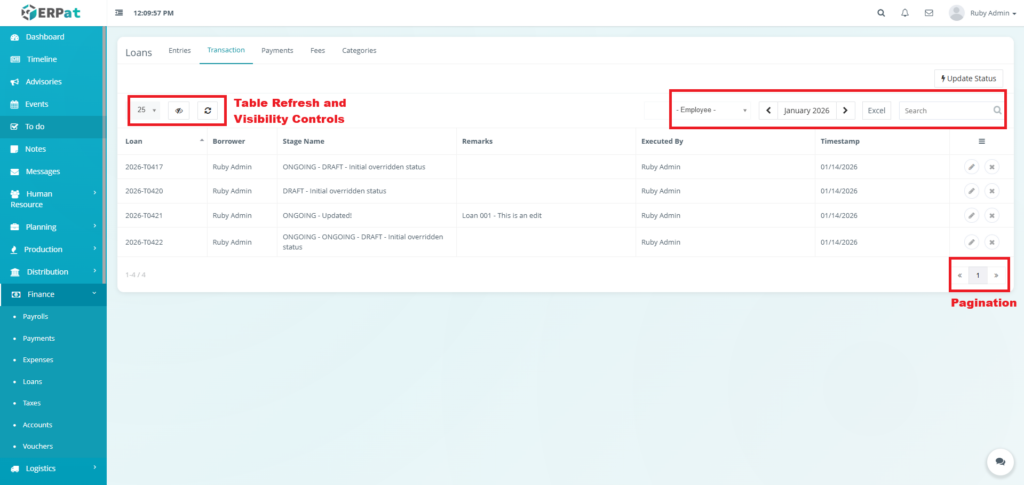
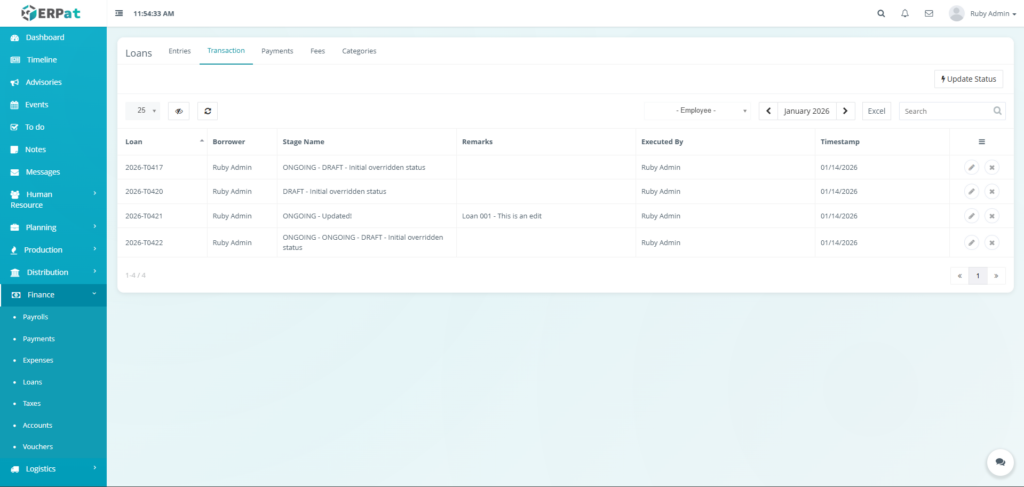
Loans Transaction Listing Page #
The Transaction page displays a comprehensive table of all loans’ all recorded actions with the following columns:
- Loan – The unique Loan ID associated with the entry (e.g., 2026-T0417).
- Borrower – The name of the employee who is the subject of the loan transaction.
- Stage Name – The specific state of the loan at the time of the log
- Remarks – Specific internal notes recorded during the transaction
- Executed By – The name of the administrator who performed the action.
- Timestamp – The exact date and time the transaction was recorded.
- Actions – Edit or Delete Controls

Page Control and Tools #
- Employee Filter
- Month and Year Selector
- Excel Export
- Search Bar
- Pagination
- Table Refresh and Visibility Controls
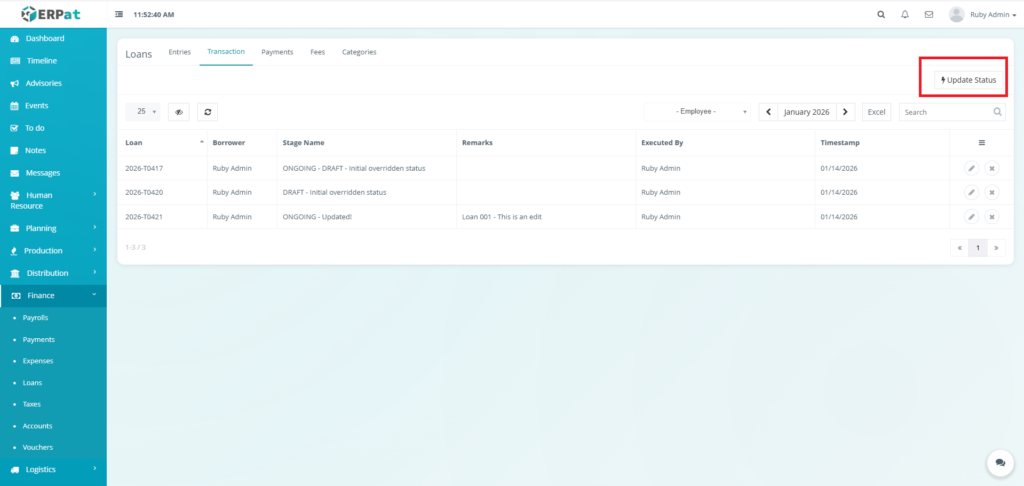
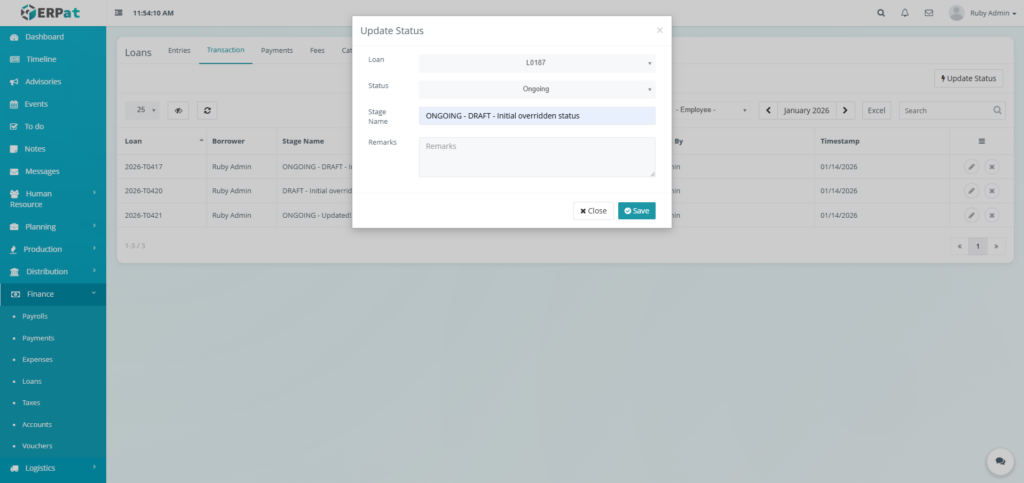
Steps for Updating the Status of a Loan #
STEPS #
- Click the “Update Status” button.
- Fill in the necessary details.
- Click the Save button to update the status of the Loan.
Notes: This action can also be done in the entries tab through the actions.
Result #
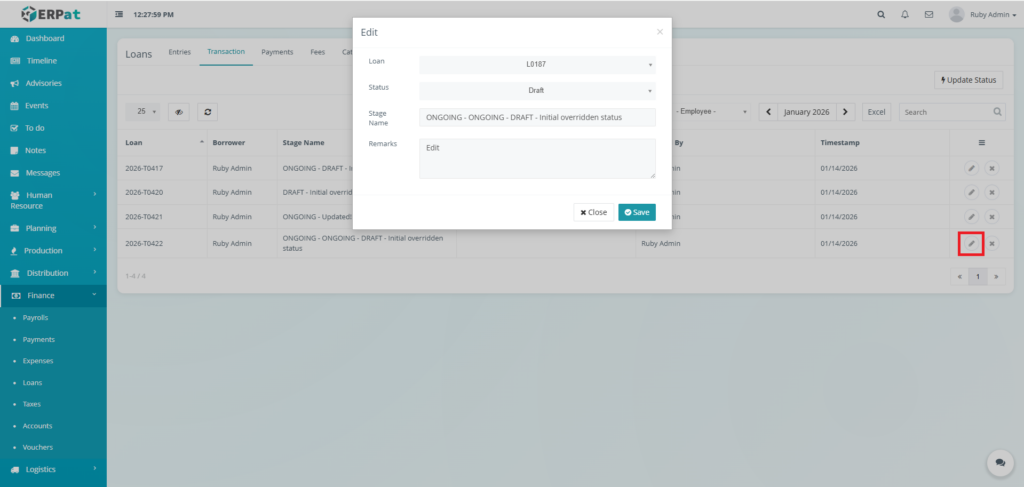
Steps for Updating a Transaction #
STEPS #
- Click the Update icon in actions of the table.
- Fill in the necessary details.
- Click the Save button to apply the changes..
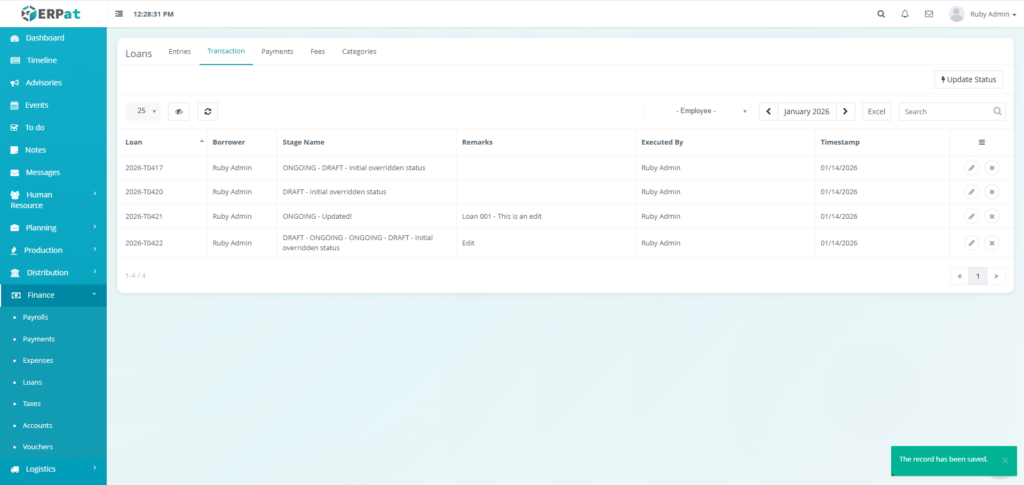
Result #
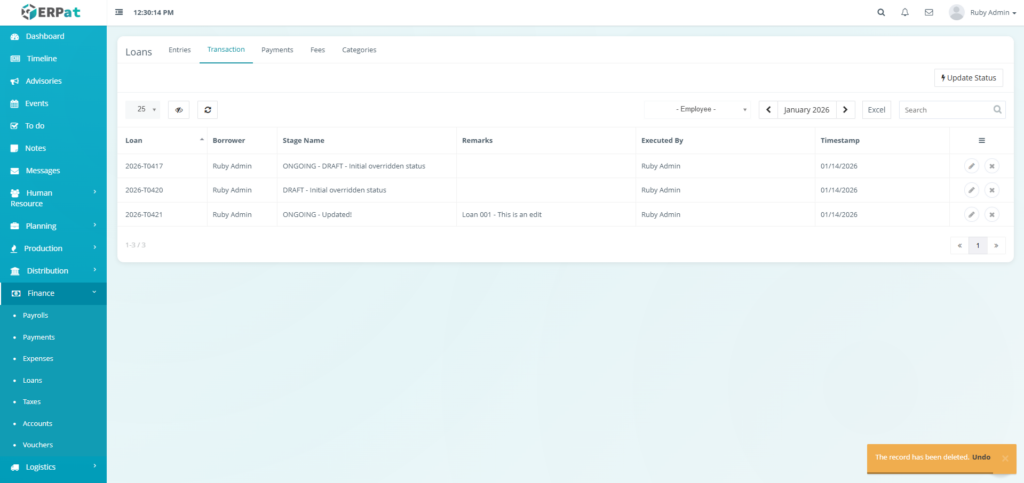
Steps for Deleting a Transaction #
STEPS #
- Click the Delete icon in actions of the table.
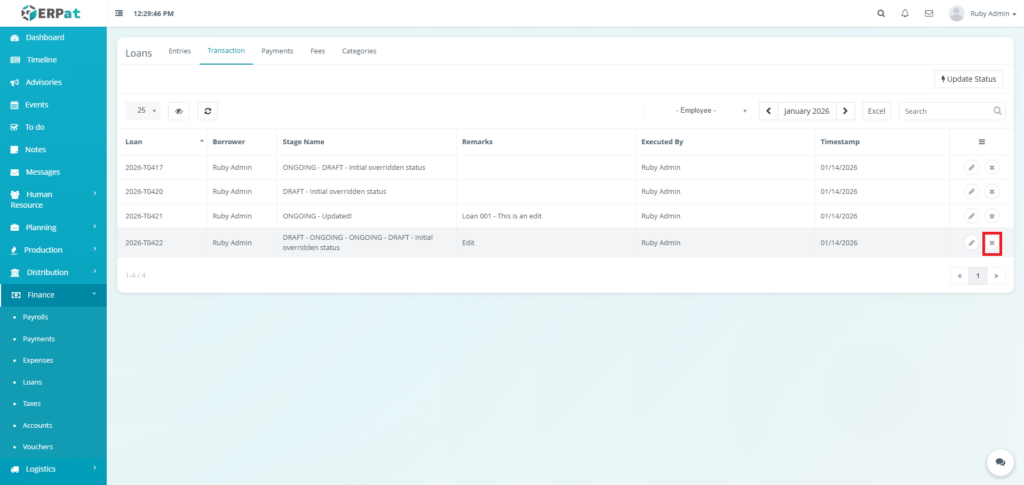
Result #
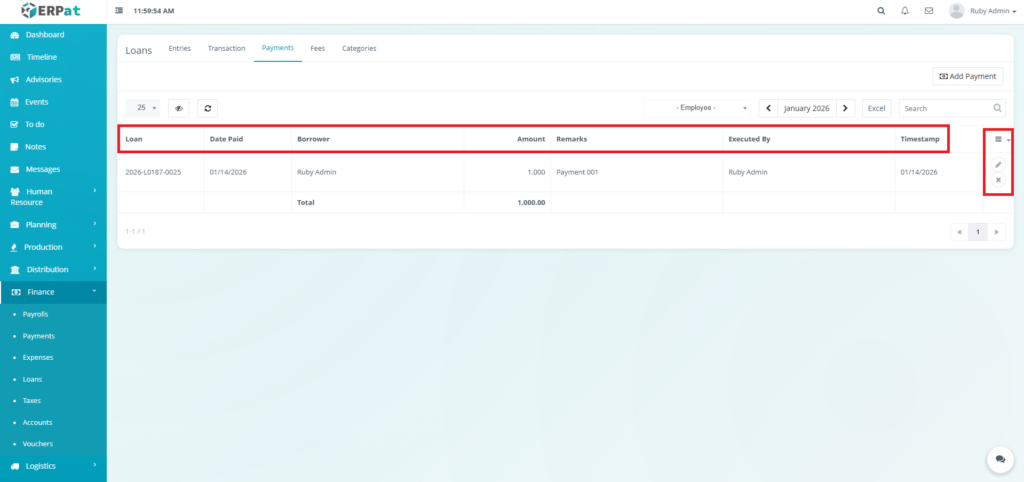
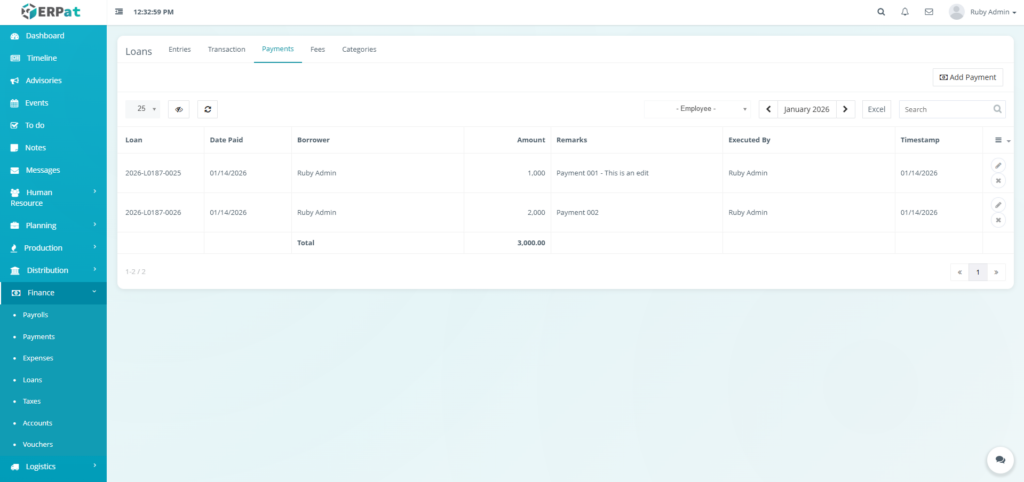
Loans Payments Tab Listing Page #
The payments listing page displays an itemized list of all payment transactions with the following columns:
- Loan – The unique identification number of the loan being paid.
- Date Paid – The actual date the payment was received or processed.
- Borrower – The name of the employee making the repayment.
- Amount – The monetary value of the specific payment entry.
- Remarks – Additional notes or reference numbers related to the payment.
- Executed By – The administrator who recorded the transaction in the system.
- Timestamp – The system-recorded date and time the entry was created.
- Actions – Edit or Delete Controls
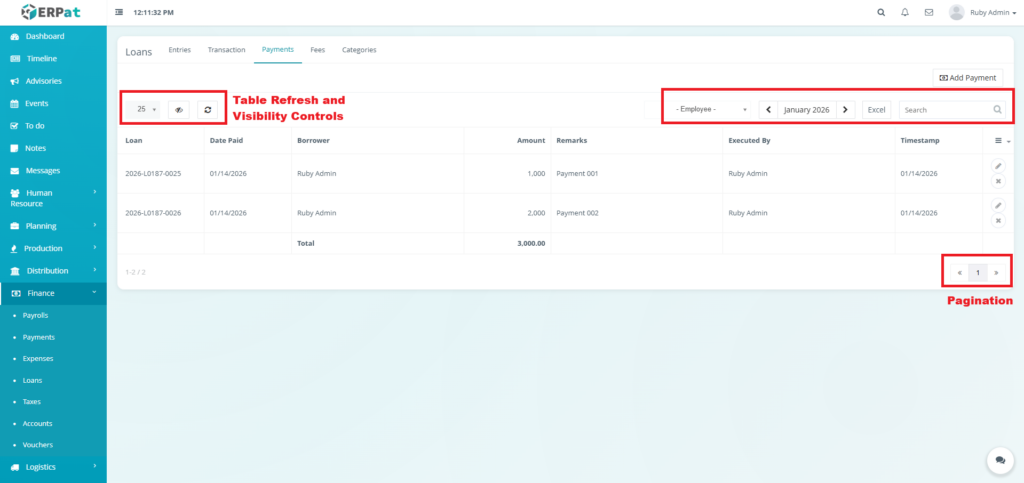
Page Control and Tools #
- Employee Filter
- Month and Year Selector
- Excel Export
- Search Bar
- Pagination
- Table Refresh and Visibility Controls
Steps for Adding Payment to the Loan #
STEPS #
- Click the “Add Payment” button.
- Fill in the necessary details.
- Click the Save button to add the payment to the loan.
Notes: This action can also be done in the entries tab through the actions.

Result #

Steps for Updating a Payment #
STEPS #
- Click the Update icon in actions of the table.
- Fill in the necessary details.
- Click the Save button to apply the changes.
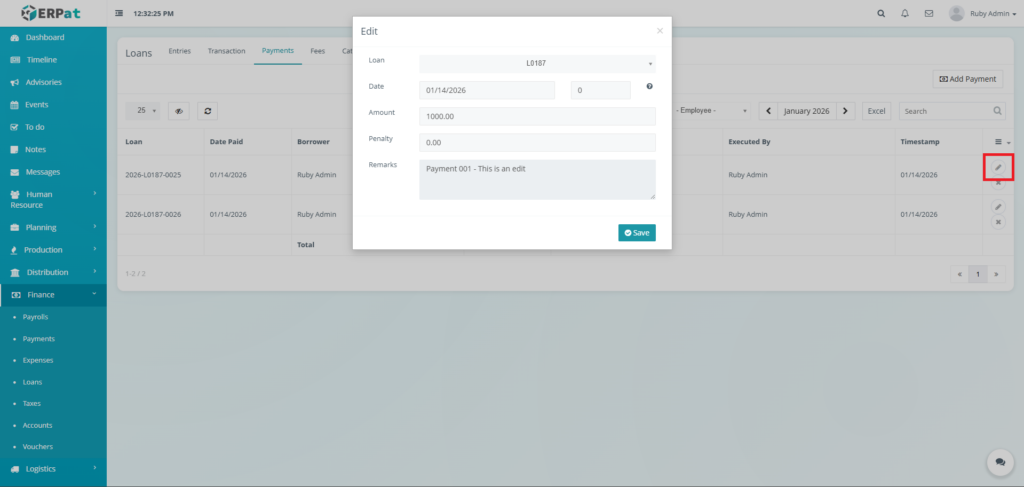
Result #
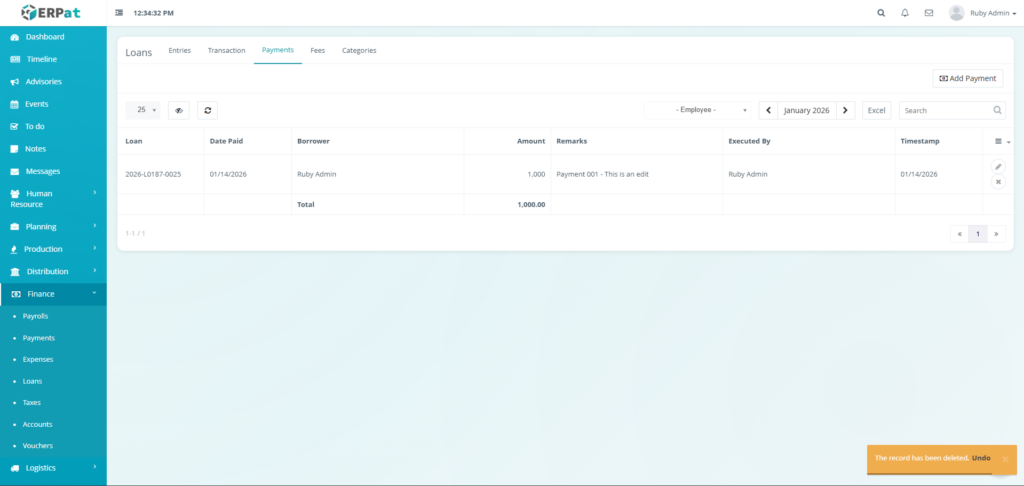
Steps for Deleting a Payment #
STEPS #
- Click the Delete icon in actions of the table.
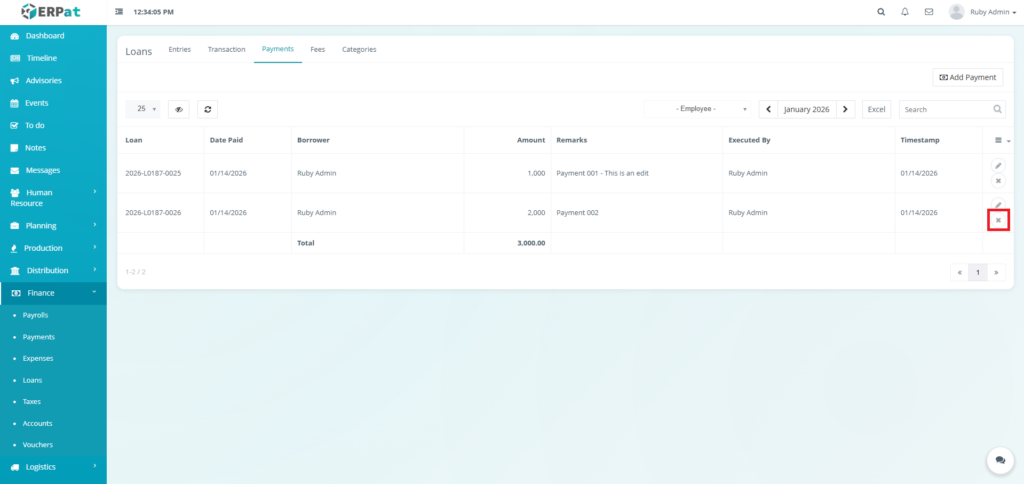
Result #
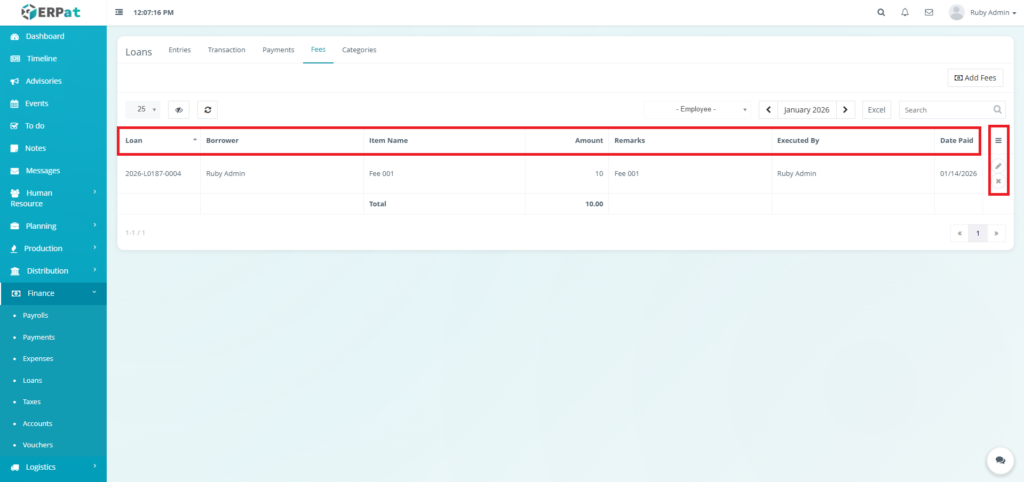
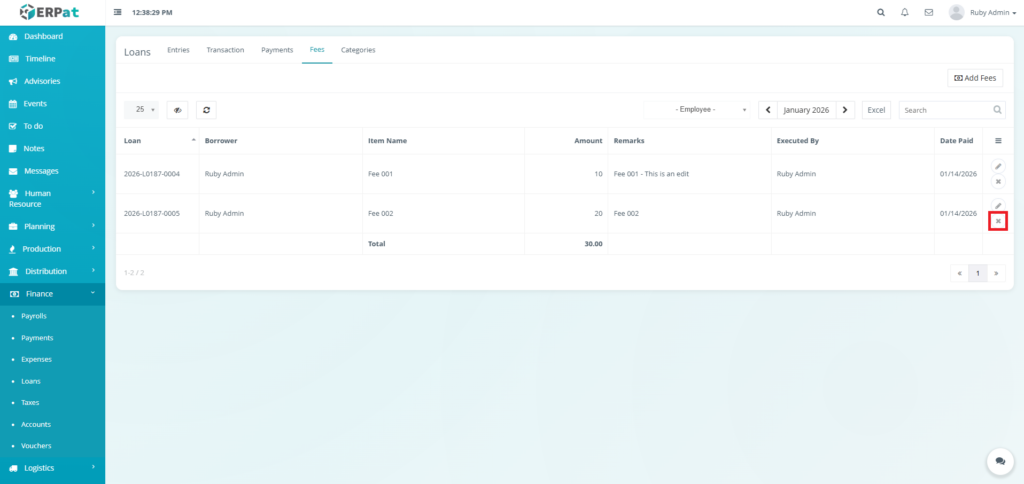
Loans Fees Tab Listing Page #
The fees listing page displays a table of all recorded fees with the following columns:
- Loan – The unique identification number for the specific loan (e.g., 2026-L0187-0004).
- Borrower – The name of the employee assigned the fee.
- Item Name – The specific name or classification of the fee.
- Amount – The monetary value of the individual fee.
- Remarks – Internal notes regarding the reason for the fee.
- Executed By – The administrator who entered the fee into the system.
- Date Paid – The date the fee was settled or recorded.
- Actions – Edit or Delete Controls
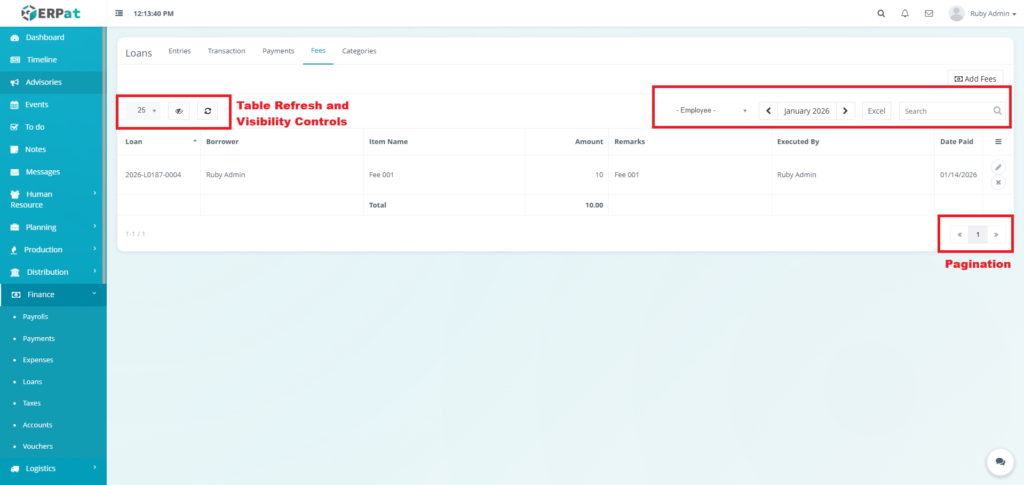
Page Control and Tools #
- Employee Filter
- Month and Year Selector
- Excel Export
- Search Bar
- Pagination
- Table Refresh and Visibility Controls
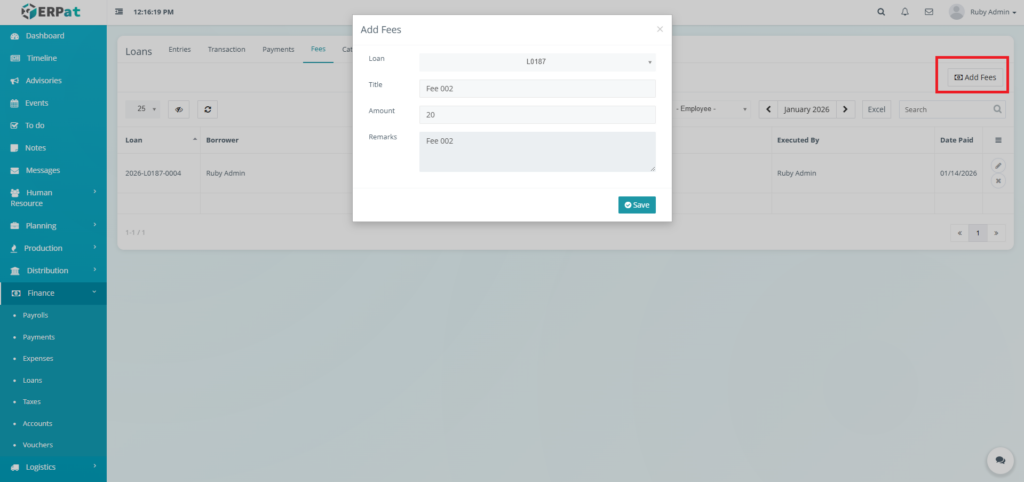
Steps for Adding Fees to the Loan #
STEPS #
- Click the “Add Fees” button.
- Fill in the necessary details.
- Click the Save button to add the fees to the loan.
Notes: This action can also be done in the entries tab through the actions.
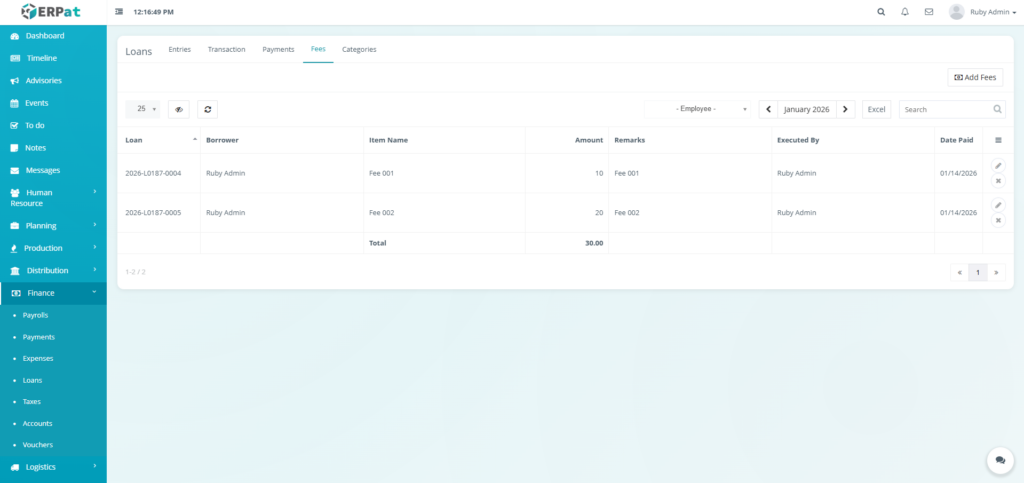
Result #
Steps for Updating a Fee #
STEPS #
- Click the Update icon in actions of the table.
- Fill in the necessary details.
- Click the Save button to apply the changes.
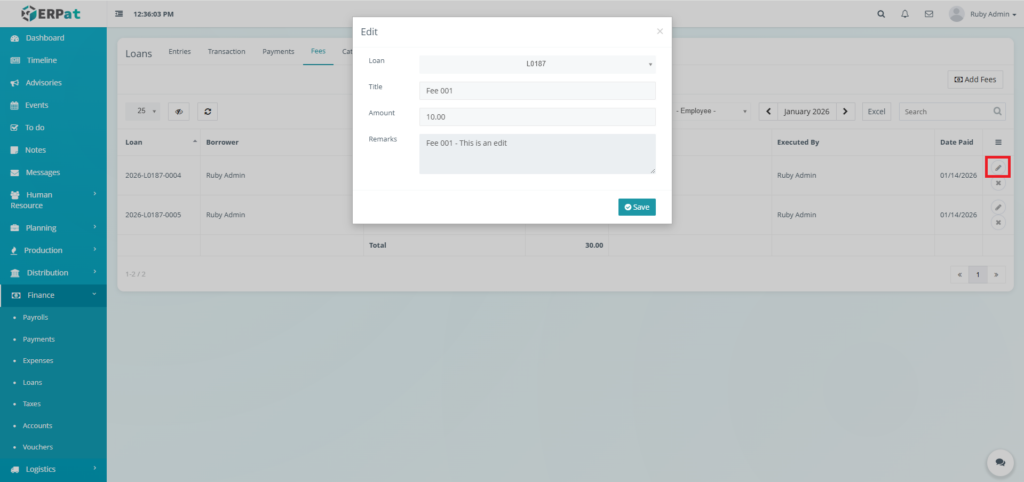
Result #

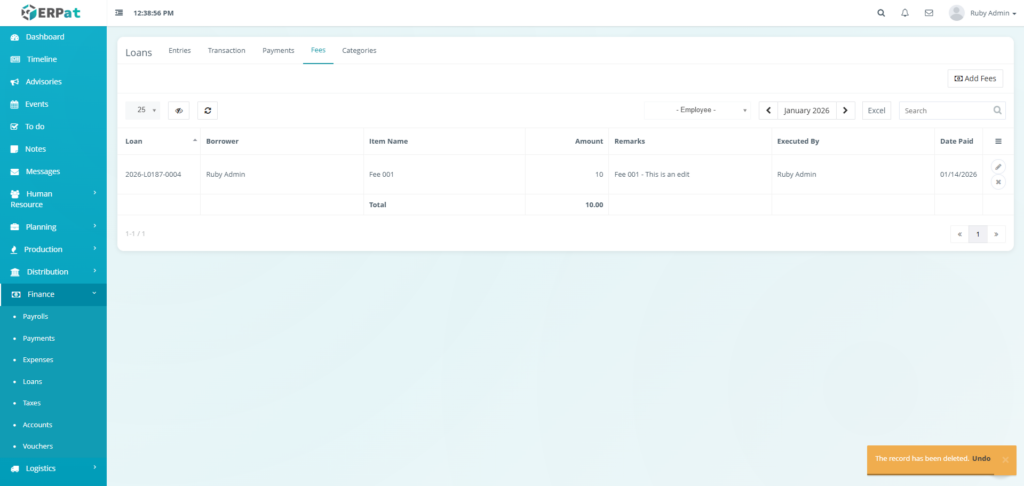
Steps for Deleting a Fee #
STEPS #
- Click the Delete icon in actions of the table.
Result #
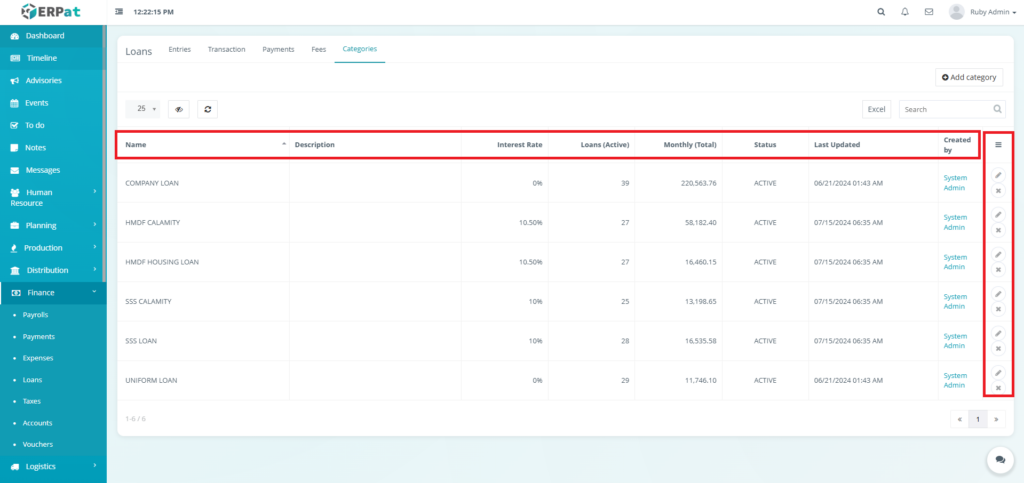
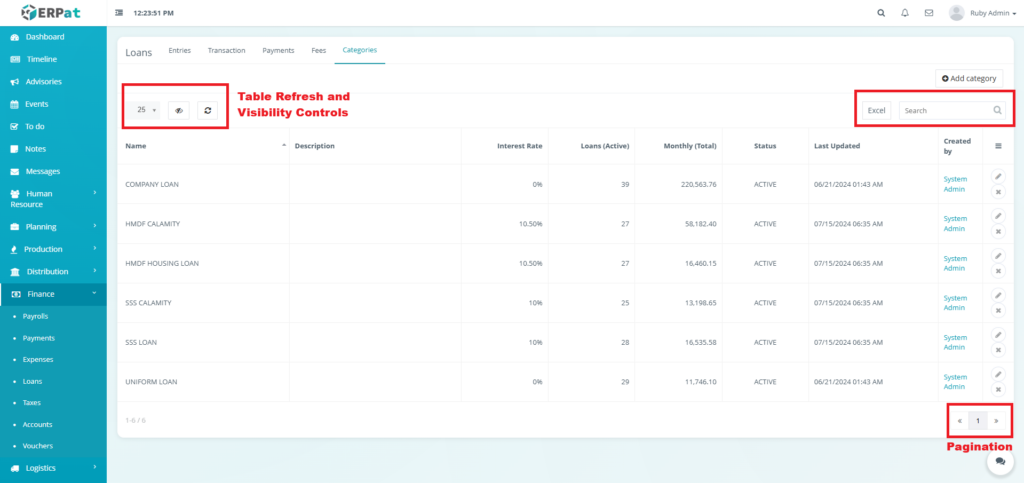
Loans Categories Tab Listing Page #
The categories listing page provides a detailed breakdown of organizational loan programs with the following columns:
- Name – The official title of the loan program
- Description – A brief summary or eligibility rules for the loan type.
- Interest Rate – The fixed percentage rate applied to loans in this category.
- Loans (Active) – The total number of employees currently holding a loan in this category.
- Monthly (Total) – The total monthly monetary value of all active loans in this group.
- Status – Indicates if the category is currently ACTIVE or disabled.
- Last Updated – Timestamp of the most recent administrative change to the category.
- Created by – The administrator who originally established the loan category.
- Actions – Edit or Delete Controls
Page Control and Tools #
- Excel Export
- Search Bar
- Pagination
- Table Refresh and Visibility Controls
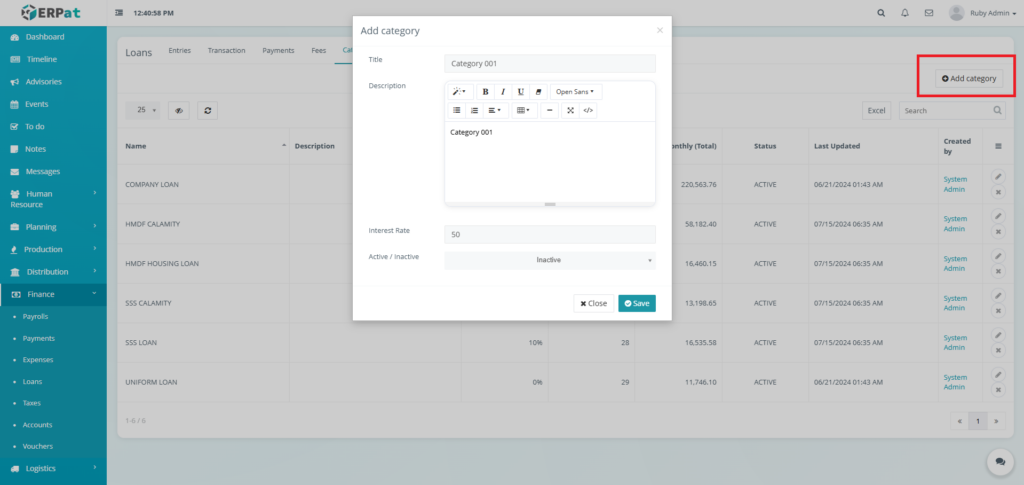
Steps for Adding Loan Category #
STEPS #
- Click the “Add Category” button.
- Fill in the necessary details.
- Click the Save button to add the loan category.
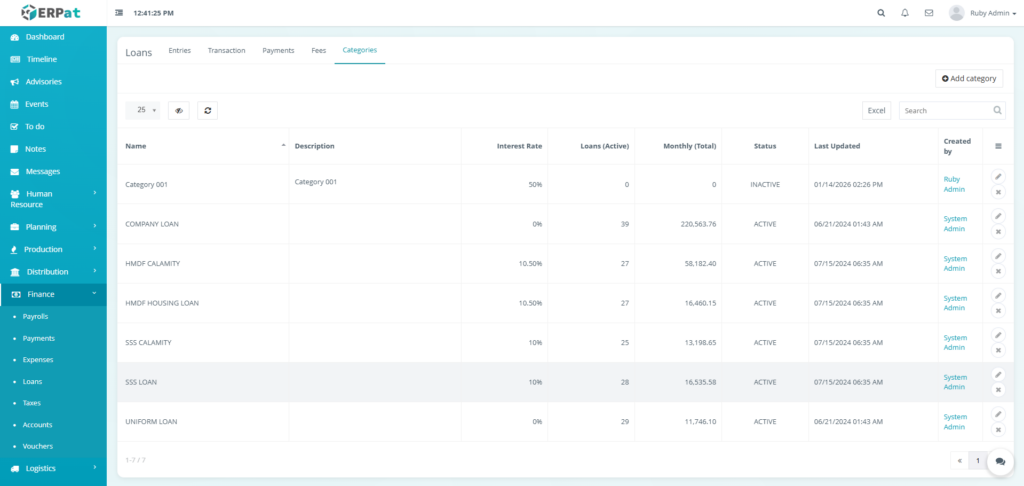
Result #
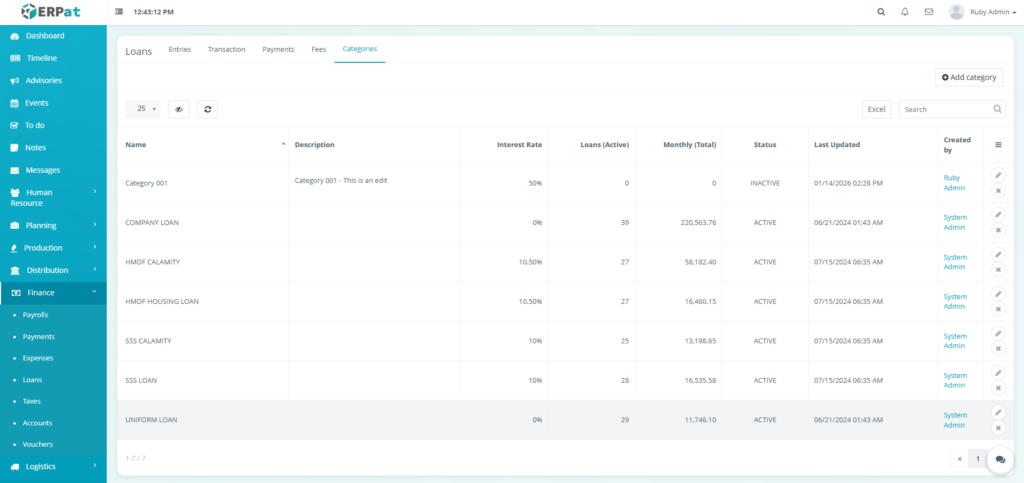
Steps for Editing a Category #
STEPS #
- Click the Update icon in actions of the table.
- Fill in the necessary details.
- Click the Save button to apply the changes.

Result #
Steps for Deleting a Category #
STEPS #
- Click the Delete icon in actions of the table.
- Click the Delete button to remove the loan category.

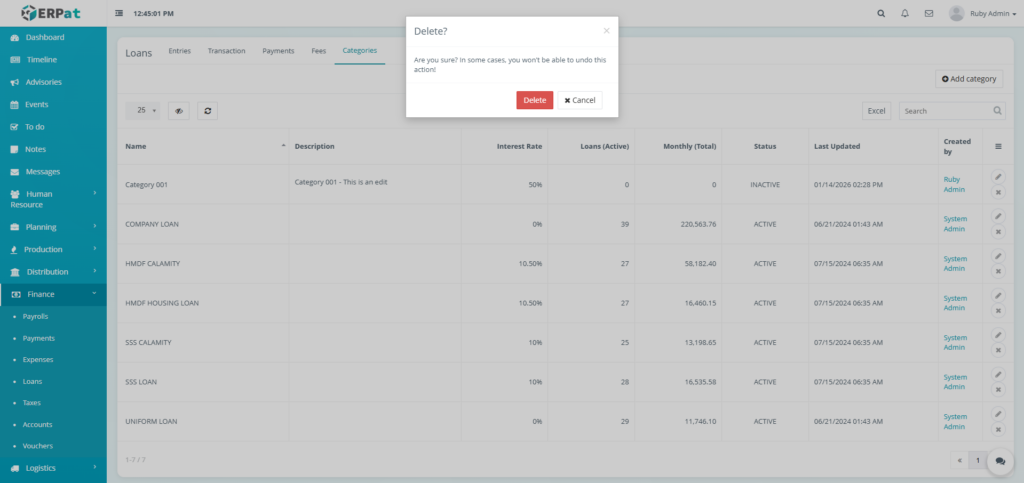
Result #

Permissions and Access Control #
- Loan management is restricted to authorized Finance and HR users.
- Loan actions are controlled by role-based permissions to prevent unauthorized changes.
Best Practices #
- Verify loan terms and interest rates before creation.
- Regularly record payments to keep balances accurate.
- Review loan balances prior to payroll deduction processing.
Audit & Logs #
All loan-related actions, including creation, updates, payments, and fee applications, are automatically logged with timestamps and user attribution to support financial audits.
Last Updated: [January 14, 2026] Module Owner: Finance IS – ERPat System


