Overview #
The Item Module is used to manage and organize product inventory efficiently. It allows users to add, categorize, and track items based on their type, brand, and status. This section supports searching, sorting, and filtering functionalities to ensure easy access to item details. With features like price management, vendor tracking, and inventory monitoring, businesses can maintain accurate stock levels, streamline sales operations, and optimize product availability.
Key Features #
- Centralized Item Management
- Detailed Item Cataloging
- Variant Tracking
- Financial Data Management
- Labeling System
- Status Management
- Audit Trail
- Bulk Actions & Data Import/Export
- Search Functionality
- Vendor Management
Accessing the Items Module #
- Log in to the ERPat System.
- Navigate to Sales from the main sidebar.
- Select Items.
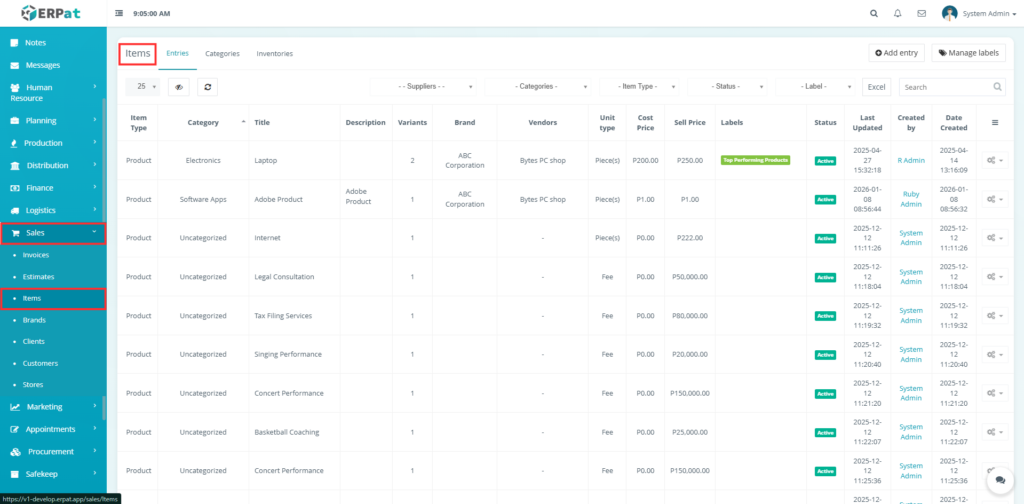
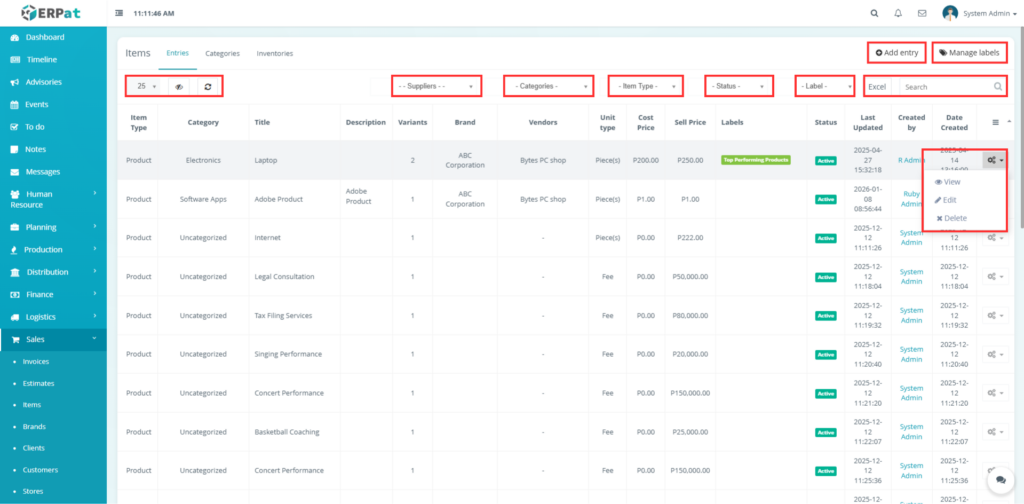
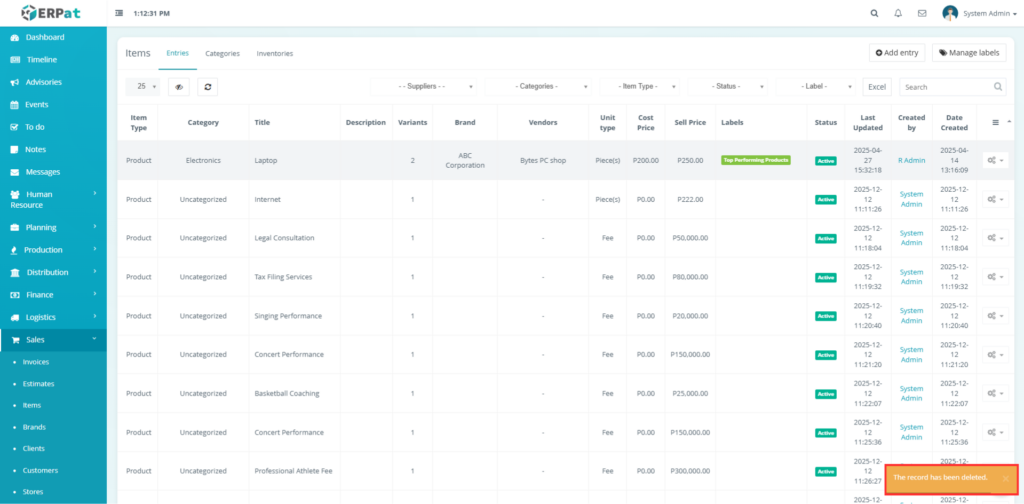
Items – Listing Page #
The Entries Tab displays all entries with the following columns:
- Item Type – Product, Service, or other item classification.
- Category – Group or department the items belongs to.
- Title – Name of the specific product or service.
- Description – Additional details or specifications about the item.
- Variants – Number of available options or configurations.
- Brand – Manufacturer or company name.
- Vendors – Suppliers or shops providing the item.
- Unit Type – Measurement unit for sale.
- Cost Price – Purchase or production cost per unit.
- Sell Price – Selling price per unit.
- Labels – Tags for categorization or promotion.
- Status – Current state.
- Last Updated – Most recent modification timestamp.
- Created by – User who entered the item.
- Date Created – Record creation timestamp.
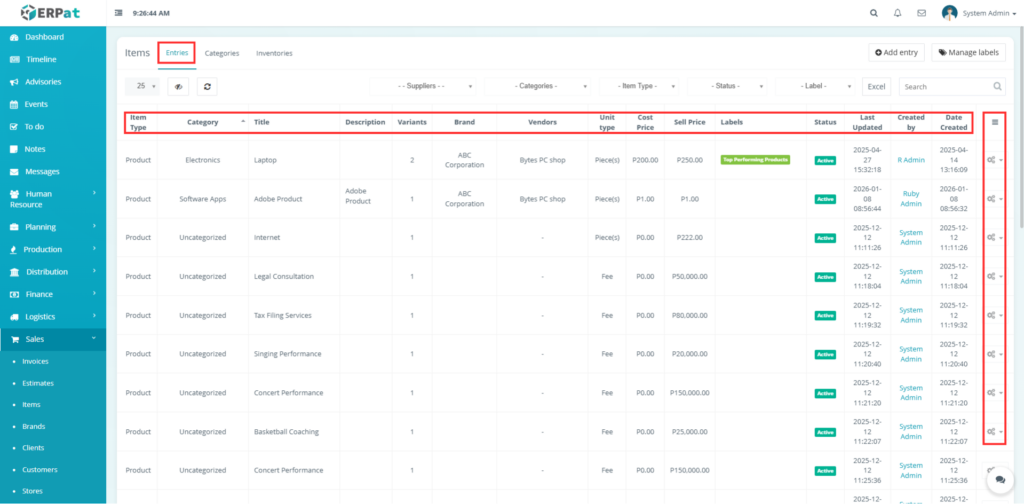
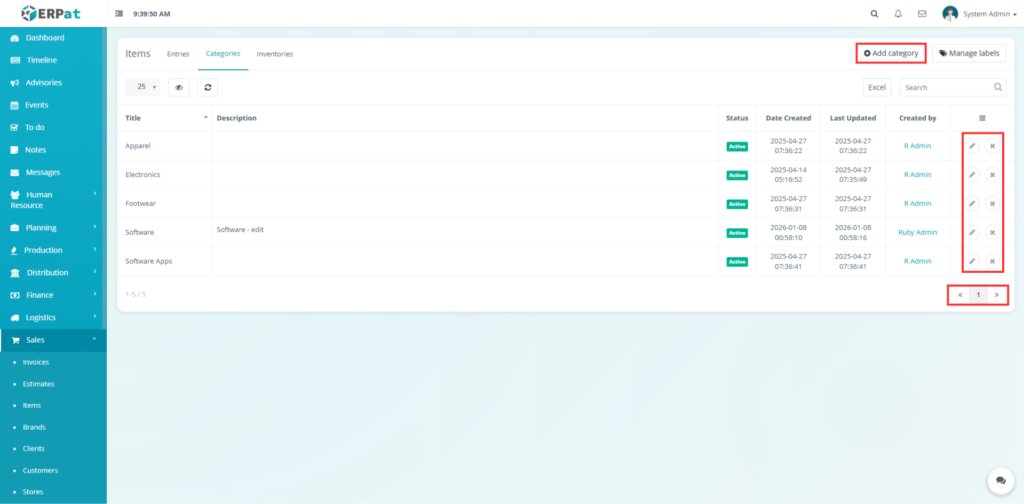
Items – Listing Page Tabs #
- Entries – Displays all items in a list with their main details.
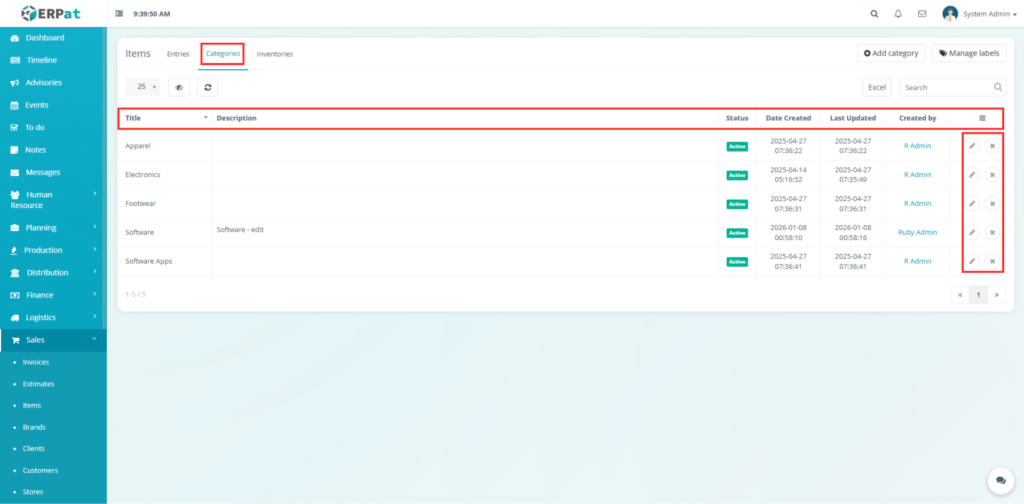
- Categories – Displays the list of available item groups with their status and audit details.
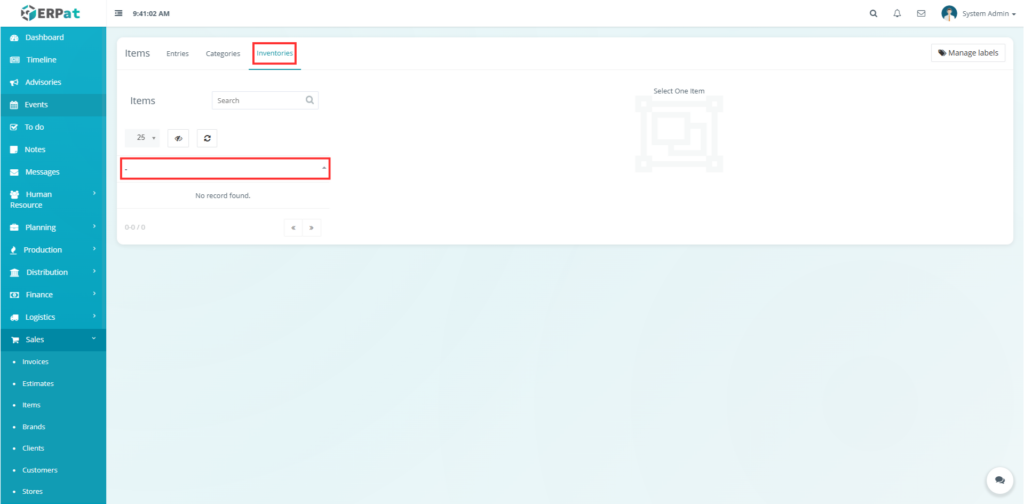
- Inventories – Manages stock levels, warehouses, and inventory-related operations for items.
Additional Controls #
- Search bar for quick schedule lookup.
- Pagination for managing large datasets.
- Refresh and visibility toggle controls.
- Excel export option.
- Add button for creating records
- Status and audit columns
- Action buttons (View/Edit/Delete)
- Drop-down menu

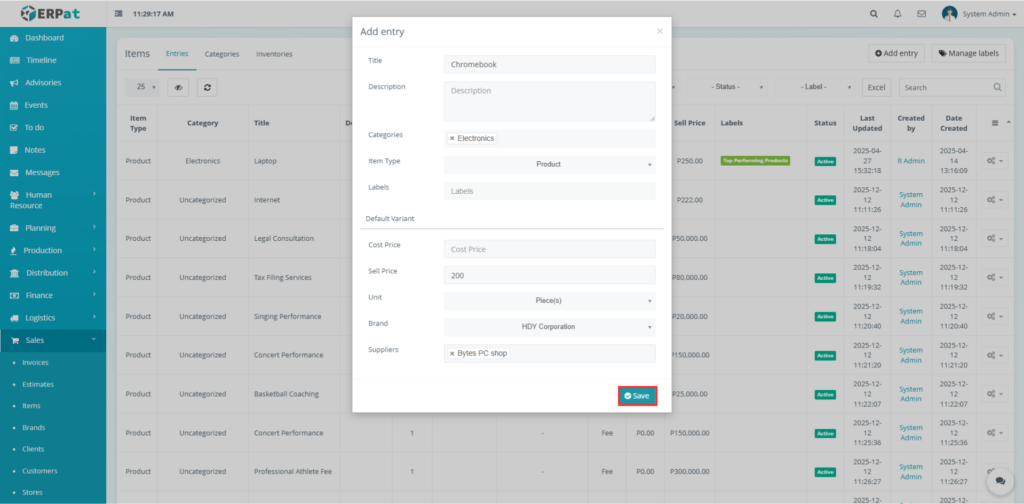
Steps for Adding an Entry #
Steps #
- Navigate to the Entries tab in the Item page.
- Click the Add Entry button at the top of the table view.
- Fill in the required fields:
- Entry Title
- Description
- Categories (e.g., electronics, apparel, etc)
- Item Type (e.g., product or service)
- Labels
- Cost Price
- Sell Price
- Unit (e.g.,Piece, fee, unit)
- Brand
- Suppliers
- Review all details for accuracy.
- Click Save to create an entry.

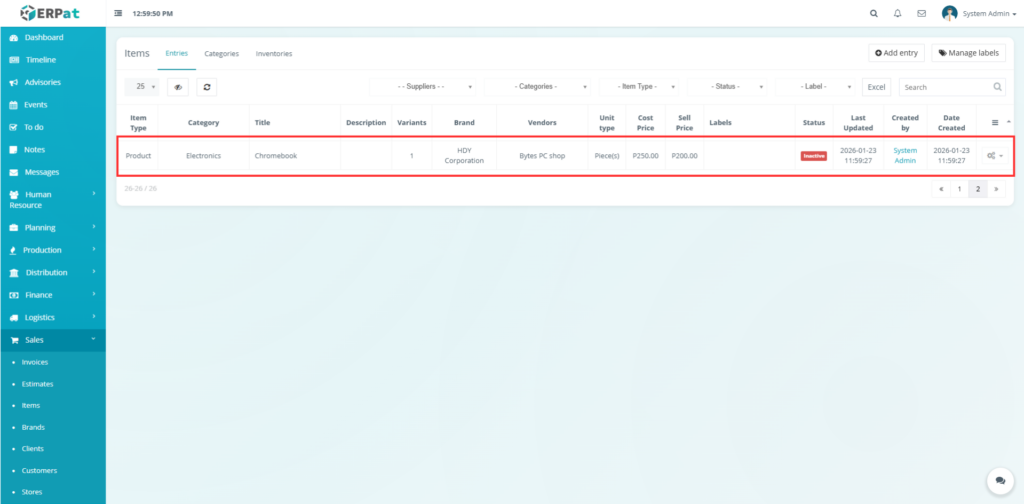
Result #
Once the entry is saved, it will be added to the main Entries list and can be immediately used for sales, inventory tracking, and reporting.
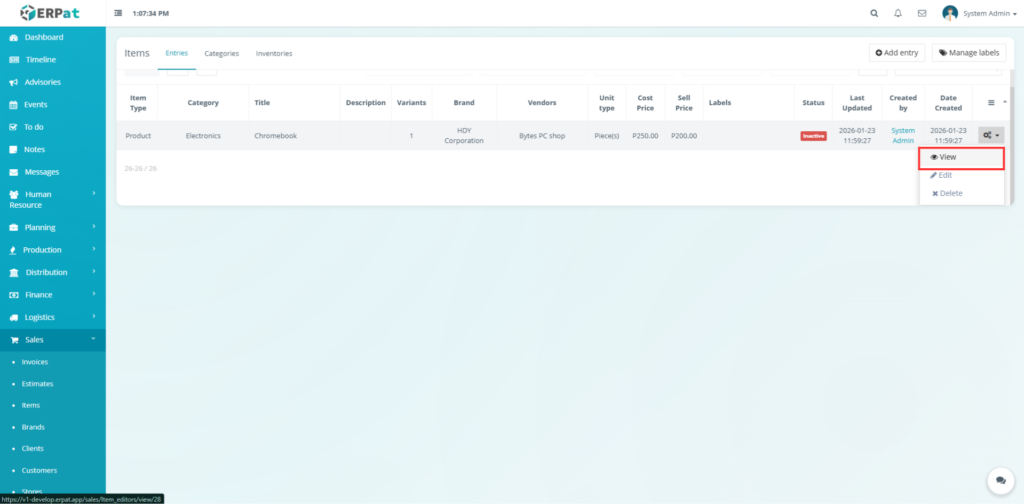
Steps for Viewing an Entry #
Steps #
- Locate the entry from the Entries listing page.
- Click the View icon under the Actions column.
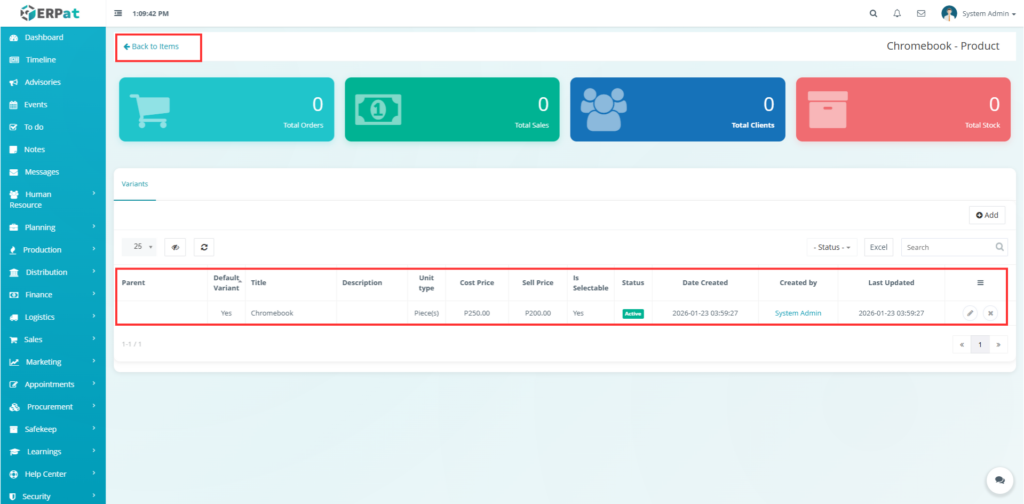
- Once clicked, it will direct you to a detailed view item page, which includes:
- The item’s general information (Title, Category, Brand, etc..)
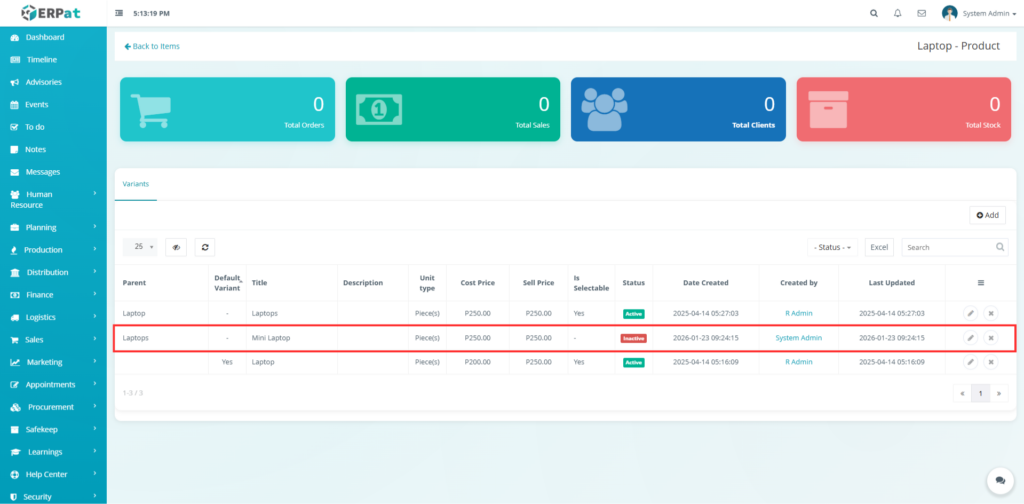
- A Variant section listing all available configurations (e.g., models, sizes, colors)
- A table showing details for each variants
- Use the pagination controls at the bottom to navigate if multiple variants exists.
Viewing the Added Entry #
Add, Edit, and Delete buttons from detailed page #
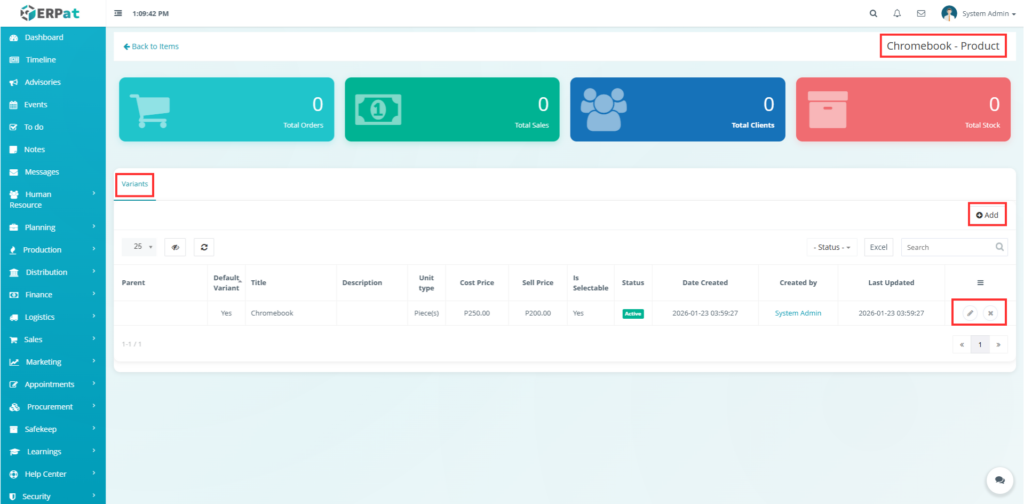
Adding Variants #


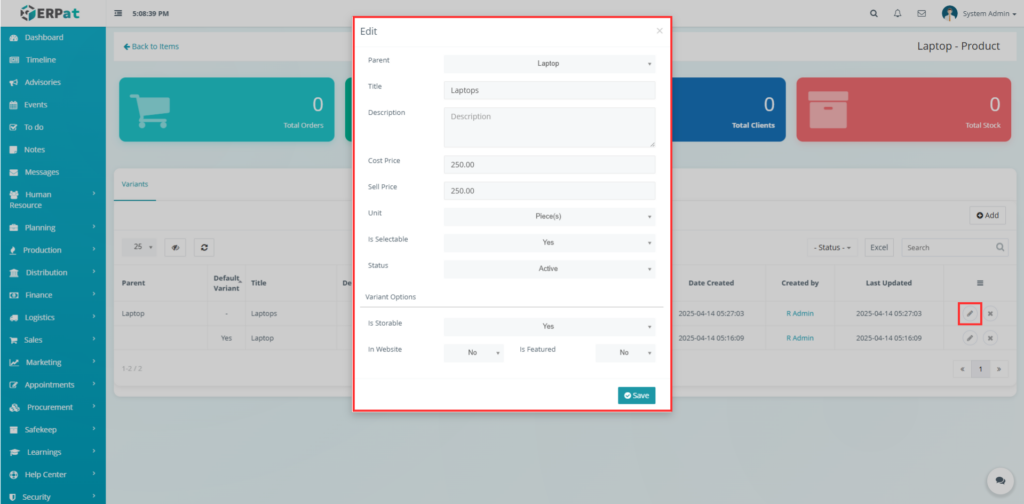
Editing an Item #
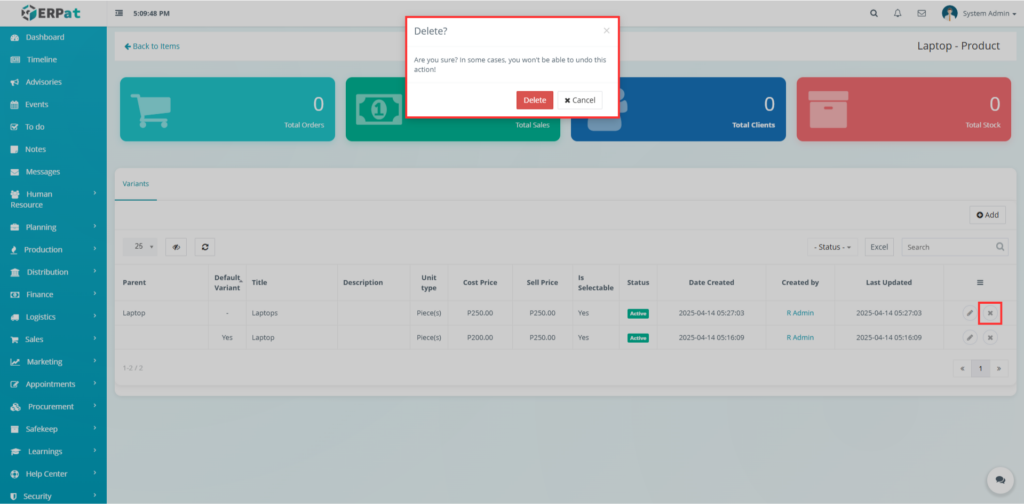
Deleting an Entry #
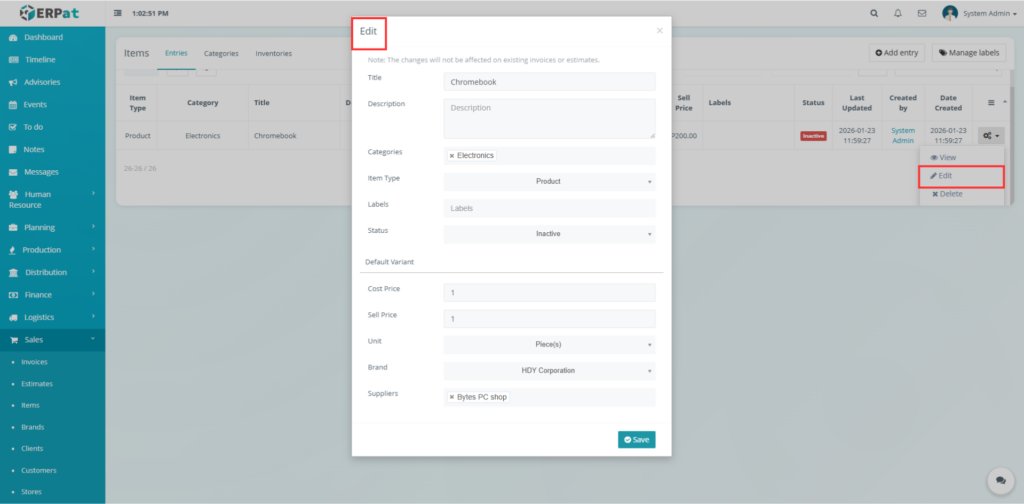
Steps for Editing an Entry #
Steps #
- Locate the entry from the listing page.
- Click the Edit icon under the Actions column.
- Update the necessary entry details.
- Click Save to apply the changes.
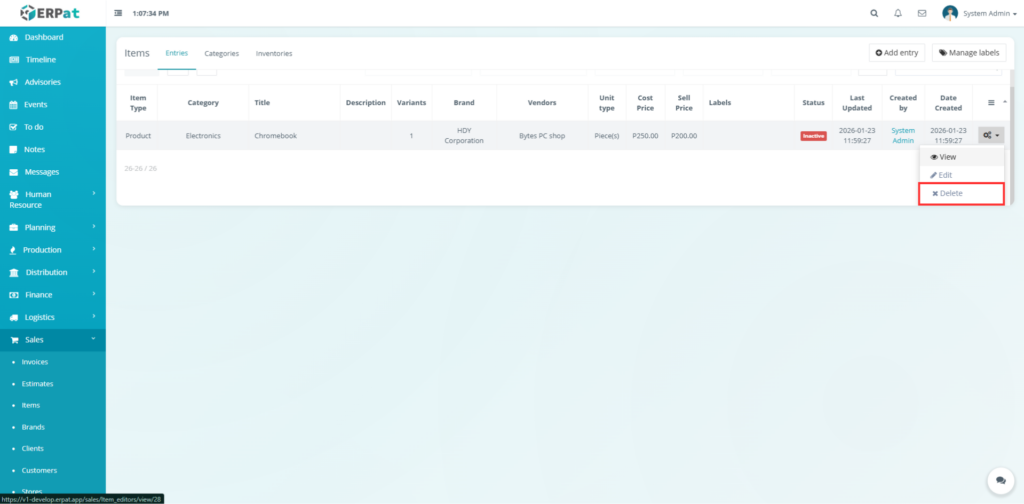
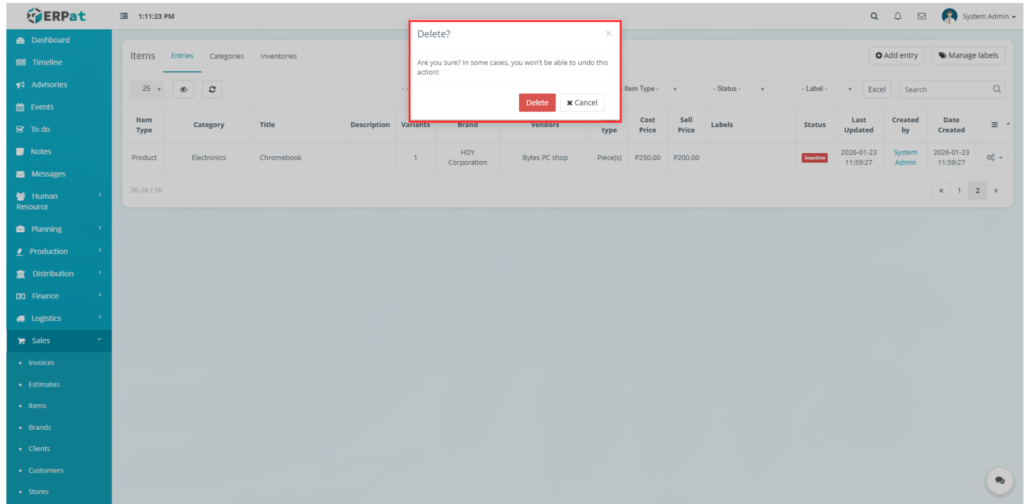
Steps for Deleting an Entry #
Steps #
- Locate the entry from the listing page.
- Click the Delete icon under the Actions column.
- Click Delete to delete the entry.
Permissions and Access Control #
Only authorized HR or Admin roles can create, edit, export, or delete schedules.
View-only access may be granted to supervisors or managers.
Best Practices #
- Use clear and consistent schedule naming conventions.
- Verify cost and sell prices regularly to maintain profit margins.
- Avoid modifying active items that are currently linked to open sales orders or invoices.
- Review variant and inventory levels before deleting items.
- Assign items to appropriate categories and labels for better organization and reporting.
- Keep vendor and brand information updated to ensure accurate supplier tracking.
- Regularly audit items entries to remove duplicates and correct outdated information.
Audit & Logs #
All item-related actions like adding entry and adding category are logged for audit and compliance purposes within the ERPat System.
Last Updated: January 23, 2026
Module Owner: Sales – ERPat System


