Overview #
The Brands Module allows businesses to manage different brands associated with their products. Users can create, categorize, and track brands, ensuring better organization and brand-specific sales tracking across the inventory system.
Key Features #
- Brand Directory
- Brand Associate Tracking
- Status Management
- Audit Trail
- Integration with Inventory
- Date Export
- Role-based Access Control
Accessing the Brand Module #
- Log in to the ERPat System.
- Navigate to Sales from the main sidebar.
- Select Brands.
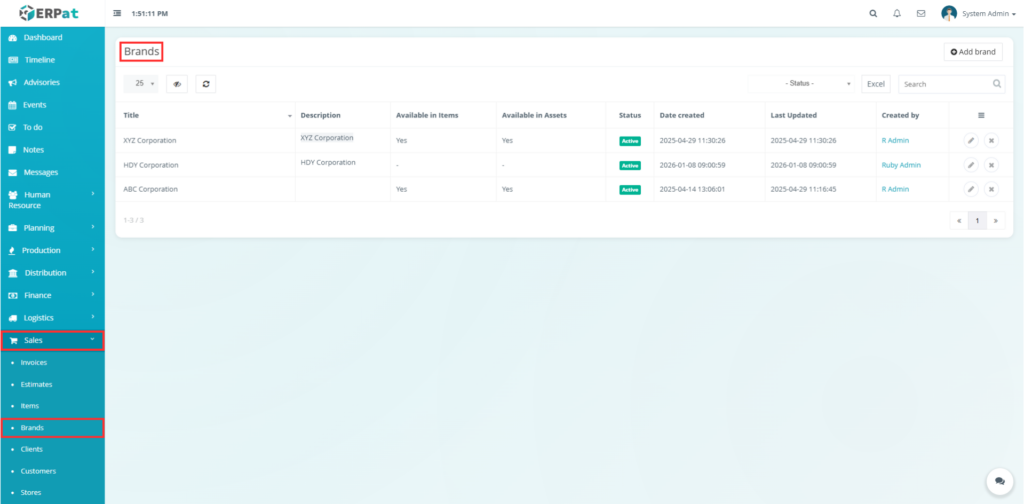
Brands – Listing Page #
The Brands module displays all registered brands with the following columns:
- Title – Name of the brand.
- Description – Additional details or specifications about the brand.
- Available in Items – Indicates whether the brand is linked to any products/service (Yes/No)
- Available in Assets – Indicates whether the brand is linked to any assets. (Yes/No)
- Status – Shows if the brand is Active or Inactive.
- Date Created – Timestamp where the brand record was added.
- Last Updated – Timestamp of the most recent modification.
- Created by – Username of the user who created the brand entry.
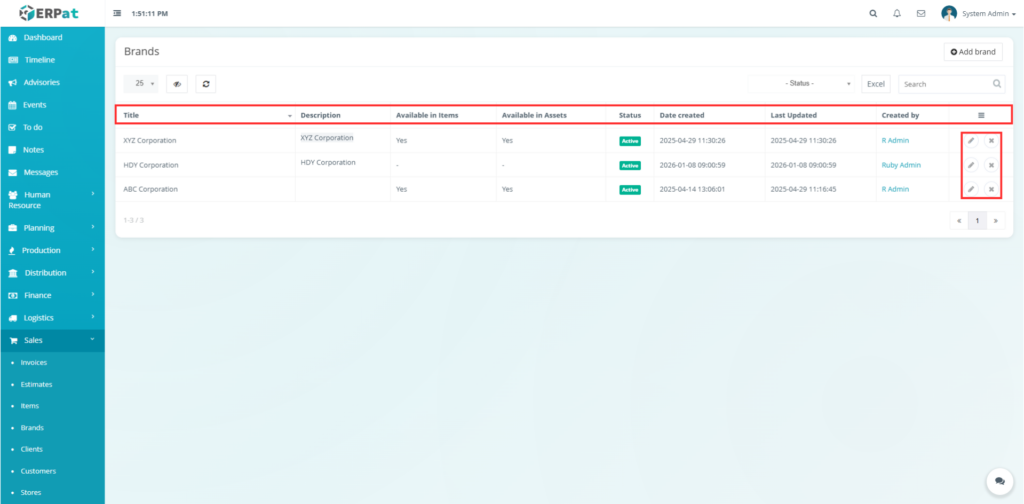
Additional Controls #
- Add Brand Button to create a new brand.
- Edit Button (per row) to modify an existing brand’s details.
- Delete Button (per row) to remove a brand.
- Status toggle to quickly activate or deactivate a brand.
- Search bar to filter brands by status, association, or date.
- Refresh button to reload the current brand list.
- Column visibility toggle to show or hide the column in the table view.
- Excel export button to download the brand list as a spreadsheet.
- Pagination controls to navigate between pages of brands when the list is long.
- Bulk actions dropdown to apply actions to multiple brands at once.
- Sortable headers to sort brands by title, date created, etc.
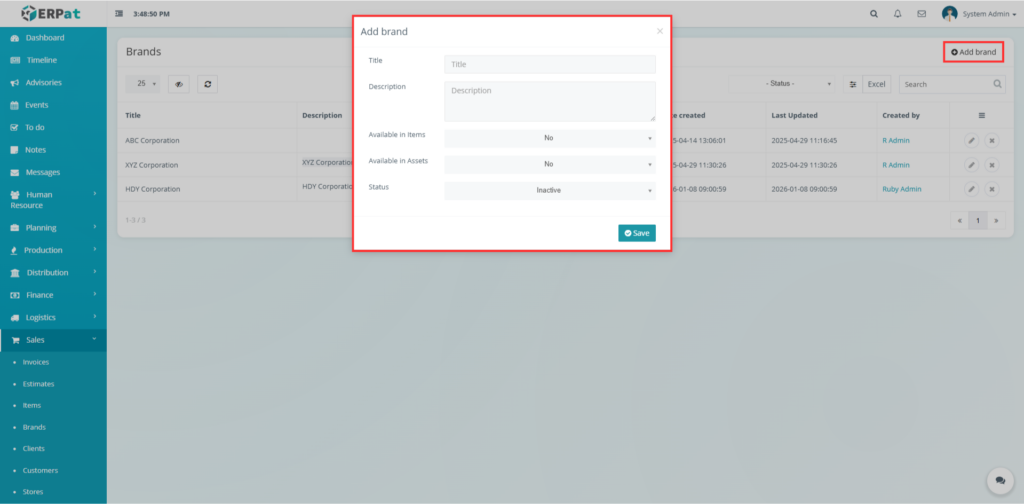
Steps for Adding a Brand #
Steps #
- Navigate to the Entries tab in the Item page.
- Click the Add brand button at the top of the table view.
- Fill in the required fields:
- Brand Title
- Description
- Available in Items (Yes/No)
- Available in Assets (Yes/No)
- Status
- Review all details for accuracy.
- Click Save to add a brand.
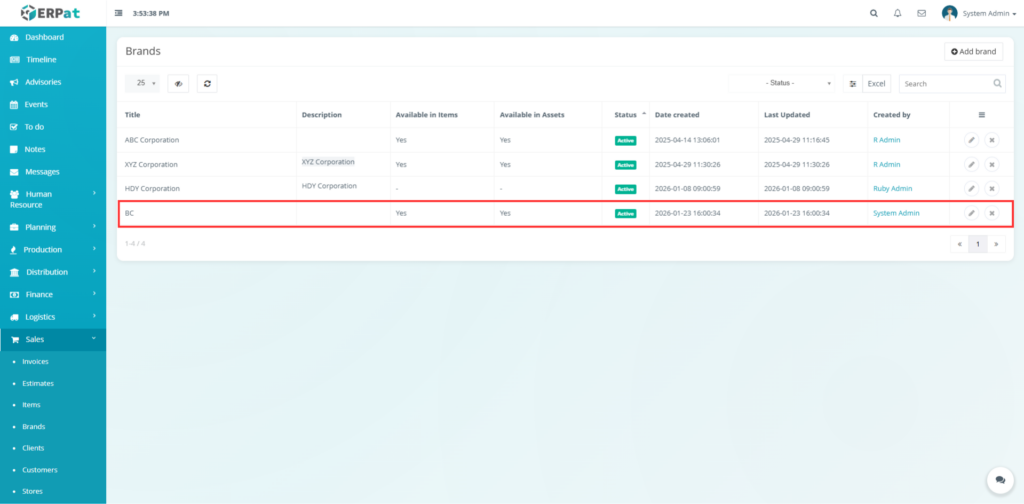
Result #
Once the brand is added, it will appear in the Brands list.
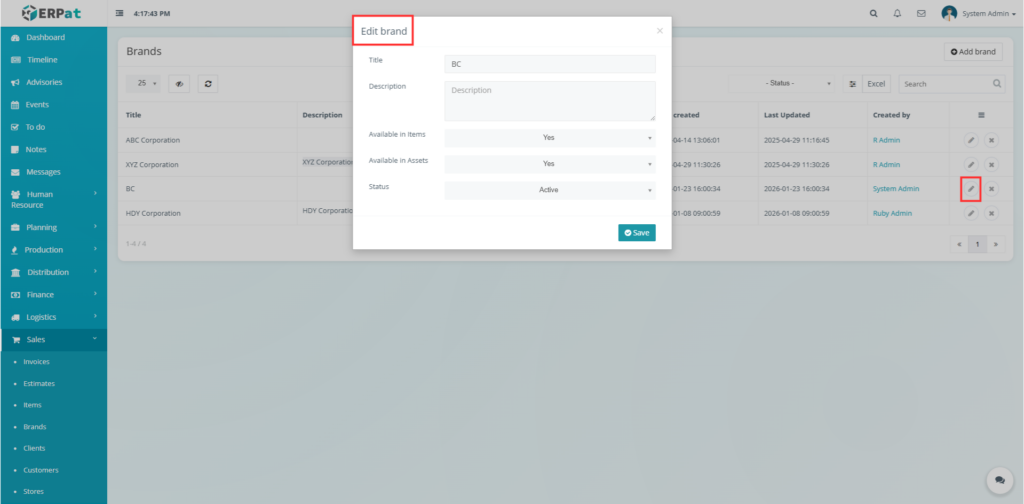
Steps for Editing a Brand #
Steps #
- Navigate the Brands from the listing page.
- Locate the brand you wish to edit using the Search bar or by browsing a list.
- Click the Edit button in the actions column for that brand.
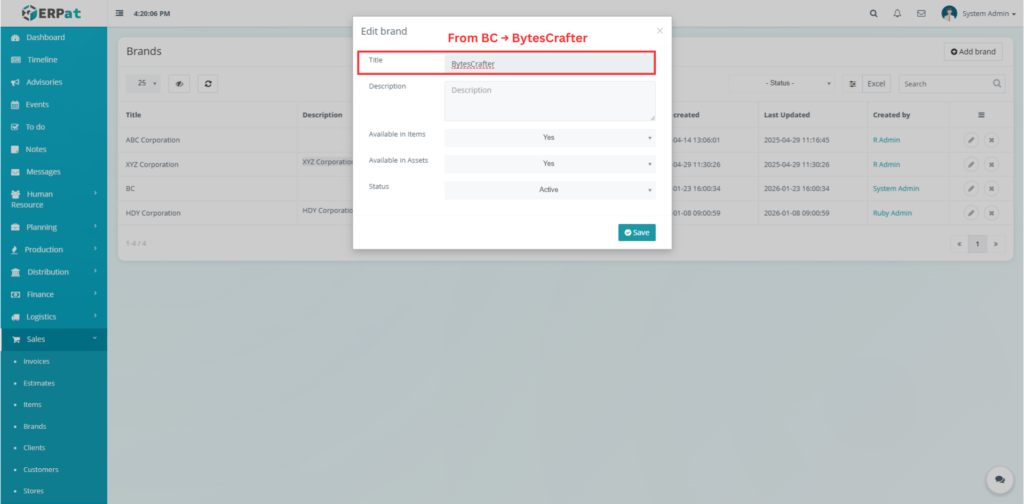
- In the edit form, update the desired fields:
- Title
- Description
- Status (Active/Inactive)
- Review your changes for accuracy.
- Click save button to apply changes.
- The updated brand information will now be reflected across all linked items and assets.