Overview #
The Email Campaigns Module allows users to create, manage, organize, and monitor email campaigns and reusable email templates within the ERPat System. It provides tools for composing campaigns, attaching recipients, managing labels, tracking campaign statuses, and organizing templates for repeated use. Users can browse campaign records, filter and search entries, and maintain structured communication workflows.
Key Features #
- Create and manage email marketing campaigns.
- Define campaign subject, rich‑text content, attachments, CC/BCC recipients.
- Select target contacts and track total contacts reached.
- Monitor campaign status.
- Assign labels for categorisation and filtering.
- Search, filter, and export campaign data to Excel.
- Manage reusable email templates – create, edit, delete, and use in campaigns.
- Full pagination and table column customisation.
- Audit logging of all campaign and template actions.
Accessing the Campaigns Module #
STEPS #
- Log in to the ERPat System.
- From the primary sidebar, navigate to Marketing.
- Select Campaigns.
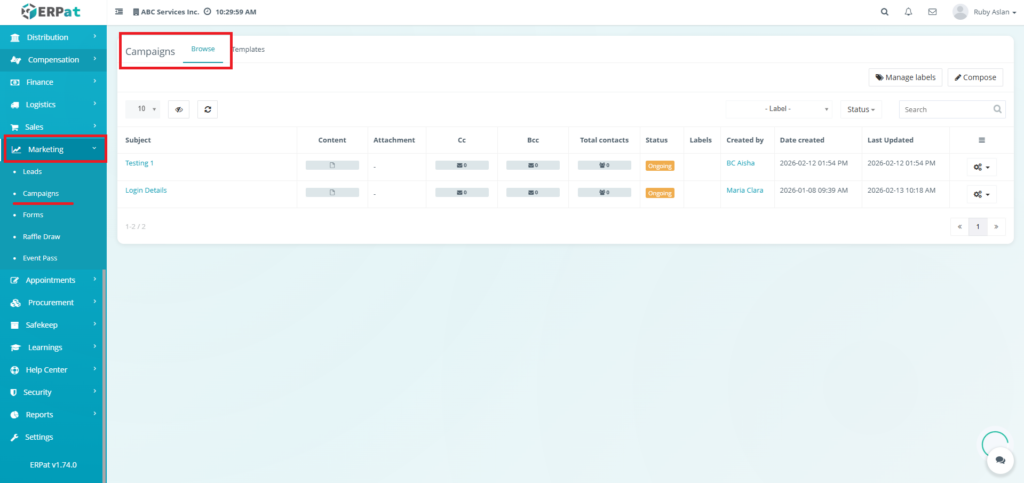
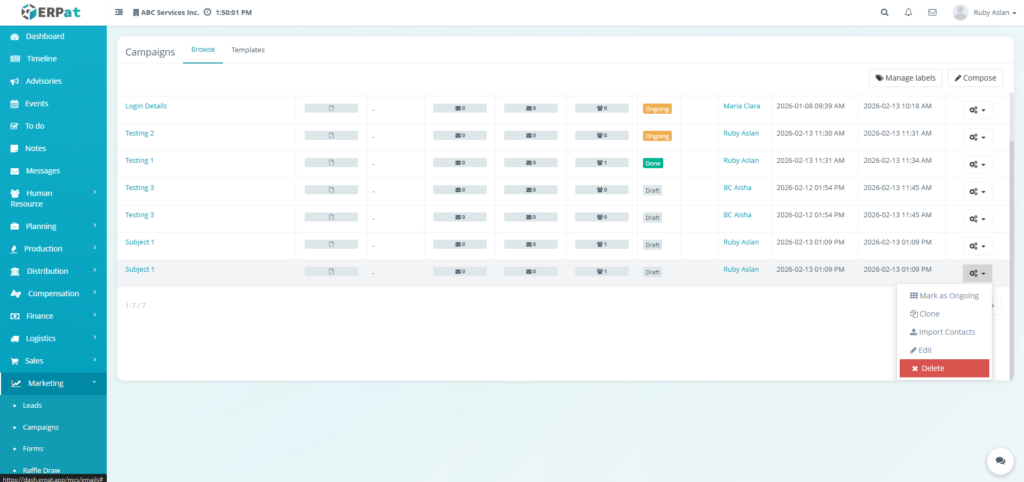
Campaigns Browse Listing Page #
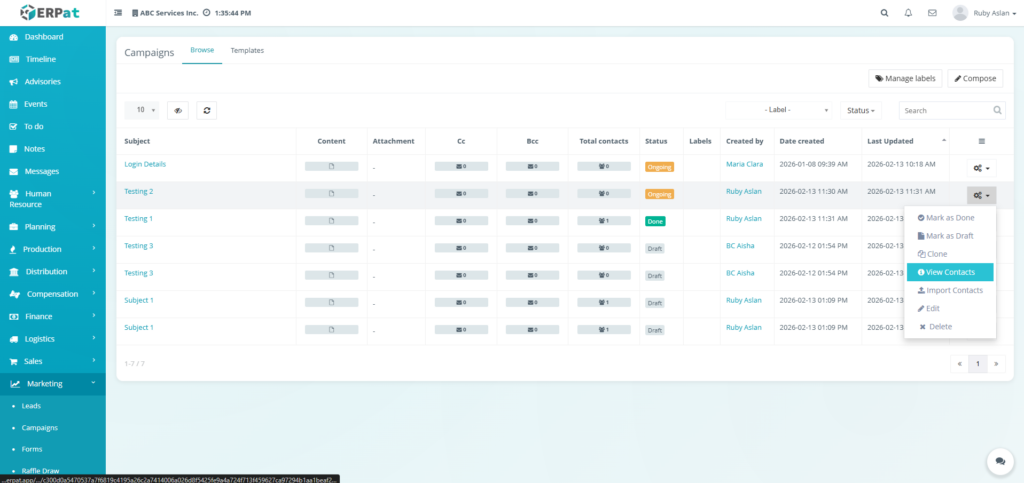
The Browse tab displays a comprehensive table of all created campaigns with the following columns:
- Subject – Subject line of the campaign email.
- Content – Preview or summary of the email body.
- Attachment – Indicator of attached files.
- Cc – Carbon copy recipients (email addresses).
- Bcc – Blind carbon copy recipients (email addresses).
- Total contacts – Number of targeted recipients.
- Status – Current state (e.g., Draft, Sent, Scheduled).
- Labels – Custom tags for filtering and organization.
- Created by – User who created the campaign.
- Date created – Timestamp of creation.
- Last Updated – Timestamp of last modification.
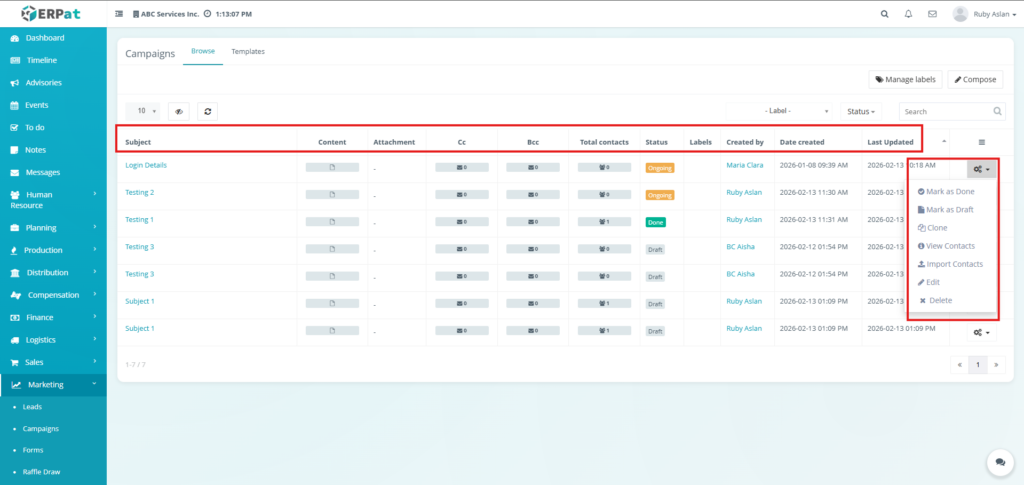
BROWSE ACTIONS #
Functions of various actions in the Browse.
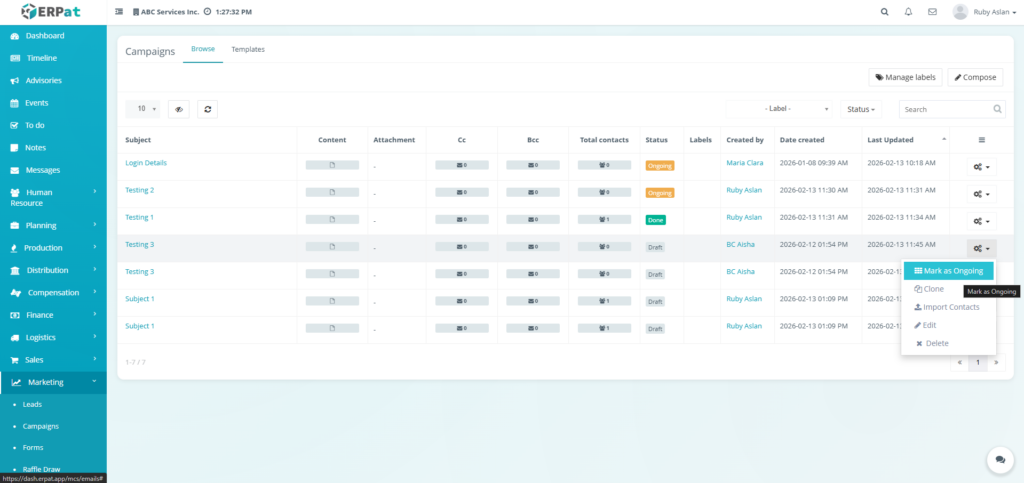
Mark as Ongoing(Status Draft) #
Sets the campaign status to Ongoing.
Mark as Done (Status Ongoing) #
Sets the campaign status to Done.
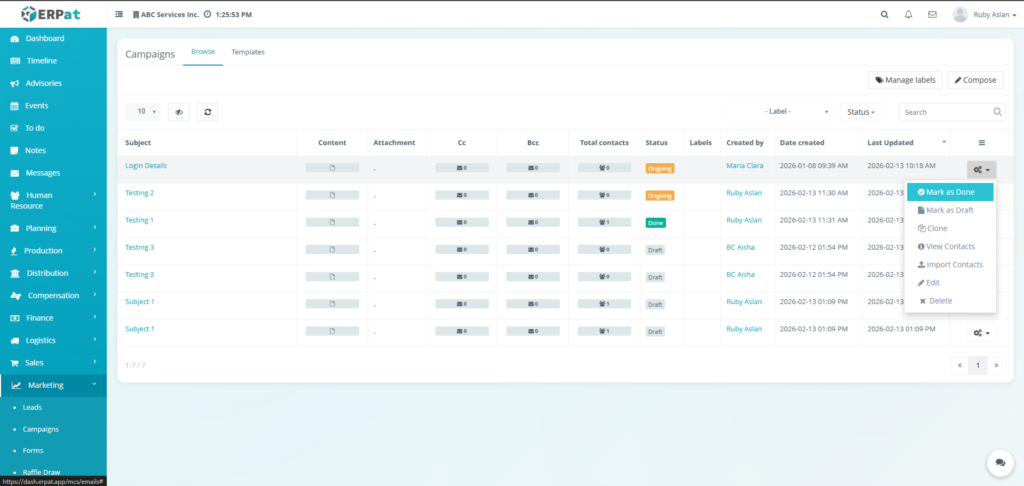
Mark as Draft (Status Ongoing or Done) #
Set the campaign status to Draft.

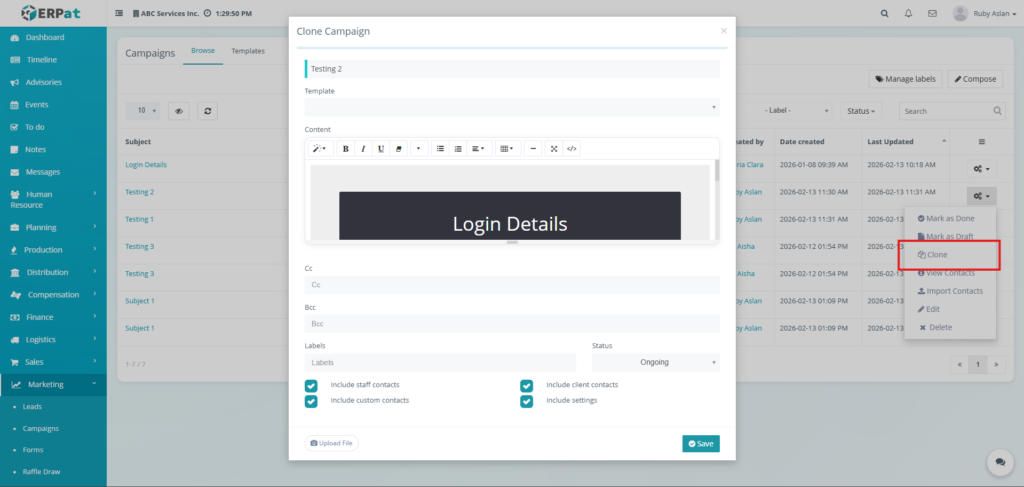
Clone #
Opens a create modal containing information from the selected campaign.
View Contacts #
Redirects to another page containing related contacts pertaining to the campaign.

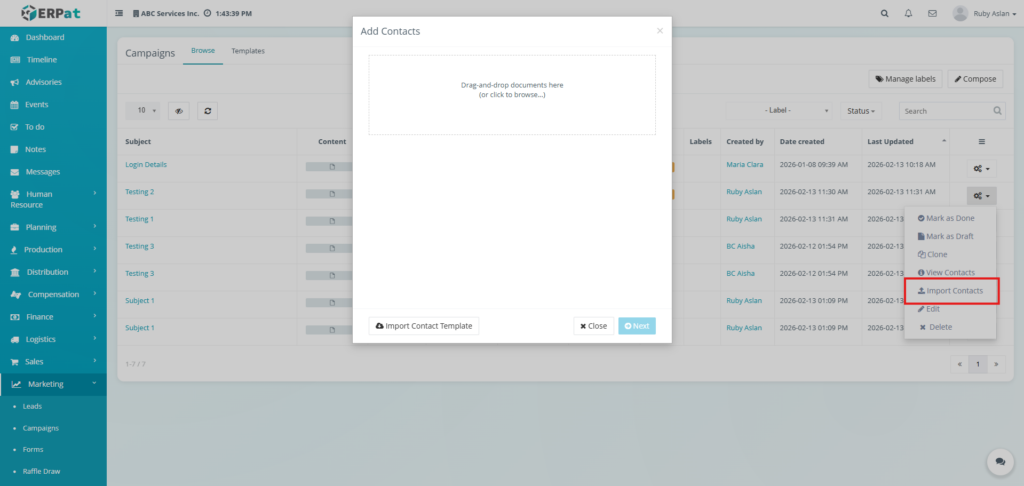
Import Contacts #
Allows bulk addition of related contacts to the campaign be added by inputting it in a template and uploading it to the system.
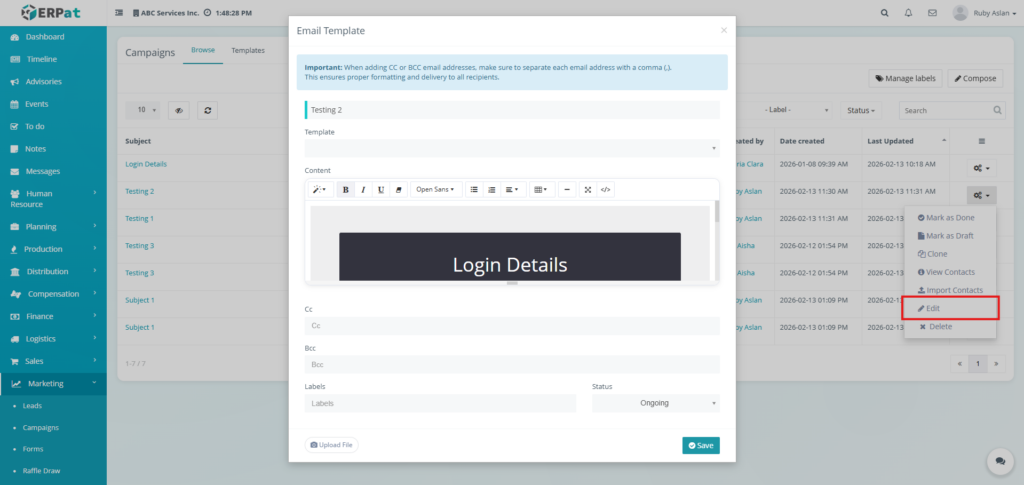
Edit #
Opens a modal for editing the details of existing campaign.
Delete #
Removes the selected campaign.
Steps for Creating a Campaign #
STEPS #
- Click the Compose button
- Select the template to be used
- Fill in the necessary details
- Click the Save button to save the campaign
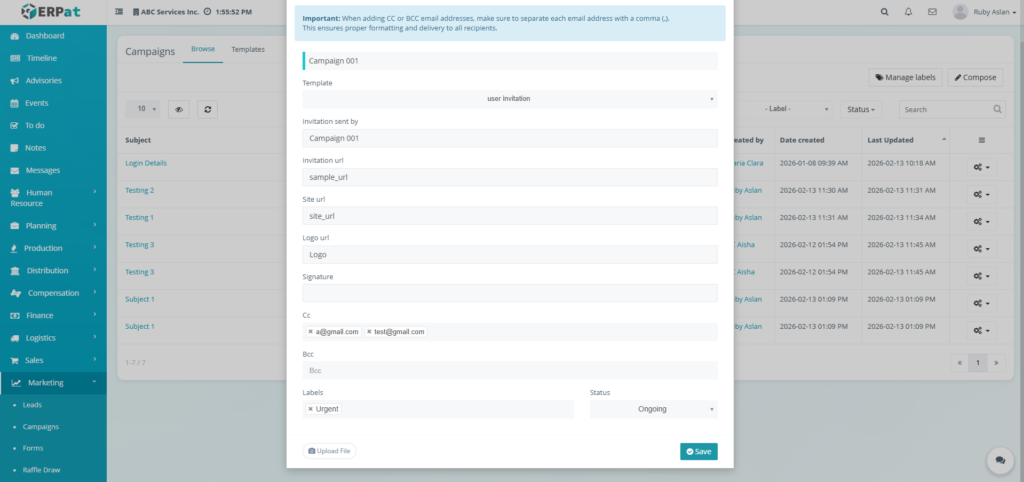
Result #

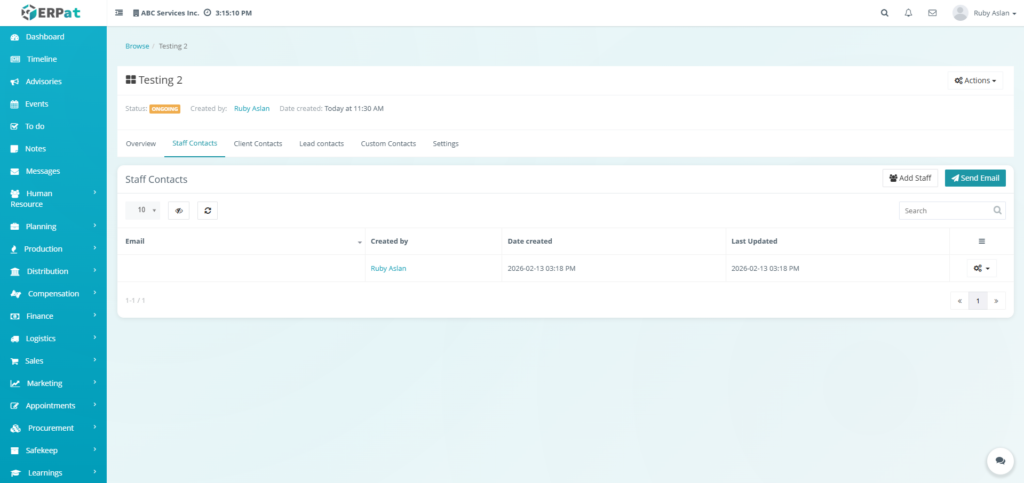
Steps for Adding Related Contacts to the Campaign #
STEPS #
- Click the Action icon in actions
- Click the View Contacts option
- Select the type of contact that is to be added from the tabs
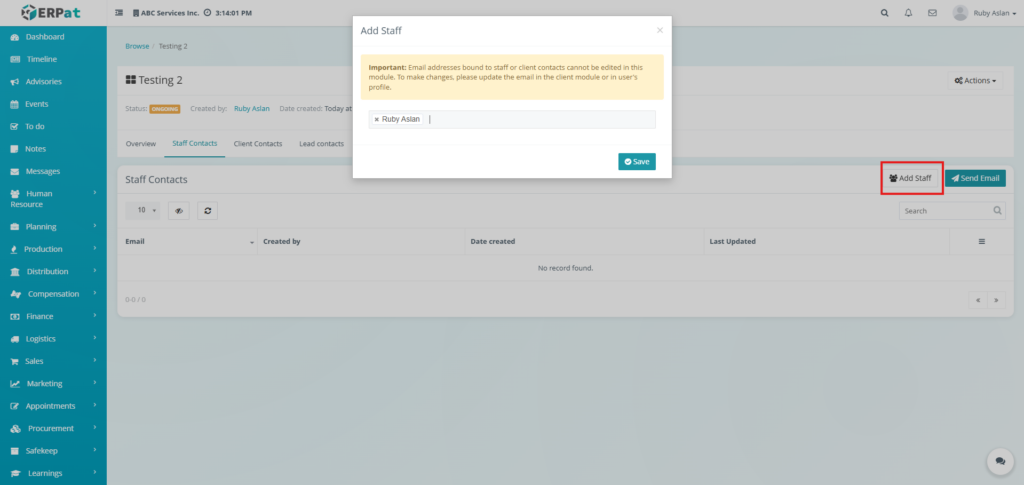
- Click the Add button in that tab
- Select from to employee or fill in the details
- Click the Save button

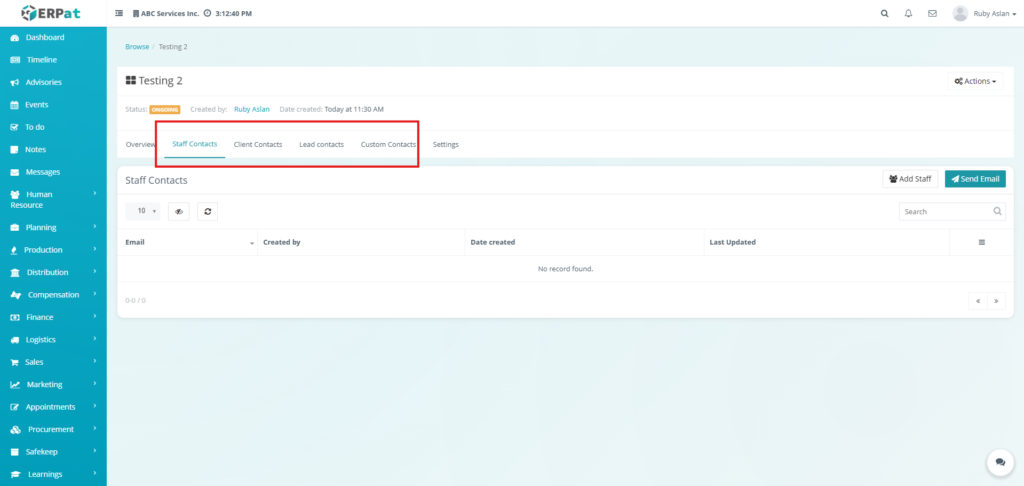
Result #
Campaigns Template Tab #
This tab manages customized templates for the campaign
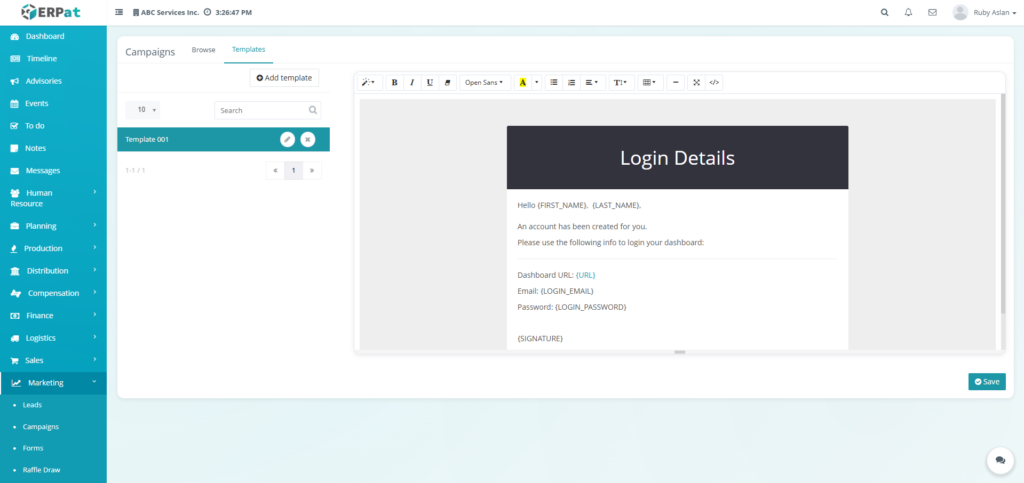
Step for Adding Template #
STEPS #
- Click the Add template button
- Add the title of the template
- Click the created template
- Fill in the details of the template
- Click the Save button to save the changes added to the template
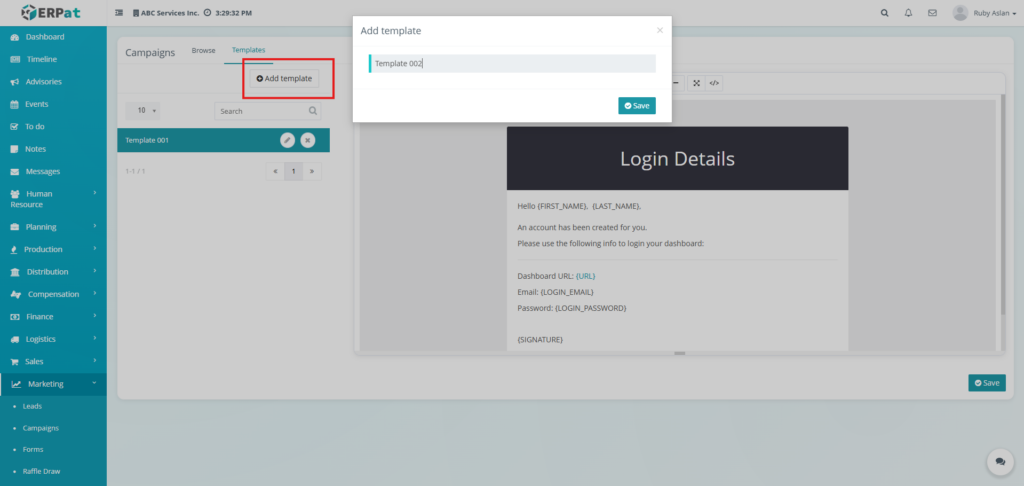
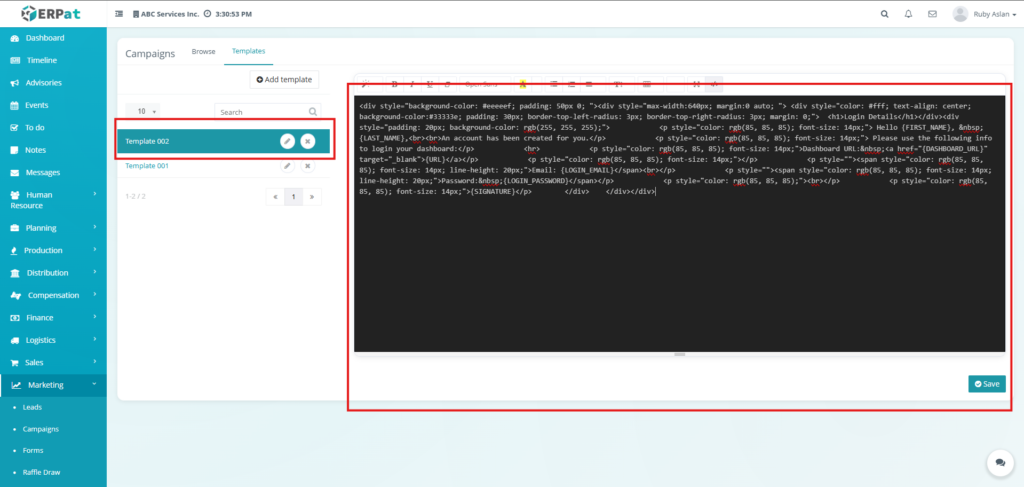
Result #

Permissions and Access Control #
- Access to the Marketing Campaigns module is restricted to authorised Marketing and Administrator roles.
- Role‑based permissions control who can create, edit, send, or delete campaigns and templates.
- View‑only access may be granted to other departments for reporting purposes.
Best Practices #
- Use descriptive campaign subjects and consistent labels for easy filtering and reporting.
- Test emails using Cc/Bcc fields before sending to full contact lists.
- Regularly archive or delete obsolete templates to keep the list manageable.
- Leverage templates to ensure brand consistency and reduce campaign setup time.
- Monitor campaign status and performance after sending to refine future strategies.
Audit & Logs #
All actions performed within the Campaigns and Templates submodules such as creation, updates, sends, and deletions are automatically logged audited. This provides a complete audit trail for compliance, performance analysis, and historical review..
Last Updated: [February 13, 2026] Module Owner: Marketing IS – ERPat System


