Overview #
The Forms Module under Marketing is used to create, manage, and monitor digital forms for campaigns, lead collection, surveys, registrations, and other marketing-related activities. These forms serve as structured data collection tools that help marketing teams gather customer information, feedback, and engagement details. Each form record contains configuration and visibility settings, ensuring consistent usage across campaigns and external integrations.
Key Features #
- Centralized management of marketing forms
- Lead and campaign data collection
- Public visibility control
- Embed functionality for websites
- Form status monitoring
- Integration with Campaigns and Leads modules
- Secure role-based access
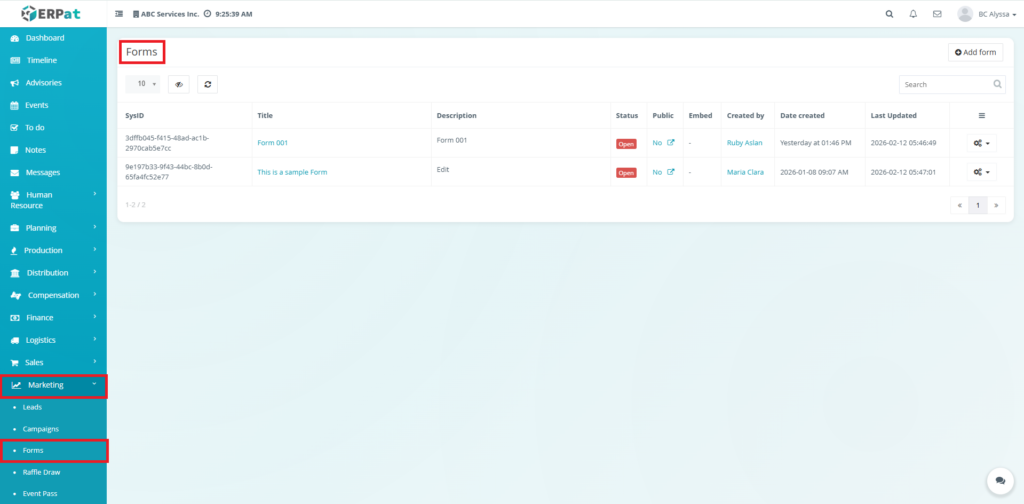
Accessing the Forms Module #
- Log in to the ERPat System.
- Navigate to Marketing from the main sidebar.
- Select Forms
You will be directed to the Forms listing page displaying all existing records.
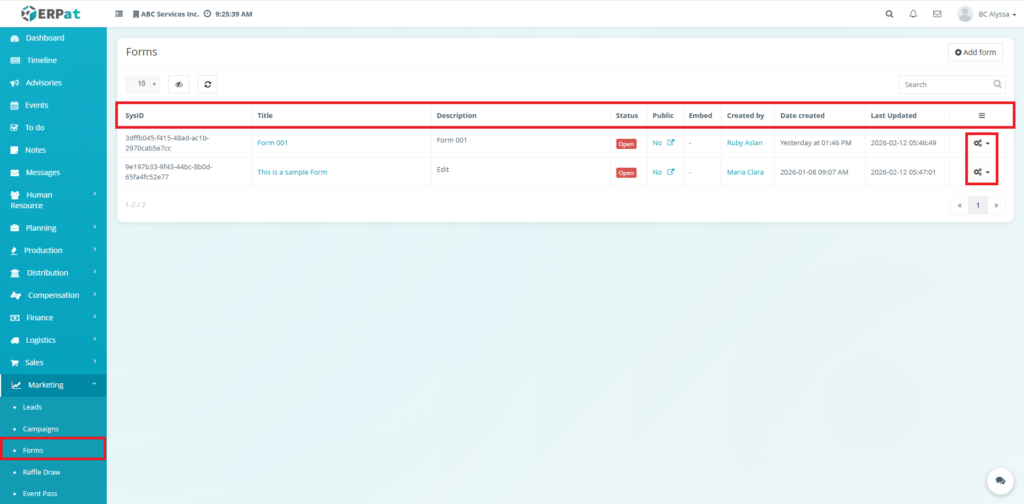
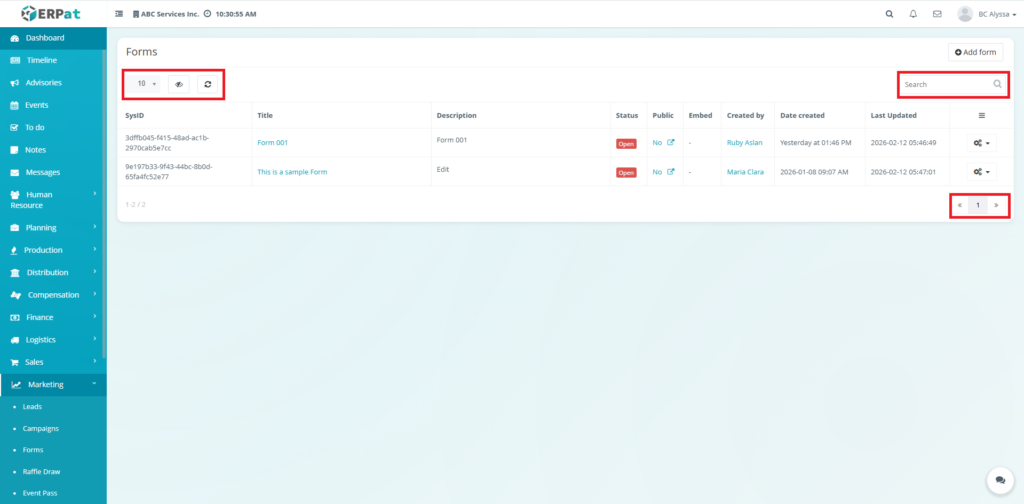
Forms Listing Page #
The listing page provides an overview of all forms with the following information:
- SysID – Unique system-generated identifier
- Title – Name of the form (clickable to View)
- Description – Brief details about the form
- Status – Indicates if the form is Open or Closed
- Public – Shows if the form is publicly accessible (Yes/No)
- Embed – Availability of embed link for external use
- Created by – User who created the form
- Date Created – Form creation date and time
- Last Updated – Most recent modification date
- Actions – Includes multiple management options via the settings icon
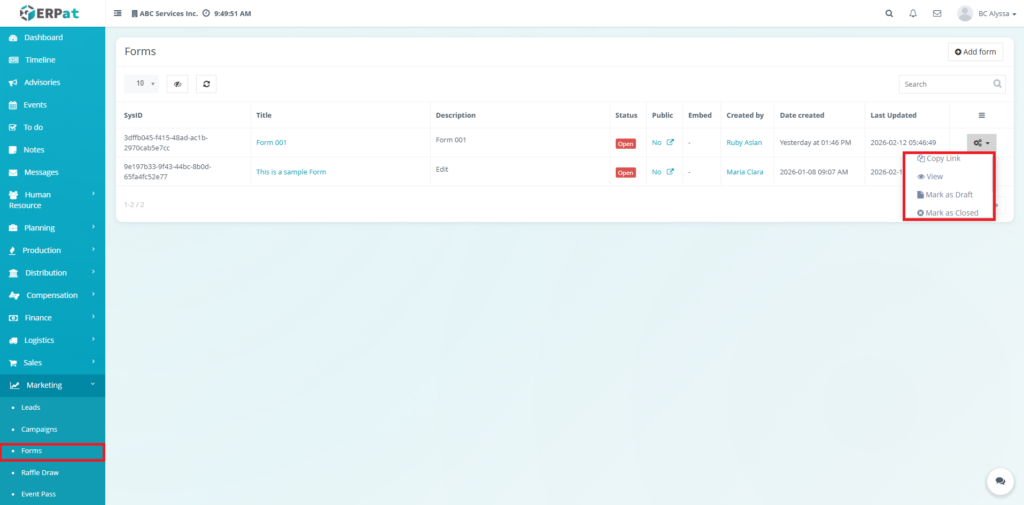
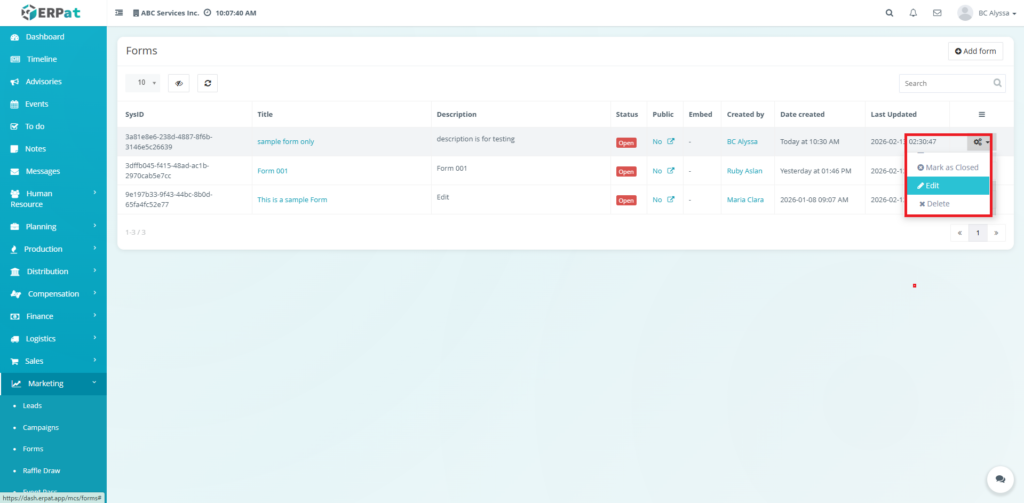
Form Actions #
Each form includes the following available actions via the Actions menu:
- Copy Link – Generates a shareable form link
- View – Redirects user to a detailed form management page
- Mark as Draft – Sets the form to a draft state, typically used for forms still under development.
- Mark as Closed – Disables form submissions
- Mark as Open – Enables form submissions
- Edit – Modify form details
- Delete – Permanently remove the form
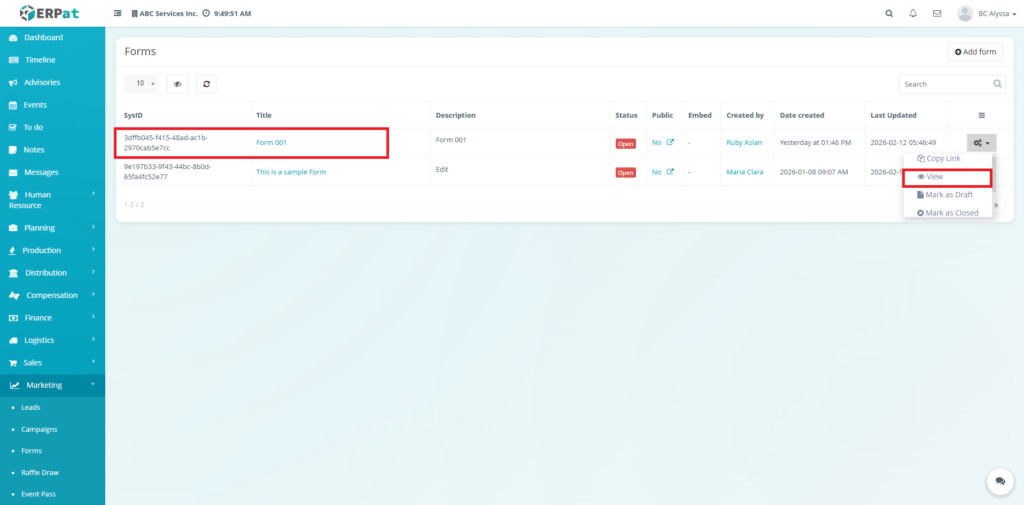
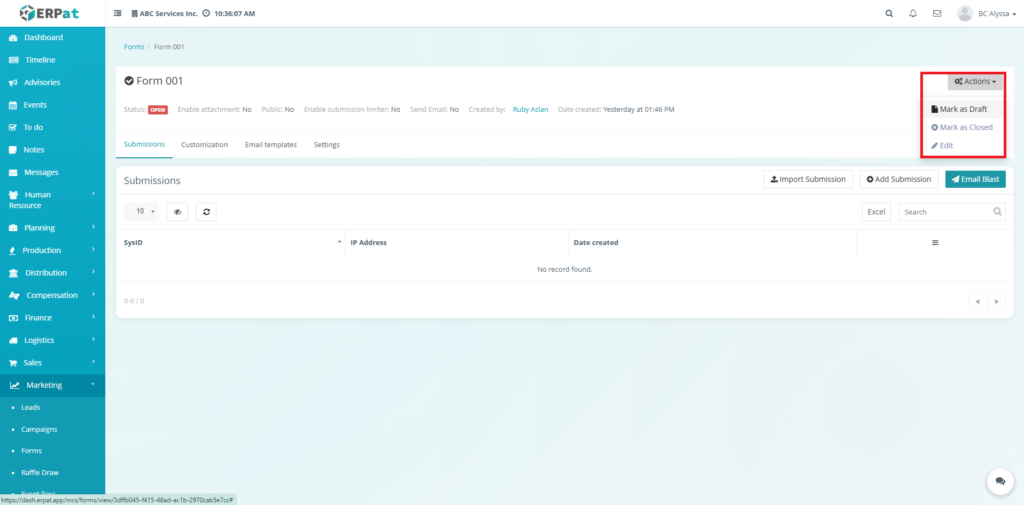
View Form #
Users can access a detailed form management page to handle submissions and specific configurations.
Steps:
- Locate the Form from the listing.
- Click the Title of the form (e.g., “Form 001”) or select View from the Actions menu.
Result #
You will be redirected to the Form Details Page which features a header summary (Status, Public settings, Creator info, Date Creation) and the following tabs:
- Submissions – View and manage respondent data.
- Customization – Modify the form layout and fields.
- Email Templates – Configure automated responses.
- Settings – Advanced form configurations.
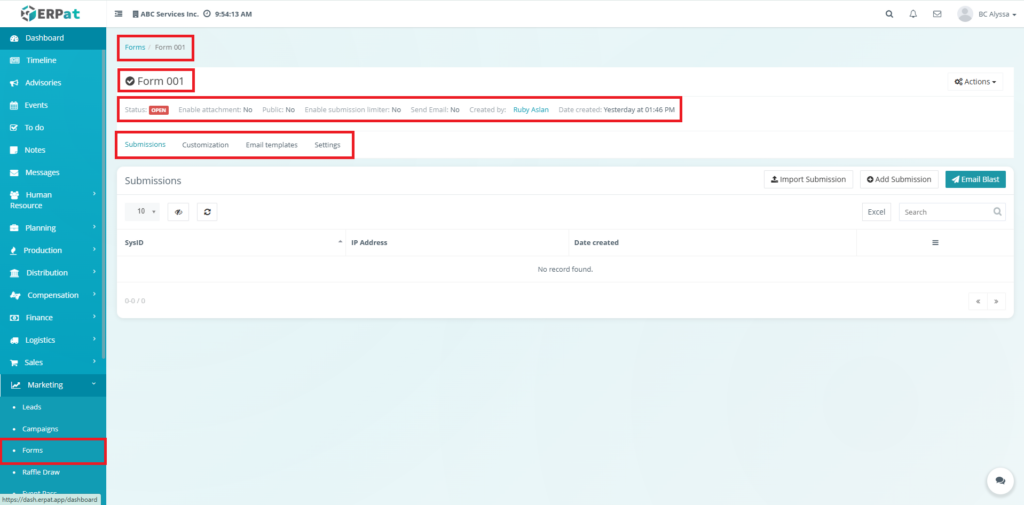
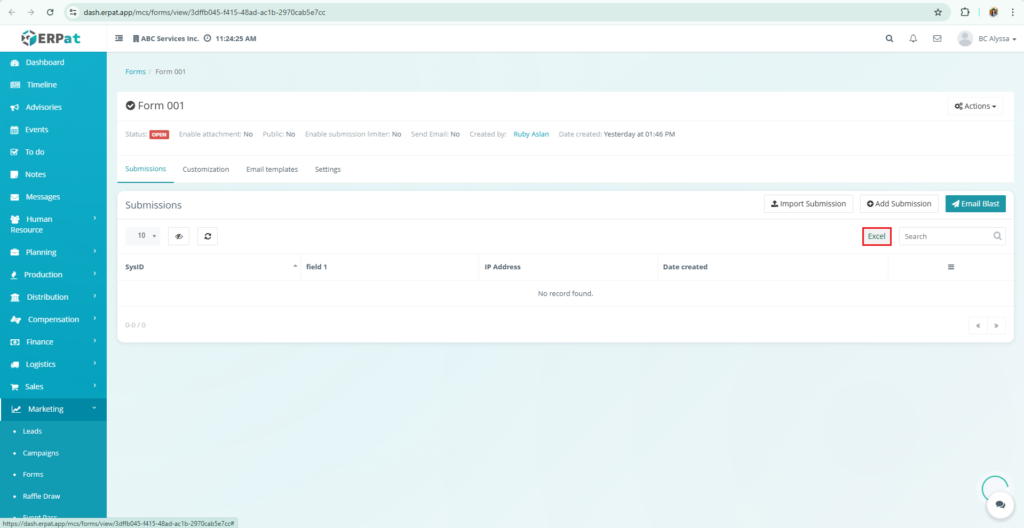
Submission Tab #
The Submissions tab provides deeper monitoring and data handling capabilities.
- Import Submission: Bulk upload data using a template.
- Add Submission: Manually enter a single record.
- Excel: Export the current list of entries to a spreadsheet.
- Email Blast: Send targeted communications to form respondents.

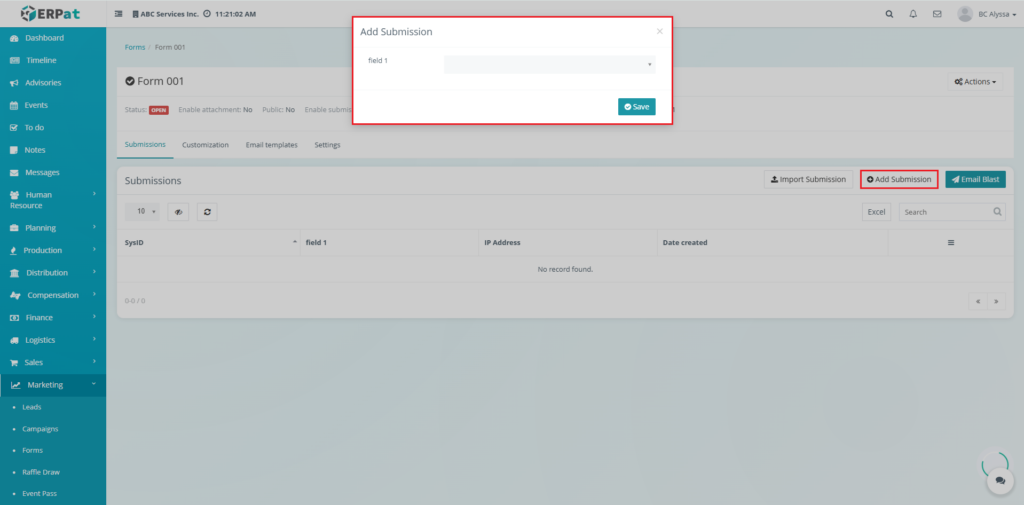
Steps for Adding a Submission #
Steps:
- Navigate to the Submissions tab on the Form Details Page.
- Click the Add Submission button located at the top-right of the submissions table.
- In the Add Submission modal, fill in the required fields (e.g., field 1).
- Click Save to record the manual entry.
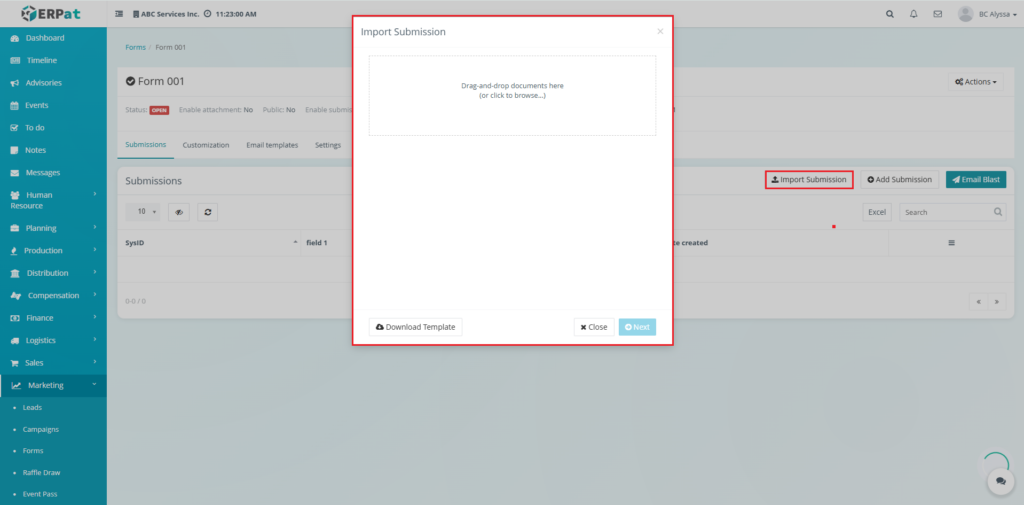
Steps for Importing a Submission #
Steps:
- From the Submissions tab, click the Import Submission button.
- In the pop-up window, you may click Download Template to ensure your file format is correct.
- Drag-and-drop your document into the designated area or click to browse your local files.
- Click Next to proceed with the data mapping and upload.
- Click Close if you need to exit without saving.
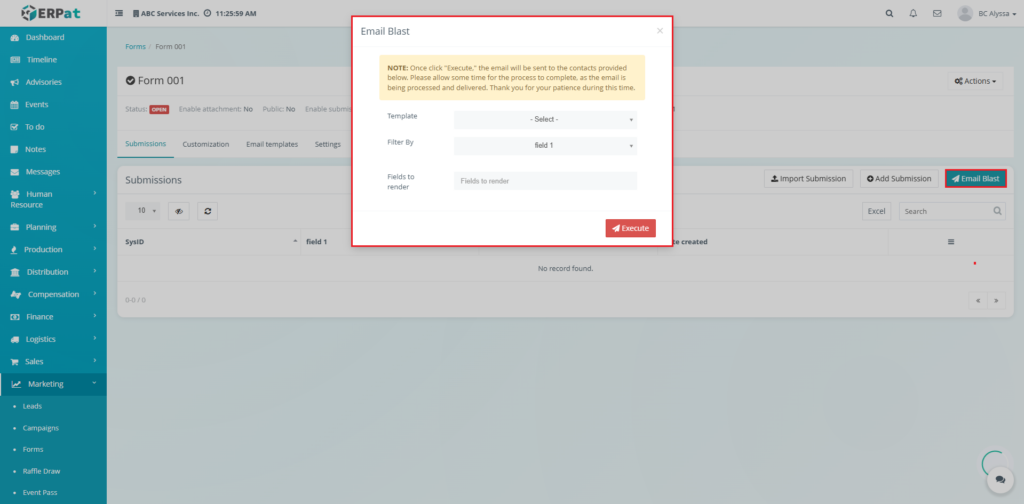
Steps for Blast Emailing #
Steps:
- Click the Email Blast button at the top-right of the Submissions tab.
- In the Email Blast modal, configure the following:
- Template: Select the pre-defined email template to use.
- Filter By: Choose specific criteria to target a subset of respondents.
- Fields to render: Specify which data fields to merge into the email content.
- Click Execute.
Note: Once “Execute” is clicked, the email will be sent to the contacts. Please allow time for the system to process and deliver the messages.
Steps for Exporting #
Steps:
- Locate the Excel button above the submissions listing table.
- Click the button to automatically generate and download an Excel spreadsheet containing all current submission records.
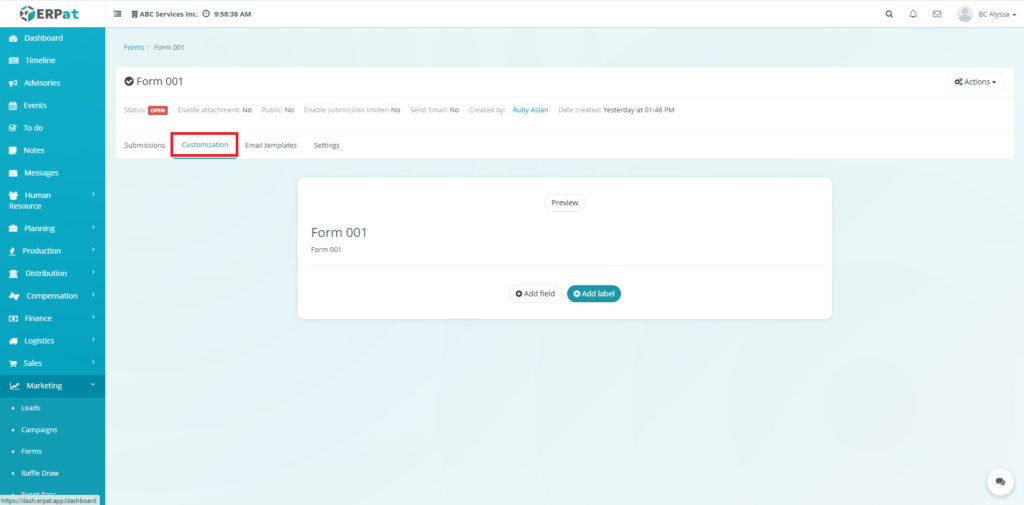
Customization Tab #
The Customization tab is used to design and modify the actual structure of the form.
- Form Preview: Provides a live look at how the form appears to users.
- Add Field: Allows users to define the data input fields respondents will interact with.
- Add Label: Enables the addition of descriptive text or headers within the form layout.
- Field Management: Features options to edit or remove existing fields and labels.
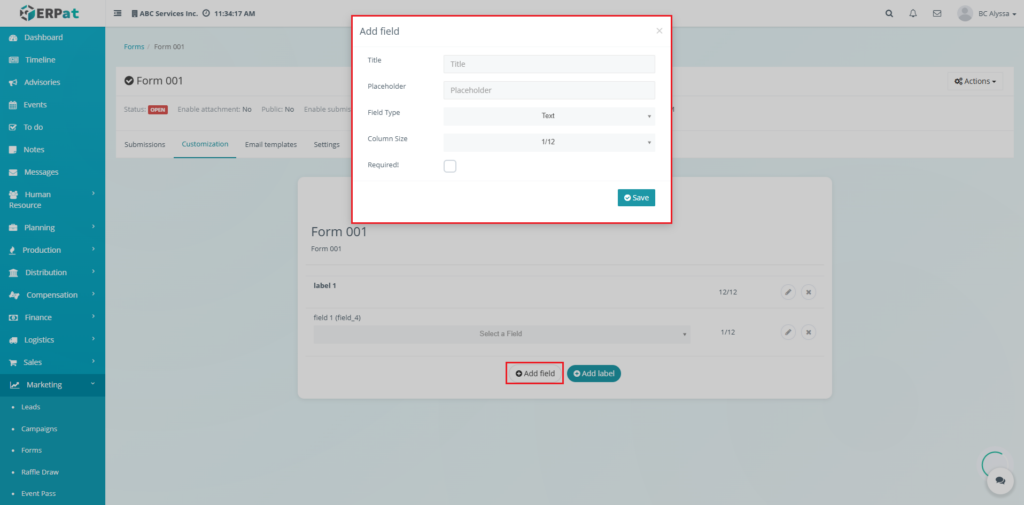
Steps for Adding a Field #
Steps:
- Navigate to the Customization tab on the Form Details Page.
- Click the + Add field button located below the form preview area.
- In the Add field modal, provide the following details:
- Title: Enter the internal name or display name for the field.
- Placeholder: Enter the text that will appear inside the field before a user types.
- Field Type: Select the type of input (e.g., Text) from the dropdown menu.
- Column Size: Choose the layout width for the field (e.g., 1/12).
- Required: Check this box if the field must be completed before submission.
- Click Save to add the field to your form.
Steps for Adding a Label #
Steps:
- Navigate to the Customization tab on the Form Details Page.
- Click the + Add label button located next to the Add field button.
- In the Add field (Label) modal, enter the descriptive text in the Label text area.
- Click Save to place the label within your form layout.

Email Templates Tab #
The Email Templates tab manages the communication sent to respondents.
- Add Template: Used to create and store new standardized email messages for the form.
- Template Listing: Displays existing templates with options to edit or delete.
- Selection Area: Provides a workspace to edit the content of a selected template.
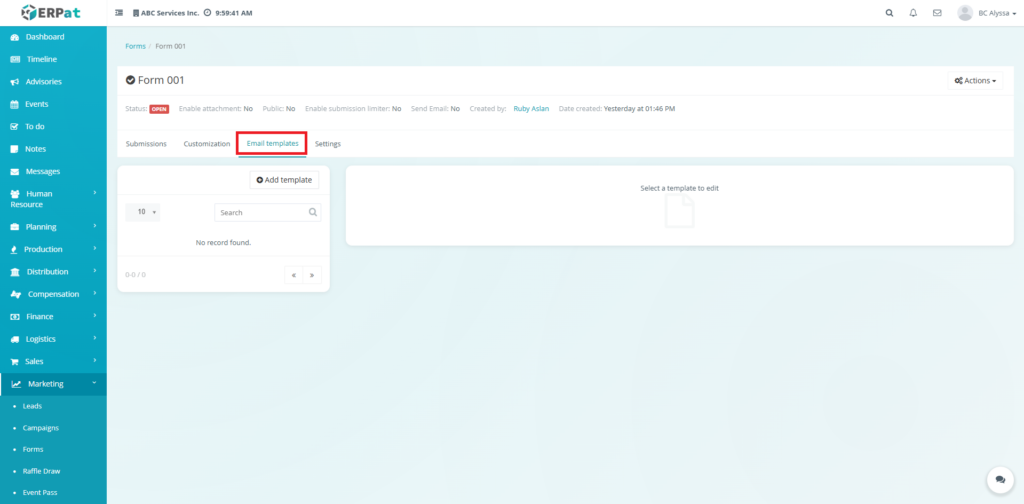
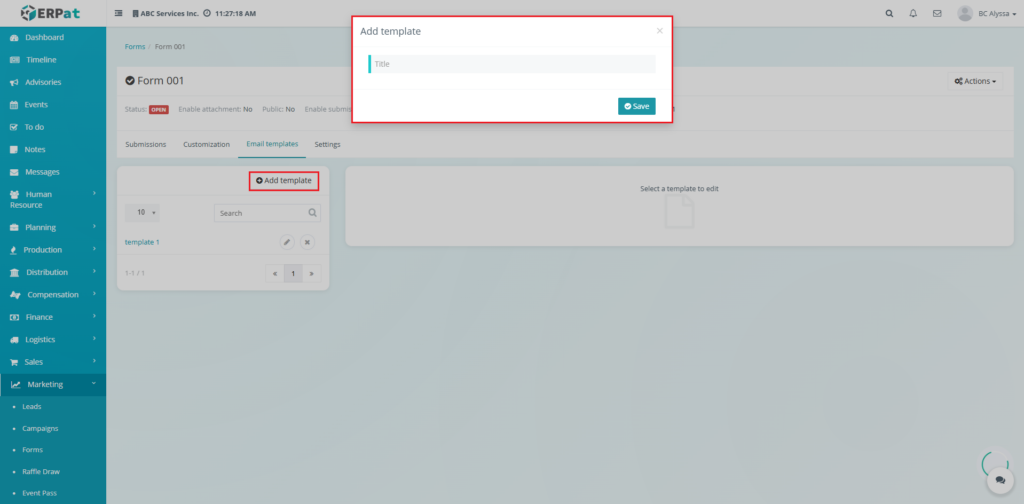
Steps for Adding a Template #
Steps:
- Select the Email templates tab on the Form Details Page.
- Click the Add template button located on the left-side panel.
- Enter the Title for the new template in the modal.
- Click Save.
- Once saved, select the template from the list to edit its specific content in the workspace provided.
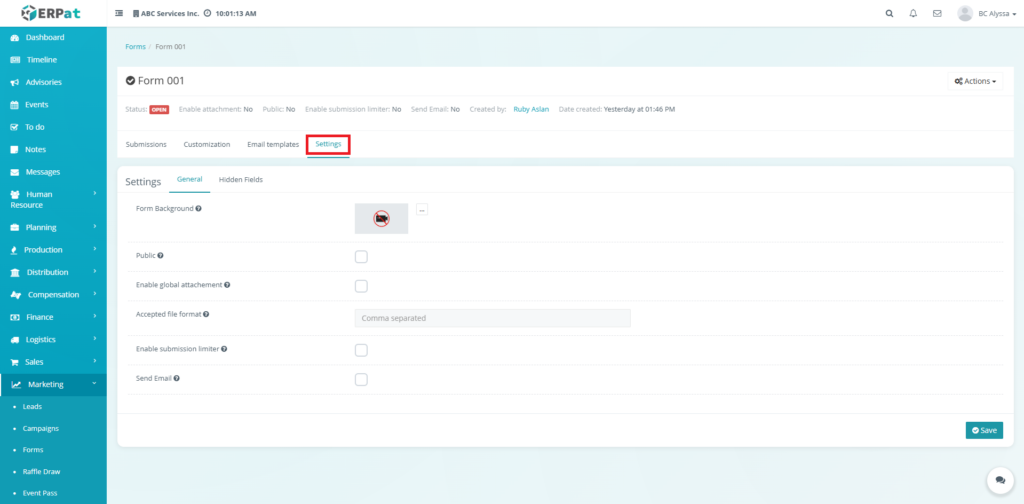
Settings Tab #
The Settings tab contains advanced configuration options for form behavior and security.
General Tab:
- Form Background: Allows uploading a background image for the form.
- Public: Toggle to enable or disable public access.
- Enable global attachment: Permits users to upload files with their submission.
- Accepted file format: Specifies allowed file types (e.g., .jpg, .pdf).
- Enable submission limiter: Restricts the number of submissions the form can receive.
- Send Email: Toggles automated email notifications.
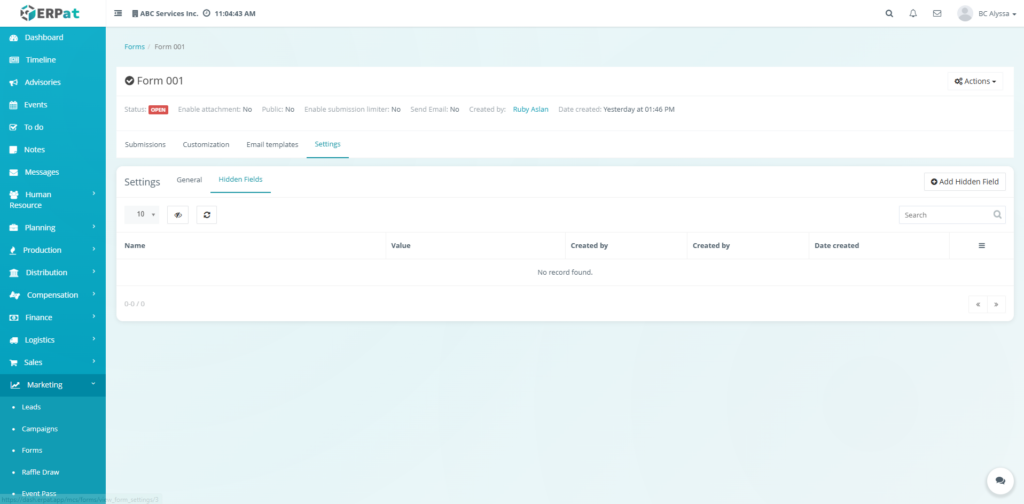
Hidden Tab:
- Add Hidden Field: Allows the creation of new background data points.
- Field List: Displays the Name, Value, Created by, and Date created for all existing hidden fields.
- Search and Filter: Enables finding specific hidden fields by name or value.
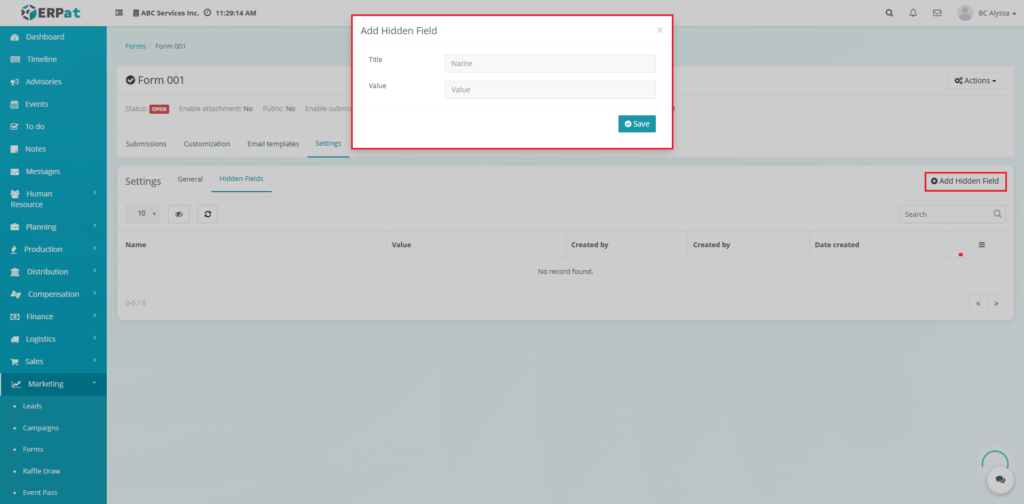
Steps for Adding a Hidden Field #
Steps:
- Select the Settings tab and then click the Hidden Fields sub-tab.
- Click the Add Hidden Field button at the top-right of the table.
- In the Add Hidden Field modal, provide the following:
- Title: The internal name of the field.
- Value: The specific data point to be captured.
- Click Save to add the field to the background data collection.
Additional Controls #
- Search bar for quick lookup
- Pagination for large datasets
- Refresh and visibility controls’
- Forms Detailed Page Actions
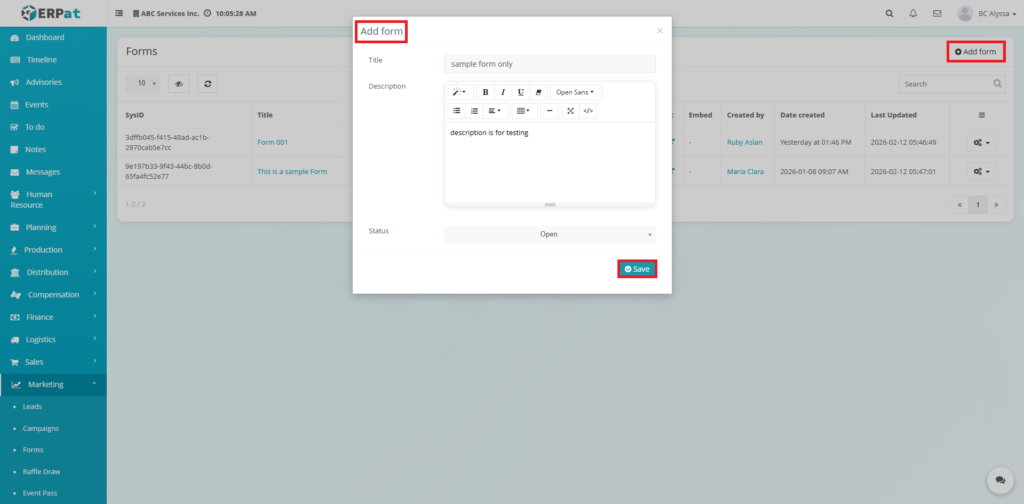
Steps for Adding a Form #
Steps:
- Click the Add Form button located at the top-right of the page.
- Fill in the required fields:
- Title
- Description
- Status
- Review the information for accuracy.
- Click Save to create the form.
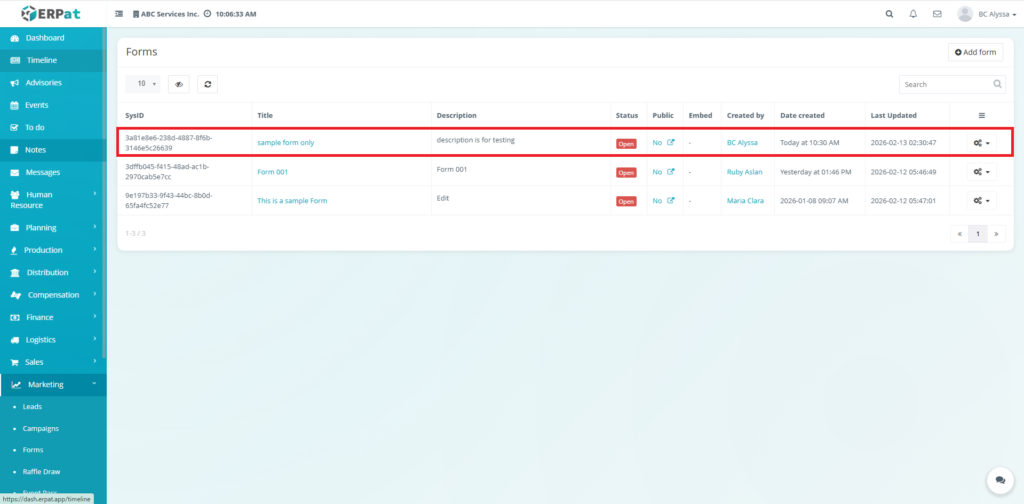
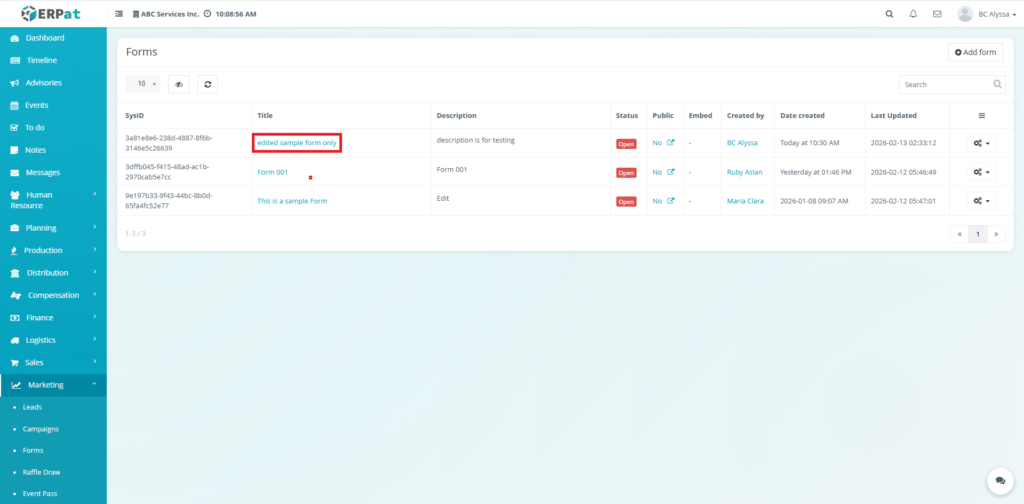
Result #
The newly created form will appear in the listing
Steps for Editing a Form #
Steps:
- Locate the Form to be edited.
- Click the Settings icon under the Actions column.
- Select Edit.
- Update the necessary fields.
- Click Save to apply changes.
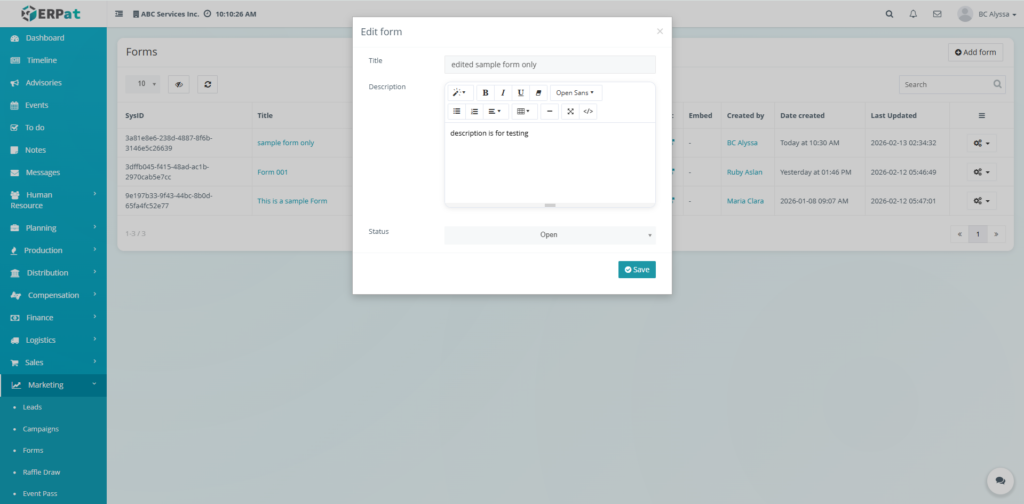
Notes: Changes will reflect in campaigns or integrations using the form. Existing submissions remain intact.
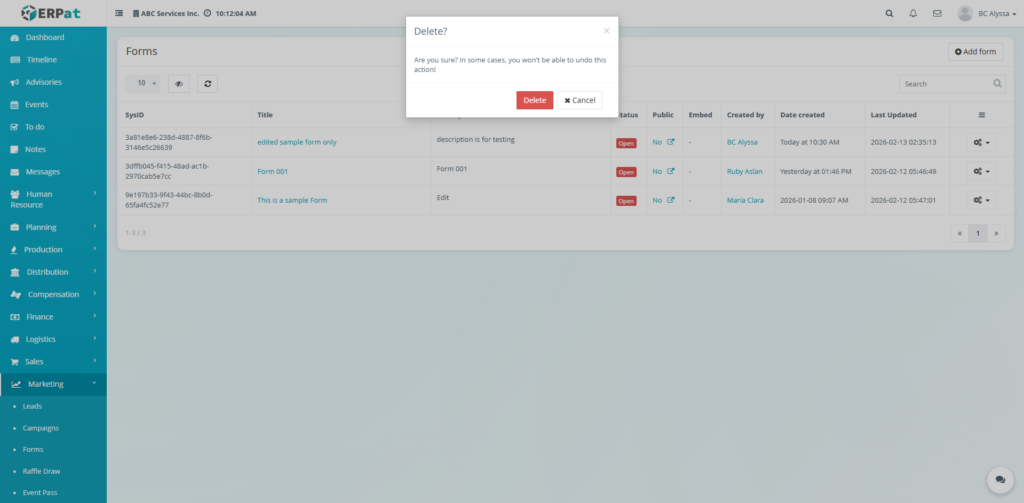
Steps for Deleting a Form #
Steps:
- Locate the Form to be removed.
- Click the Delete option under the Actions column.
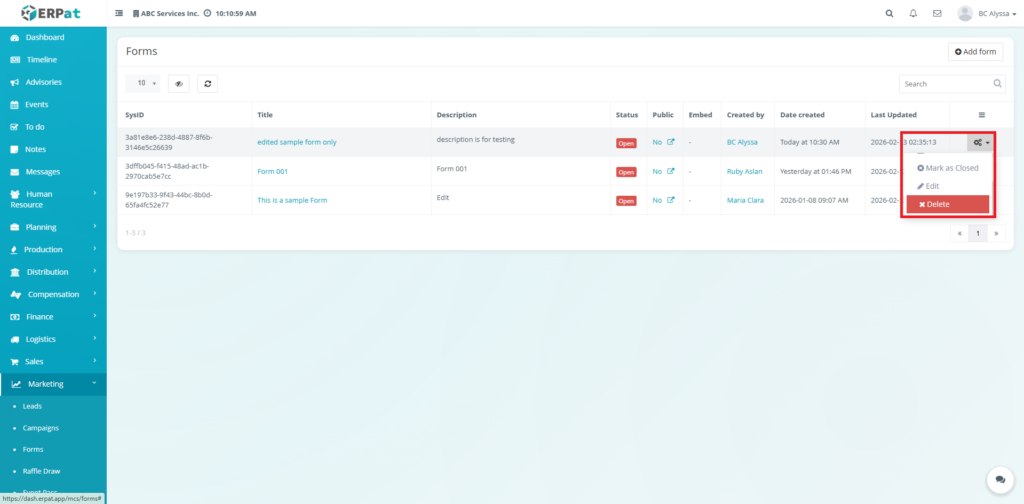
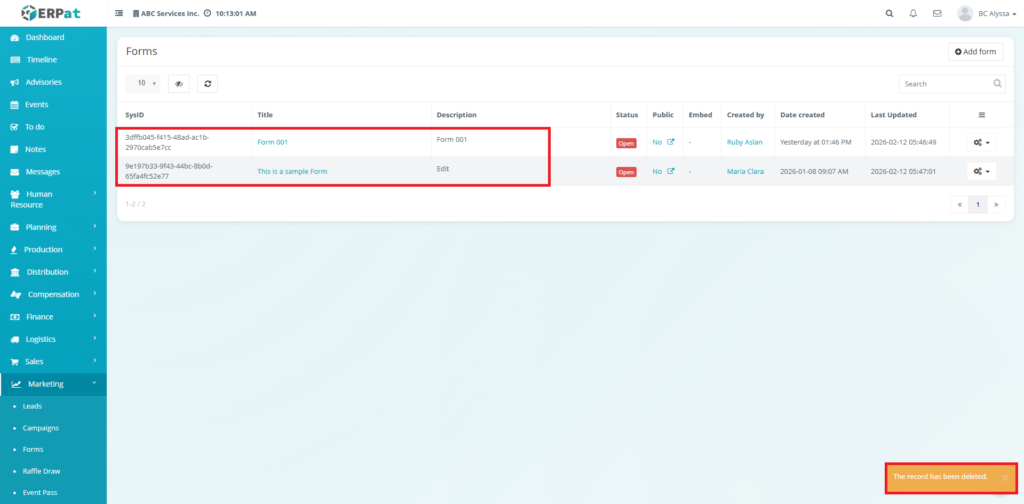
Confirm the deletion when prompted.
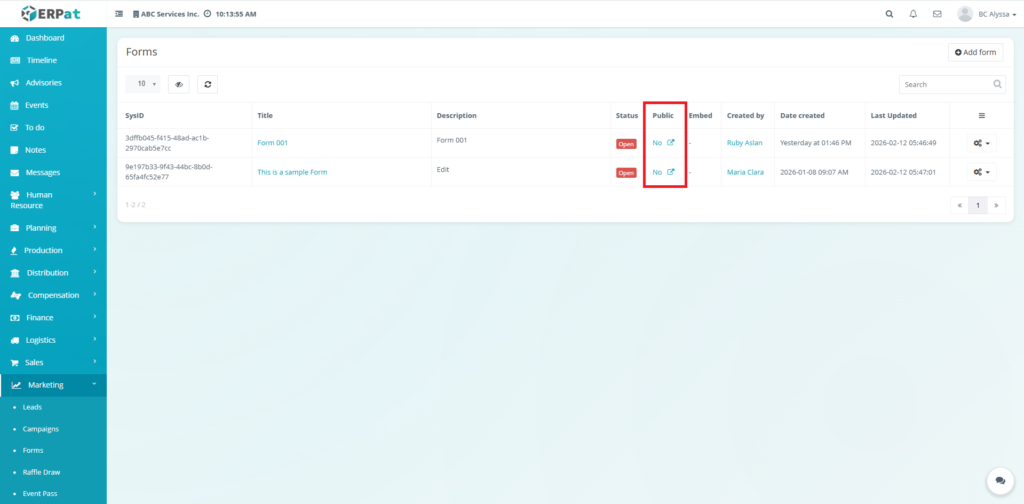
Public Indicator #
Displays whether the form is accessible externally.
- Lead capture
- Event registrations
- Campaign landing pages

Best Practices #
- Descriptive Naming: Use clear titles to distinguish between different campaign versions.
- Status Management: Close forms immediately when a campaign or registration period ends to prevent “ghost” data.
- Verification: Always test the “Public” link before embedding it on an external website.
- Data Integrity: Export submissions to Excel regularly for external backups.
Audit & Logs #
Last Updated: [February 13, 2026] Module Owner: Marketing – ERPat System


