Overview #
The Payrolls Module in the ERPat System is a unified payroll management workspace that supports the complete payroll process—from payroll creation and configuration to compensation computation, adjustments, logging, and statutory reporting.
It enables Finance and HR teams to manage payroll runs, define earnings and deductions, apply commissions and adjustments, monitor payroll activities through logs, and generate government-required reports such as the Alphalist. By consolidating all payroll-related functions into a single module, the system ensures accurate payroll processing, regulatory compliance, transparency, and audit readiness.
Key Features #
- Create and manage payroll entries with defined pay periods and payment dates
- Assign payrolls to departments and funding accounts
- Track payroll status and responsible users
- Configure and apply earnings components (salary, allowances, overtime)
- Configure and apply statutory and custom deductions
- Manage commission-based compensation
- Apply manual payroll adjustments and corrections
- Monitor payroll activities and system logs
- Generate and export Alphalist and payroll reports
- Filter payroll records by department and date
- Search payroll data using keywords
- Export payroll information to Excel
- Maintain complete audit trails for payroll creation and updates
Accessing the Payrolls Module #
- Log in to the ERPat System.
- From the primary sidebar, navigate to Finance.
- Select Payrolls.
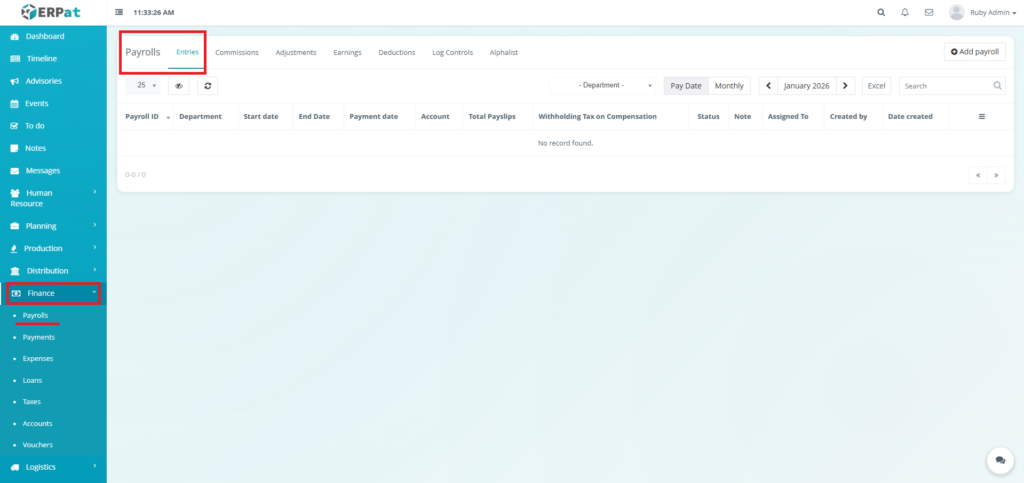
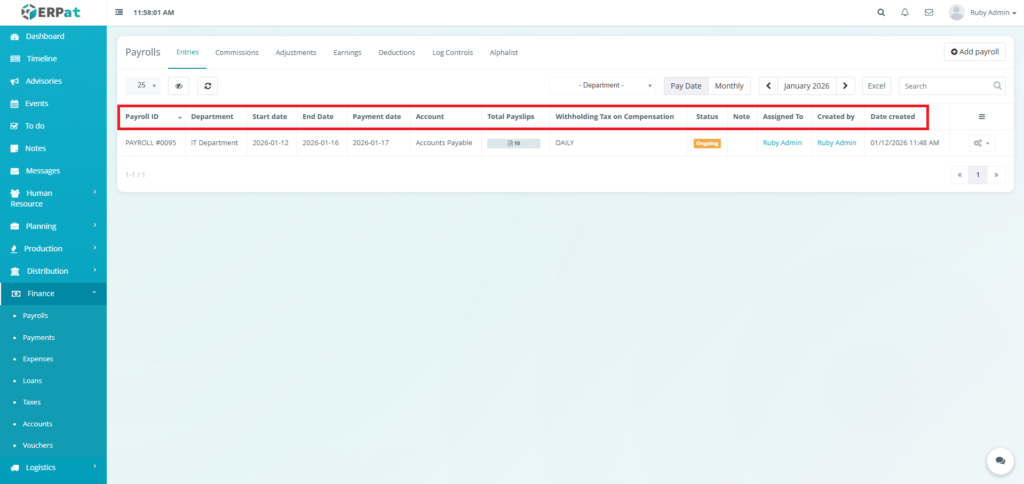
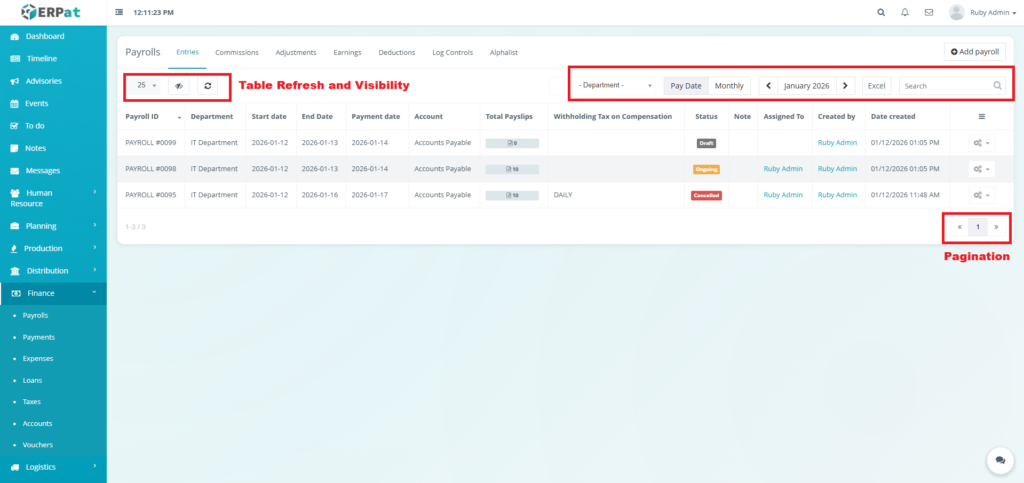
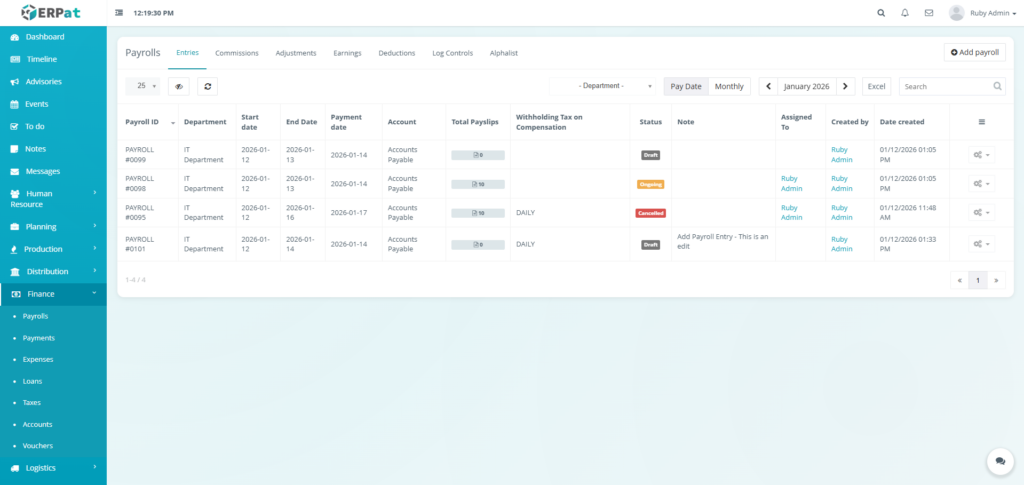
Payroll Entries Listing Page #
The Entries page displays a comprehensive table of all job postings with the following columns:
- Payroll ID – Unique identifier for the payroll run
- Department – Department associated with the payroll
- Start Date – Beginning of the payroll coverage period
- End Date – End of the payroll coverage period
- Payment Date – Scheduled payroll release date
- Account – Payroll funding account used
- Total Payslips – Number of employees included
- Withholding Tax on Compensation – Total tax withheld
- Status – Current payroll processing state
- Note – Internal remarks or annotations
- Assigned To – Responsible payroll processor
- Created By – User who created the payroll entry
- Date Created – Timestamp of payroll creation
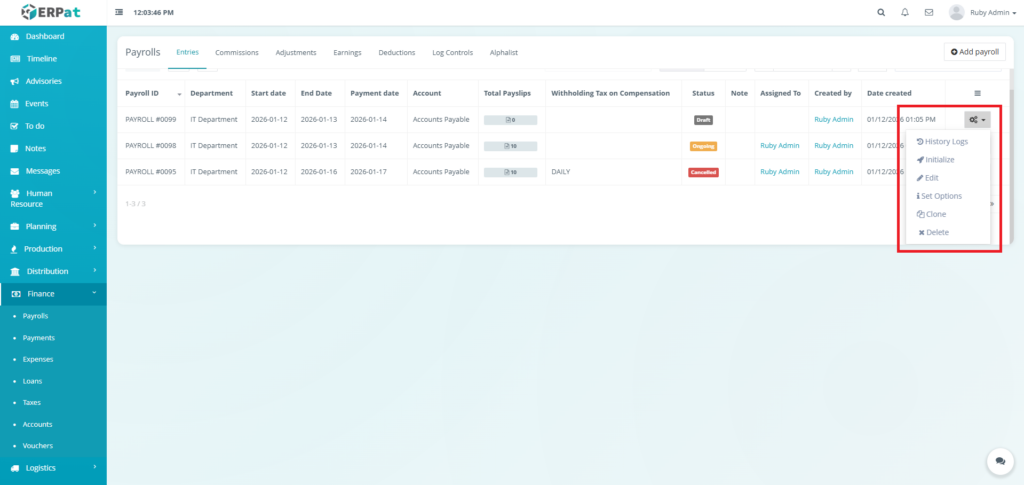
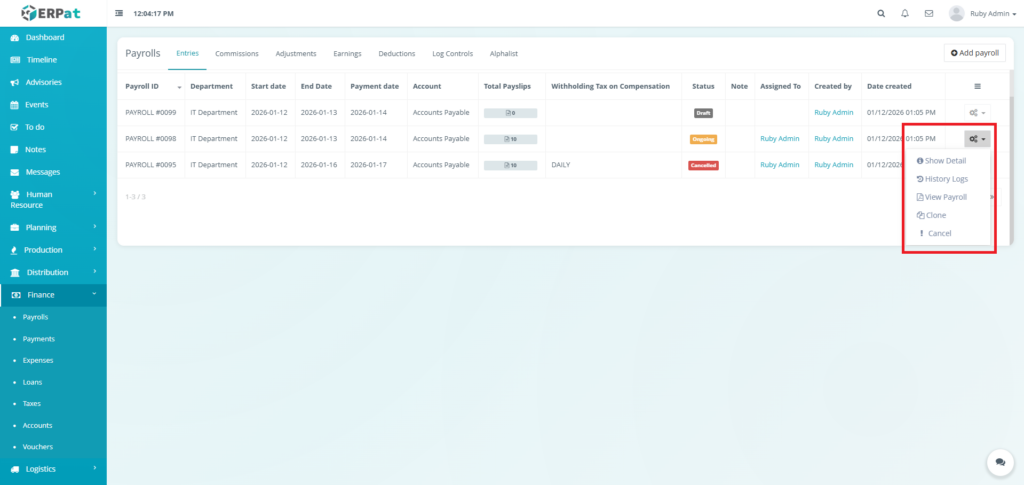
- Actions (Status: Draft) – Show Detail, History Logs, View Payroll, Clone, or Cancel
- Actions (Status: Ongoing) – Show Detail, History Logs, View Payroll, Clone, or Cancel
Page Controls and Tools #
- Department Filter
- Pay Date / Monthly View Toggle
- Year and Month Selector
- Excel Export
- Search Bar
- Table Refresh and Visibility Controls
- Pagination
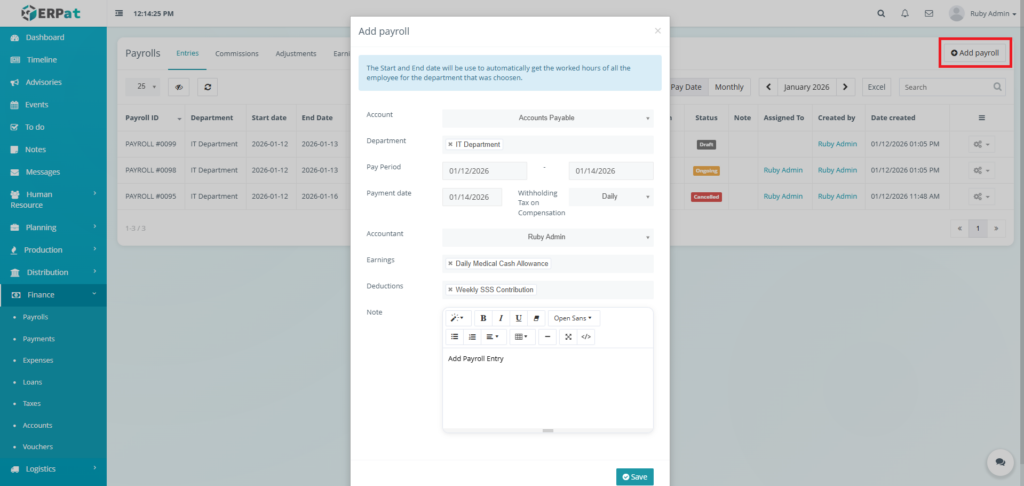
Steps for Creating a New Payroll Entry #
STEPS #
- Click the “Add payroll” button.
- Fill in the necessary Information in the fields.
- Click the Save button to add the payroll entry.
Note:
- The attendance of employee must be approved before they can be added to the payroll.
- When selecting a department it applies the payroll to all the employees within the department.
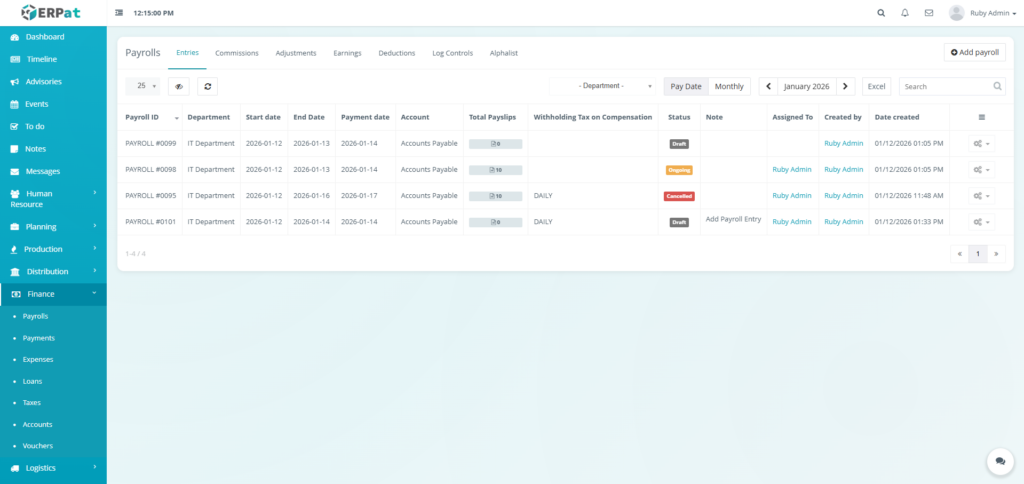
Result #
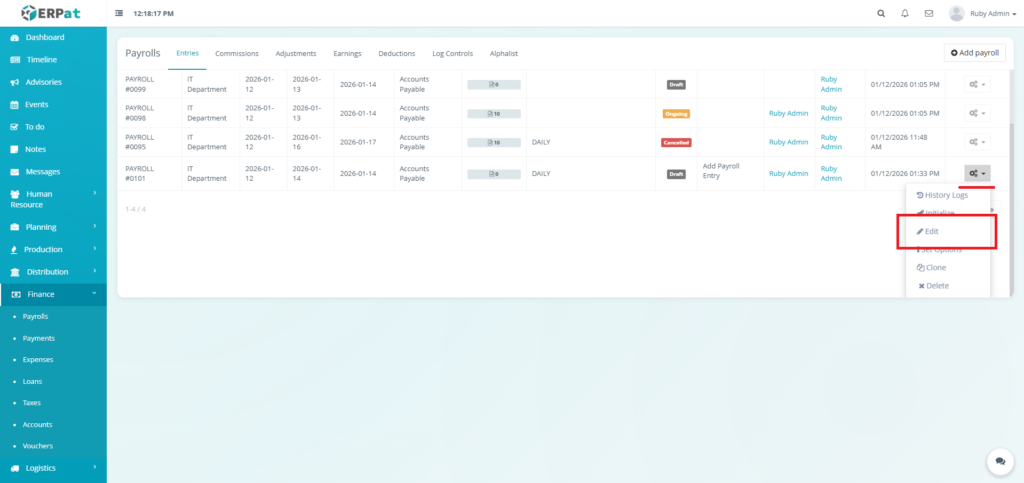
Steps for Editing a Payroll Entry #
STEPS #
- Click the Actions icon in the table.
- Select the Edit option the dropdown.
- Input the changed details.
- Click the Save button the apply the changes.
Note: An entry can only be edited when it is in draft.
Result #
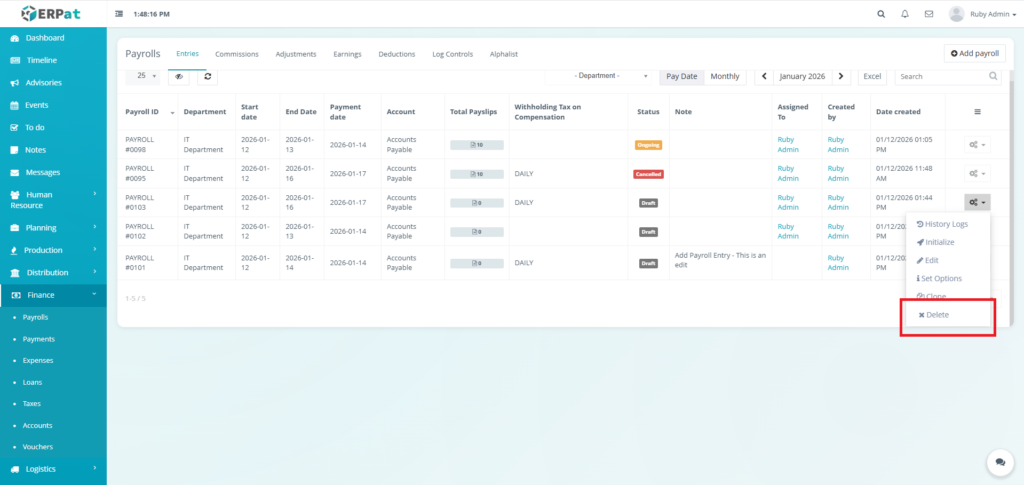
Steps for Deleting a Payroll Entry #
STEPS #
- Click the Actions icon in the table.
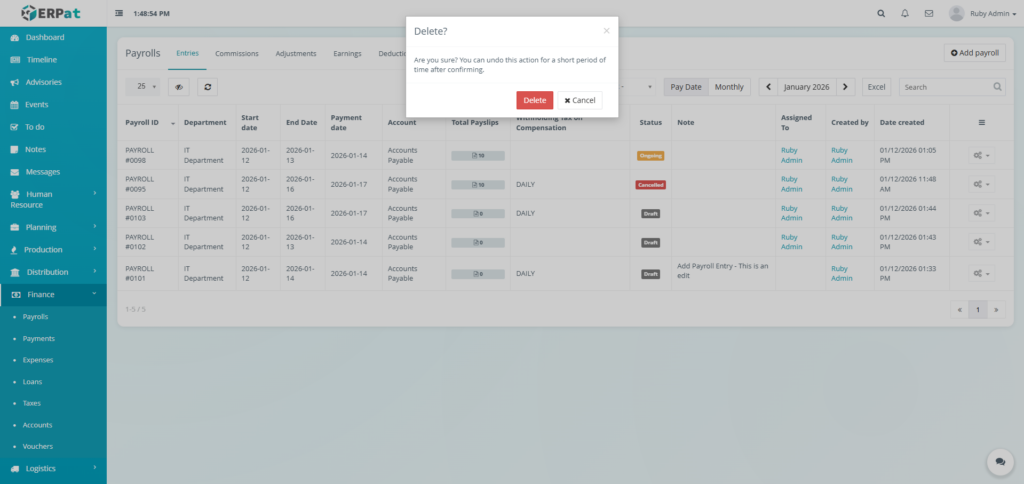
- Select the Delete option the dropdown.
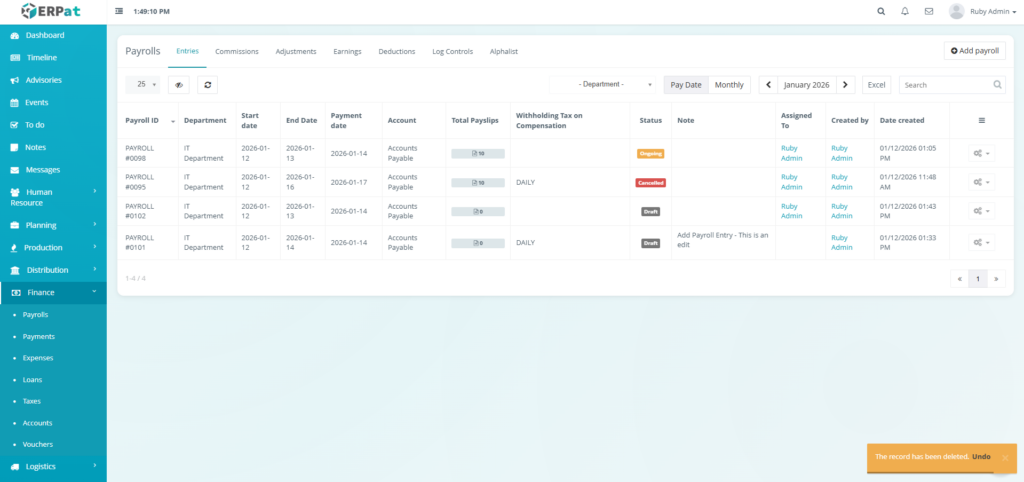
- Click the Delete button to remove the payroll entry..
Result #
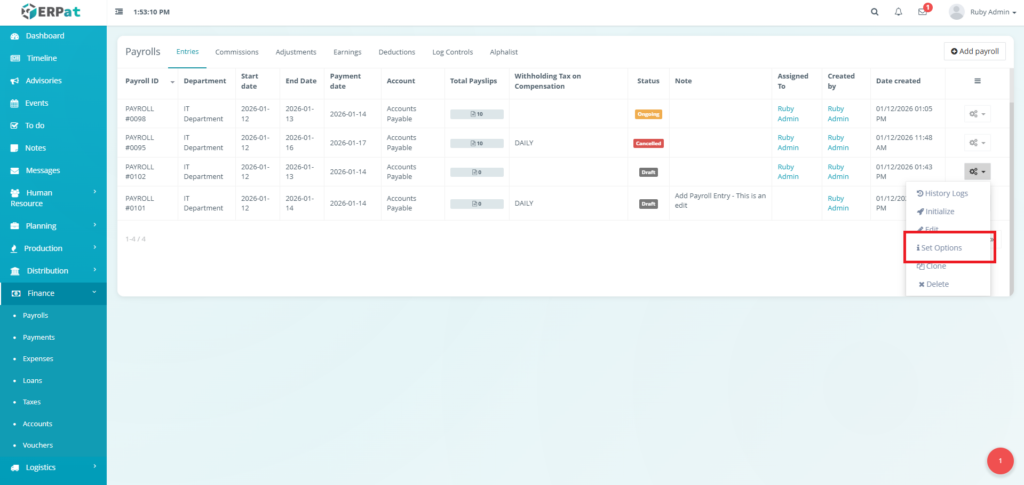
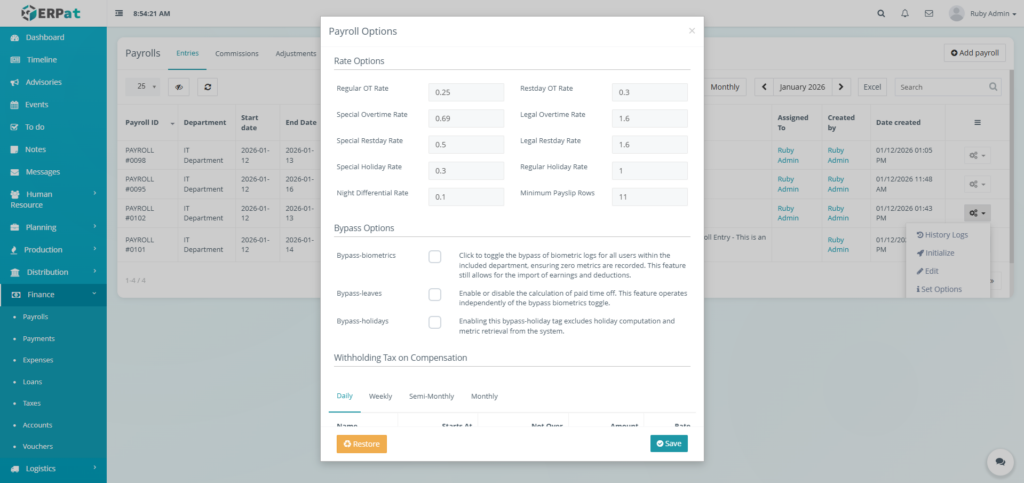
Steps for Editing the Rates #
STEPS #
- Click the Actions icon in the table.
- Select the “Set options” option the dropdown.
- Input the changes.
- Click the Save button the apply the changes.
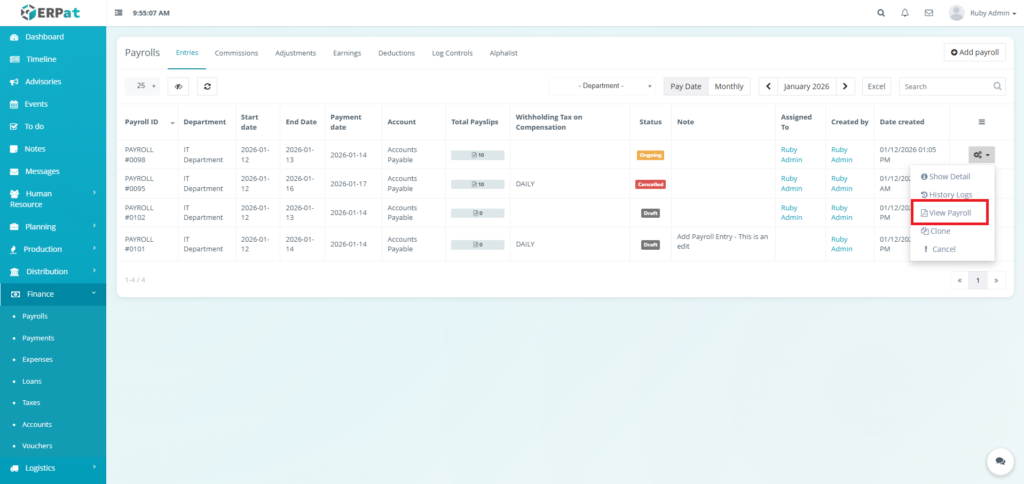
Steps for Viewing Payslip #
STEPS #
- Click the actions icon in the table.
- Click the option “View Payroll” Option.
Result #
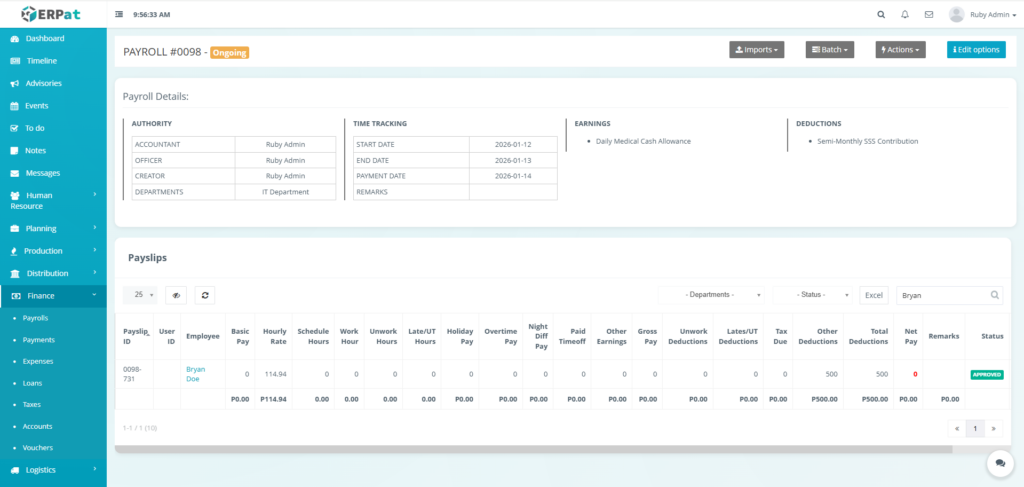
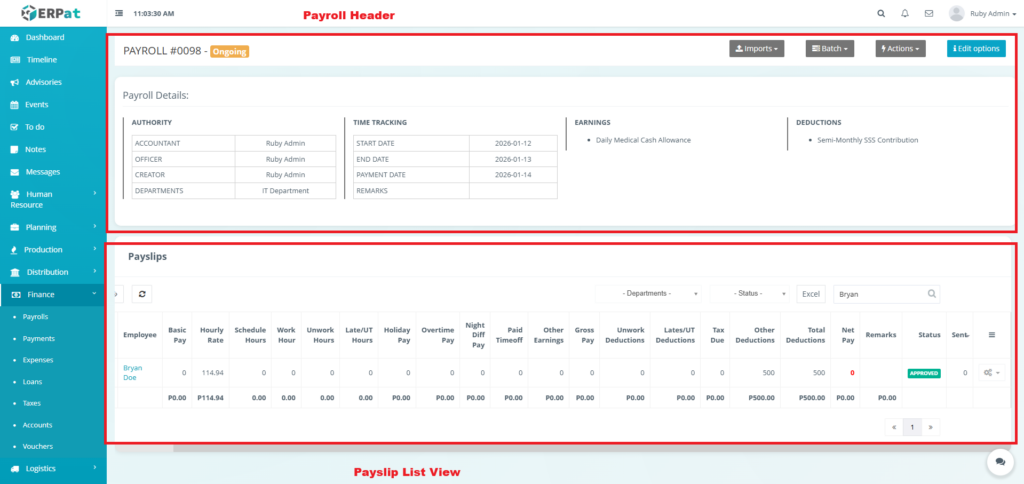
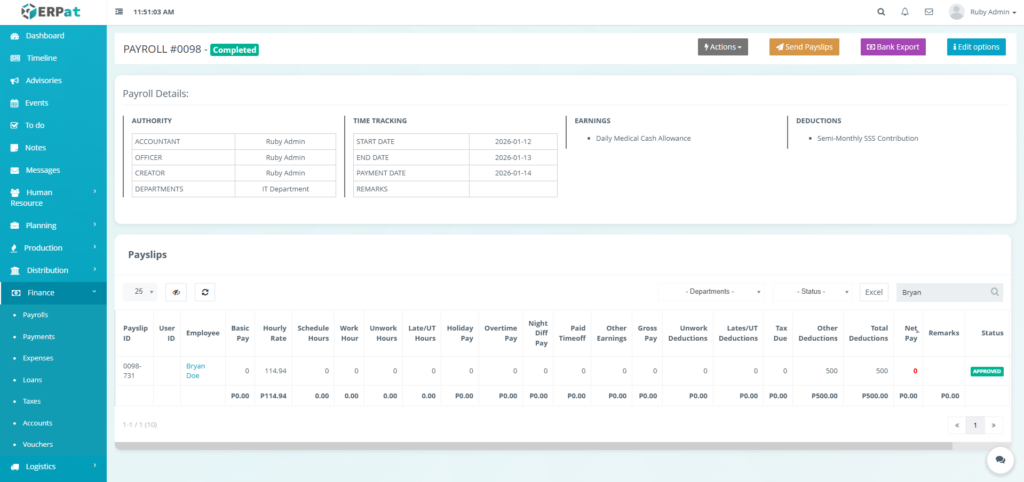
Payroll Payslip Listing Page #
Payroll Header #
- Payroll ID – Unique identifier
- Authority Table:
- Creator – Who prepared the payroll.
- Officer –Who reviewed/officiated it.
- Accountant – Who authorized the accounting entries.
- Departments –Which departments are included in this run.
- Time Tracking – Start Date, End Date, and Payment Date.
- Earnings/Deductions Summary – High-level categories applied in this payroll.
Payslips List View #
- Payslip ID – Unique identifier for the individual slip
- User ID – Unique identifier for the employee
- Employee – Name of the employee.
- Basic – Pay Fixed salary or base earnings.
- Hourly Rate – Rate used for hourly calculations.
- Schedule Hours – The total hours the employee was scheduled to work in the period.
- Worked/Unworked Hours – Breakdown of productive vs. absent hours.
- Late/UT Hours – Total time for late arrivals or undertime.
- Holiday Pay – Earnings from working on a holiday.
- Overtime Pay – Earnings from working beyond scheduled hours.
- Night Diff Pay – Additional earnings for working night-shift hours.
- Paid Timeoff – Earnings from using paid leave (e.g., vacation, sick leave).
- Other Earnings – Any additional compensation not covered by other categories.
- Gross Pay – Total earnings before deductions.
- Unwork Deductions – Wage deductions due to unworked hours (absences).
- Lates/UT Deductions – Wage deductions due to late arrival or undertime.
- Tax Due – The amount withheld for income tax.
- Other Deductions – Any other withholdings (e.g., loans, insurance premiums).
- Total Deductions – Sum of all withholdings.
- Net Pay – Final take-home pay (Gross Pay – Total Deductions).
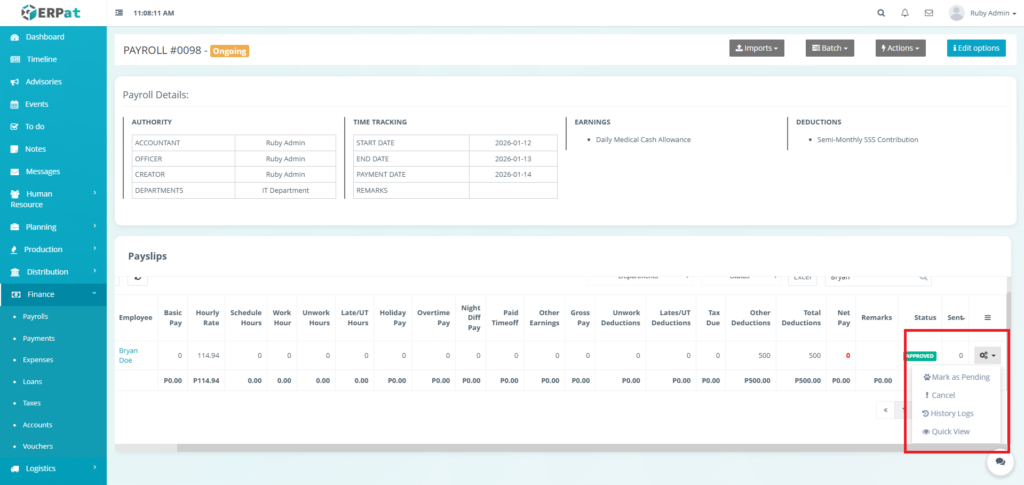
- Status – Generated, Approved, Paid.
- Sent – Indicates if the payslip has been digitally sent to the employee.
- Remarks – Any notes on the payslip.
- Actions – Mark as Pending, Cancel, History Logs, or Quick View Controls
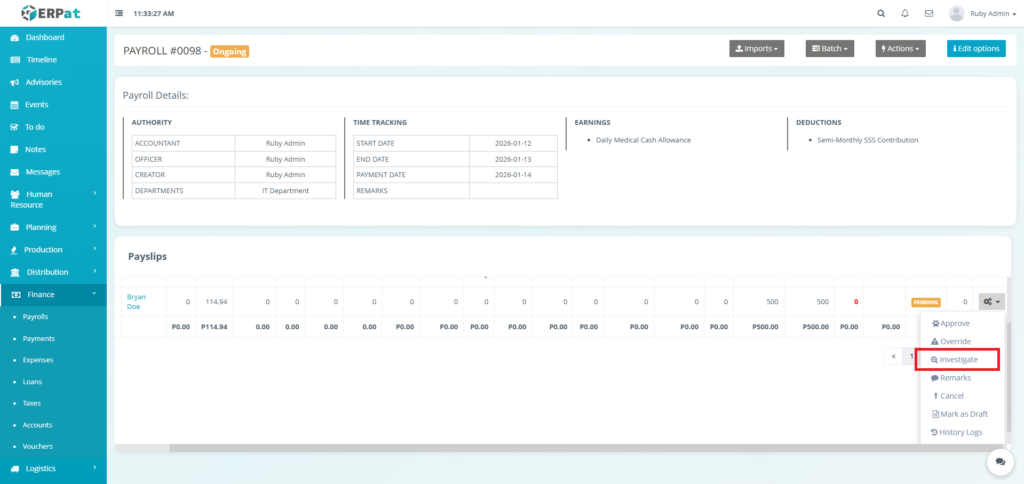
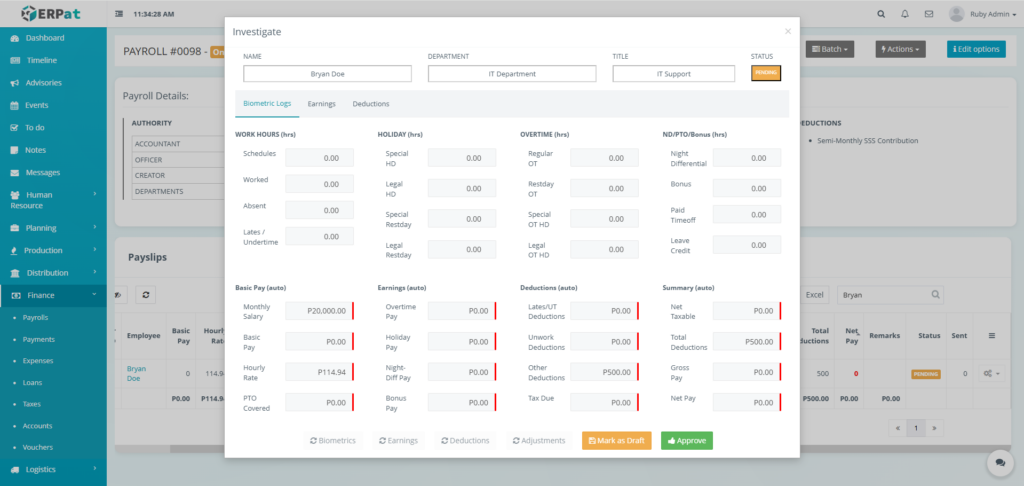
Steps for Editing a Payslip to its Approval #
STEPS #
- Click the actions button.
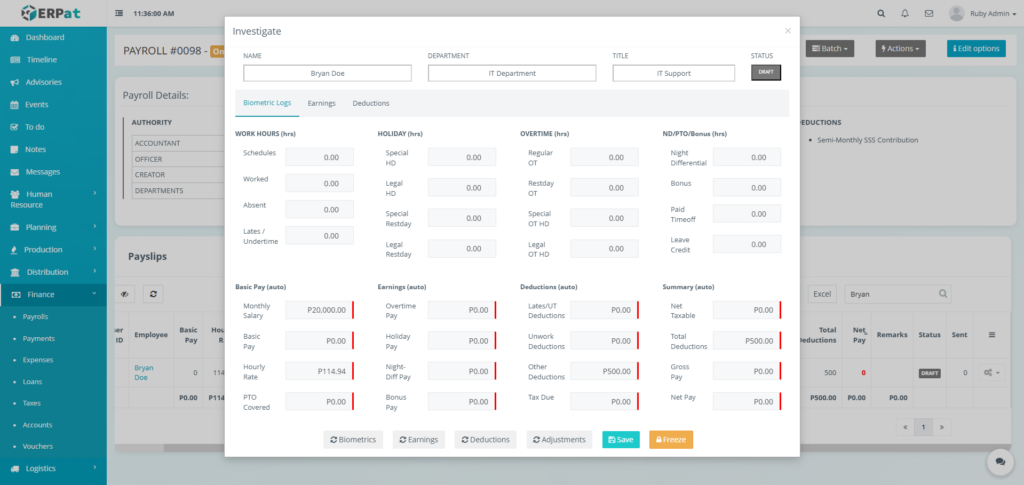
- Click the Investigate in the dropdown.
- Fill in the necessary details.
- Click the Biometrics, Earnings, Deductions, and Adjustment button to automatically calculate and retrieve the following.
- Click the Save then the Freeze button to apply the changes
- Click the Approve button to approve the payslip
Notes:
- Payslip can only be edited when Status is Draft
Result #

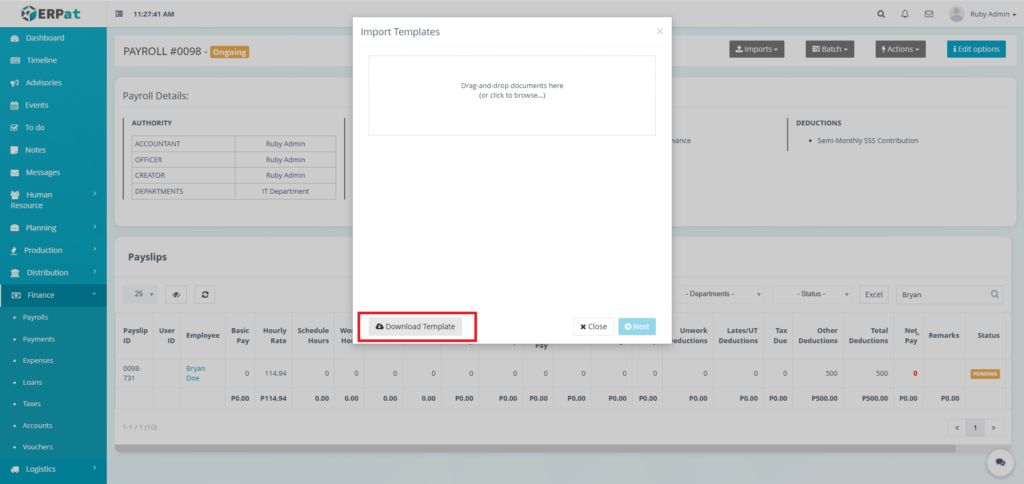
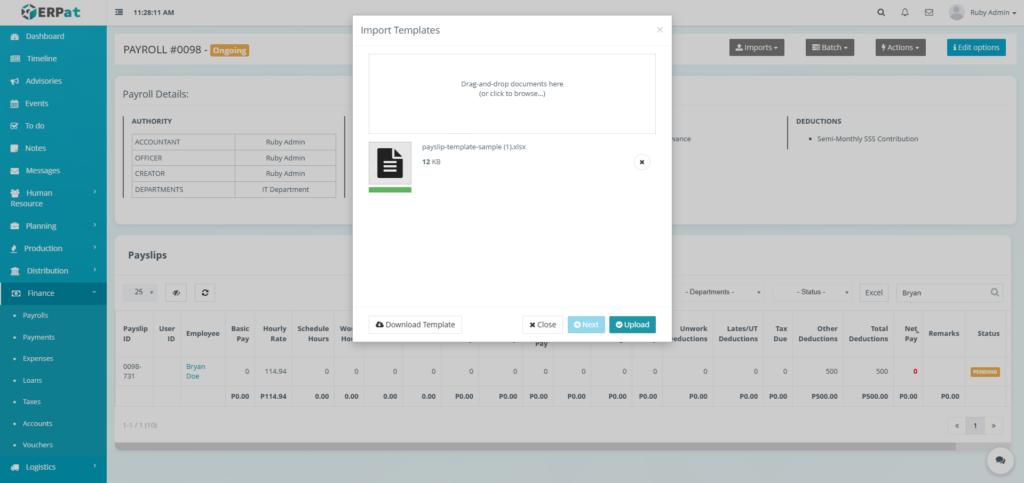
Steps for Editing Multiple Payslips #
STEPS #
- Click the Imports button.
- Click the “Import Templates” in the dropdown.
- Fill in the necessary details in the template.
- Upload the filled template.
- Click the Next then the Upload button to apply the changes.

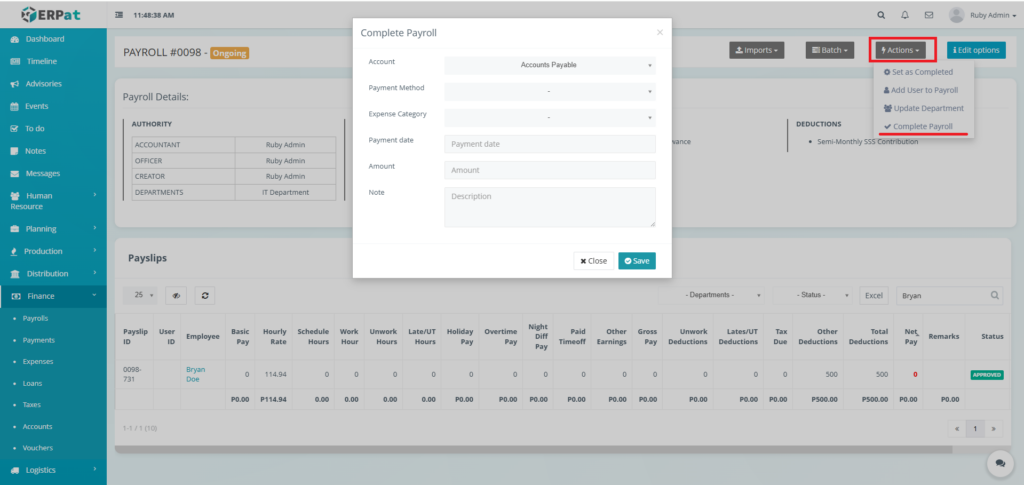
Steps for Completing a Payroll #
STEPS #
- Click the Actions button.
- Click the “Complete Payroll” option in the dropdown
- Fill in the necessary details.
- Click the Save button to complete the payroll.
Notes: To view the whole breakdown of payslip download the alphalist.

Result #
Steps for Sending the Payslips to Employee’s Email #
STEPS #
- Click the “Send Payslips” button.
- Click the Execute button to send the payslips into the email.

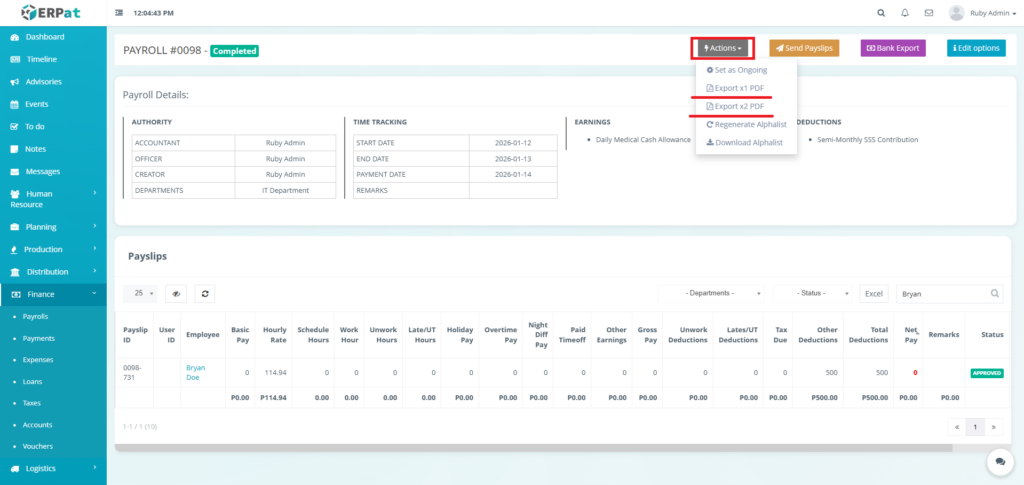
Steps for Exporting the Payslips to PDF #
STEPS #
- Click the Actions button.
- Select “Export x1 PDF” to print one payslip per page or Select “Export x2 PDF” to print two payslip per page.
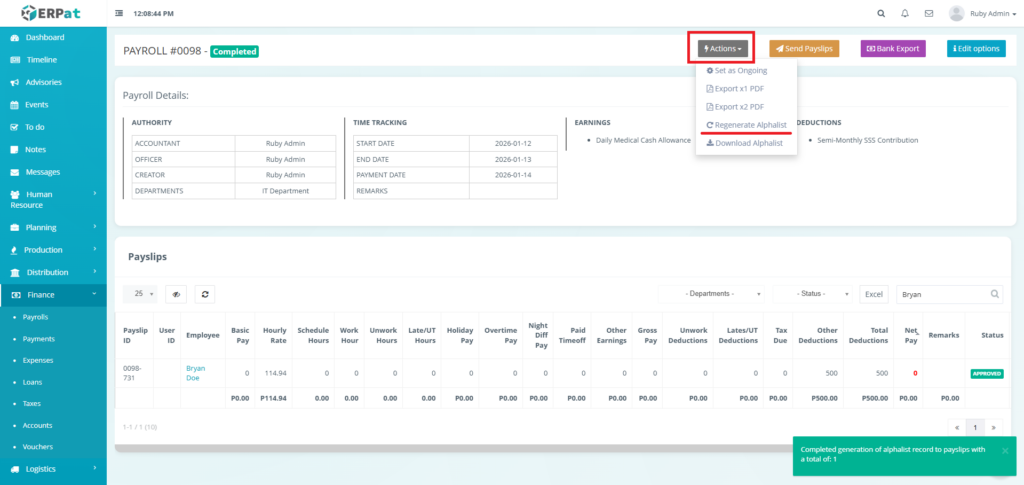
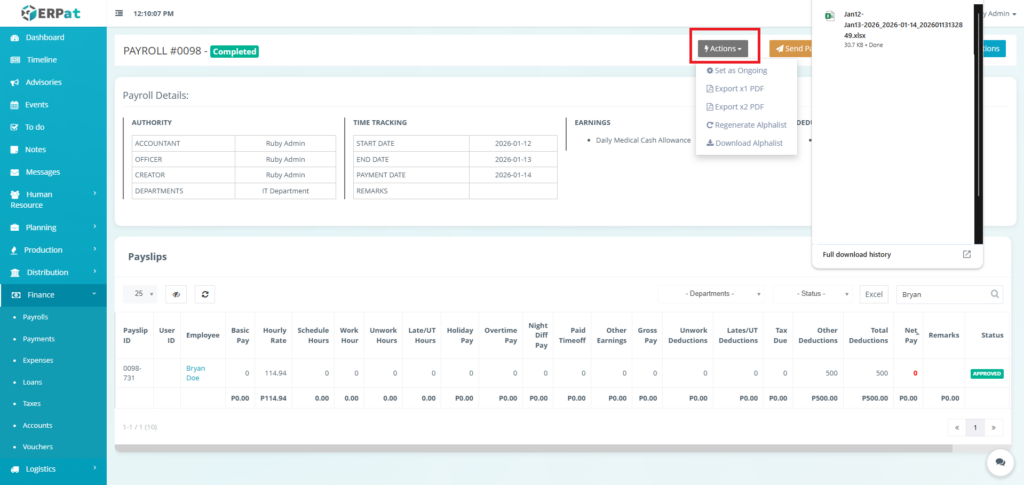
Steps for Exporting the Alphalist #
STEPS #
- Click the Actions button.
- Click the “Regenerate Alphalist” option in the dropdown.
- Click the Actions button again.
- Click the “Download Alphalist” option in the dropdown.
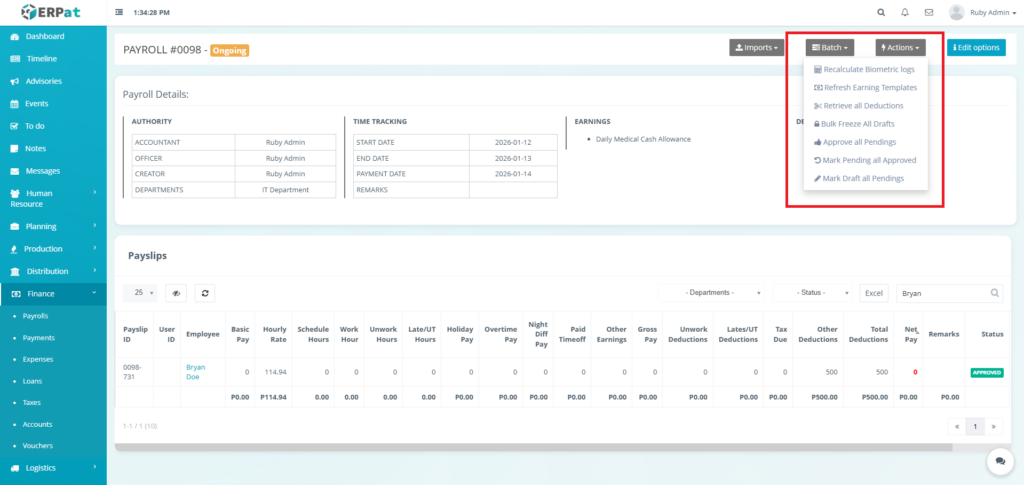
Bulk Actions for Payslips #
- Recalculate Biometric Logs – Recalculates work hours, overtime, late arrivals, and absences for all employees by pulling the latest data from the biometric/time clock system. This ensures payroll calculations are based on the most accurate attendance records.
- Refresh Earning Templates – Applies the latest earning templates (allowances, bonuses, rates) to all employees in the payroll run. This ensures any updates to salary structures or earning policies are reflected in the current payroll.
- Retrieve all Deductions – Fetches and updates all active deductions (loans, advances, statutory contributions, etc.) for all employees from the deductions module, ensuring no deduction is missed in the payroll calculation.
- Bulk Freeze All Drafts – Locks all payroll records currently in Draft status, preventing further edits and moving them to Pending status. This is useful for enforcing a review cutoff before finalization.
- Approve all Pendings – Approves all payroll records currently in Pending status in bulk, moving them to Approved status. This bypasses individual approvals and should be used only after thorough review.
- Mark Pending all Approved – Reverts all Approved payroll records back to Pending status. This is typically used when a payroll run needs to be reopened for corrections or re-review after initial approval.
- Mark Draft all Pendings – Moves all Pending records back to Draft status, allowing for edits and updates. This is useful when a payroll run requires rework before resubmission for approval.
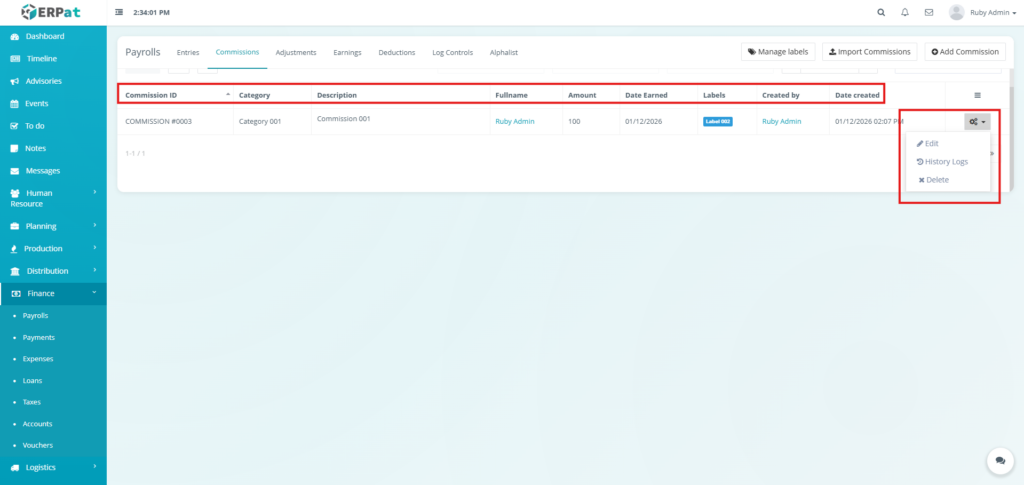
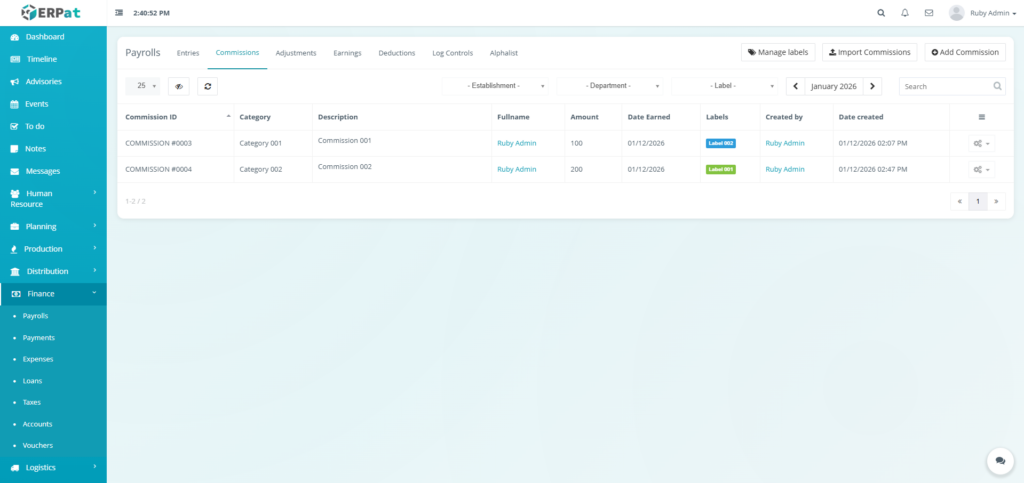
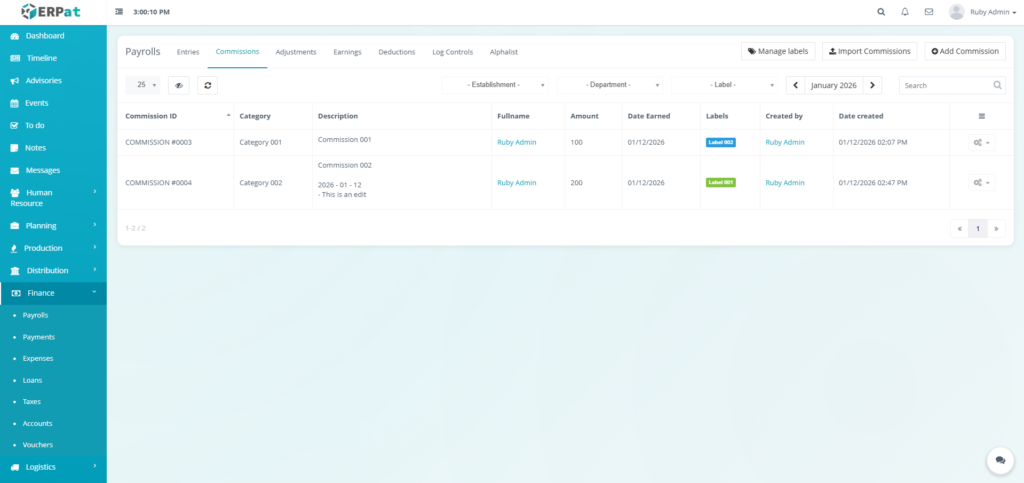
Payroll Commissions Listing Page #
The Commissions listing page provides a detailed view of all commission records with the following columns:
- Commission ID – Unique identifier of Commissions
- Category – Type of commission (e.g., Sales, Referral, Bonus)
- Description – Details about the commission earnings
- Fullname – Employee that was responsible for the commission
- Amount – Monetary value of the commission
- Date Earned – When the commission was earned
- Label – Custom tags for categorization
- Created by – User who entered the commission
- Date Created – Timestamp of commission creation
- Actions – Edit, History Logs, or Delete control
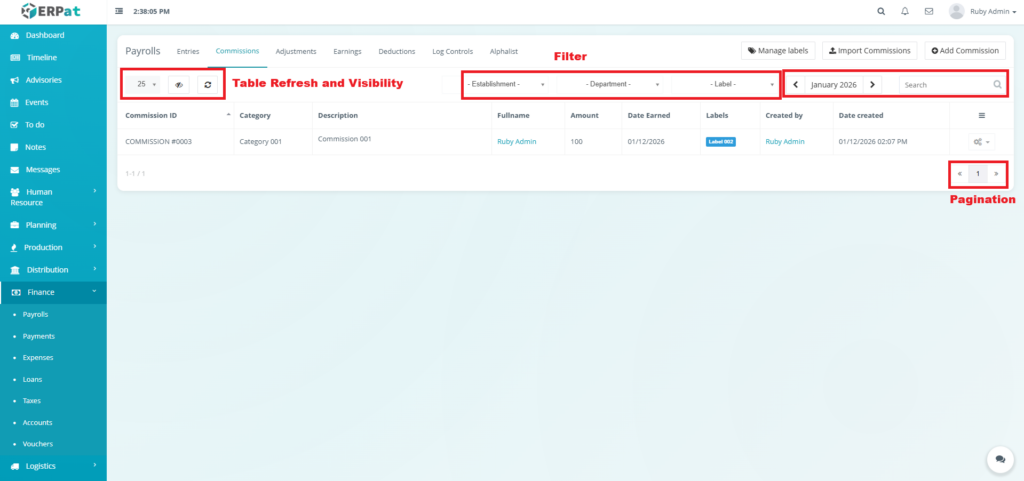
Page Control and Tools #
- Filters
- Establishment
- Department
- Label
- Year and Month Selector
- Search Bar
- Pagination
- Table Refresh and Visibility Controls
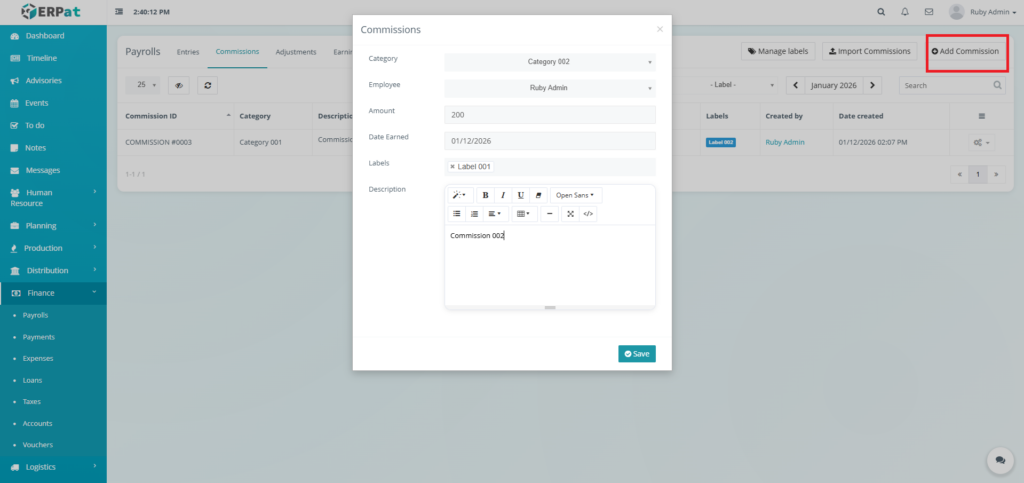
Steps for Adding a New Commission #
STEPS #
- Click the “Add Commission” button
- Fill in the necessary details in the fields.
- Click the Save button to add the new commission.
Result #
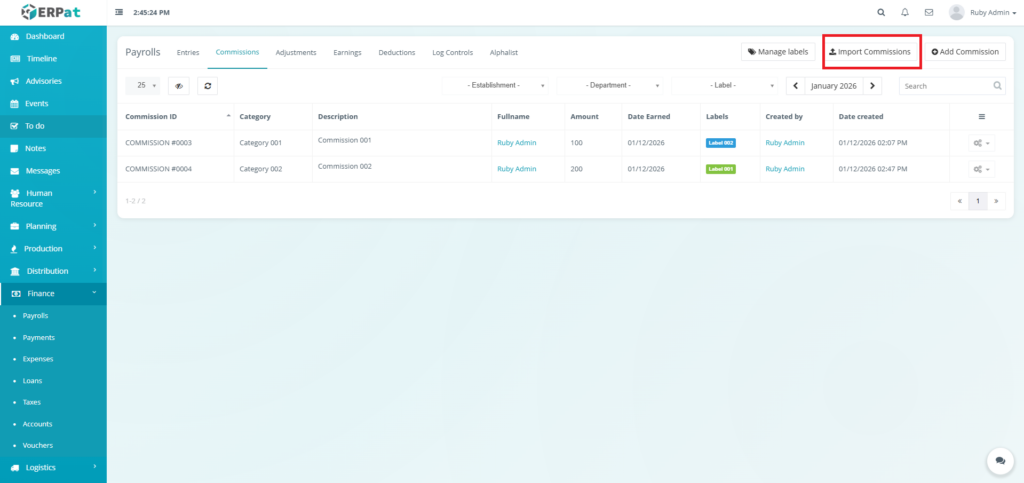
Steps for Adding Multiple Commission #
STEPS #
- Click the “Import Commissions” button
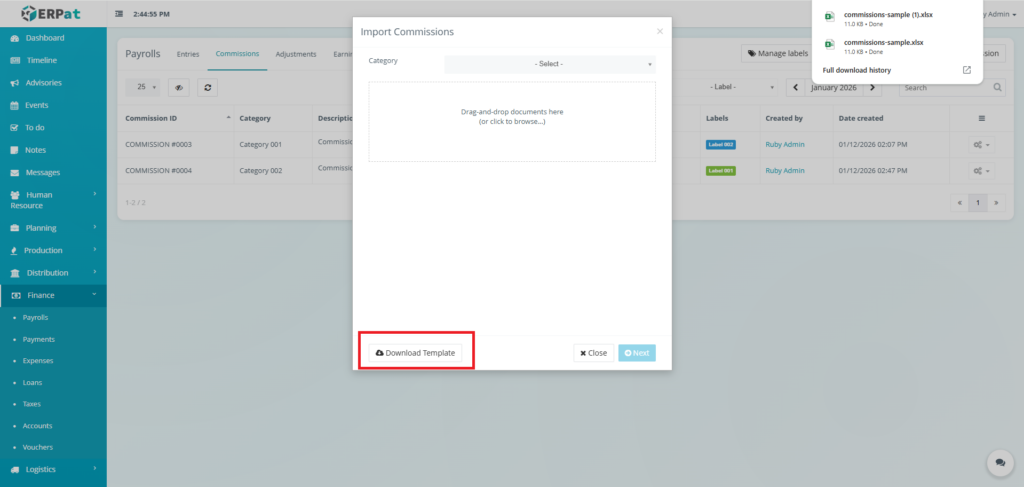
- Fill in the necessary details in the template.
- Select the category.
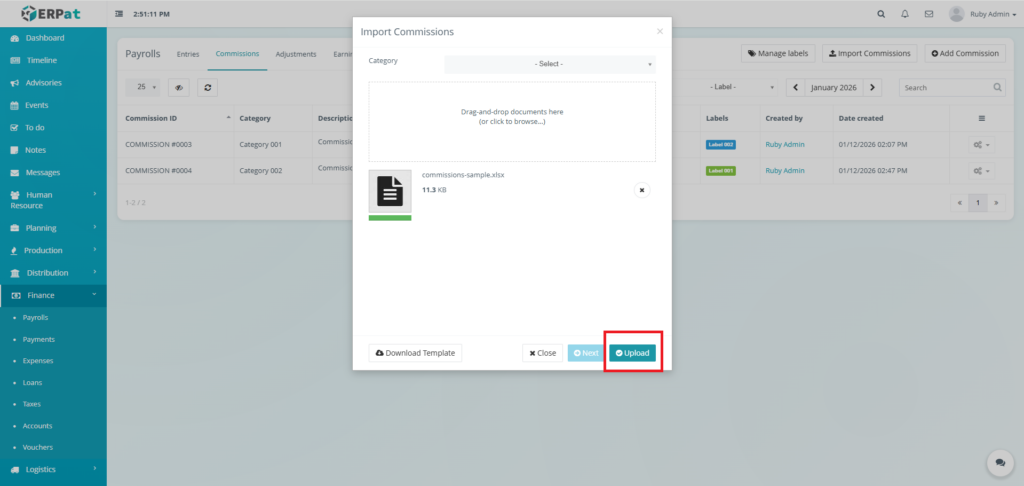
- Upload the template filled with data.
- Click the Next button then Upload button to insert multiple commissions.
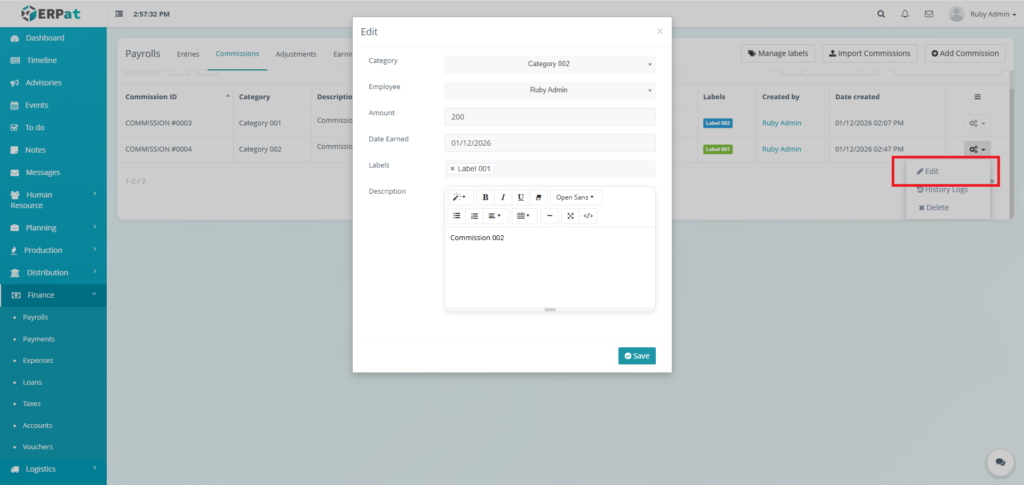
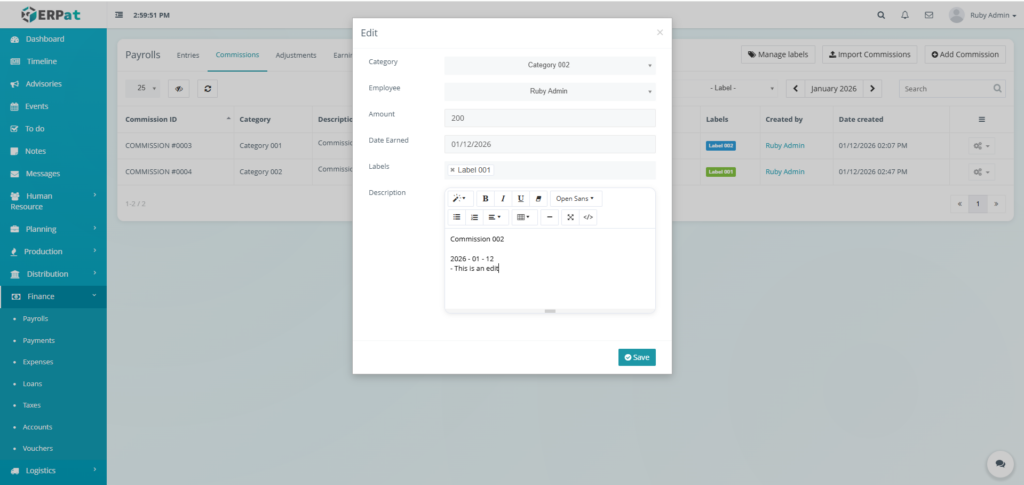
Steps for Editing a Commission #
STEPS #
- Click the actions icon in the table.
- Click the Edit option in the dropdown.
- Fill in the changes.
- Click the Save button to apply the changes.
Result #
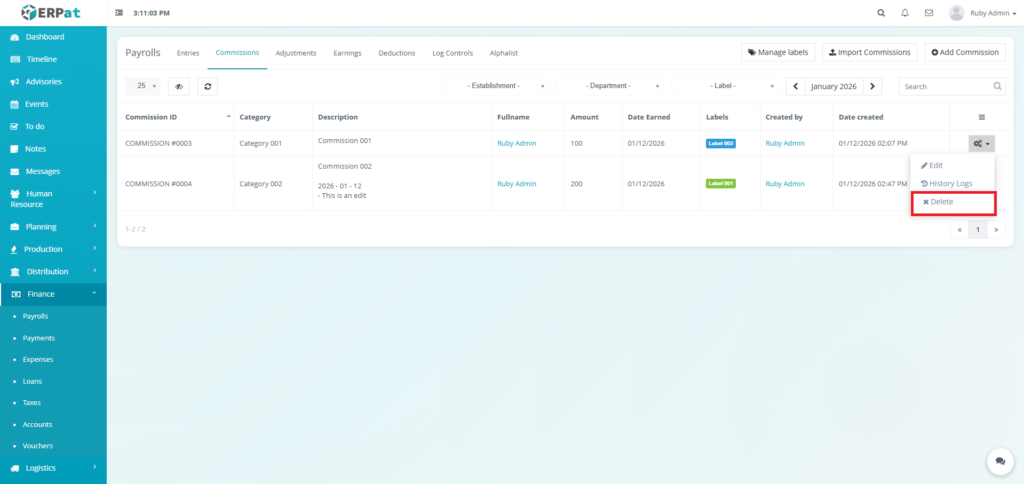
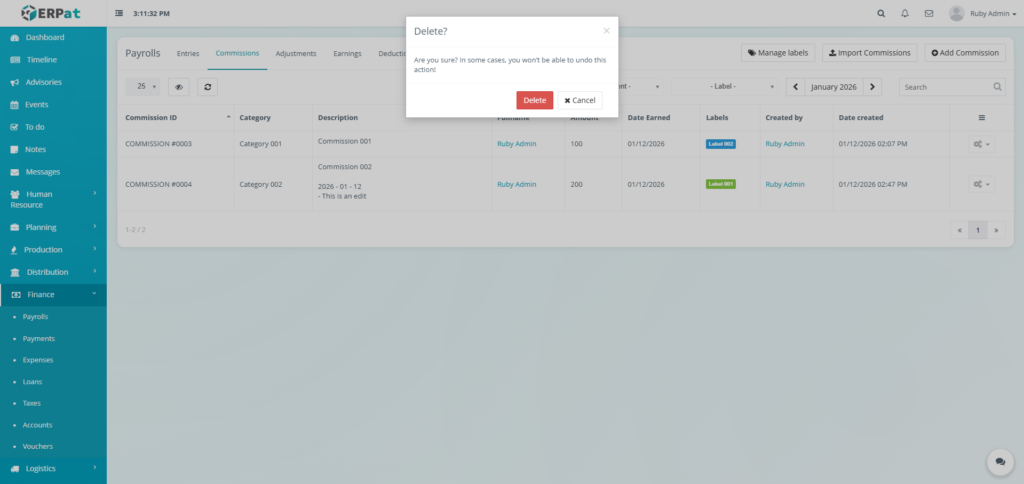
Steps for Deleting a Commission #
STEPS #
- Click the actions icon in the table.
- Click the Delete option in the dropdown.
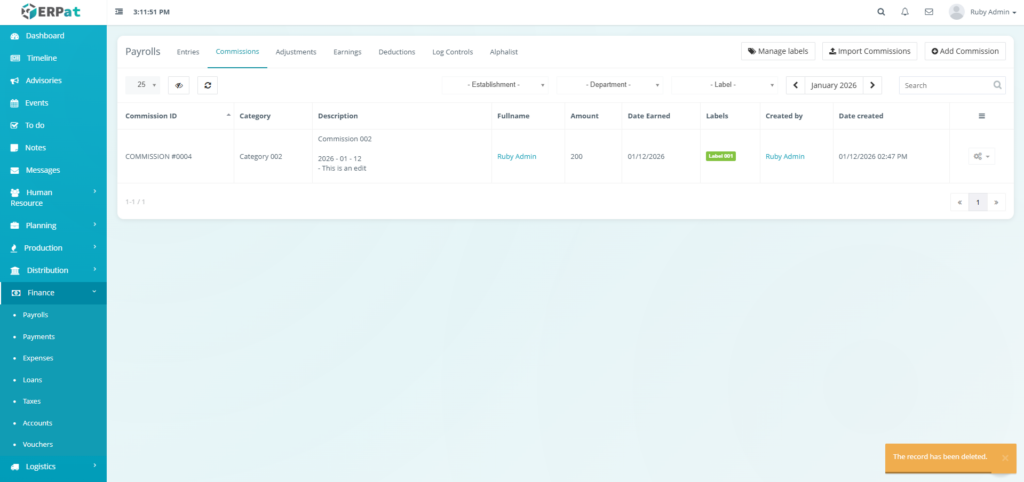
- Click the Delete button to remove the commission.
Result #
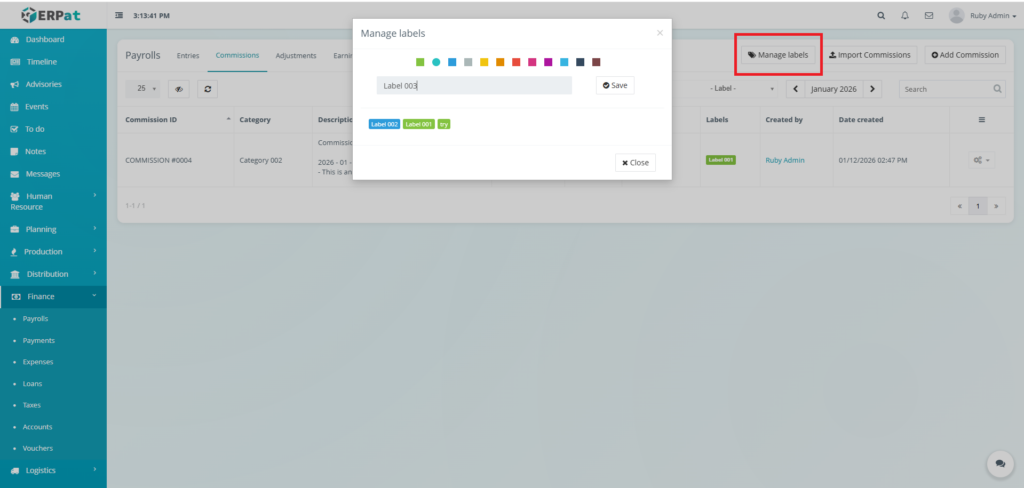
Steps for Adding a Commission Label #
STEPS #
- Click the “Manage labels” button
- Input the label.
- Select the color of the label.
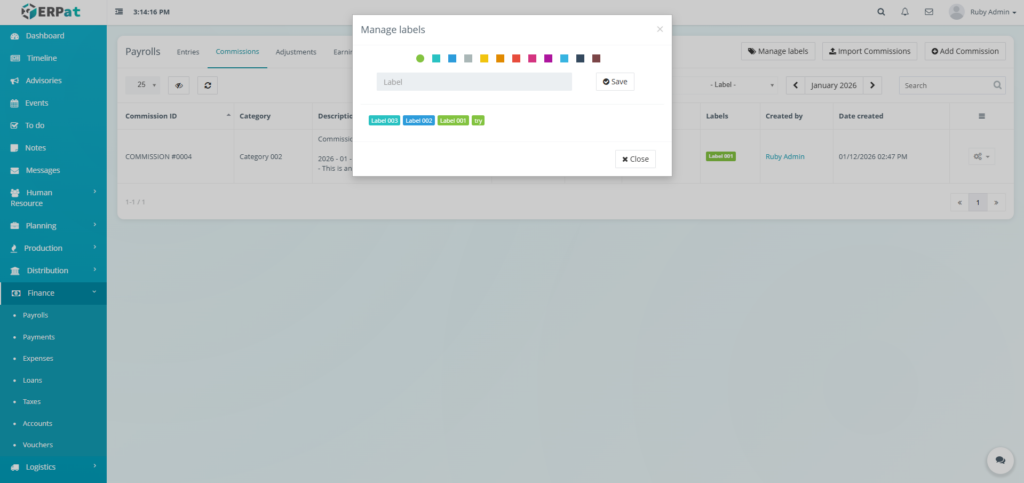
- Click the Save button to add the label.
Result #
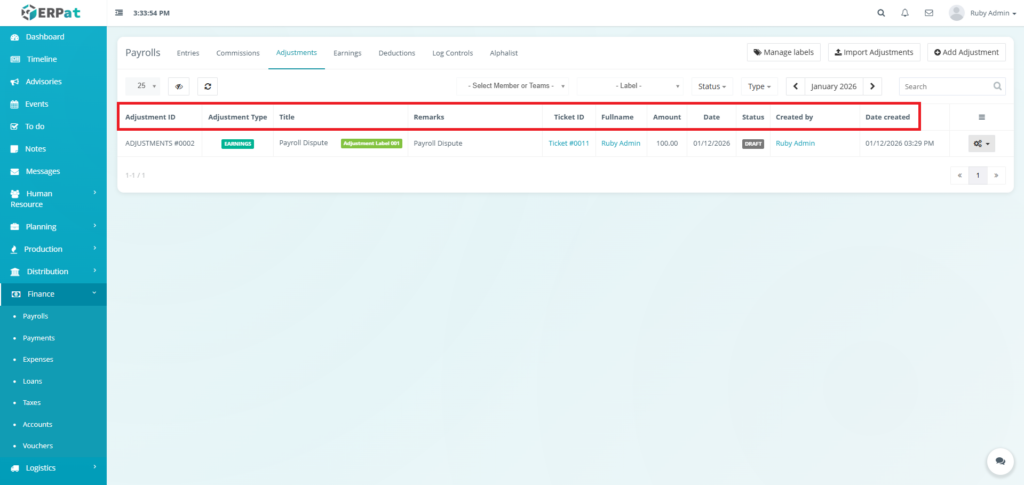
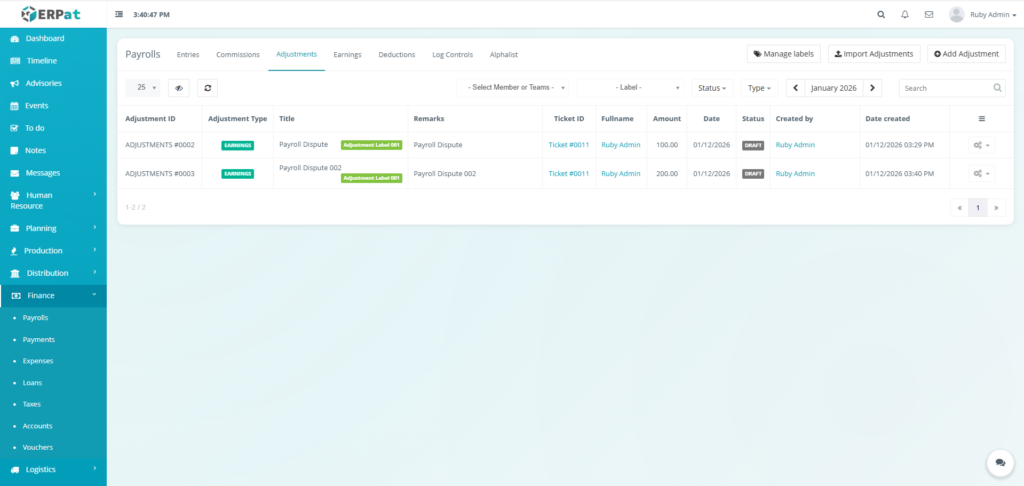
Payroll Adjustments Listing Page #
The adjustments interface displays all payroll adjustments with the following columns:
- Adjustment ID – Unique identifier of adjustments
- Adjustment Type – Category of adjustment (e.g., Payroll Dispute, Bonus, Deduction Correction)
- Title – Brief description of the adjustment
- Remarks – Additional details or notes
- Ticket ID – Unique identifier for tracking (e.g., Ticket #0011)
- Fullname – Employee name associated with the adjustment
- Amount – Monetary value of the adjustment
- Date – Date of the adjustment or dispute
- Status – Current state (Pending, Approved, Rejected, Processed)
- Created by – User who created the adjustment record
- Date created – Timestamp when the record was created
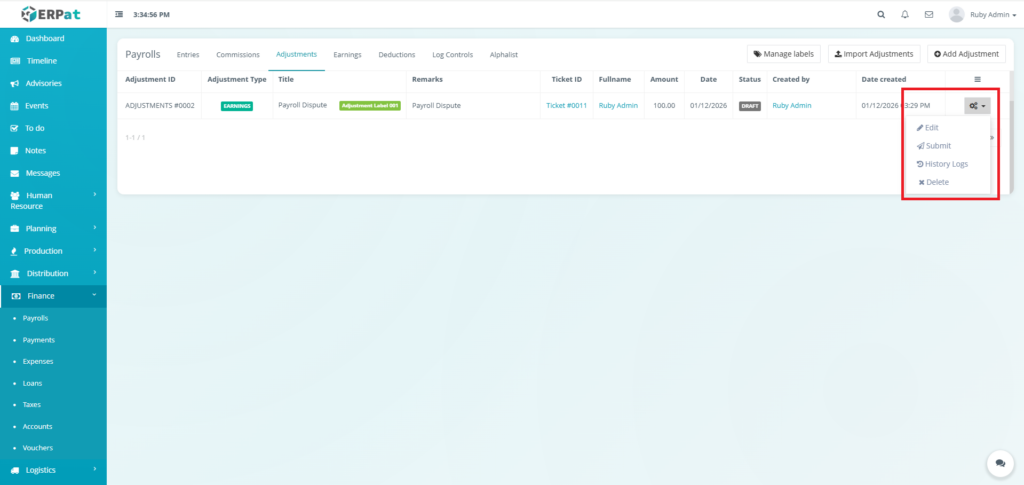
- Actions – Edit, Submit, History Logs, or Delete controls
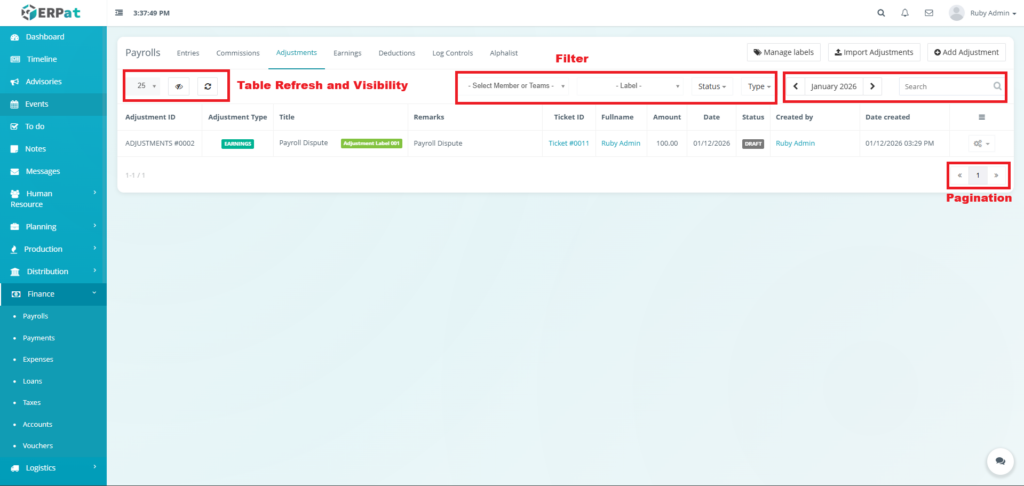
Page Control and Tools #
- Filter
- Members and/or teams
- Label
- Status
- Type
- Year and Month Selector
- Search Bar
- Table Refresh and Visibility Controls
- Pagination
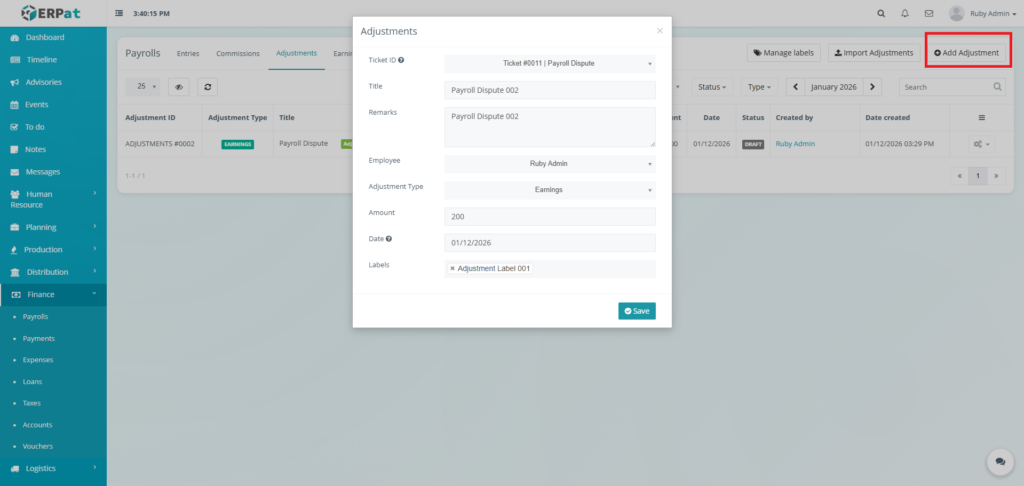
Steps for Adding a New Adjustment #
STEPS #
- Click the “Add adjustment” button.
- Fill in the necessary details
- Click the Save button to add the adjustment.
Result #
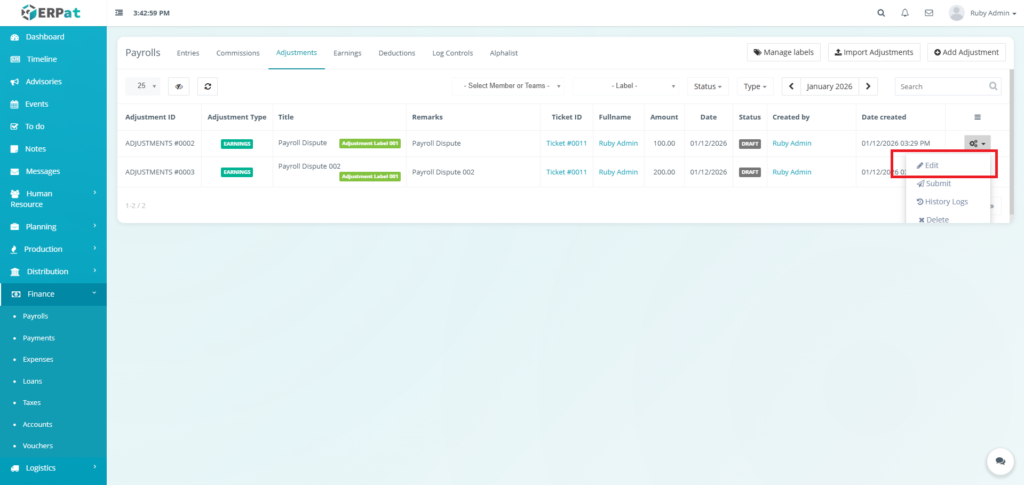
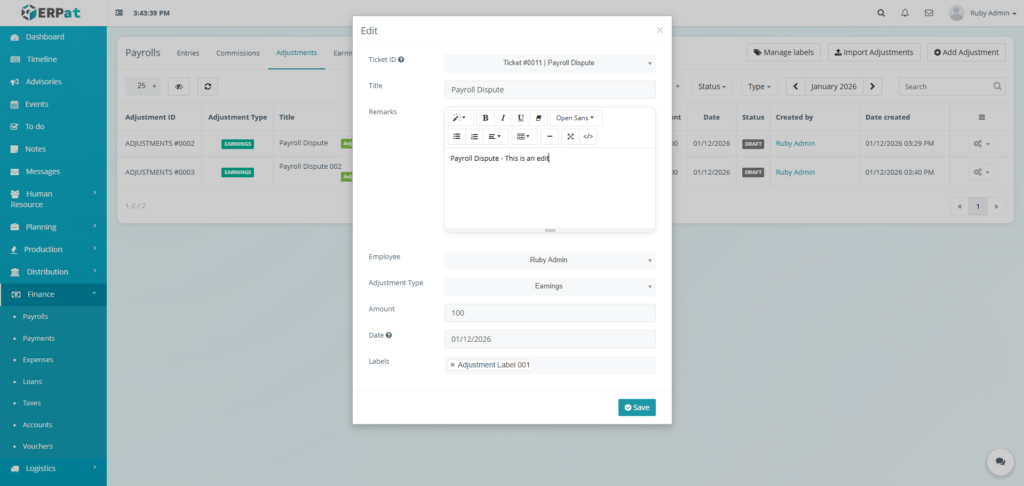
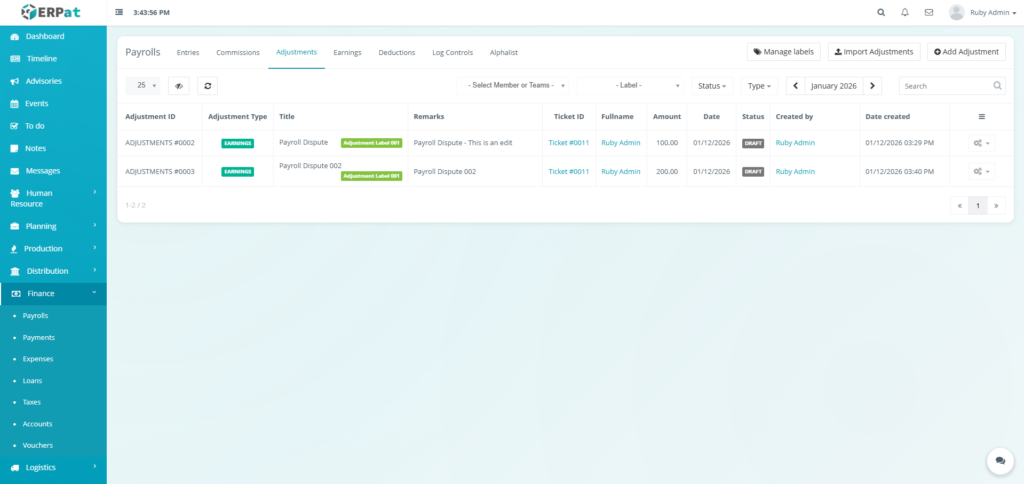
Steps for Editing an Adjustment #
STEPS #
- Click the actions icon.
- Click the Edit option in the dropdown
- Fill in the necessary changes
- Click the Save button to apply the changes.
Result #
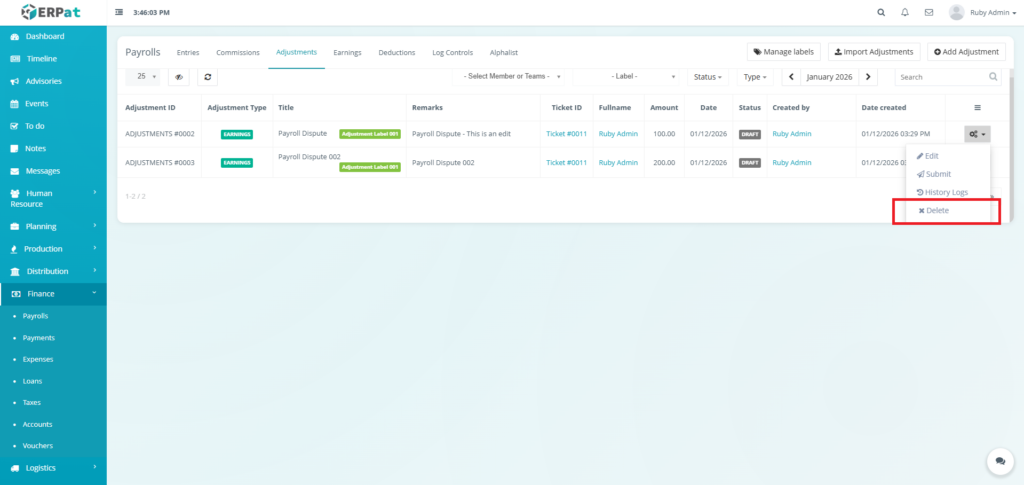
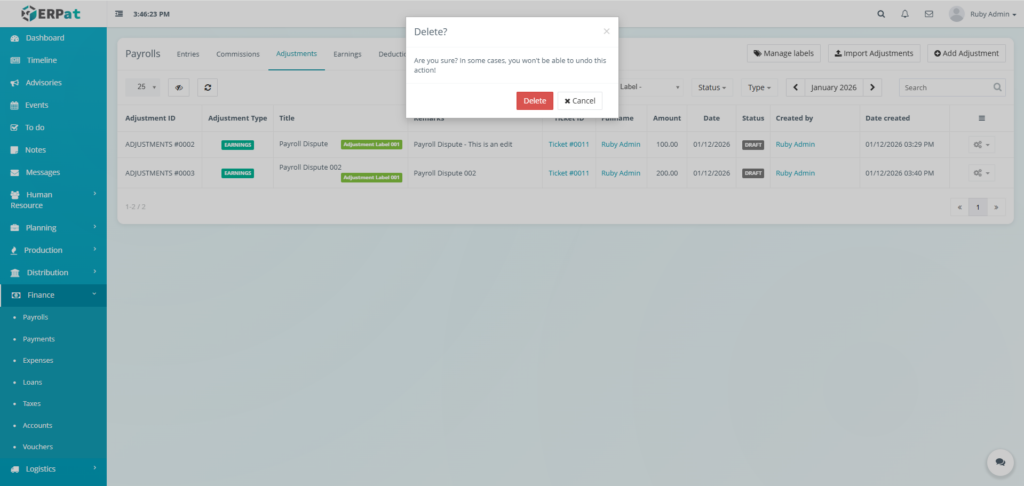
Steps for Deleting an Adjustment #
STEPS #
- Click the actions icon.
- Click the Delete option in the dropdown
- Click the Delete button to remove the adjustment.
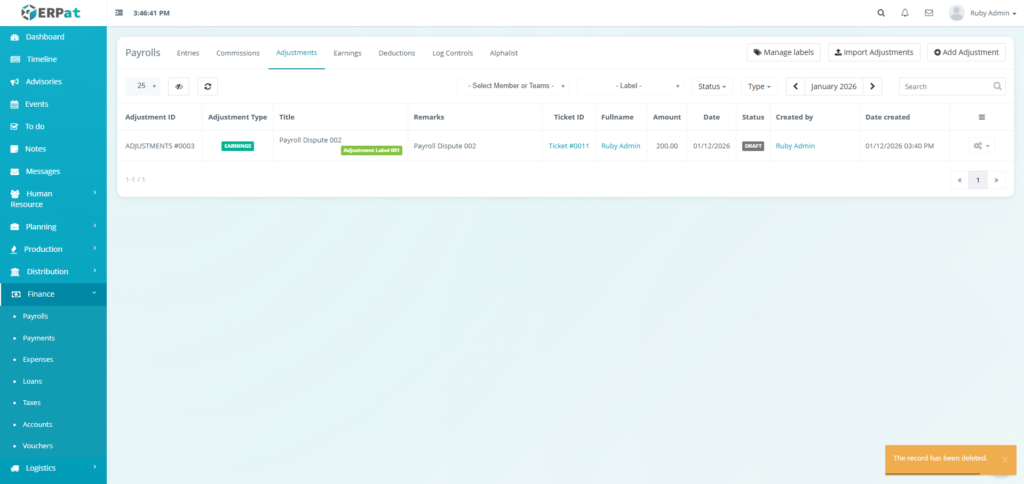
Result #
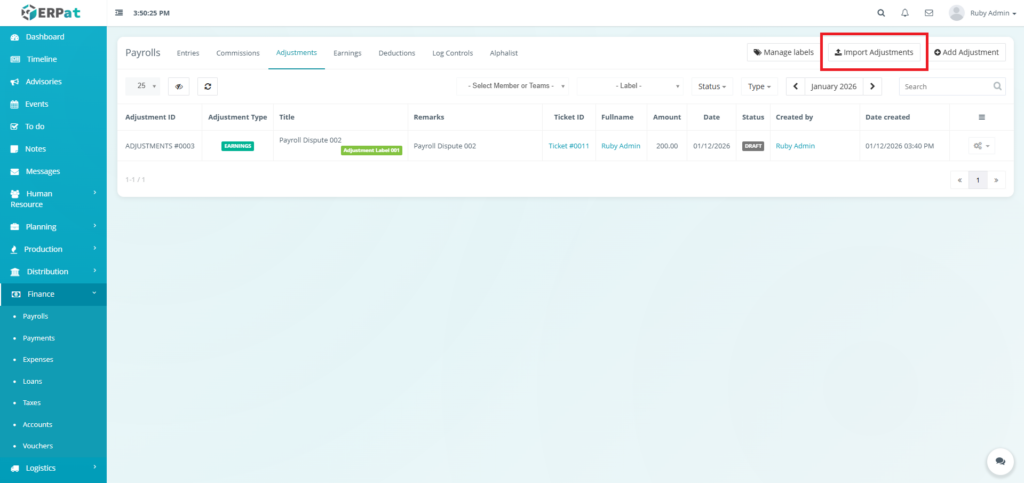
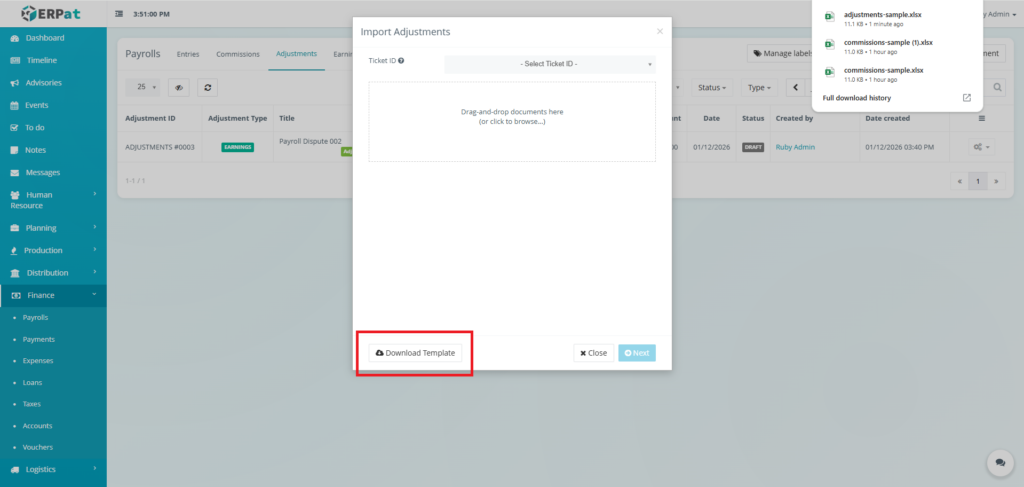
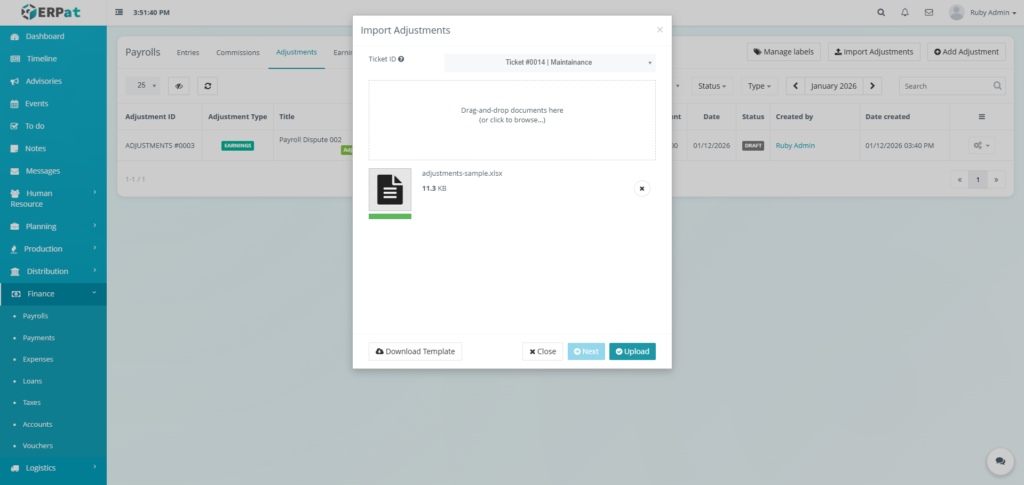
Steps for Adding Multiple Adjustments #
STEPS #
- Click the “Import Adjustments” button
- Fill in the necessary details in the template.
- Select the ticket ID.
- Upload the template filled with data.
- Click the Next button then Upload button to insert multiple adjustments.
Result #
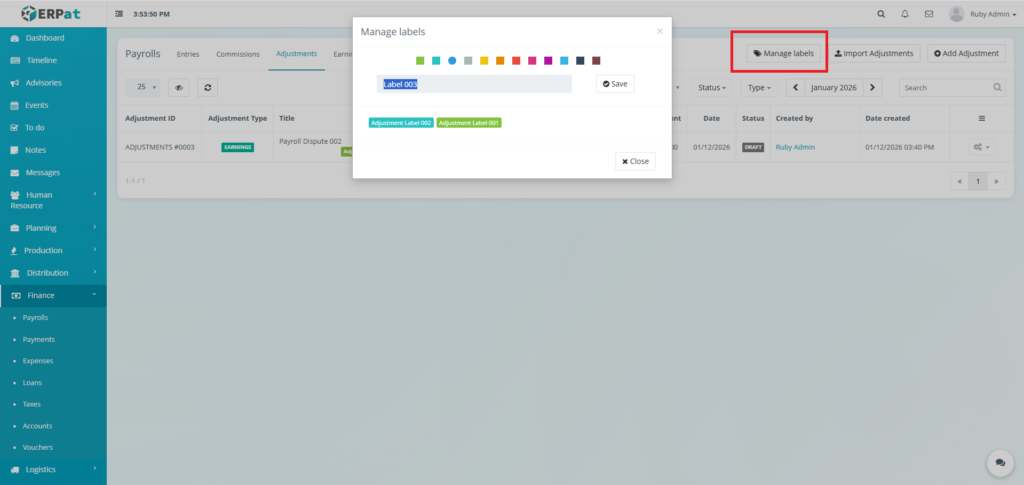
Steps for Adding Label for Adjustments #
STEPS #
- Click the “Manage labels” button
- Fill in the label.
- Select the color for the label.
- Click the Save button to add the label.
Result #

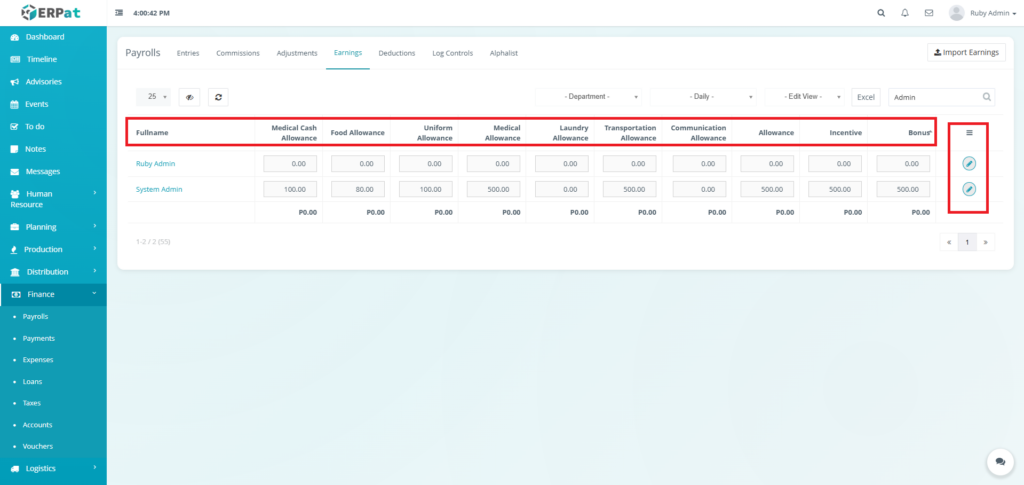
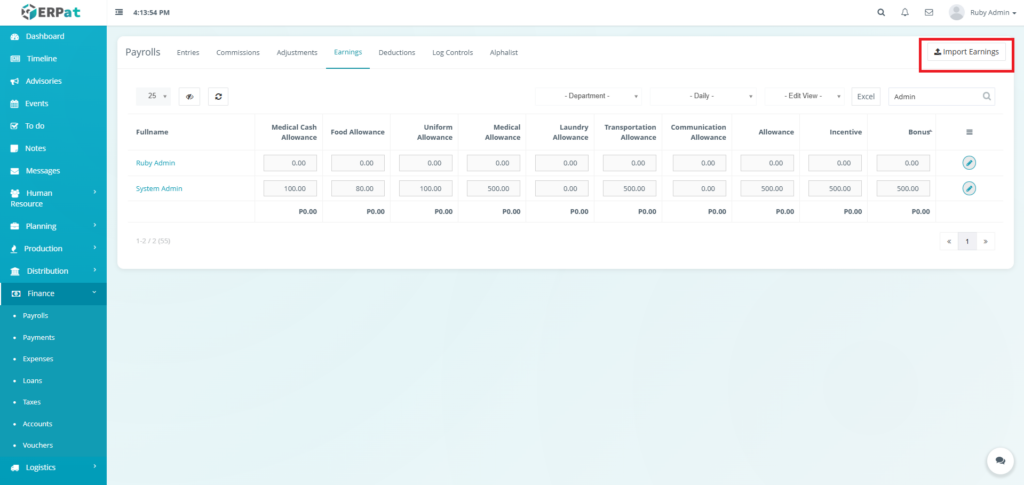
Payroll Earnings Listing Page #
The payroll entries interface displays a comprehensive table with the following structure:
- Fullname – Employee name (e.g., Ruby Admin, System Admin)
- Medical Cash Allowance – Cash allowance for medical expenses
- Food Allowance – Meal or food allowance
- Uniform Allowance – Clothing and uniform allowance
- Medical Allowance – Additional medical benefits
- Laundry Allowance – Clothing maintenance allowance
- Transportation Allowance – Commute or travel allowance
- Communication Allowance – Phone or internet allowance
- Allowance – General purpose allowance
- Incentive – Performance-based incentives
- Bonus – Additional employee benefits
- Actions – Edit or Save controls.
Page Control and Tools #
- Filter
- Department
- Frequency
- Table Refresh and Visibility Controls
- Excel Export
- Search Bar
- Pagination

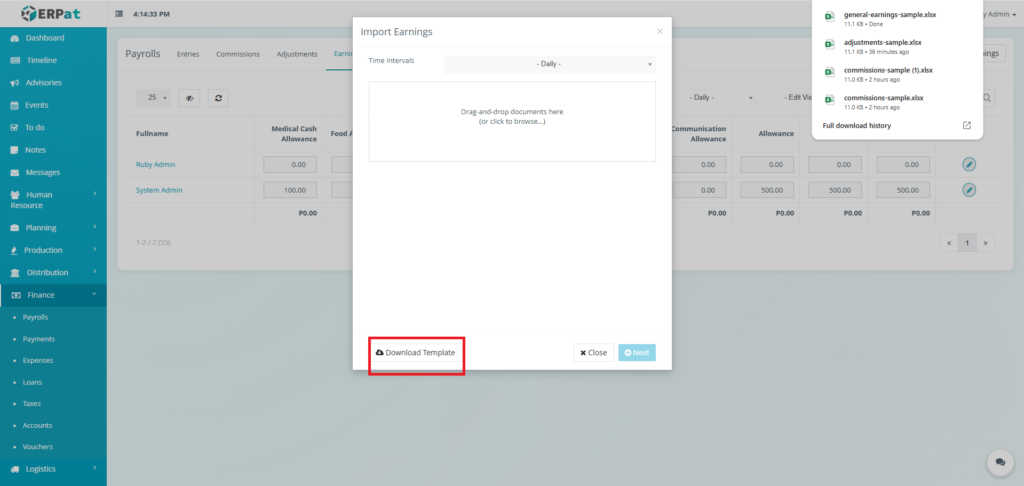
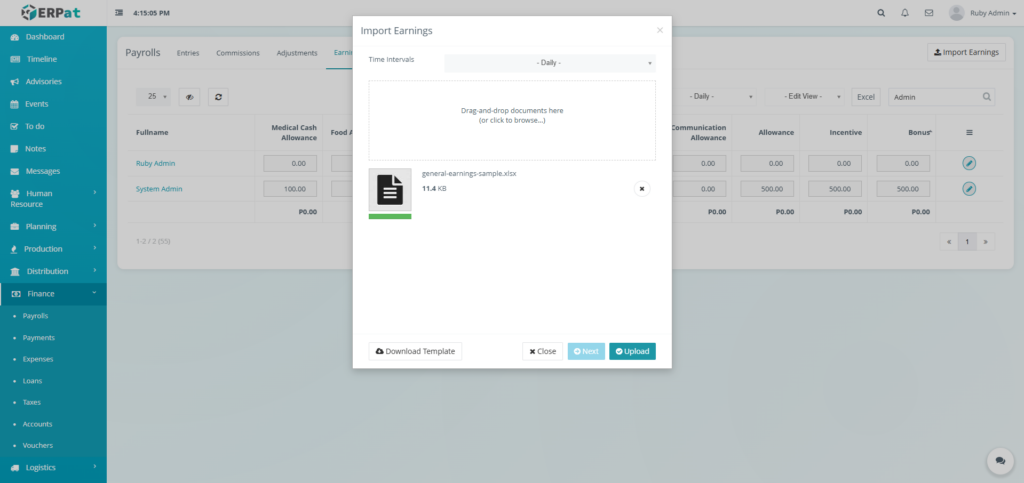
Steps for Adding Multiple Earnings #
STEPS #
- Click the “Import Earnings” button
- Fill in the necessary details in the template.
- Select the time intervals.
- Upload the template filled with data.
- Click the Next button then Upload button to insert multiple earnings.
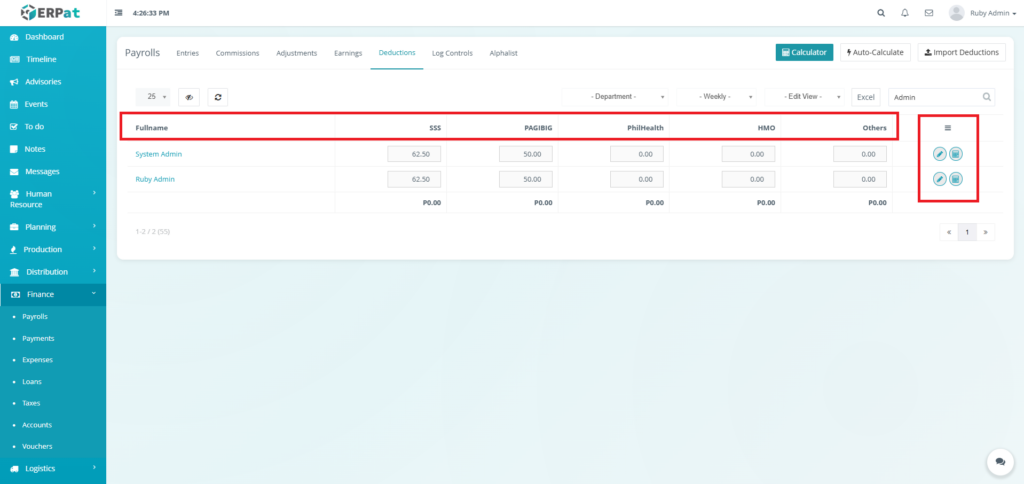
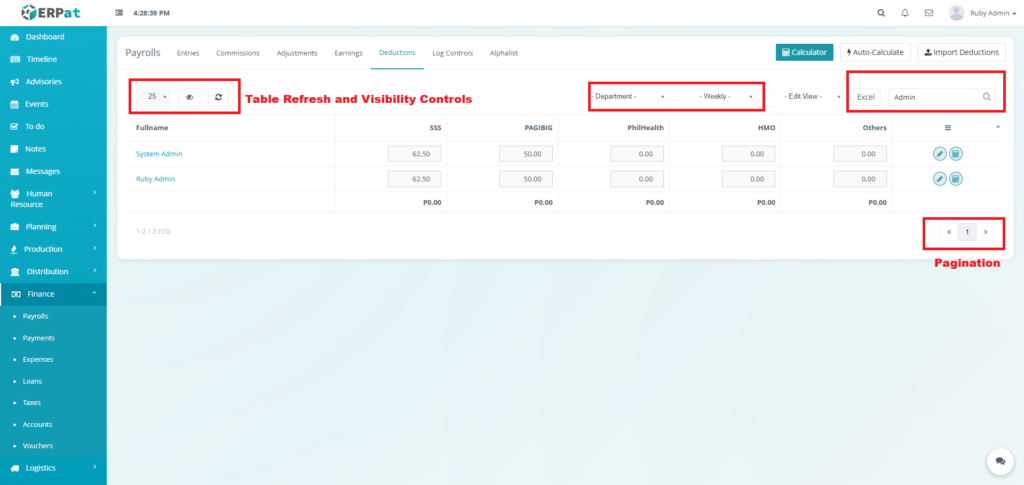
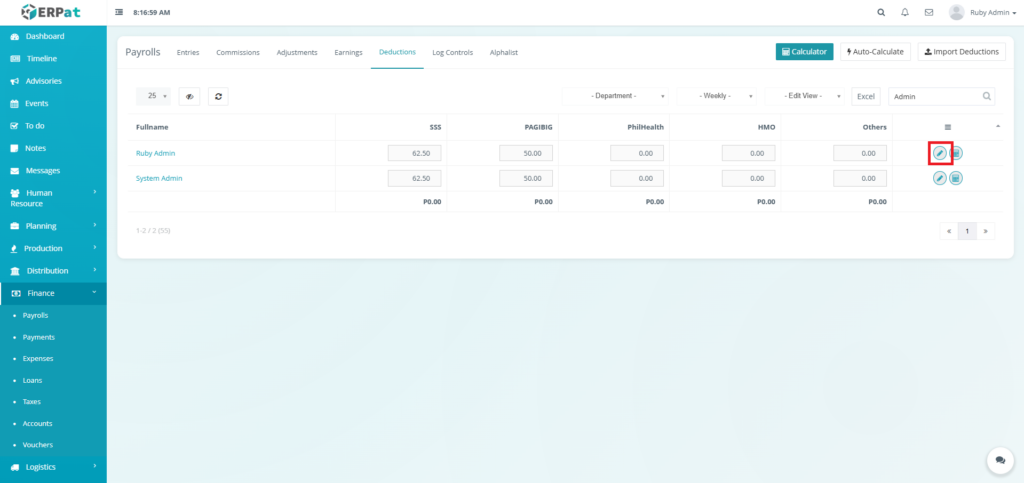
Payroll Deductions Listing Page #
The deductions interface displays a comprehensive table with the following structure:
- Fullname – Employee name (e.g., Ruby Admin, System Admin)
- SSS – Social Security System contributions
- PAGIBIG – Home Development Mutual Fund contributions
- PhilHealth – Philippine Health Insurance Corporation contributions
- HMO – Health Maintenance Organization deductions
- Others – Additional deduction categories (loans, advances, insurance, etc.)
- Actions – Edit, Save, Cancel, or Auto Calculate controls
Page Control and Tools #
- Filter
- Department
- Frequency
- Table Refresh and Visibility Controls
- Excel Export
- Search Bar
- Pagination
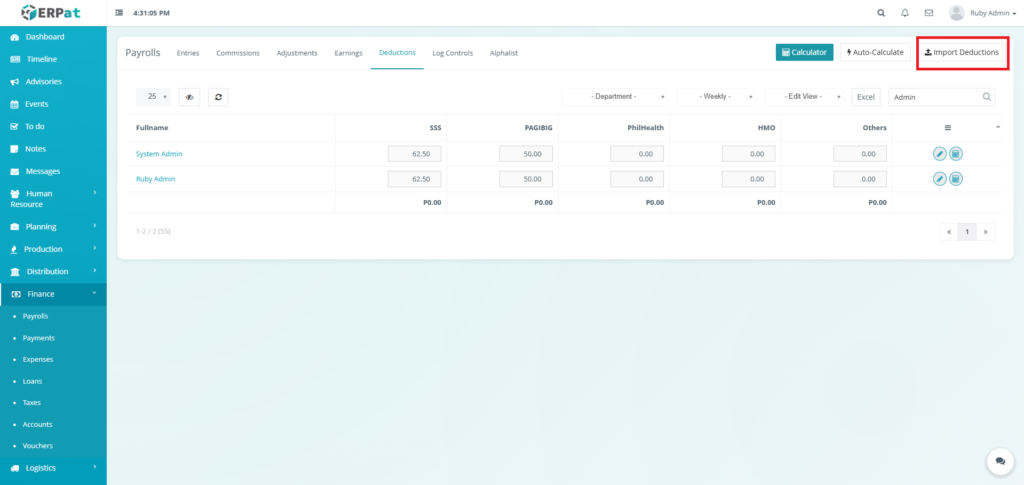
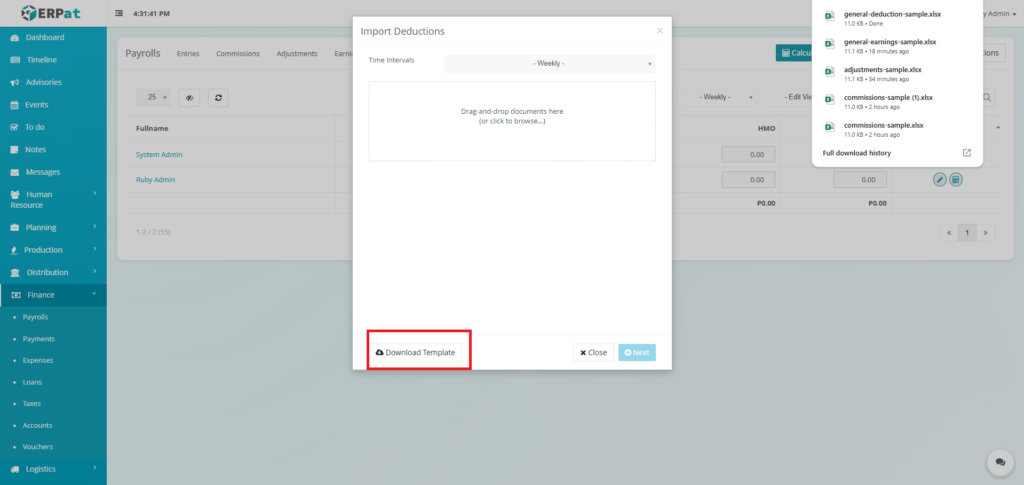
Steps for Adding Multiple Deductions #
STEPS #
- Click the “Import Deductions” button
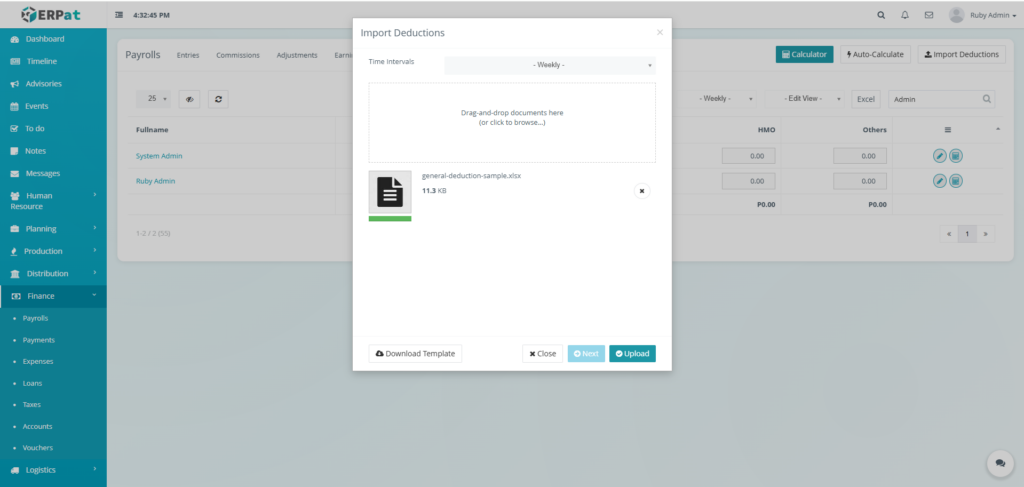
- Fill in the necessary details in the template.
- Select the time intervals.
- Upload the template filled with data.
- Click the Next button then Upload button to insert multiple deductions.
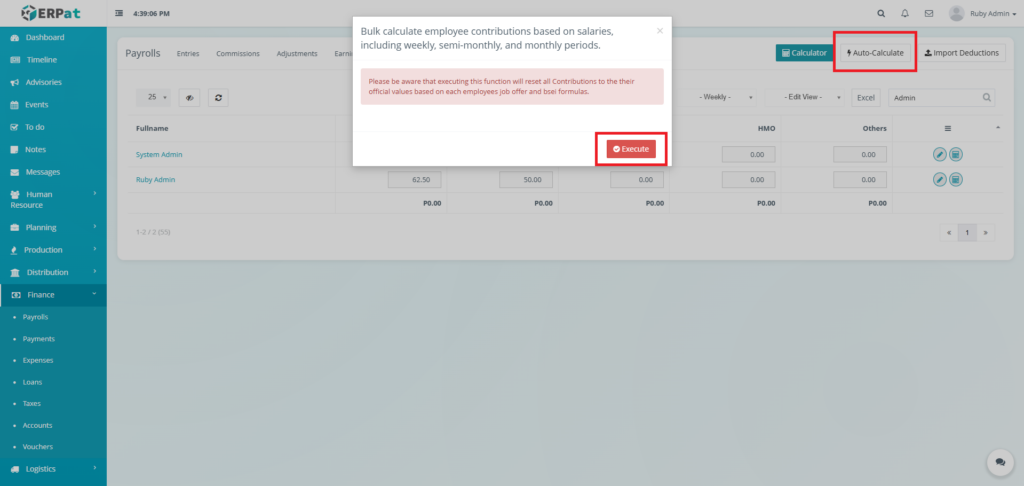
Steps for Mass Calculation #
STEPS #
- Click the “Auto-Calculate” button.
- Click the Execute button.
Note: Please be aware that executing this function will reset all Contributions to the their official values based on each employees job offer and bsei formulas.
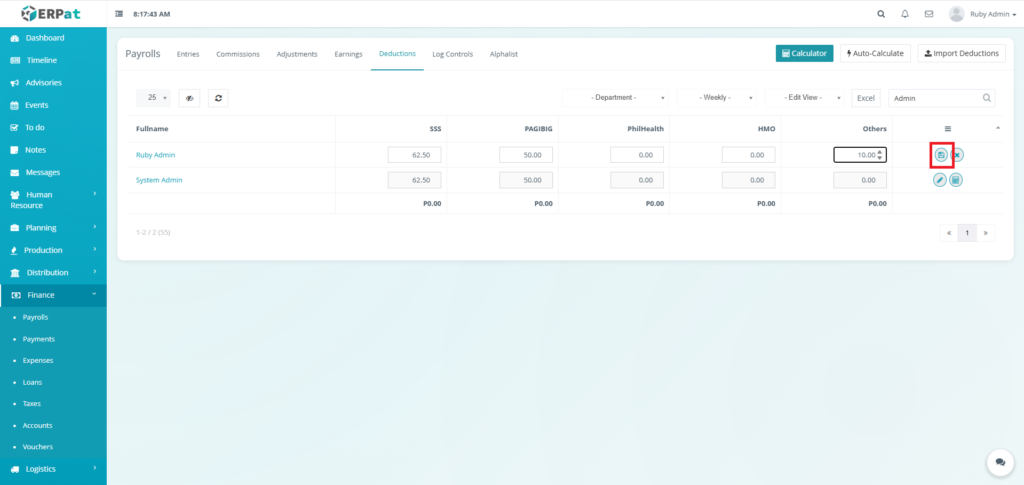
Steps for Editing Deductions #
STEPS #
- Click the Edit button in actions.
- Fill in the deductions.
- Click the Save button in actions.
Result #

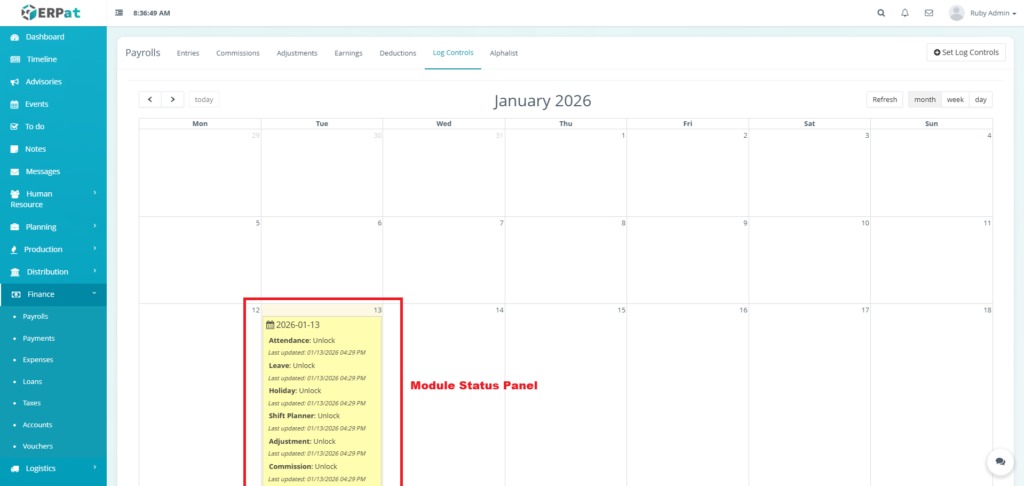
Log Controls Listing Page #
The Log Controls page displays a comprehensive table with the following structure:
- Calendar View
- Module Status Panel
- Module
- Status
- Last Updated
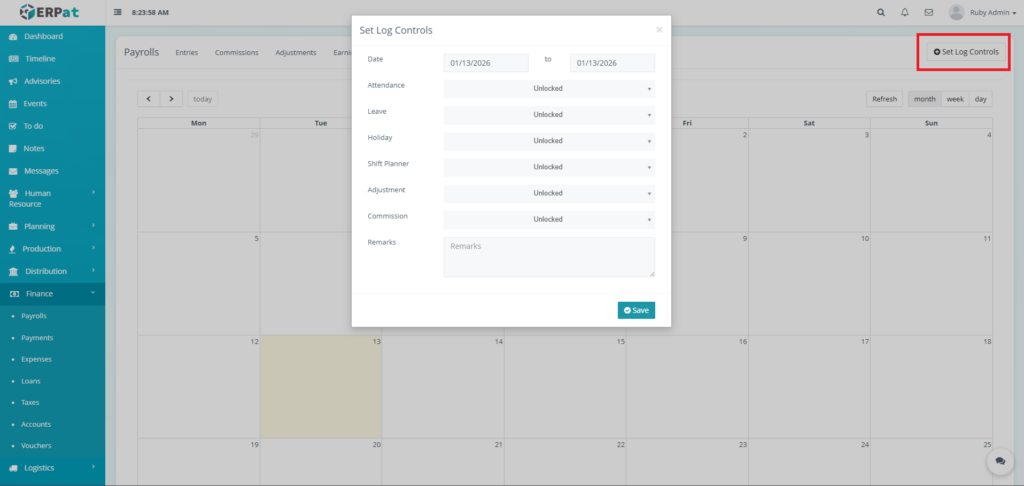
Steps for Setting Log Controls #
STEPS #
- Click the “Set Log Controls” button.
- Set the log controls (locked or unlocked).
- Set the duration.
- Click the Save button to apply the controls
Result #

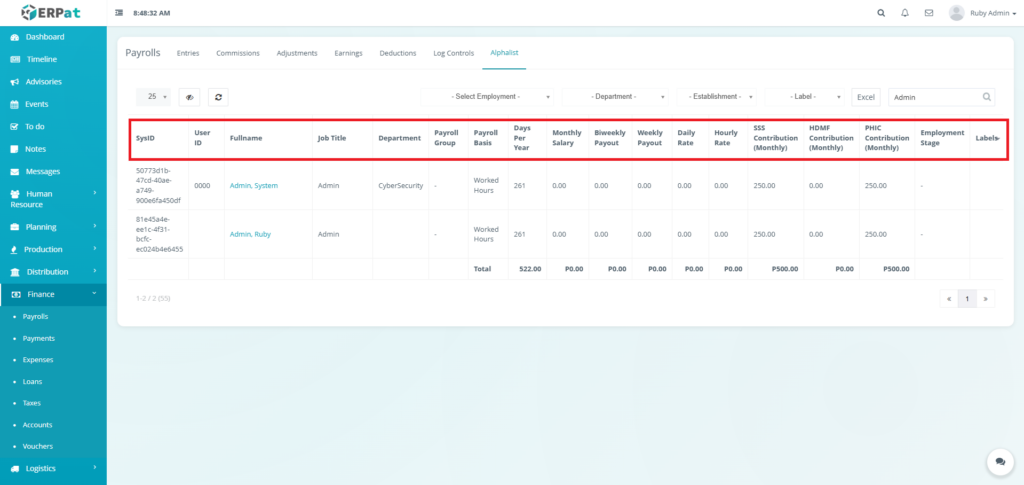
Payroll Alphalist Listing Page #
The employee records interface displays a comprehensive table with the following columns:
- SysID – Unique system identifier
- User ID – Employee identification number (e.g., 0000)
- Fullname – Employee name in Last, First format (e.g., Admin, System)
- Job Title – Position or role (e.g., Admin)
- Department – Organizational unit (e.g., CyberSecurity)
- Payroll Group – Classification group for payroll processing
- Payroll Basis – Calculation method (e.g., Worked Hours, Fixed Monthly)
- Days Per Year – Annual working days (e.g., 261)
- Monthly Salary – Fixed monthly compensation
- Biweekly Payout – Calculated biweekly amount
- Weekly Payout – Calculated weekly amount
- Daily Rate – Calculated daily rate
- Hourly Rate – Hourly compensation rate (e.g., 250.00)
- SSS Contribution – Social Security System contribution amount
- HDMF Contribution – Home Development Mutual Fund (PAG-IBIG) contribution
- PHIC Contribution – Philippine Health Insurance Corporation contribution
- Employment Stage – Current employment phase or status
- Labels – Additional custom Labels to identify the employee better
Page Control and Tools #
- Filter
- Employment Stage
- Department
- Establishment
- Label
- Table Refresh and Visibility Controls
- Excel Export
- Search Bar
- Pagination

Permissions and Access Control #
- Payroll access is restricted to authorized Finance and HR roles.
- All payroll records are traceable to the user who created or modified them.
Best Practices #
- Immediate Recording – Enter commissions as soon as they are earned for accurate tracking
- Clear Descriptions – Include sufficient detail in commission descriptions for audit purposes
- Regular Reconciliation – Monthly reconciliation of commission records with payroll
- Adjustment Documentation – Always provide detailed reasons for commission adjustments
- Label Consistency – Use standardized labels across all commission types
- Data Backups – Regular exports of commission data for financial records
Audit & Logs #
All payroll-related actions are automatically logged with timestamps and user attribution to ensure accountability and compliance.
Last Updated: [January 13, 2026] Module Owner: Finance IS – ERPat System


