Overview #
The Vouchers Module in the ERPat system serves as a formal accounting tool for documenting internal and external financial transactions. It provides a standardized framework for creating, approving, and tracking various payment and receipt records, ensuring that every movement of funds is properly authorized and categorized.
By centralizing these records, the module maintains a clear audit trail of financial obligations and disbursements, complete with status tracking and administrative attribution.
Key Features #
- Multi-Type Voucher Management – Support for various voucher types
- Status Tracking – Monitor voucher status from creation to approval and payment
- Reference Linking – Connect vouchers to related transactions and documents
- Amount Tracking – Accurate recording of voucher amounts with currency formatting
- Attachment Support – Attach supporting documents and files to vouchers
- Recurring Vouchers – Support for regularly occurring voucher transactions
- Audit Trail – Complete history of voucher creation, modifications, and approvals
- Type Configuration – Customizable voucher types with active/inactive status management
Accessing the Vouchers Module #
- Log in to the ERPat System
- Navigate to Finance from the main sidebar
- Select Vouchers from the finance menu
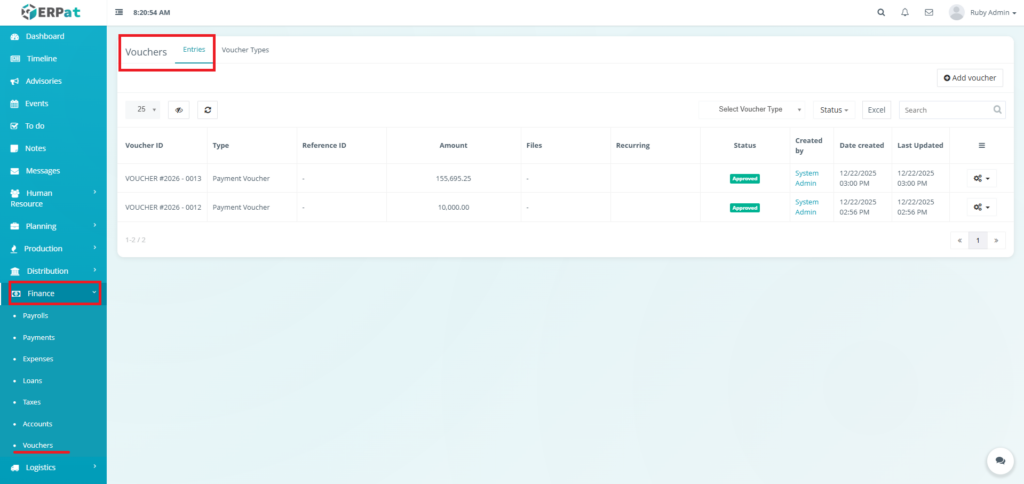
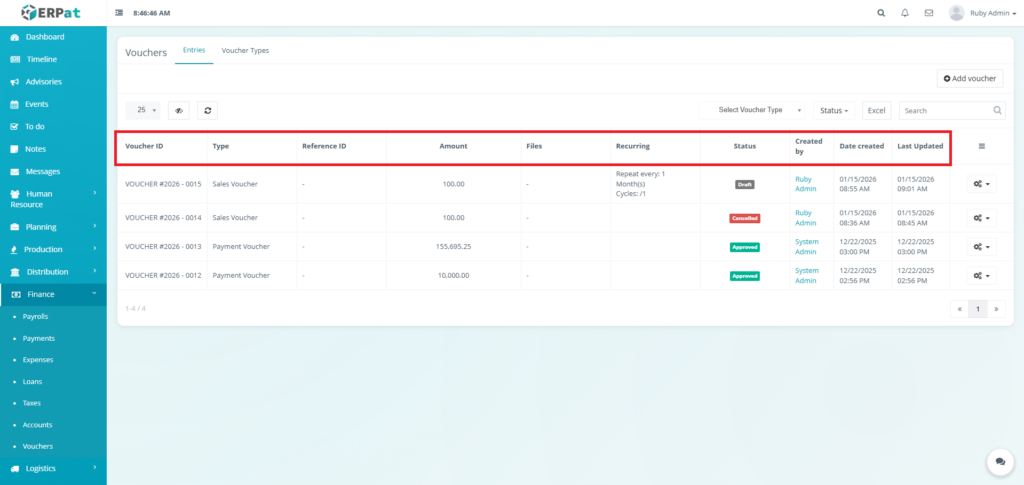
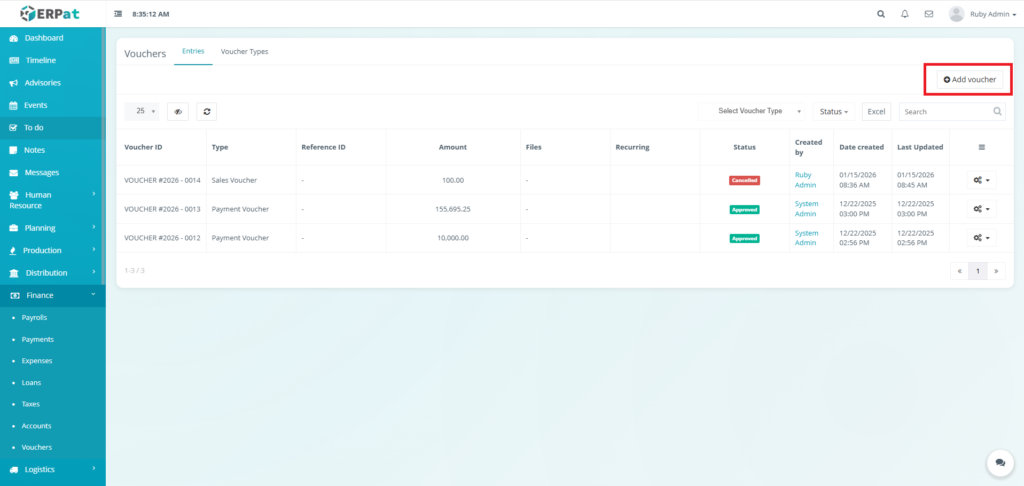
Voucher Entries Listing Page #
The Entries Listing Page provides a summarized view of all generated vouchers with the following columns:
- Voucher ID – Unique system-generated identifier
- Type – The classification of the voucher
- Reference ID – A secondary ID used to link the voucher to external invoices or files.
- Amount – The total monetary value documented by the voucher.
- Files – Indicates if supporting documentation or digital receipts are attached.
- Recurring – Frequency of the voucher.
- Status – The current approval state, indicated by a color-coded badge.
- Created by – The administrator who originally generated the voucher.
- Date created – Timestamp showing the creation of the voucher.
- Last Updated – Timestamp showing the most recent modification to the record.
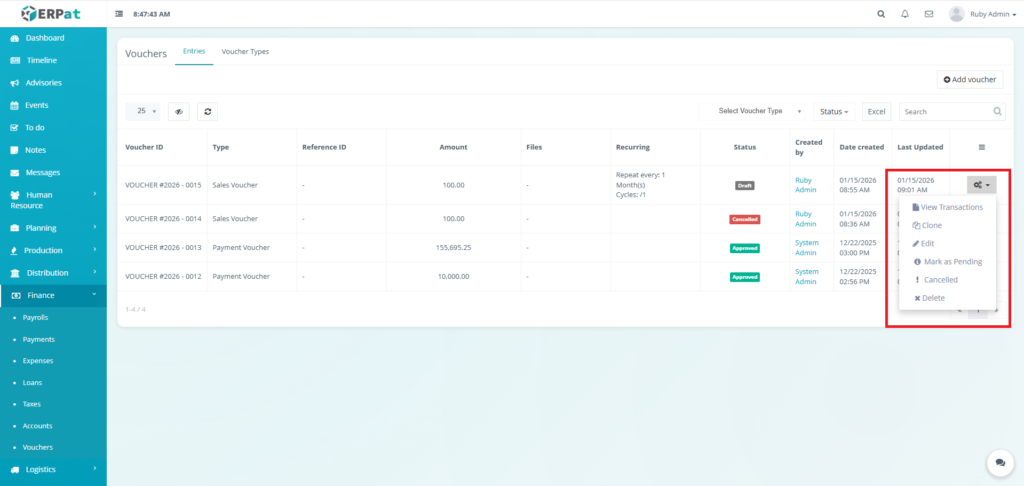
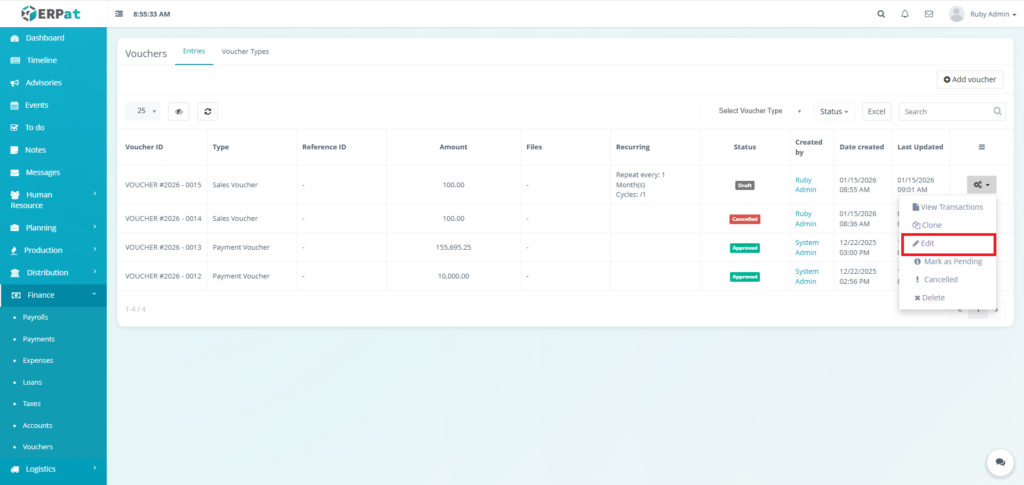
- Actions – View Transactions, Clone, Edit, Mark as Pending, Cancelled, or Delete Controls.
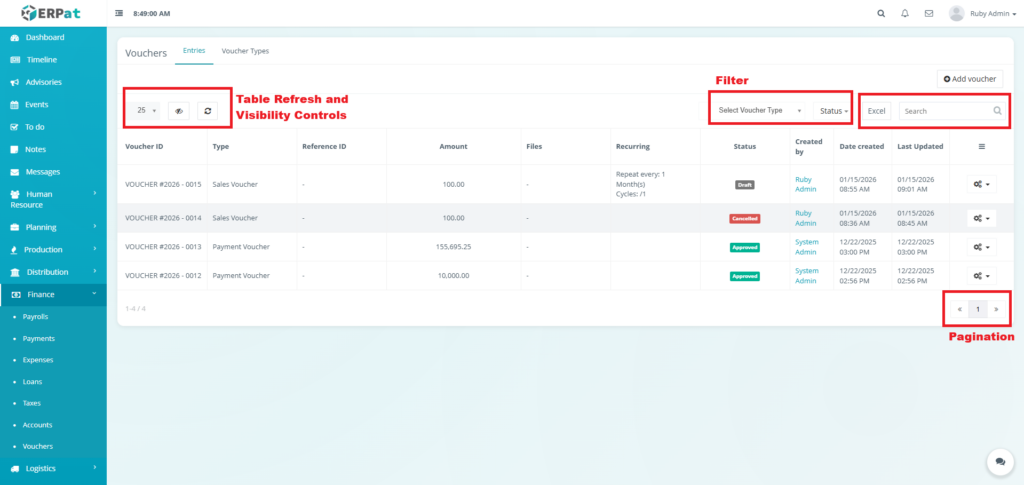
Page Controls and Tools #
- Filter
- Voucher Type
- Status
- Excel Export
- Search Bar
- Table Refresh and Visibility Controls
- Pagination
Steps for Adding a Voucher #
STEPS #
- Click the “Add Voucher” button.
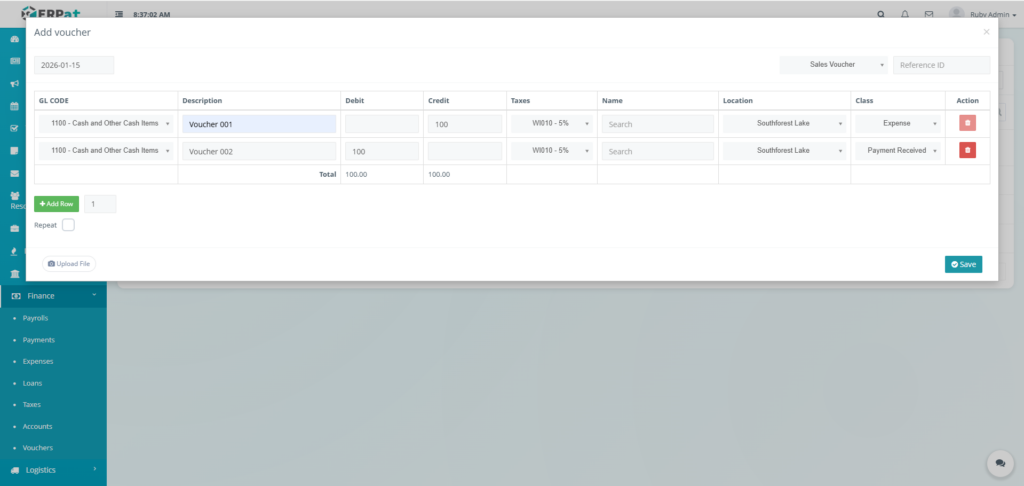
- Select the Voucher type.
- Fill in the necessary details.
- Click the Save button to add the Voucher.
Notes:
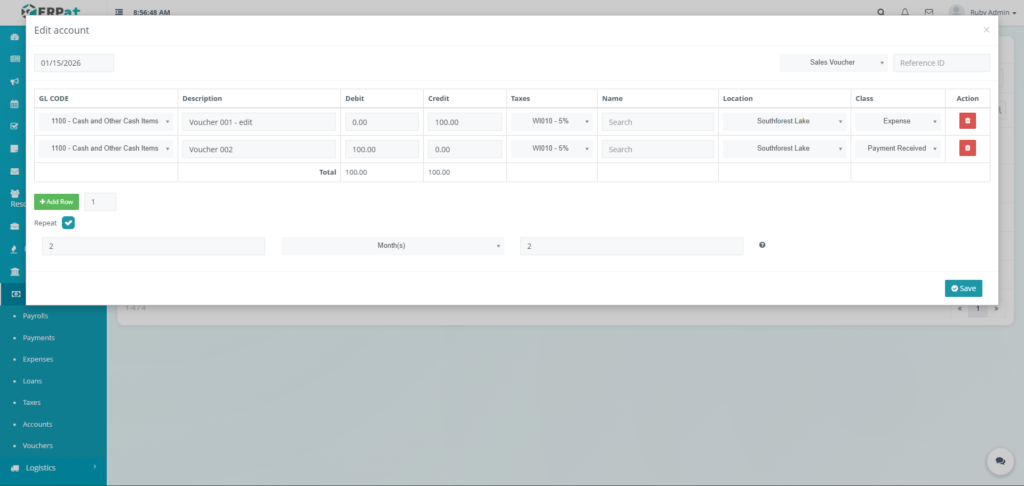
- Debit and Credit must be balanced before the voucher can be saved.
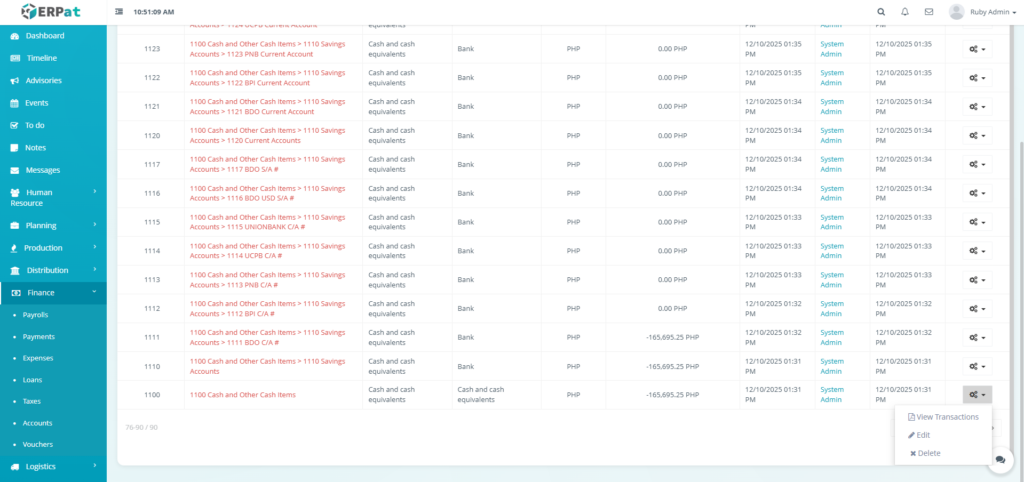
- Transactions can also be found in Accounts module where balancing of the debit and credit is also performed.
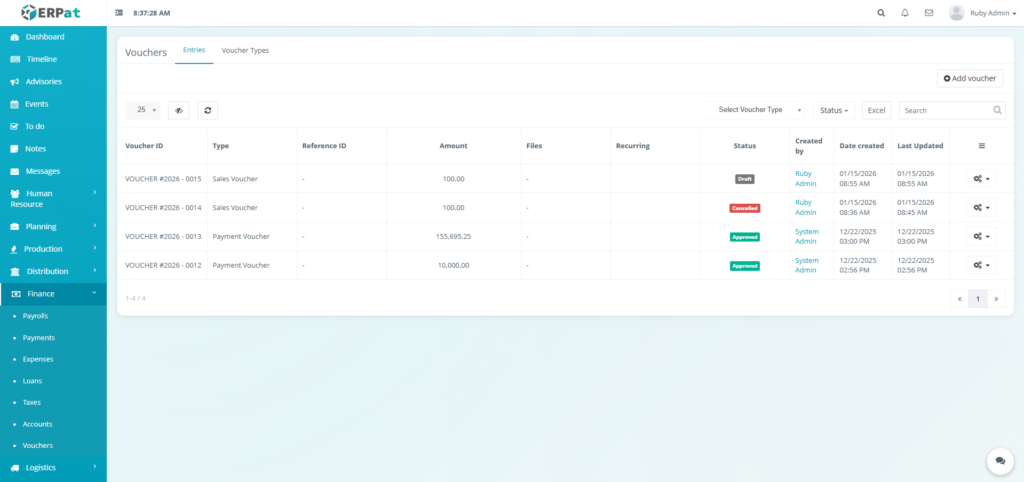
Result #
Steps for Editing a Voucher #
STEPS #
- Click the actions icon in the table.
- Click the Edit option in the dropdown.
- Fill in the changes.
- Click the Save button to apply the changes.
Notes: Voucher cannot be edited when its Status is Approved.
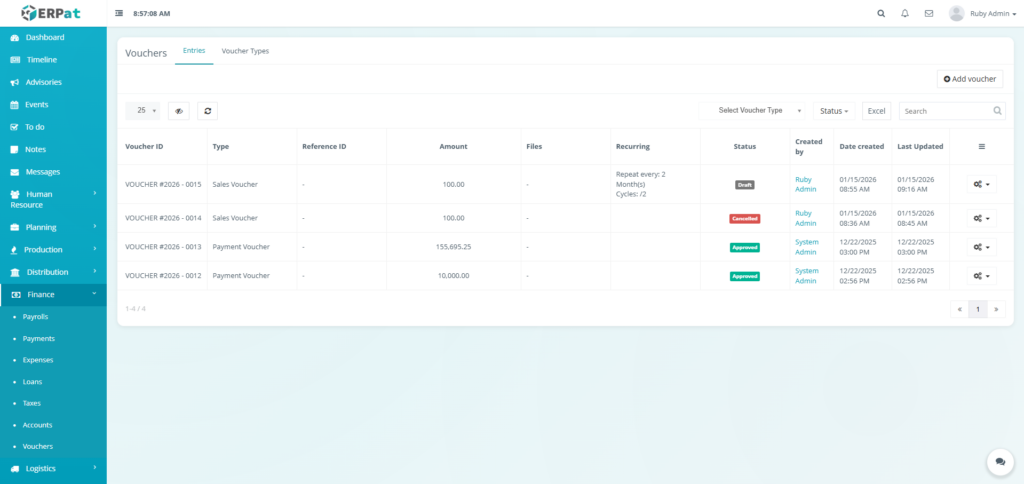
Result #
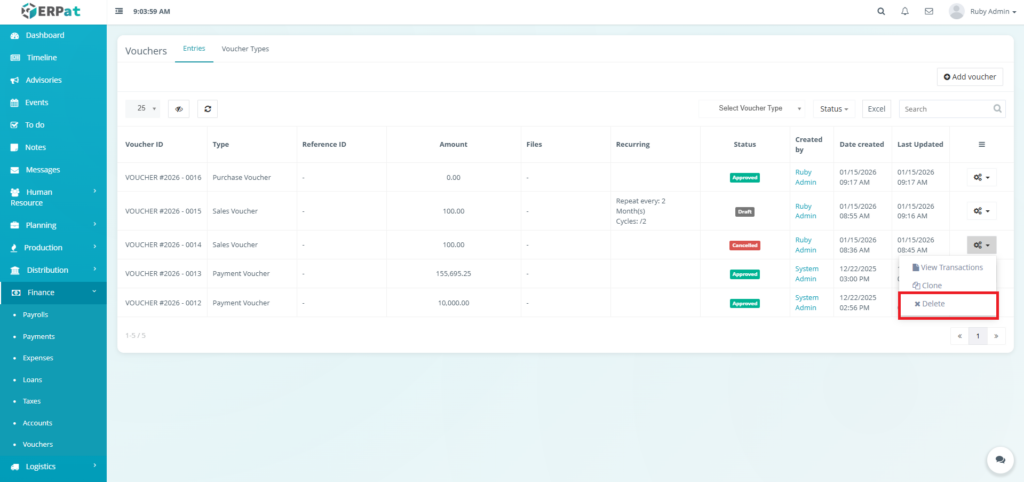
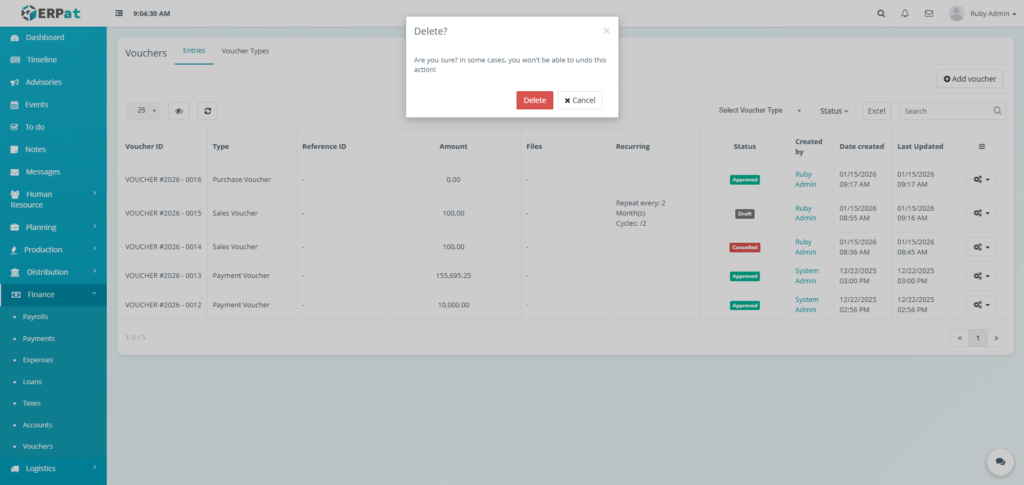
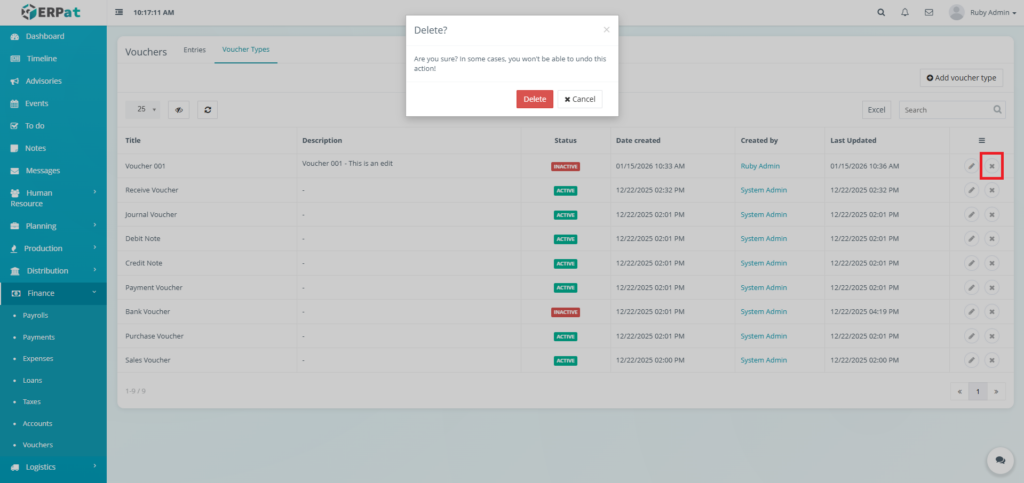
Steps for Deleting a Voucher #
STEPS #
- Click the actions icon in the table.
- Click the Delete option in the dropdown.
- Click the Delete button to remove the voucher.
Notes: Voucher can only be deleted when its Status is Draft or Cancelled.
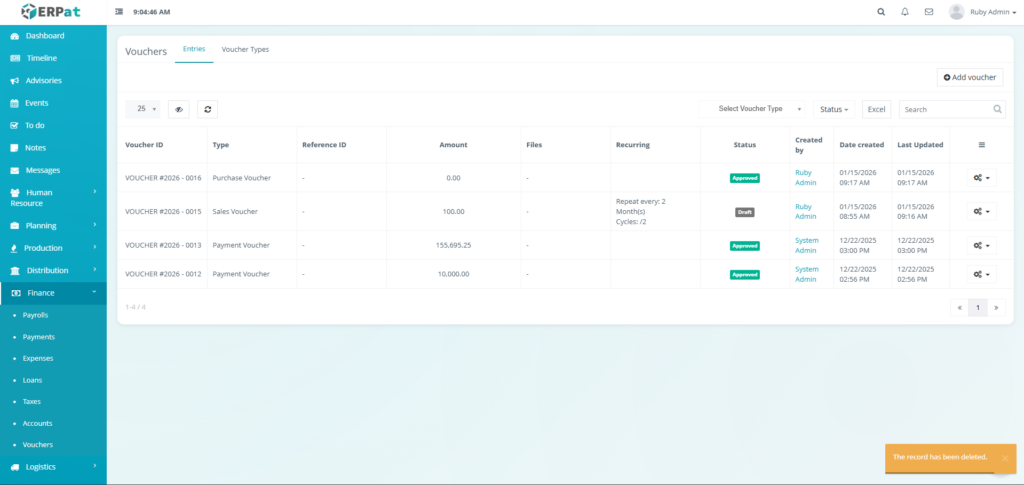
Result #
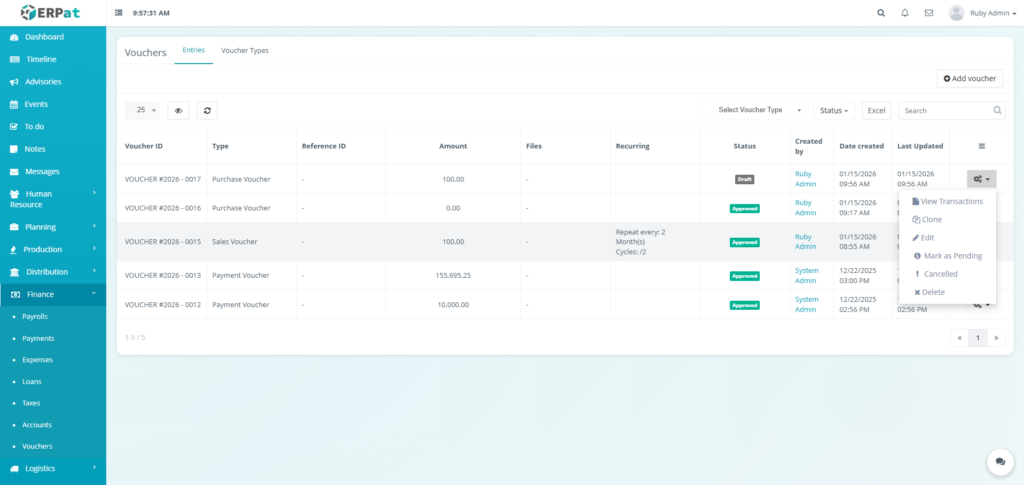
Voucher Actions & Workflow Controls #
The Actions in the Vouchers module dynamically changes based on the current status of the voucher. These options allow administrators to move a document through the lifecycle from a draft entry to a finalized approved record.
Status: Draft #
Initial stage where the voucher is being created and details are still being finalized.
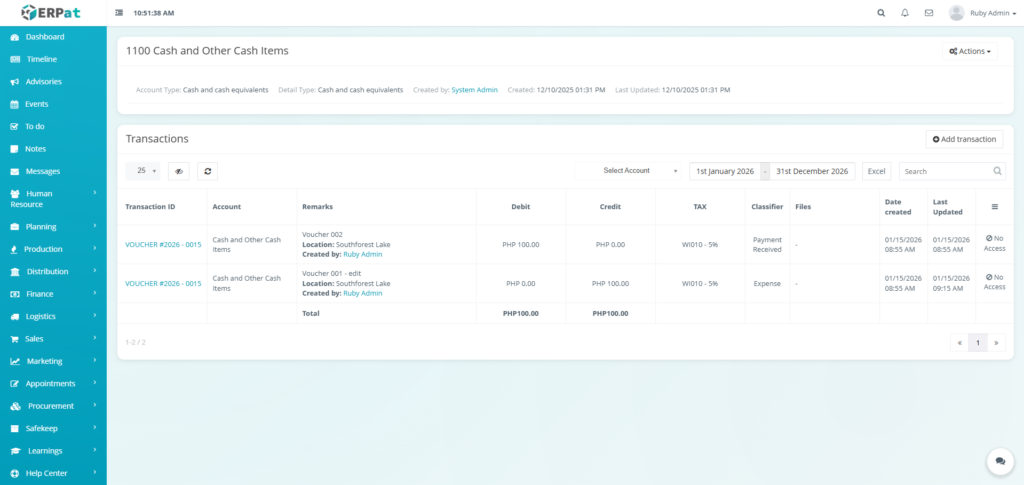
- View Transactions: Open the ledger to see the specific Debit and Credit distributions.
- Clone: Create an exact duplicate of the voucher to save time on repetitive entries.
- Edit: Modify any field, including the amount, reference ID, or account codes.
- Mark as Pending: Submit the draft to the next stage for administrative review.
- Cancelled: Invalidate the draft if it is no longer needed.
- Delete: Permanently remove the record from the system.
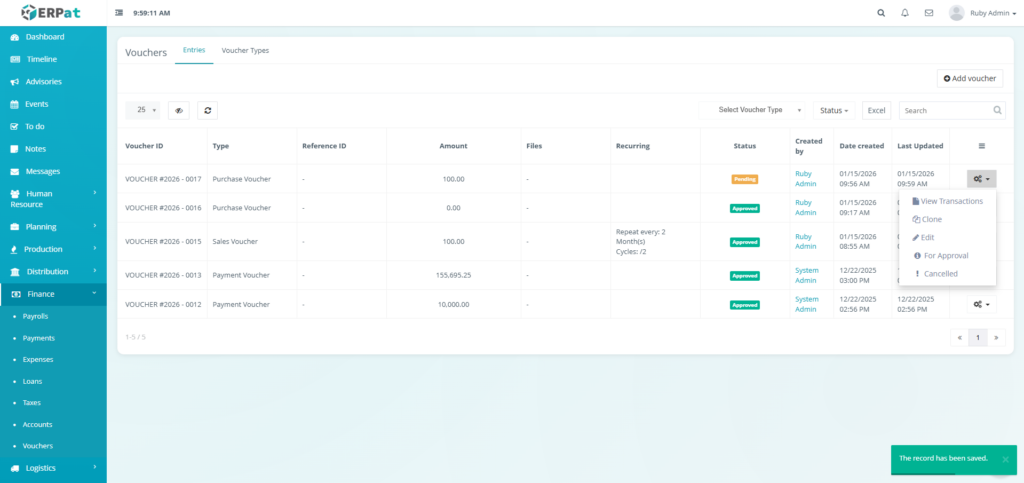
Status: Pending #
The voucher has been submitted and is waiting for initial verification by accounting staff.
- View Transactions: Review the financial distribution for accuracy before proceeding.
- Clone: Copy the details for a new transaction.
- Edit: Perform necessary corrections based on initial feedback.
- For Approval: Escalate the verified voucher to a senior manager or Finance Admin for final sign-off.
- Cancelled: Void the entry if errors are found during verification.
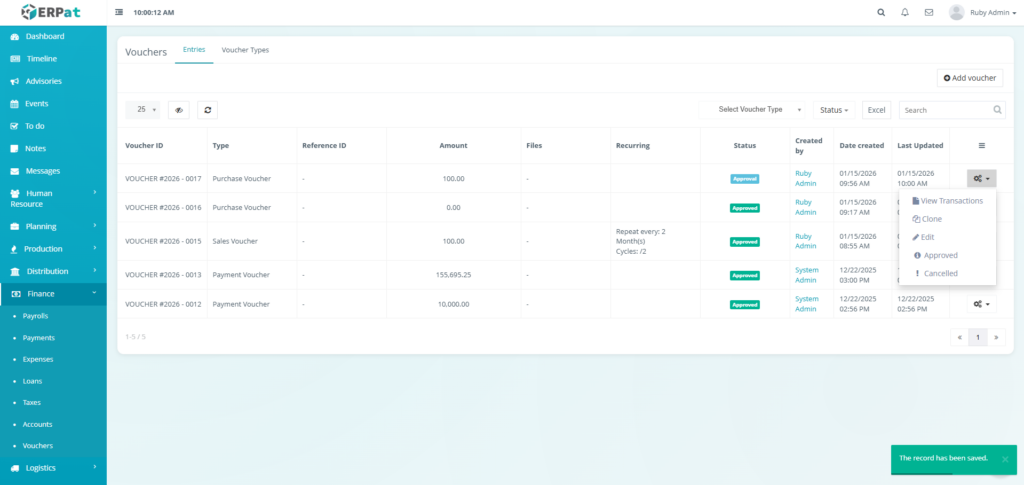
Status: Approval #
The final review stage before the voucher becomes an official financial record.
- View Transactions: Final audit of the GL codes, Debits, and Credits.
- Clone: Use this voucher as a template for future entries.
- Edit: Limited editing for minor adjustments before the final lock.
- Approved: Officially authorize the voucher. This often locks the financial fields to prevent further changes.
- Cancelled: Reject the voucher and move it to a cancelled state.
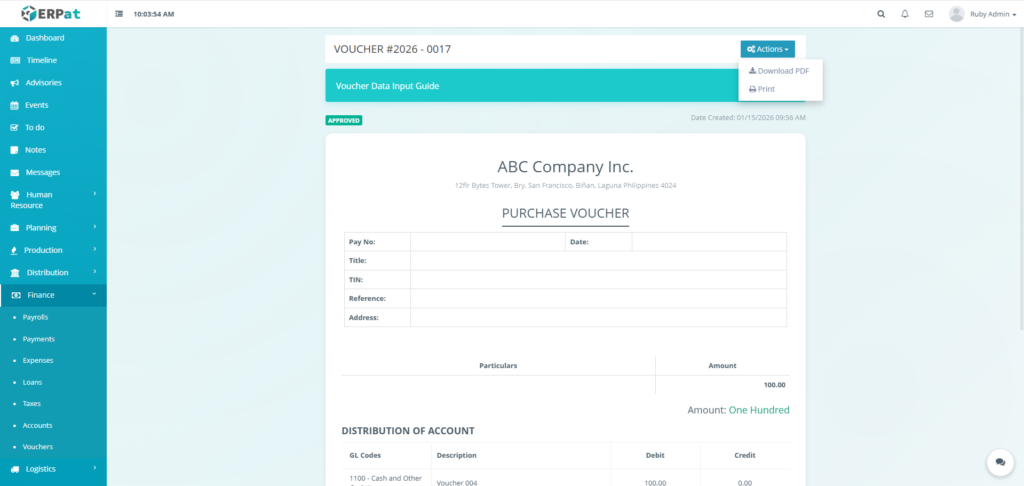
Status: Approved #
The voucher is finalized and recognized in the company’s financial accounts.
- View Transactions: View the historical ledger entry for auditing.
- View: Access the printable version of the voucher or download it as a PDF for physical filing.
- Clone: Create a new voucher based on this approved record.
- Cancelled: Void the approved voucher; this typically requires a higher level of permission and creates an audit log entry.

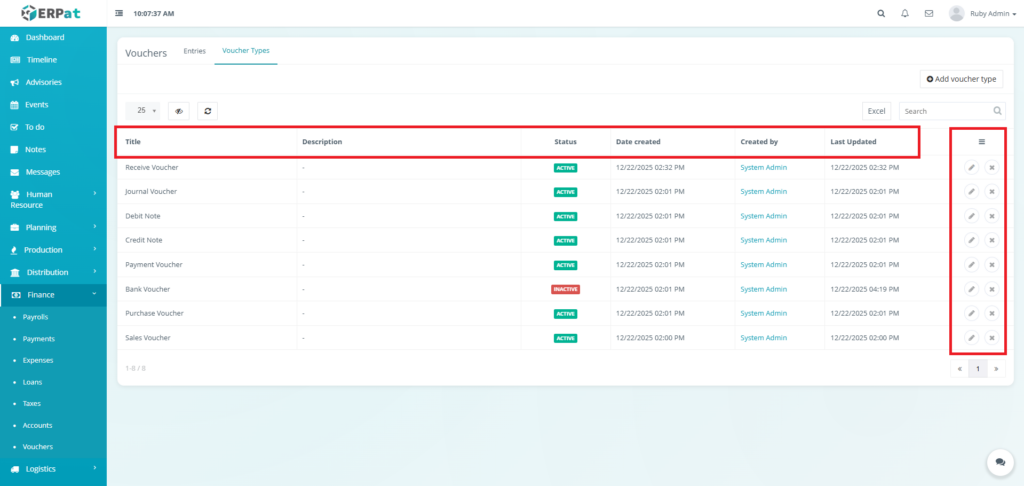
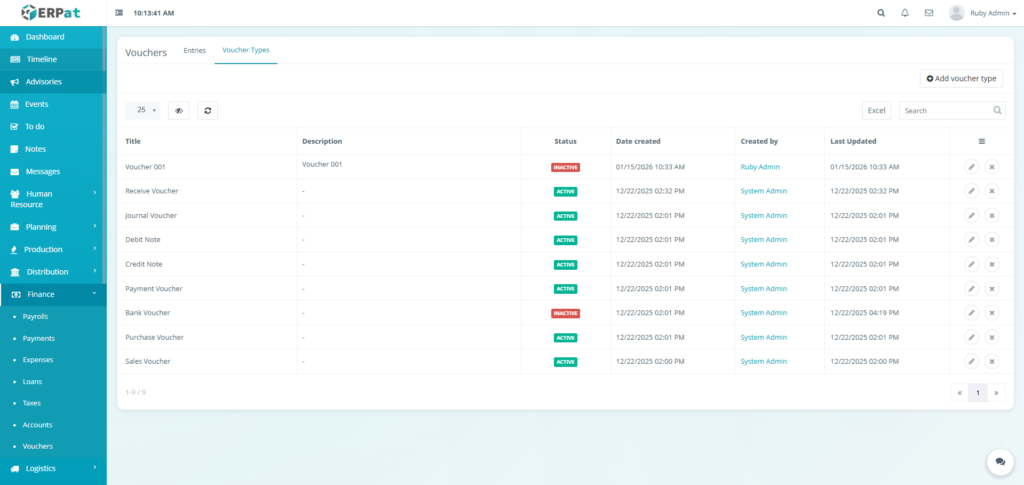
Voucher Types Listing Page #
The Voucher Types Listing Page display the different categories of vouchers available in the system with the following columns:
- Title – Name of voucher type
- Description – Brief explanation of the voucher type’s purpose
- Status – Active or Inactive state
- Date created – When the voucher type was created
- Created by – User who created the voucher type
- Last Updated – Most recent modification timestamp
- Actions – Edit or Delete Controls.
Page Controls and Tools #
- Excel Export
- Search Bar
- Table Refresh and Visibility Controls
- Pagination

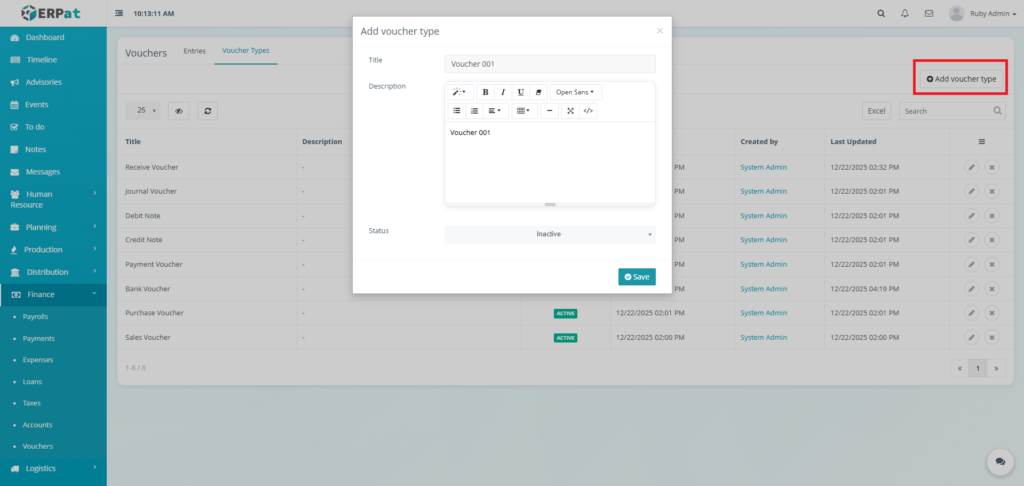
Steps for Adding a Voucher Type #
STEPS #
- Click the “Add voucher type” button
- Fill in the necessary details.
- Click the Save button to add the voucher type.
Result #
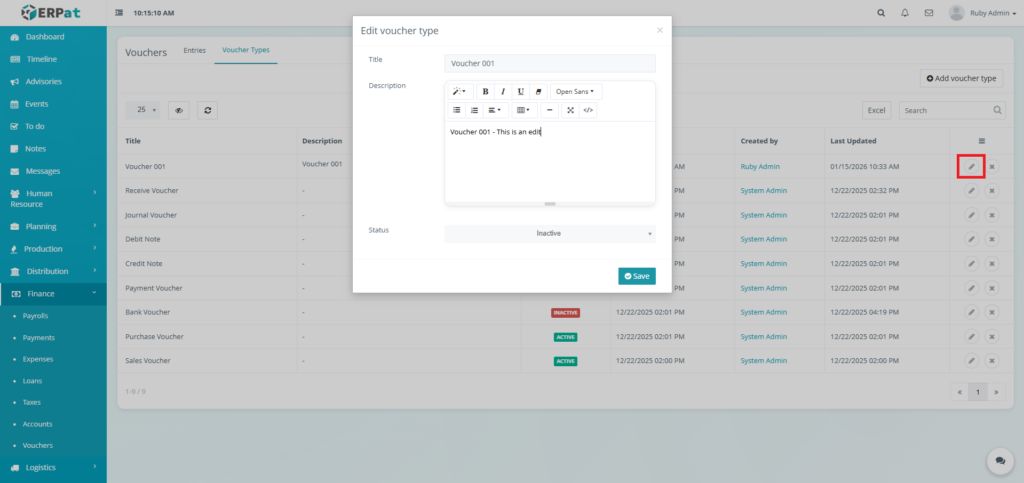
Steps for Editing a Voucher Type #
STEPS #
- Click the edit icon in the actions of the table.
- Fill in the changes.
- Click the Save button to apply the changes.
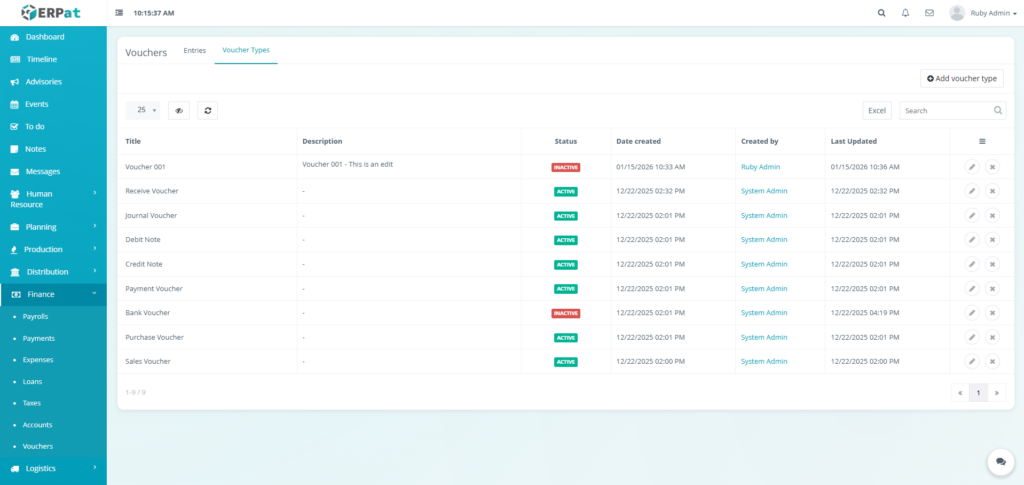
Result #
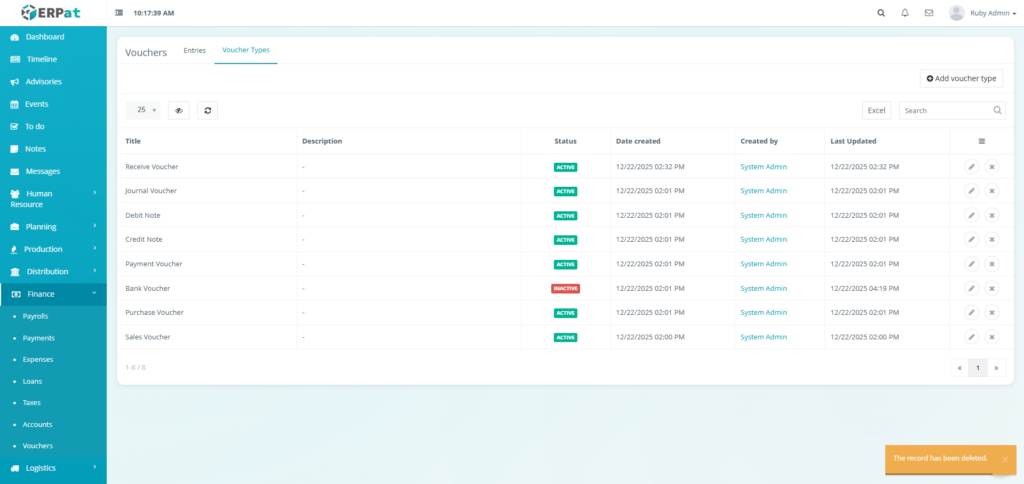
Steps for Deleting a Voucher Type #
STEPS #
- Click the delete icon in the actions of the table.
- Click the Delete button to remove the voucher type.
Result #
Permissions and Access Control #
- Finance/System Admins: Full authority to create, modify, and delete vouchers and voucher types. Authorized to approve vouchers for payment.
- Accountants: Permission to create entries, upload files, and use the search/export tools for verification.
- Auditors: View-only access to all voucher records and attachments for compliance checks.
Best Practices #
- Complete Documentation – Always attach supporting documents to vouchers
- Clear References – Link vouchers to related transactions using Reference ID
- Timely Approvals – Process voucher approvals within established timeframes
- Consistent Categorization – Use correct voucher types for different transactions
- Regular Reconciliation – Weekly reconciliation of vouchers with bank statements
- Audit Trail Maintenance – Never delete vouchers; use void/cancel functions instead
- Access Control – Restrict voucher approval authority to authorized personnel only
- Backup Attachments – Maintain organized digital copies of all voucher supporting documents
Audit & Logs #
All voucher-related activities are comprehensively logged. Audit logs are maintained for statutory requirements and can be exported for external audits.
Last Updated: [January 15, 2026] Module Owner: Finance IS – ERPat System


