Overview #
The Assets Module in the ERPat System is a centralized asset management workspace that supports the complete asset lifecycle—from asset creation and classification to location assignment, grouping, labeling, and record maintenance.
It enables administrators and authorized users to register company-owned assets, assign them to structured categories and locations, organize them into groups, and manage labels for filtering and reporting. By consolidating asset information into a single module, the system ensures proper tracking, accountability, structured classification, and audit transparency.
Key Features #
- Create and manage asset records
- Assign assets to Categories, Groups, and Locations
- Clone existing asset entries
- Manage asset labels with color tagging
- Structured classification system (Category, Group, Location)
- Search, filter, and pagination controls
- Export-ready structured listing
- Role-based access and control
- Complete audit trail for asset changes
Accessing the Assets Module #
- Log in to the ERP System.
- Navigate to the left sidebar menu.
- Click Assets.
You will be directed to the Assets Browse page displaying all existing asset records.
Assets – Browse #
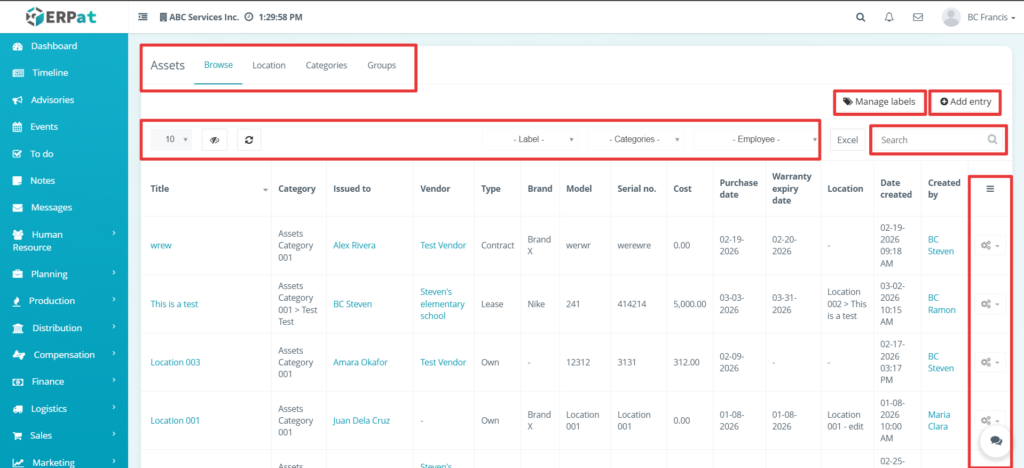
Page Controls and Tools #
- Action Button
- Add Entry
- Table controls
- Pagination
Assets – Manage Labels #
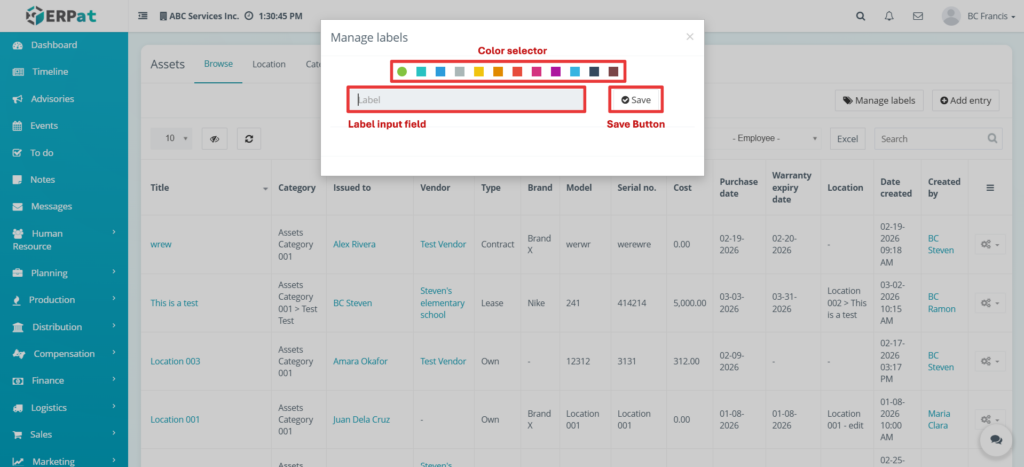
This page allows users to create and manage asset labels.
Assets – Action Button #
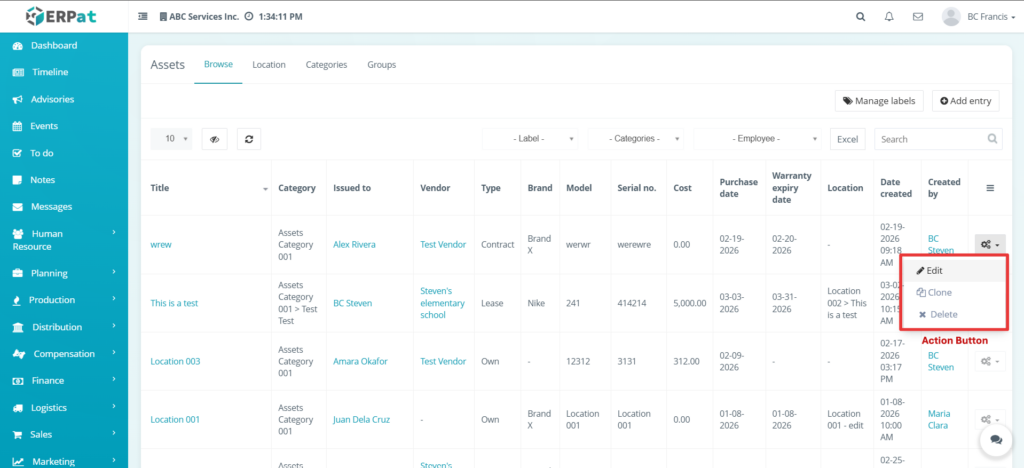
The Action Button provides quick access to asset-level operations.
Steps for Adding a New Asset Entry #
STEPS
- Click the Add Entry button.
- Fill in the required information fields.
- Click the Save button.
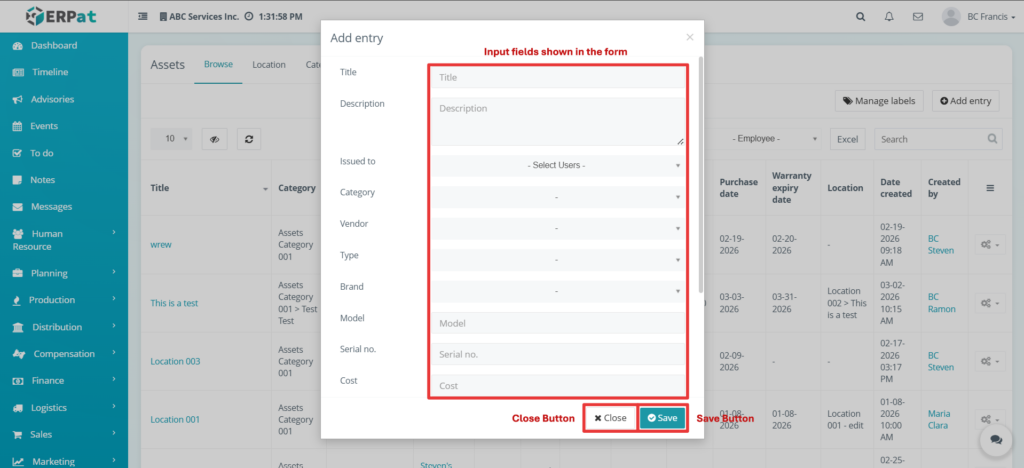
Result #
The new asset entry will appear in the Browse listing page.
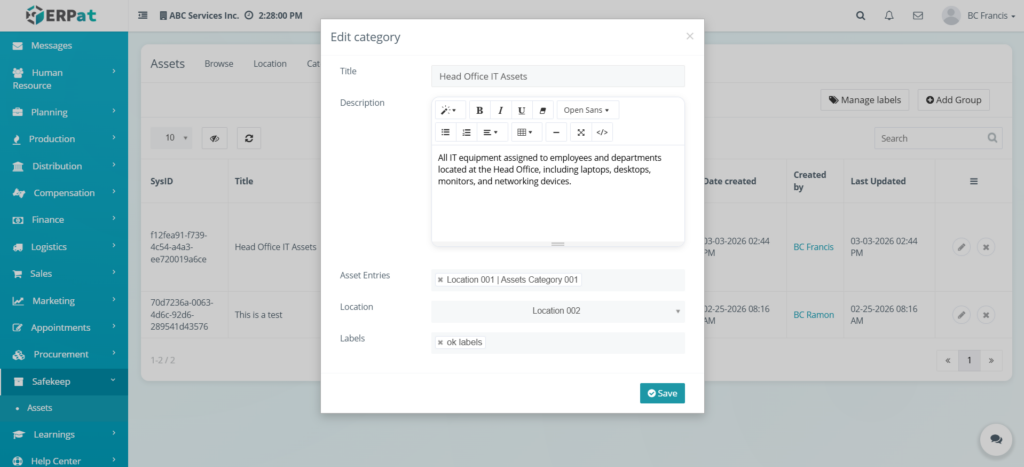
Steps for Editing an Asset Entry #
STEPS
- Click the Action icon from the Browse table.
- Select the Edit option.
- Update the necessary details.
- Click the Save button.
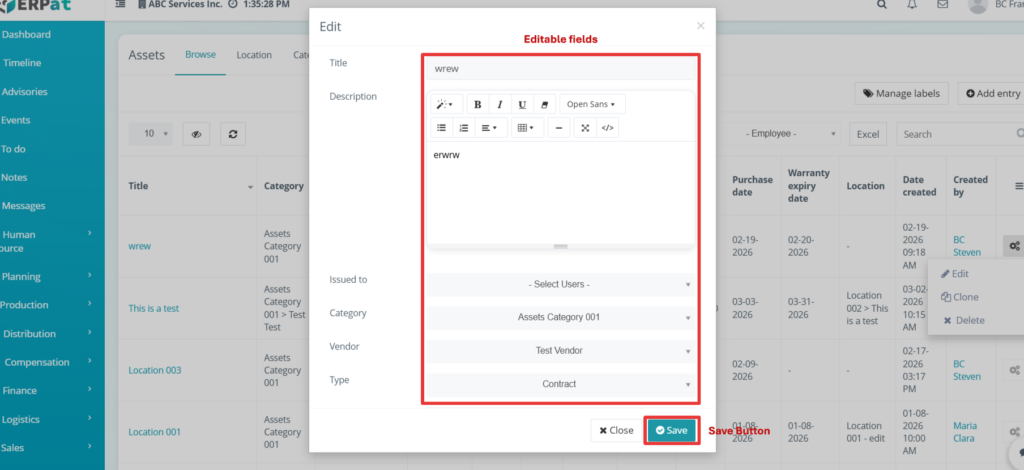
Result #
The asset record is updated and reflected in the listing.
Steps for Cloning an Asset Entry #
STEPS
- Click the Action icon.
- Select the Clone option.
- Review the duplicated information.
- Click Save.
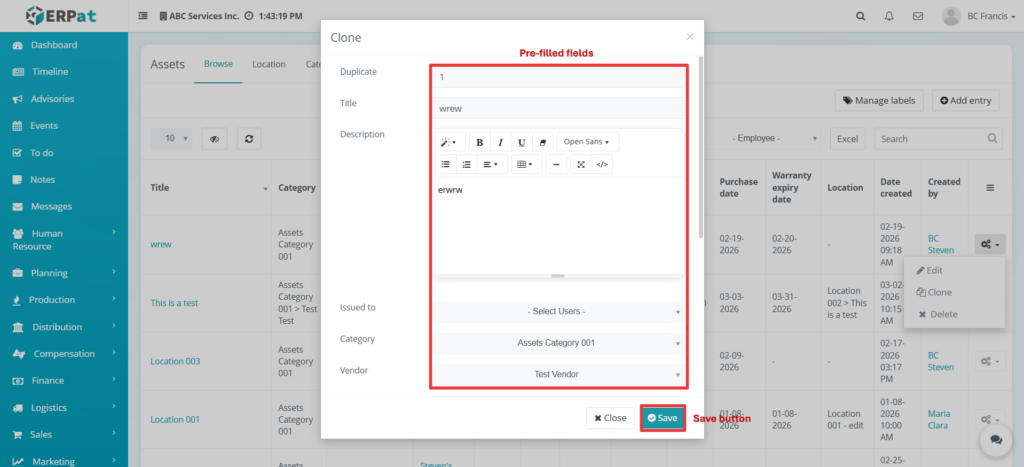
Result #
A new duplicated asset record is created.
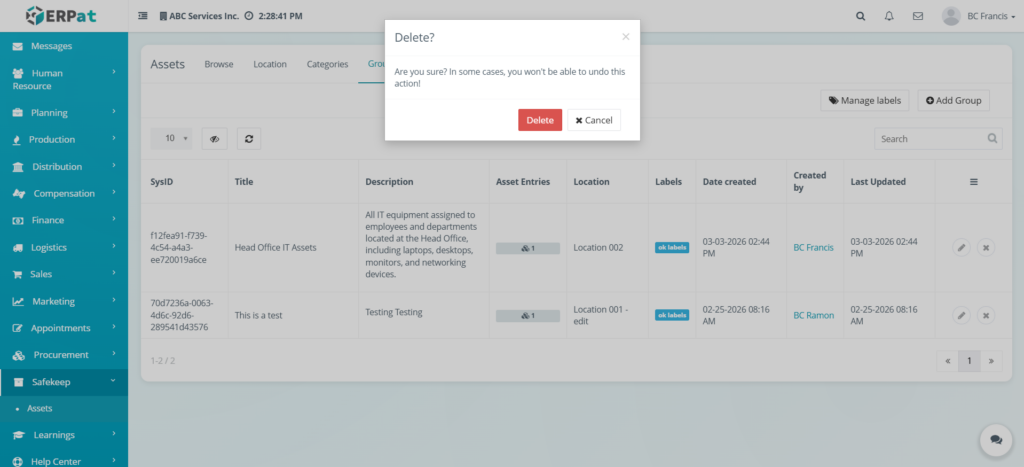
Steps for Deleting an Asset Entry #
STEPS
- Click the Action icon.
- Select the Delete option.
- Confirm deletion.
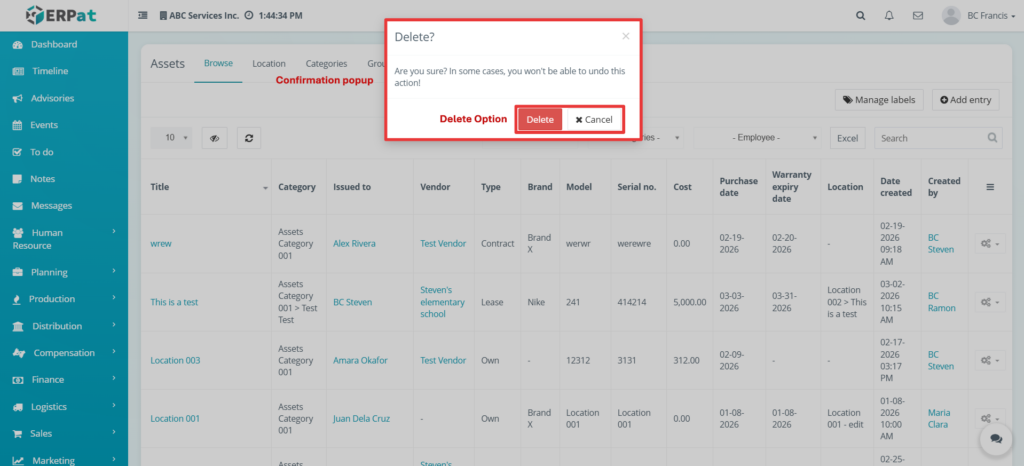
Result #
The selected asset record is permanently removed.
Assets – Location #
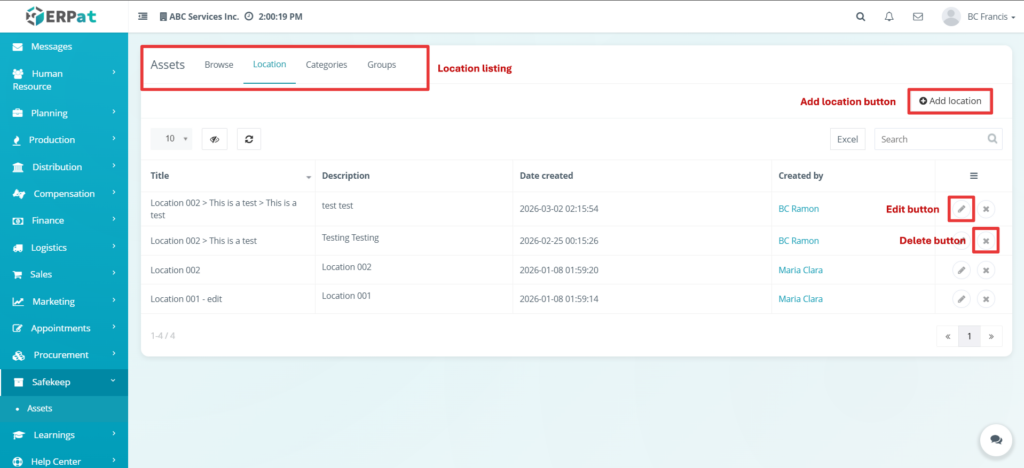
This page manages asset locations.
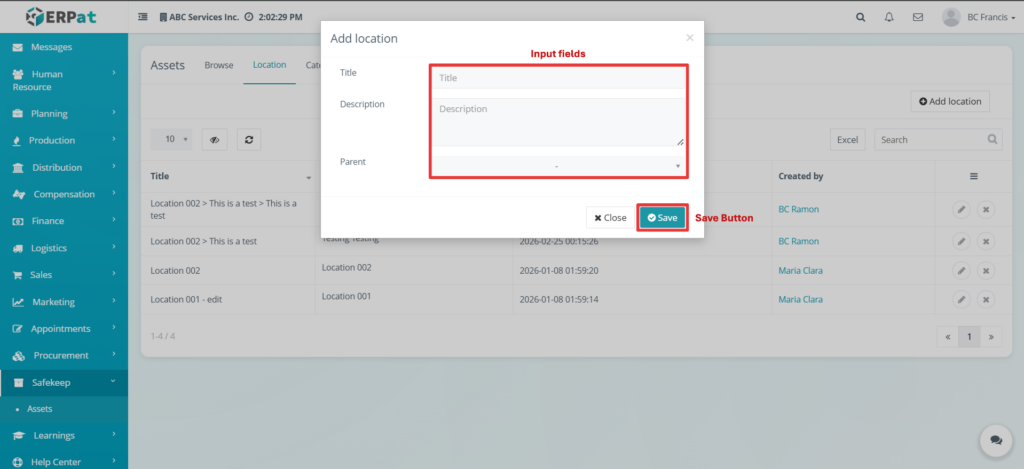
Steps for Adding a Location #
STEPS
- Click Add Location.
- Fill in required details.
- Click Save.
Steps for Editing a Location #
STEPS
- Click the Edit icon.
- Modify the details.
- Click Save.

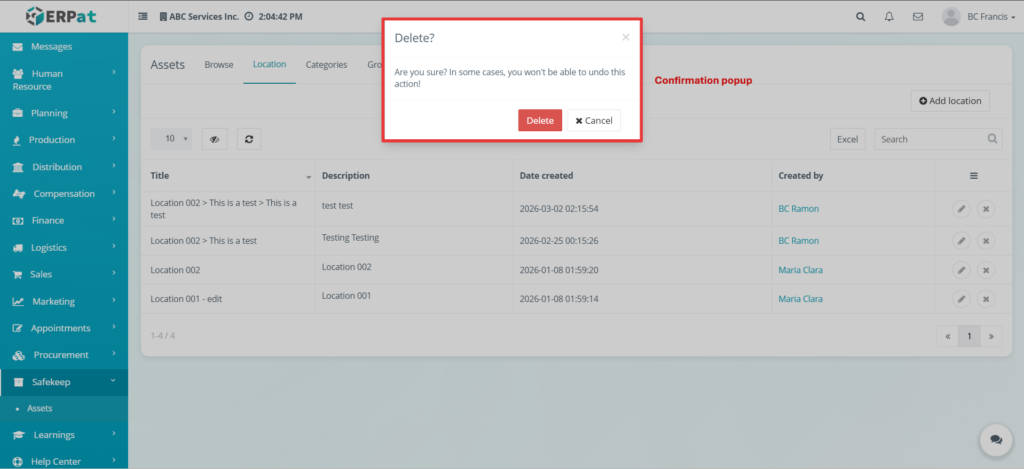
Steps for Deleting a Location
STEPS
- Click the Delete icon.
- Confirm deletion.
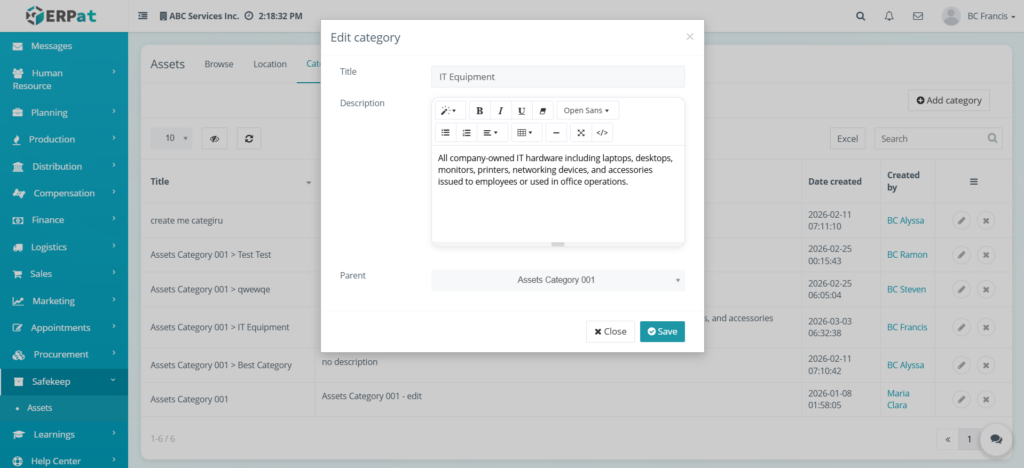
Assets – Categories #
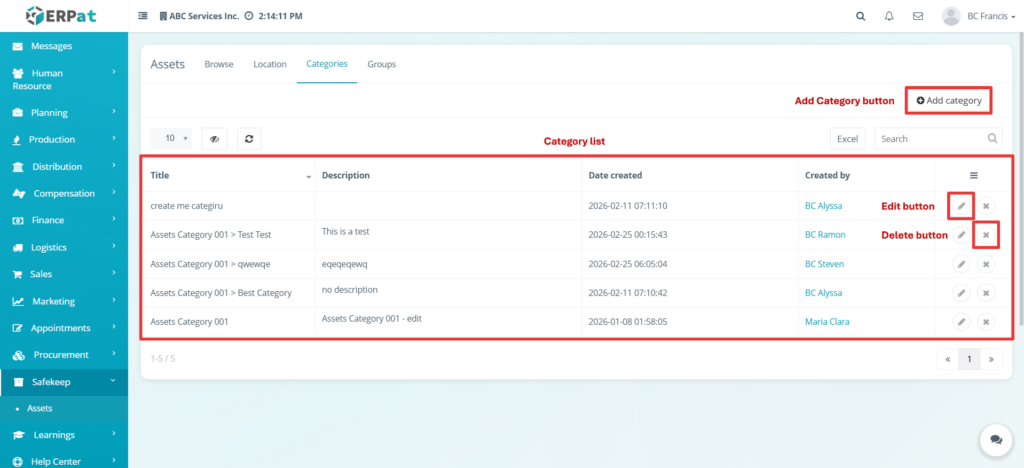
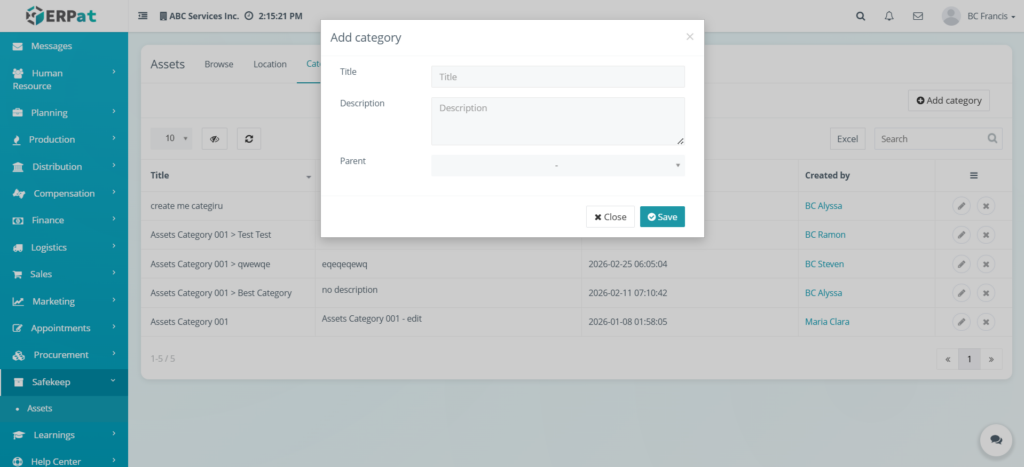
Steps for Adding a Category #
STEPS
- Click Add Category.
- Enter required information.
- Click Save.
Steps for Editing a Category #
STEPS
- Click Edit icon.
- Modify details.
- Click Save.
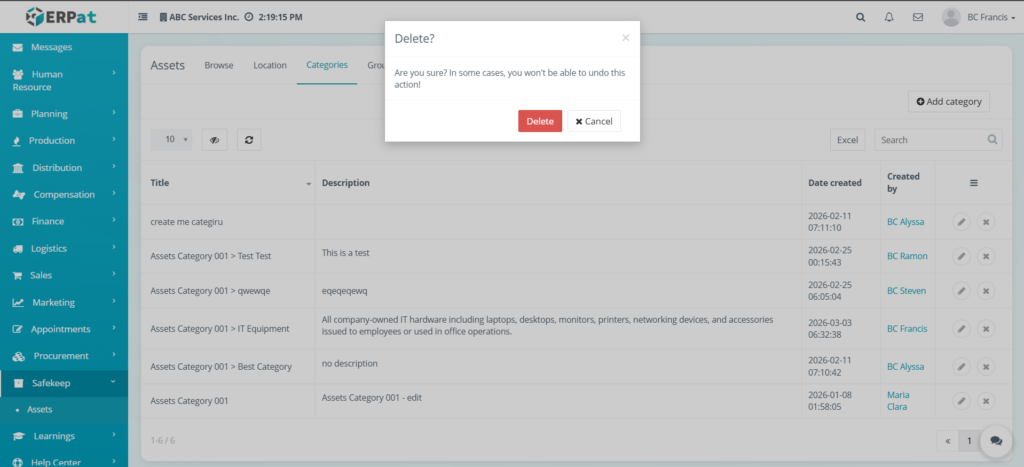
Steps for Deleting a Category #
STEPS
- Click Delete icon.
- Confirm deletion.
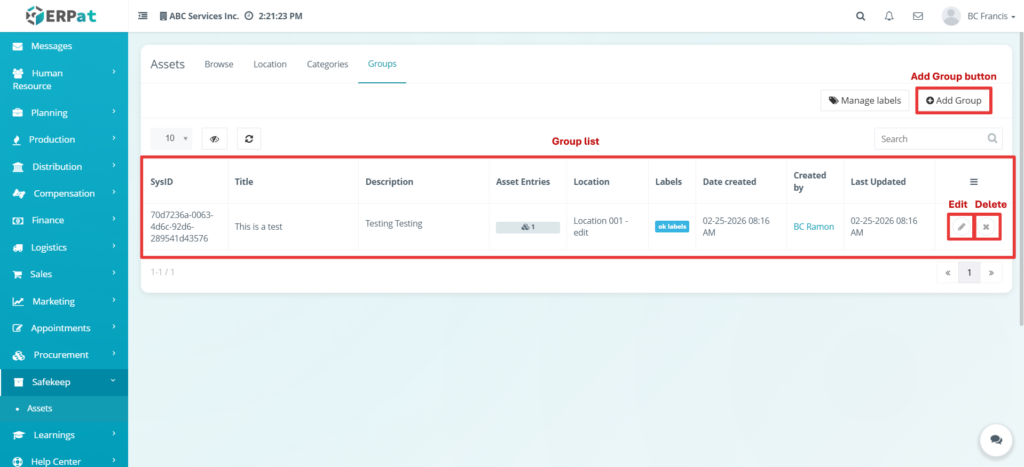
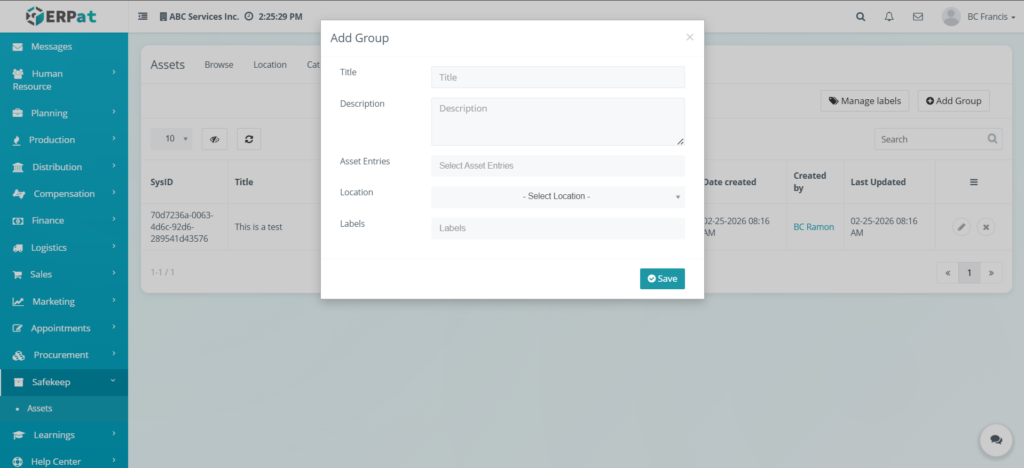
Assets – Groups #
STEPS
- Click Add Group.
- Enter required details.
- Click Save
Steps for Editing a Group #
STEPS
- Click Edit icon.
- Modify details.
- Click Save.
Steps for Deleting a Group #
STEPS
- Click Delete icon.
- Confirm deletion.
Permissions and Access Control #
- Asset management is restricted to authorized roles.
- Add, Edit, Clone, and Delete functions depend on system permissions.
Audit & Logs #
All asset-related actions are logged with timestamps and user attribution for monitoring and compliance.
Last Updated: [March 03, 2026] Module Owner: Safekeep IS – ERPat System


