Overview #
The Leads Module is used to identify, track, and manage potential customers (leads) acquired through various marketing channels. This module serves as a central repository for contact information, engagement history, and qualification status, allowing marketing teams to nurture prospects effectively throughout the sales funnel. Each lead record contains detailed contact information, source tracking, and categorization, ensuring that sales and marketing efforts are data-driven and organized. Users can also access a detailed management page for each lead to log interactions and update statuses.
Key Features #
- Centralized lead database for marketing prospects
- Source and Category tracking for lead attribution
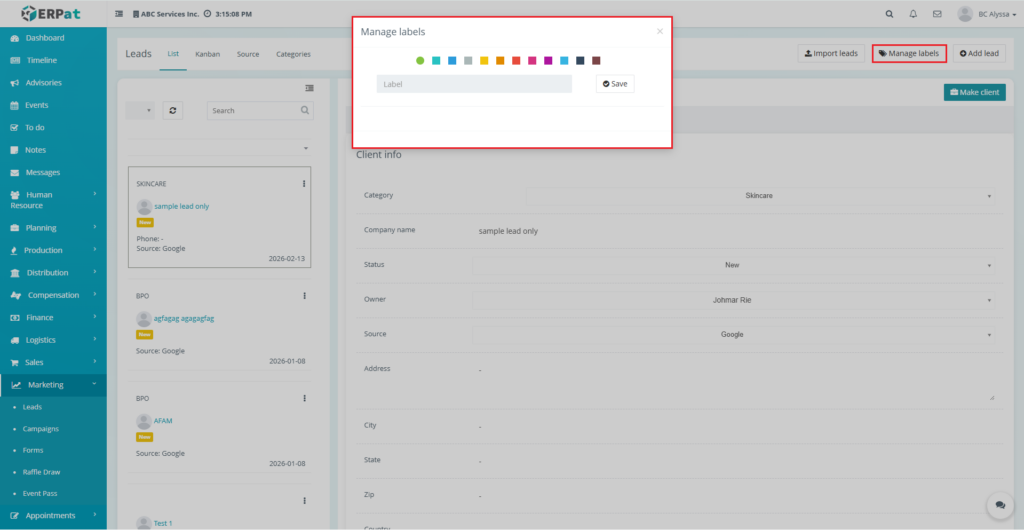
- Label management for easy lead segmentation
- Bulk importing of lead data from external files
- Detailed lead management via the View page
- Integration with Campaigns and Forms modules
- Secure role-based access
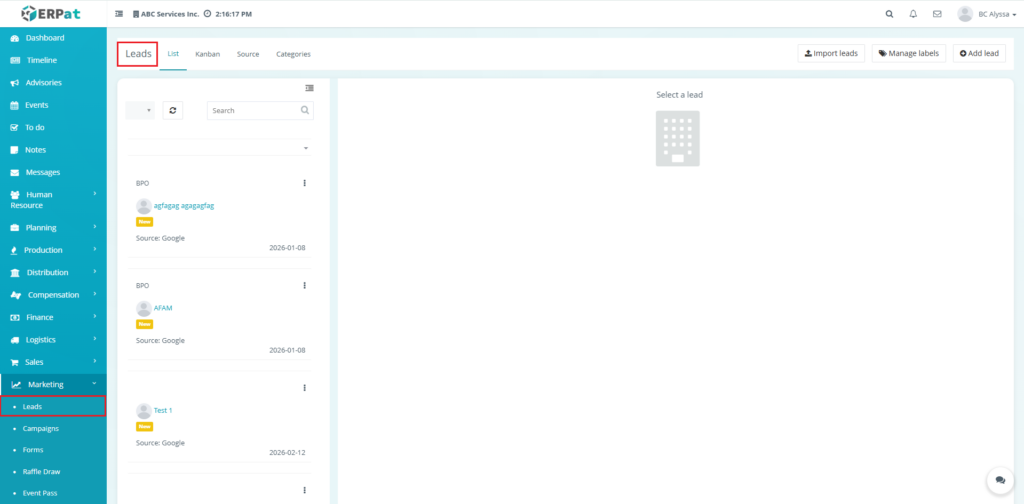
Accessing the Leads Module #
- Log in to the ERPat System.
- Navigate to Marketing from the main sidebar.
- Select Leads
- You will be directed to the Leads listing page displaying all existing records.
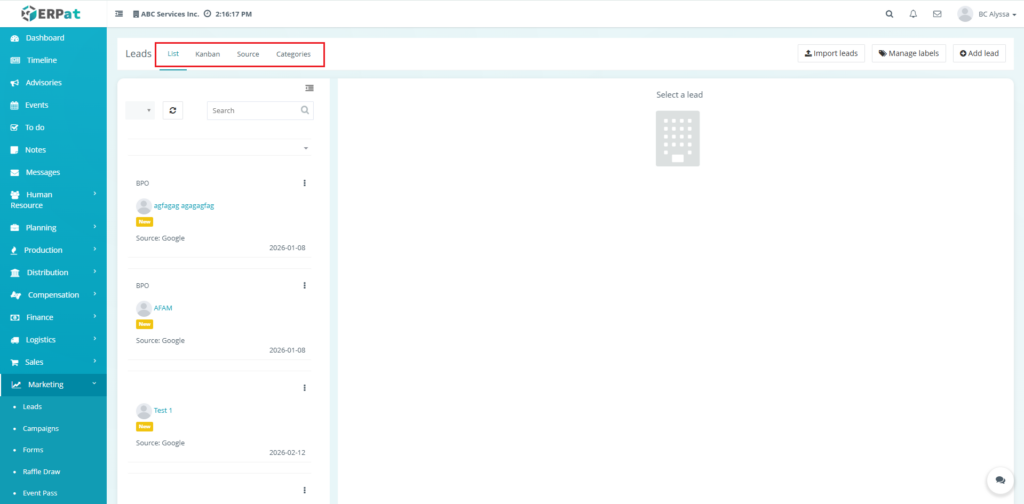
Workspace Tabs #
- List: The primary directory of leads, allowing users to select and view specific lead details.
- Kanban: A visual board for tracking lead progress through stages (e.g., New, Mailed, Discussion).
- Source: A management area to define where leads originate (e.g., Google, Social Media).
- Categories: A classification area to group leads by industry or type (e.g., BPO, SME).
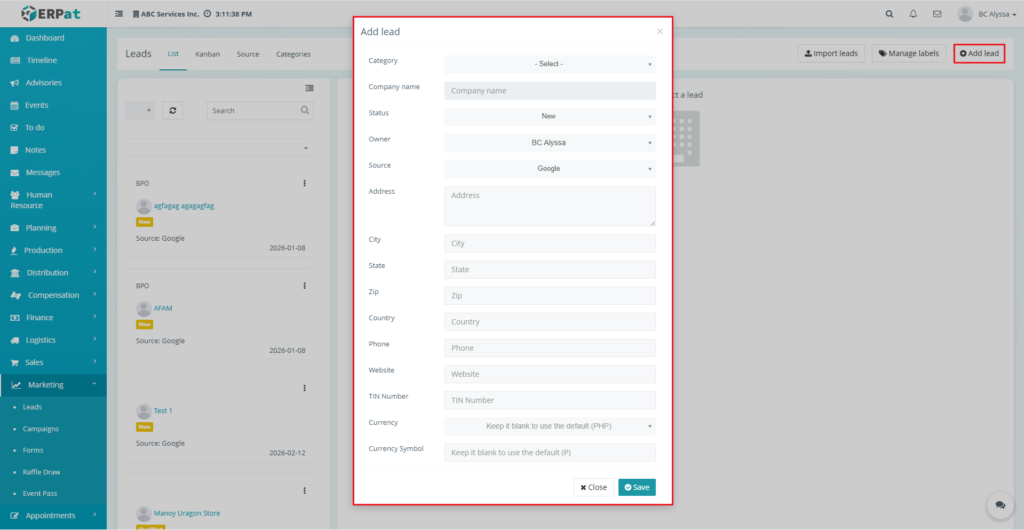
Steps for Adding a New Lead #
Steps:
- Click the Add Lead button located at the top-right of the listing page.
- Fill in the required fields:
- Category
- Company Name
- Status
- Owner
- Source
- Address
- City
- State
- Zip Code
- Country
- Phone
- Website
- TIN Number
- Currency
- Currency Symbol
- Click Save to create the record.
Result #
The newly added lead will appear in the listing and become available for tracking and updates.
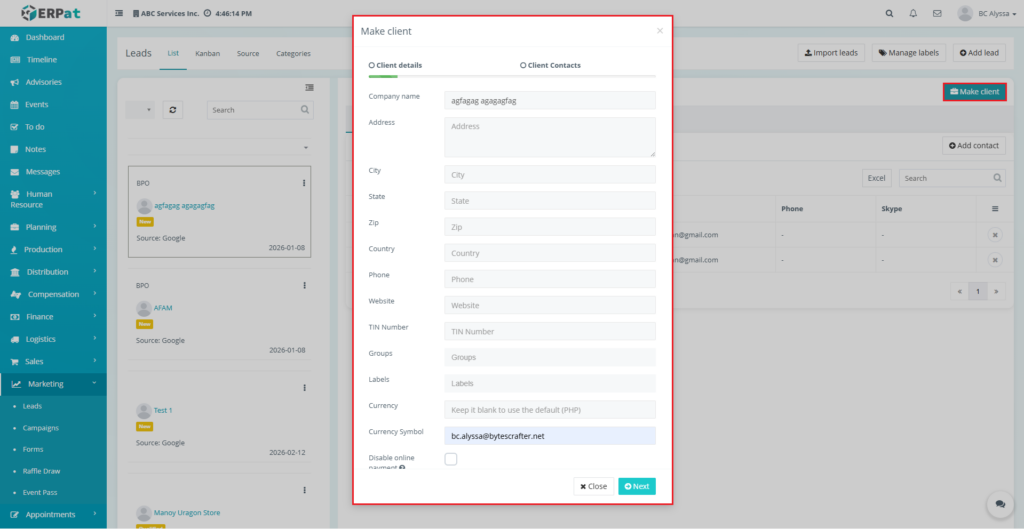
Steps to Make a Client #
This button is located at the top-right of the Lead Details header and is used when a prospect is ready to be converted into a formal client.
Steps:
- Navigate to the Leads module and select a lead from the list.
- Click the Make client button at the top-right of the Lead Details pane.
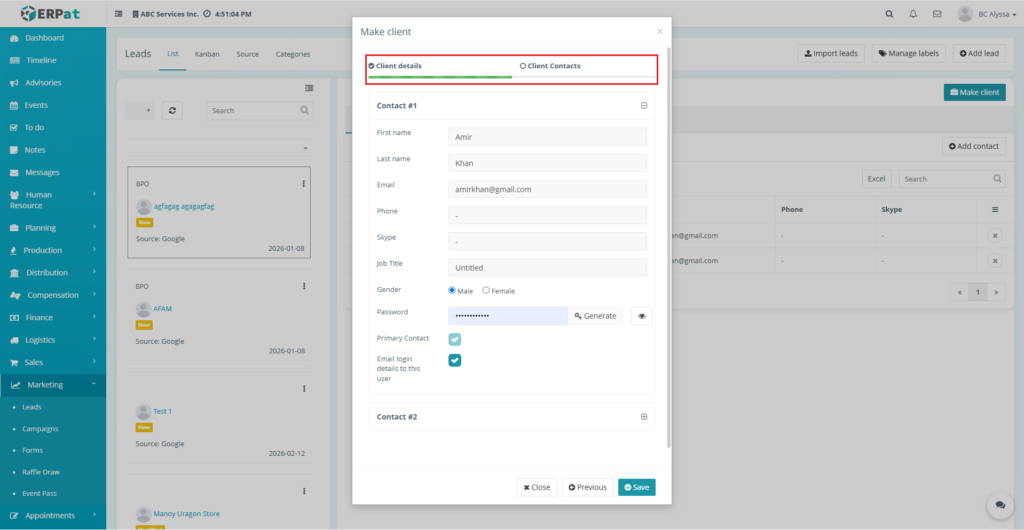
- Fill in all required fields in the “Make client” popup window, including company profile information and primary contact details.
- Click Save/Next once all fields are completed.
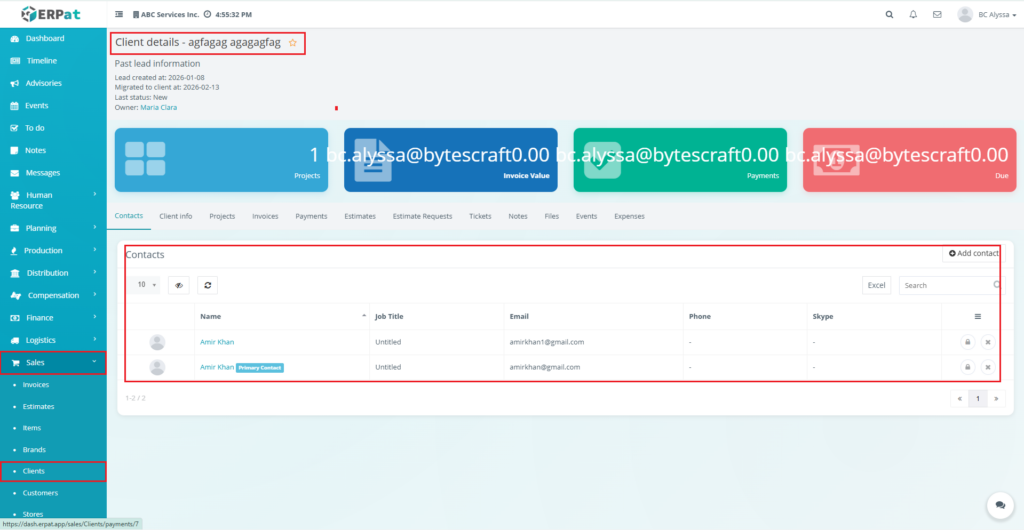
- Redirect: The system will automatically redirect you to the Clients module (located under the Sales main module).
- View Result: The newly created client’s full profile and management page will be displayed here, confirming the integration is complete.
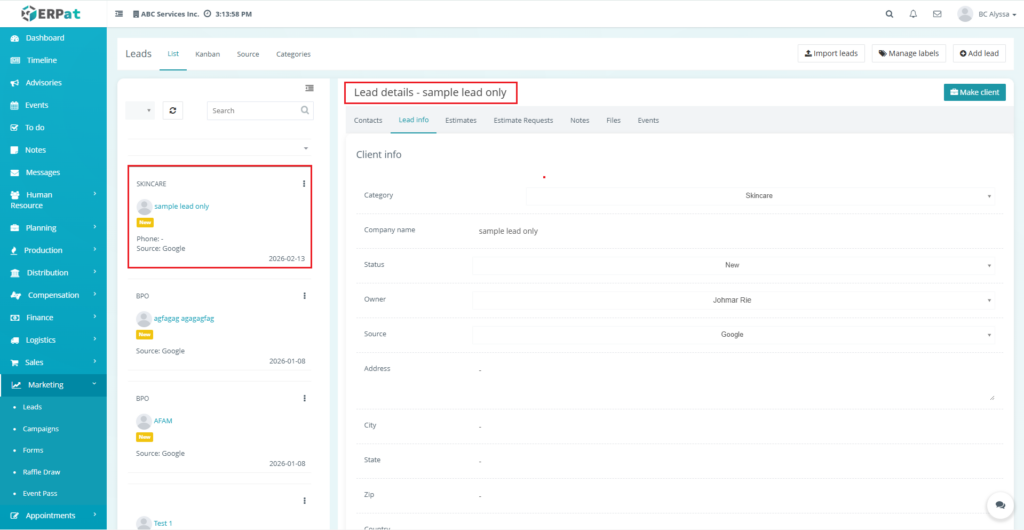
Lead Details Overview #
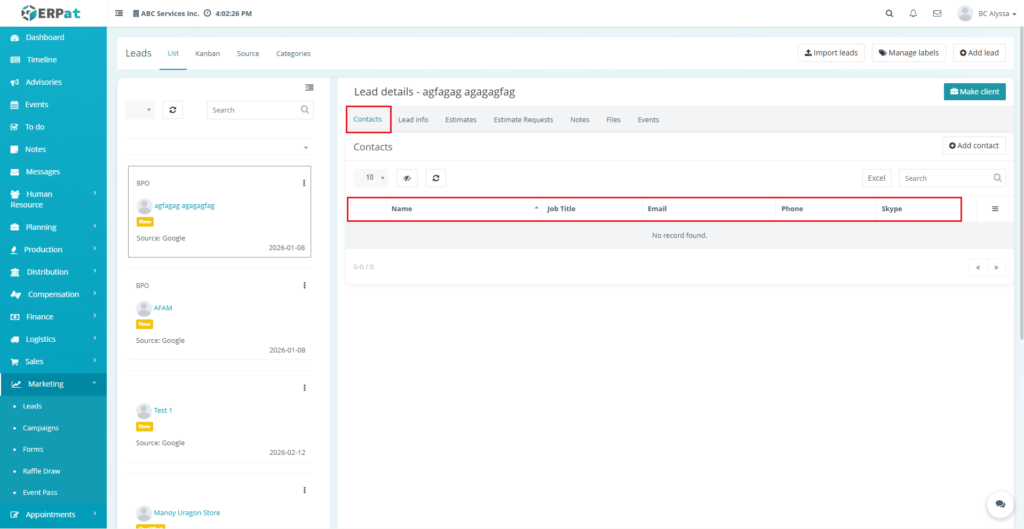
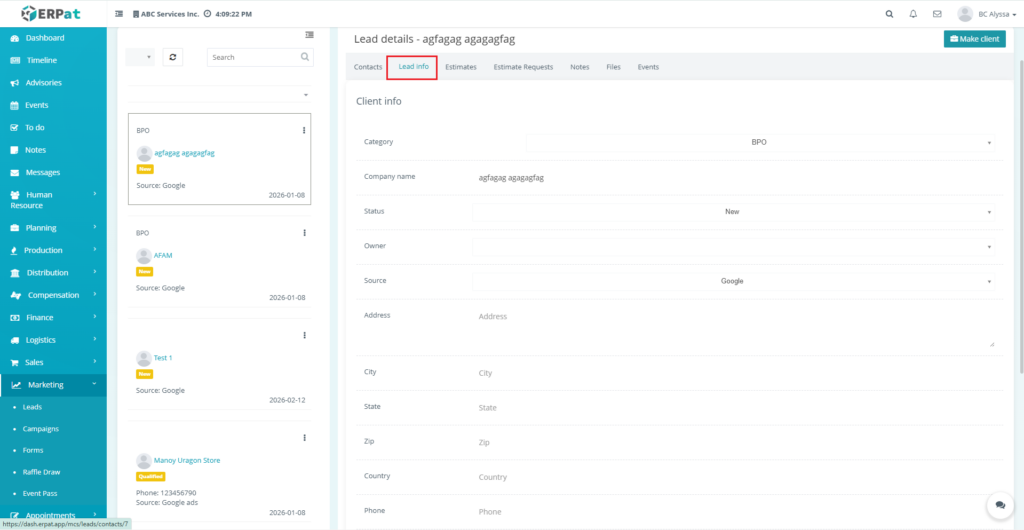
When you select a specific lead from the List or Kanban view, a comprehensive Lead Details pane opens. This pane is centralized around seven primary tabs that allow you to manage the entire lifecycle of a prospect, from initial contact to final conversion into a client.
Contact Tab – This tab displays a directory of specific individuals associated with the lead company. It includes an Add contact button to add new people and an Excel button to export the contact list.
Lead Info Tab – This section serves as the primary profile page where core data such as category, company name, status, owner, source, address, and TIN number are stored.
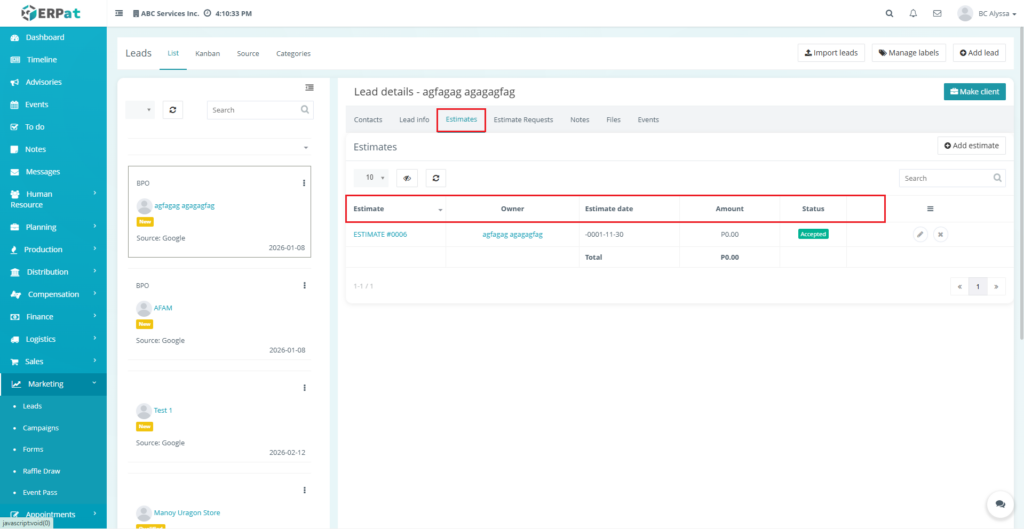
Estimates Tab – A centralized area for managing financial proposals, displaying the estimate ID, owner, date, total amount, and current status (e.g., Accepted).
Estimates Requests Tab – This tab tracks incoming inquiries for pricing, showing the request ID, title, the team member assigned to the request, and the creation date.
Notes Tab – A chronological log of internal comments and updates. It includes an Add note button and allows users to attach files for additional context.
Files Tab – A dedicated storage space for all documents relevant to the lead. It features an Add files button to upload contracts, identity documents, or project briefs.
Events Tab – This tab is used to schedule and monitor meetings or calls. It is divided into two sub-tabs: Entries (for list-based tracking) and Overview (for a broader schedule view).
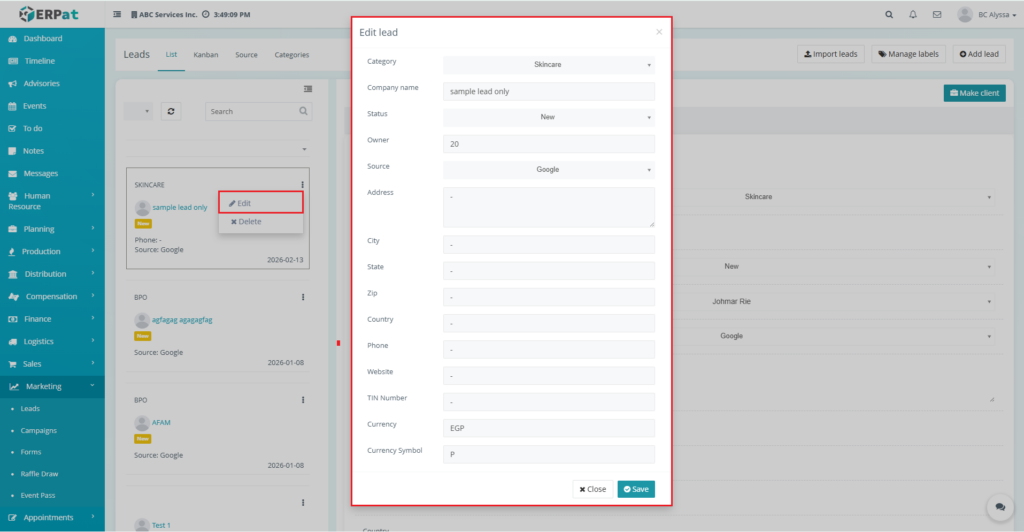
Steps for Editing a Lead #
Steps:
- Locate the list in one of the leads tab
- Click the Hamburger icon button on the left side of your screen within the lead
- Click Edit.
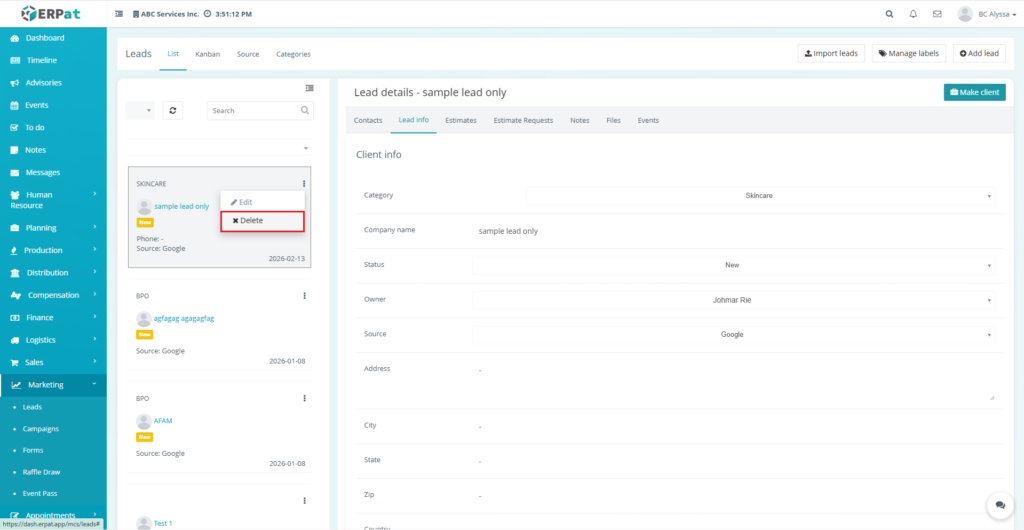
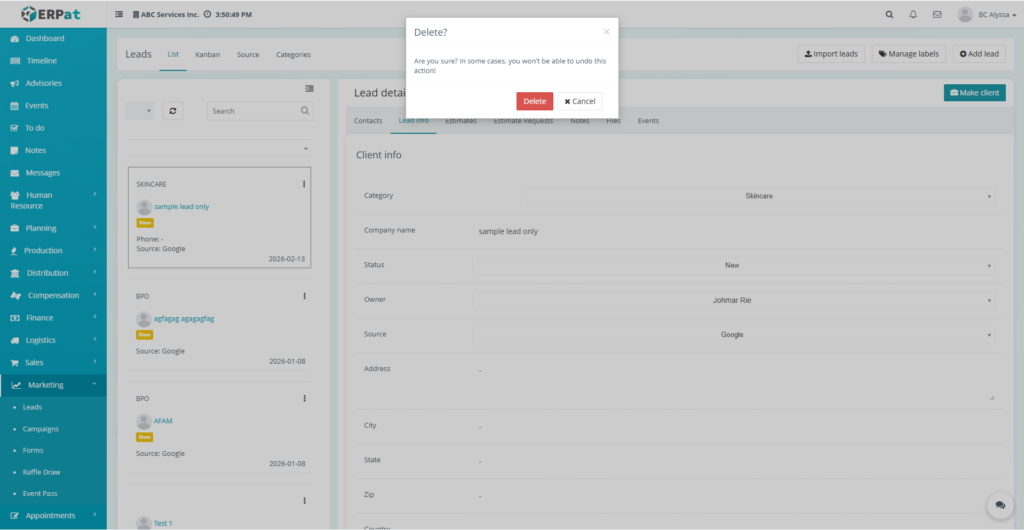
Steps for Deleting a Lead #
Steps:
- Locate the list in one of the leads tab
- Click the Hamburger icon button on the left side of your screen within the lead
- Click Delete.
- Confirm the deletion when prompted.
Steps for Managing Label #
Steps:
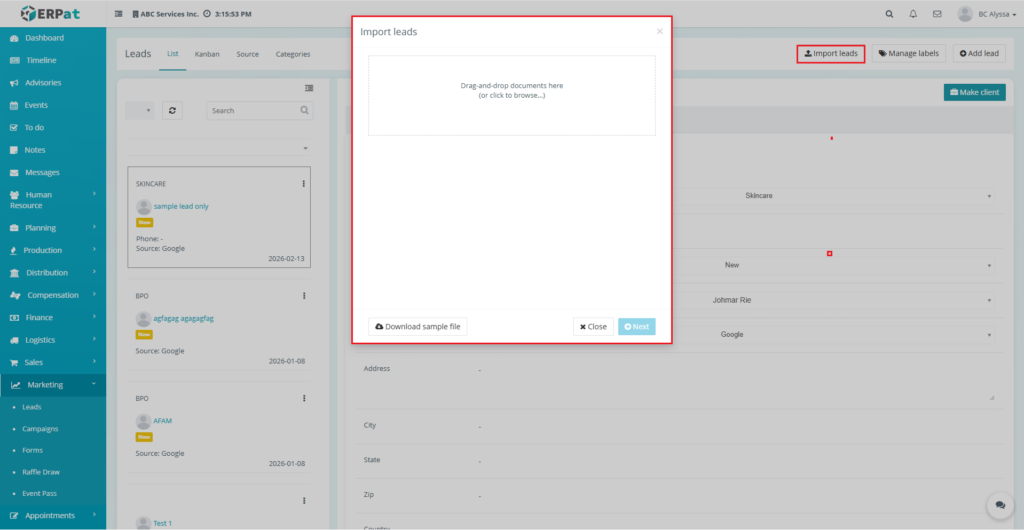
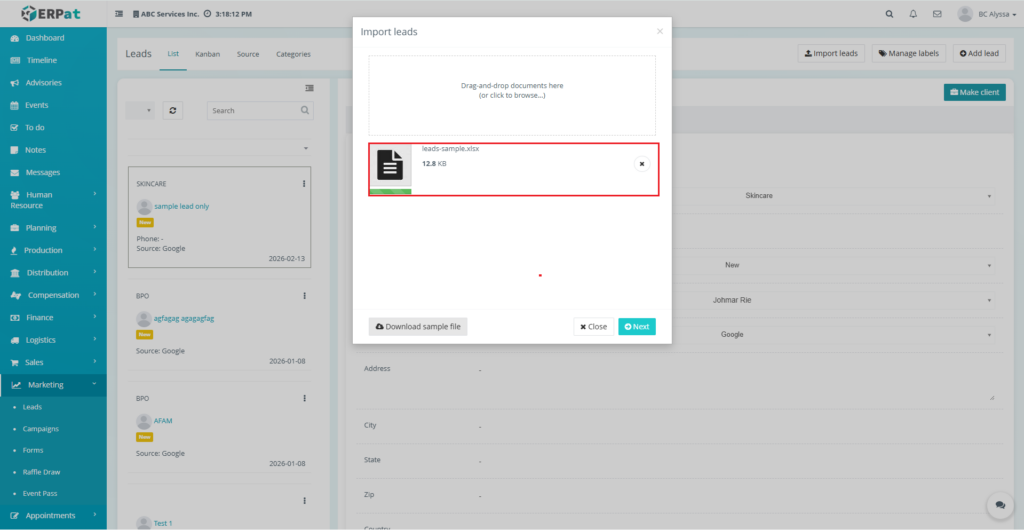
Steps for Importing Leads #
Steps:
- Click the Import Leads button on the main listing page.
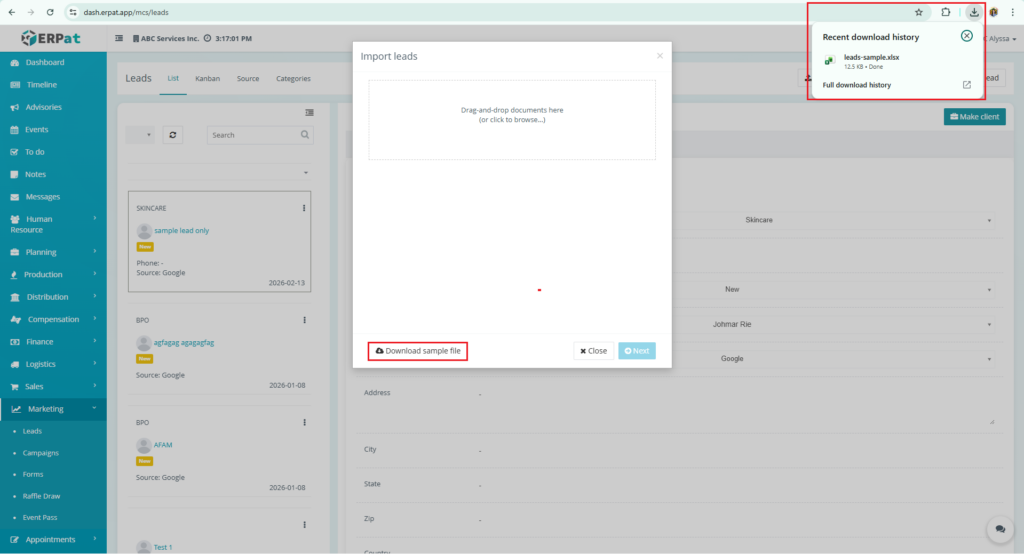
- Download the Template to ensure your CSV or Excel file matches system fields.
- Upload your completed file into the designated area.
- Map the columns from your file to the system fields (Name, Email, etc.).
- Click Execute Import.
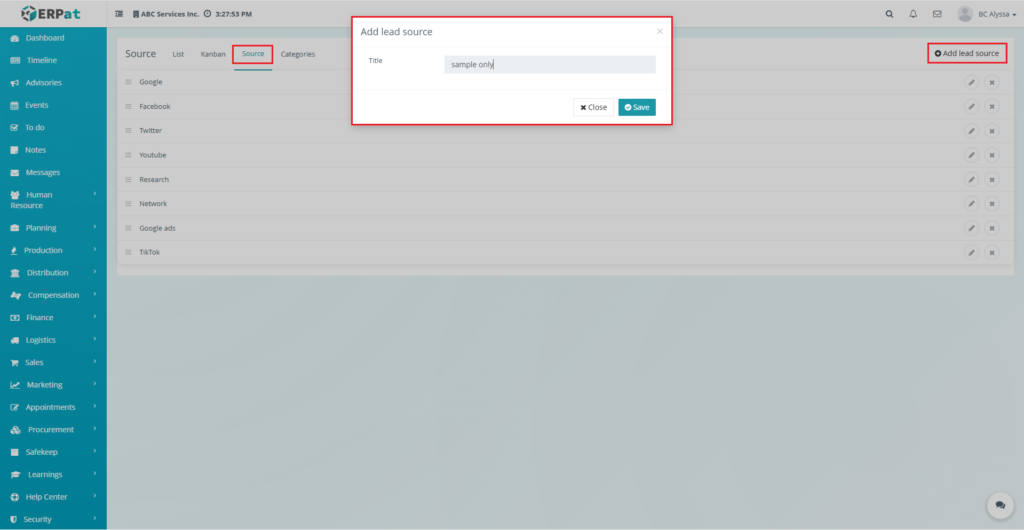
Steps for Adding a Lead Source #
Steps:
- Navigate to the Leads module
- Select the Sources tab.
- Click Add Lead Source.
- Enter the source name (e.g., “Facebook Ads” or “Website Form”).
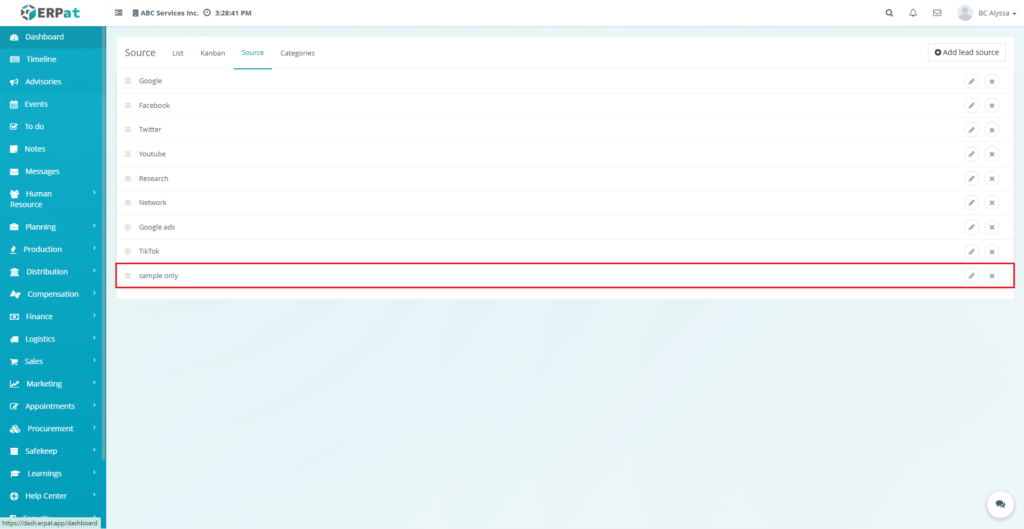
- Click Save.
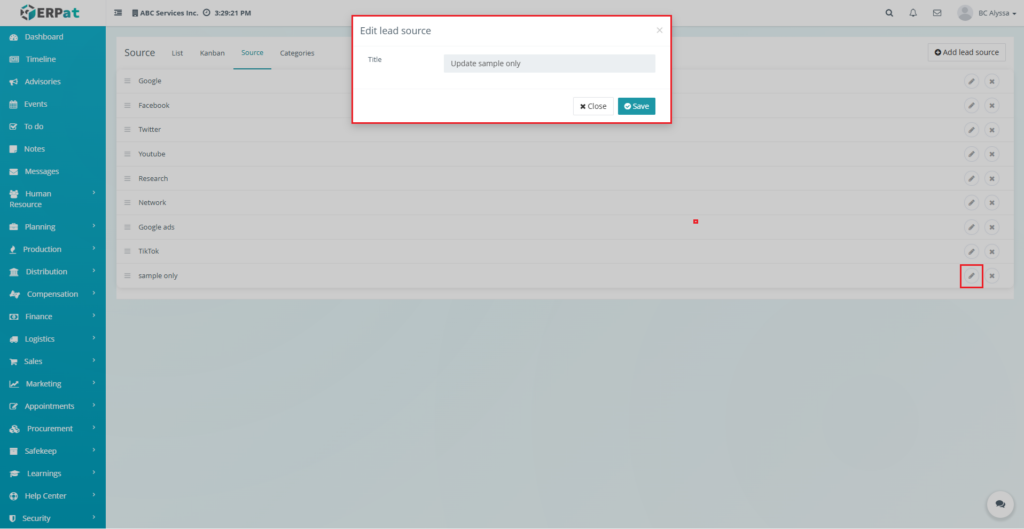
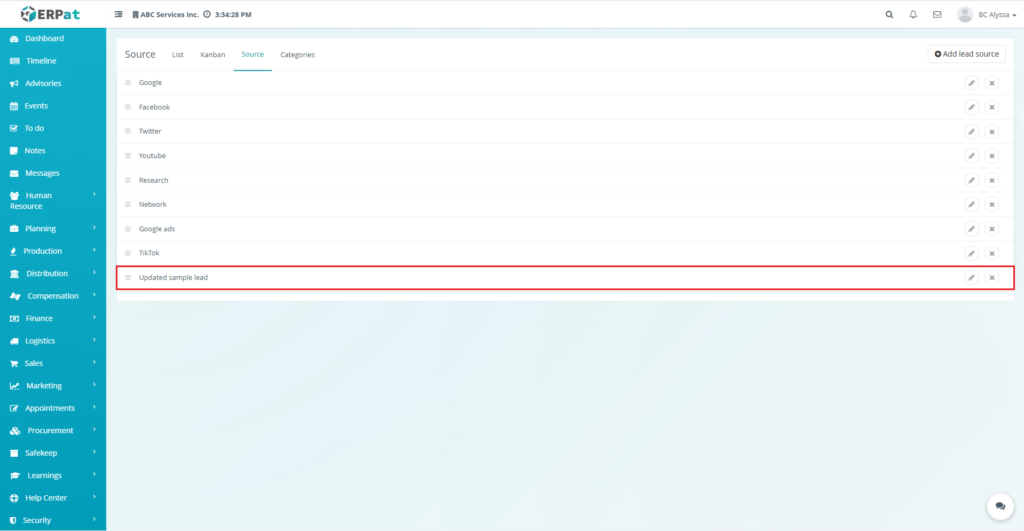
Steps for Editing a Lead Source #
Steps:
- Locate the source you wish to change in the list.
- Click the Pencil icon (Edit) on the right side of that row.
- Modify the source title as needed.
- Click Save to finalize the update.
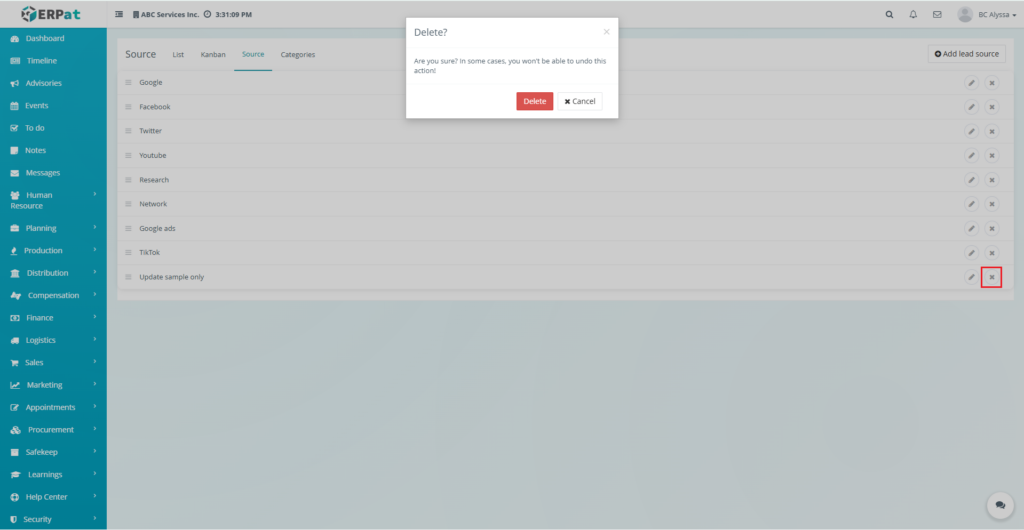
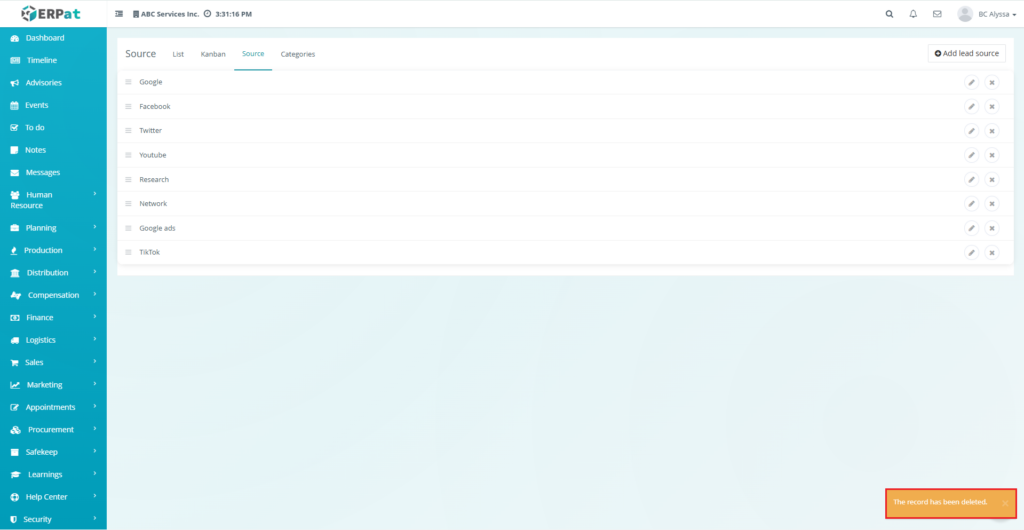
Steps for Deleting a Lead Source #
Steps:
- Identify the source you want to remove.
- Click the X icon (Delete) on the right side of the row.
- Confirm the action in the popup prompt to permanently remove the source.
Search and Filtering #
- Use the Search field to find leads by name, email, or phone.
- Use Filter dropdowns to view leads by specific Source, Category, or Status.
Steps for Adding a Category #
Steps:
- Navigate to the Categories section within the Leads module.
- Click the Add Category button.
- Define the category name (e.g., “High Value” or “Retail”).
- Click Save.
Best Practices #
- Ensure Lead Sources are accurately assigned to track ROI.
- Use Labels consistently across the team for better segmentation.
- Regularly Import new data to keep the database current.
- Clean the database periodically to remove duplicate or invalid emails.
Audit & Logs #
Last Updated: [February 13, 2026] Module Owner: Marketing IS – ERPat System


