Overview #
The Pages Module is used to manage and host custom web links and informational landing pages within the centralized help center. It serves as a unified interface where administrators can catalog internal or external URLs, providing users with quick access to specific resources, external documentation, or related platforms.
Each page record contains essential tracking data including descriptive titles, direct URLs, and visibility status, ensuring that the team has a curated and organized directory of essential web-based destinations.
Key Features #
- Centralized Resource Directory for managing and tracking all custom web pages and external links.
- URL Management for assigning specific web addresses to named records for easy user identification.
- Customizable Page Titles to provide clear and recognizable labels for every hosted link.
- Real-time Status Control to toggle pages between Active and Inactive, managing which resources are available to users.
- Actionable Controls allowing administrators to quickly Edit (pencil icon) existing records or Delete (x icon) outdated entries.
- Integrated Search and Filtering by page title to facilitate rapid retrieval of specific links within a large directory.
- Display Customization with Row Display and Visibility controls to optimize how the pages list is viewed.
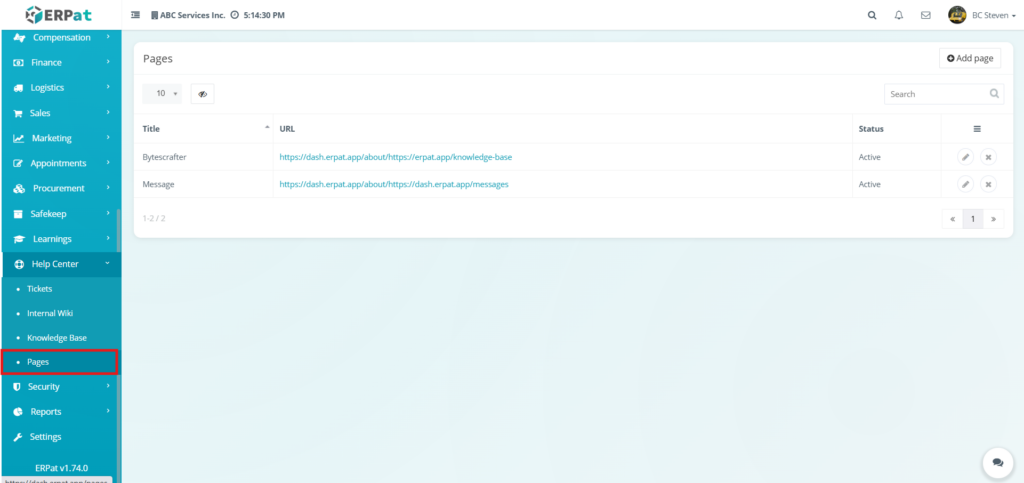
Accessing the Pages Module #
- Log in to the ERPat System.
- Navigate to Help Center from the main sidebar.
- Select Pages.
- You will be directed to the Pages management page displaying all existing page records.
Pages Module: Manage Page #
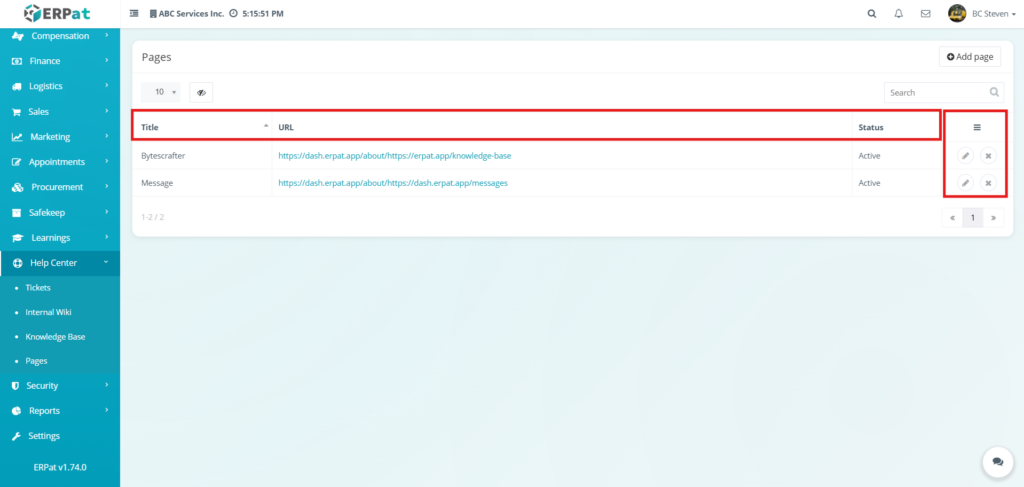
The Pages listing page provides a comprehensive overview of all custom web resources and external links integrated into the system. This interface allows administrators to manage access to external documentation, specialized tools, or informational URLs from a single location.
Displays the following details:
- Title – The descriptive name assigned to the web resource
- URL – The direct web address or hyperlink associated with the page record.
- Status – Indicates whether the link is currently Active (visible to users) or Inactive.
- Actions – Functional controls used to Edit (pencil icon) the page details or Delete (x icon) the record from the directory.
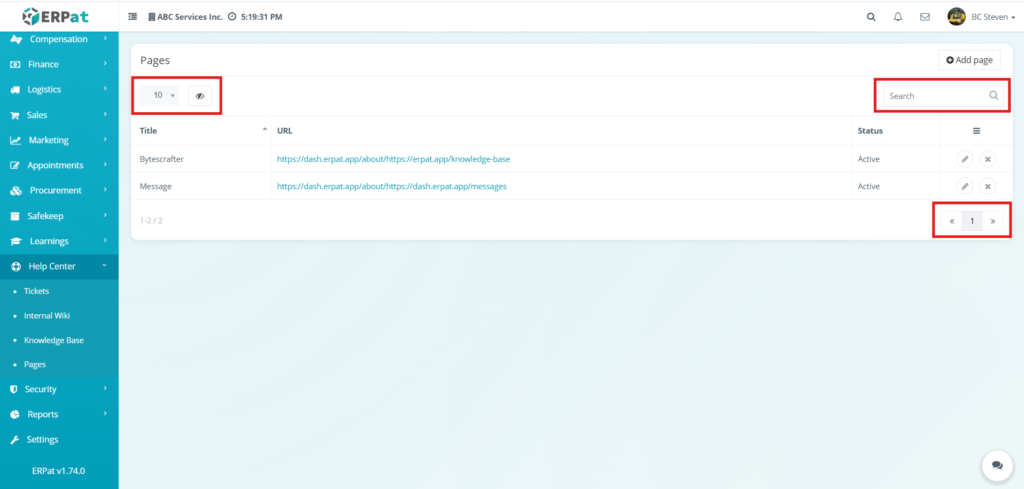
Additional Controls #
Row Display – Adjusts the number of page records shown in the table view (e.g., 10, 25, 50) to manage data density.
Visibility Control – Toggles the visibility of specific columns in the table, allowing users to customize which metadata is displayed.
Search Bar – Facilitates quick lookup of specific pages by entering titles or keyword descriptions.
Pagination – Navigation controls located at the bottom-right used to browse through multiple pages of records within the Pages module.
Steps for Adding a Page #
STEPS
- Navigate to the Help Center module and select the Pages tab.
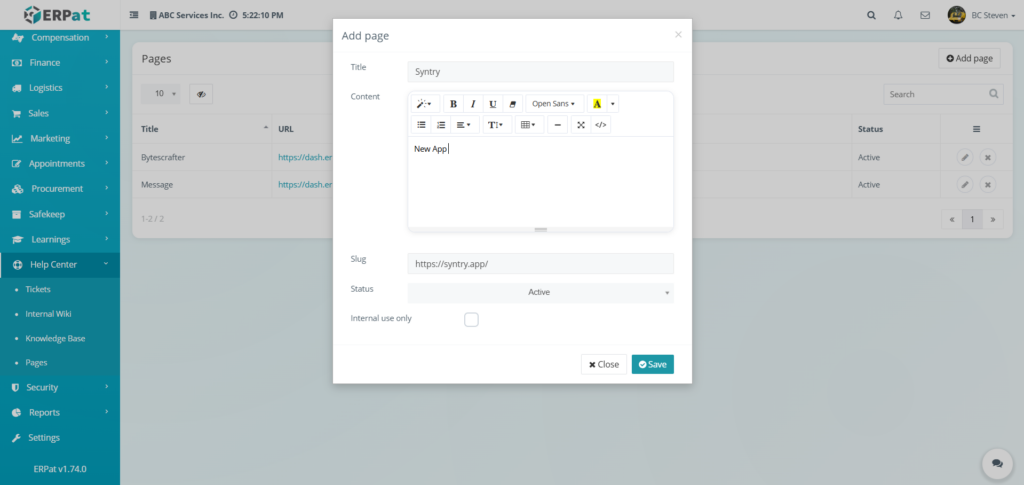
- Click the Add page button located at the top-right of the management interface.
- Fill in the required fields in the modal:
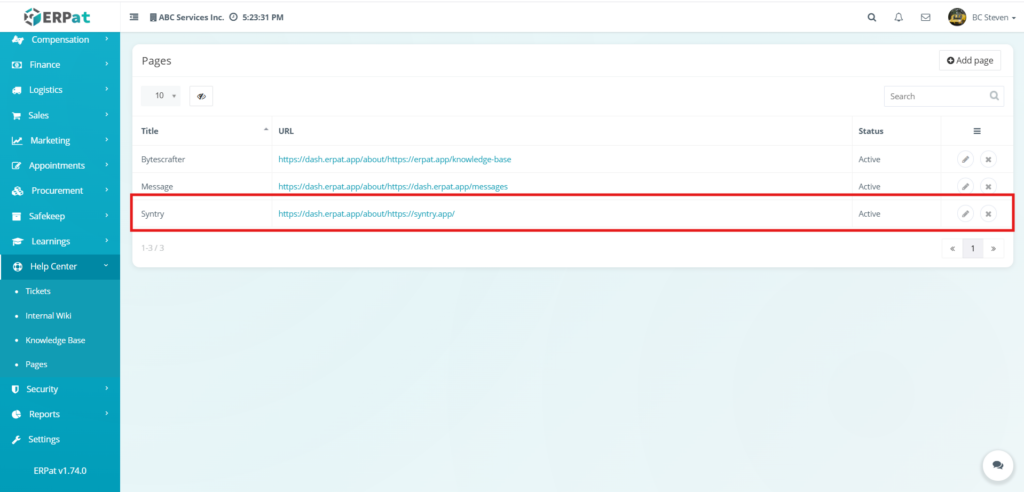
- Title – Enter a descriptive name for the page or resource (e.g., Syntry).
- Content – Use the rich-text editor to provide a brief summary or additional context regarding the link.
- Slug – Enter the specific URL or direct web address for the destination page.
- Status – Select the appropriate visibility level (e.g., Active) from the dropdown menu.
- Internal use only – Mark this checkbox if the page should only be accessible to authorized internal personnel.
- Review all entered data for accuracy.
- Click Save to add the new page to the directory, or click Close to discard the entry.
Result #
Steps for Editing a Page #
STEPS
- Navigate to the Help Center module and select the Pages tab.
- Locate the specific page entry you wish to modify from the listing table.
- Click the Edit (pencil) icon under the Actions column.
- Update the necessary information in the modal:
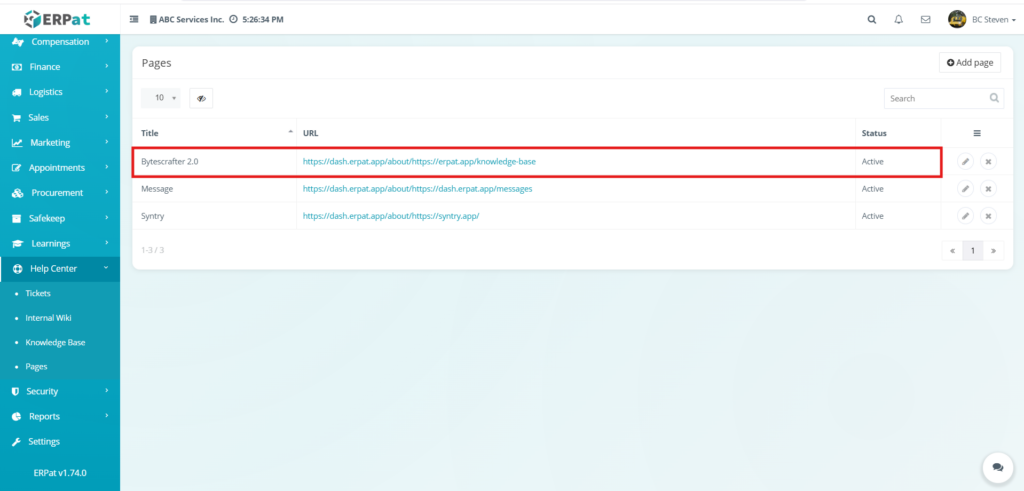
- Title – Modify the name of the page as it appears in the system.
- Content – Refine the summary or context provided in the rich-text editor.
- Slug – Update the destination URL or web address for the resource.
- Status – Change the visibility status (e.g., Active or Inactive) using the dropdown menu.
- Internal use only – Toggle the checkbox to restrict or grant access to internal personnel.
- Click Save to apply the changes to the page record.

Result #
Steps to Delete a Page #
STEPS
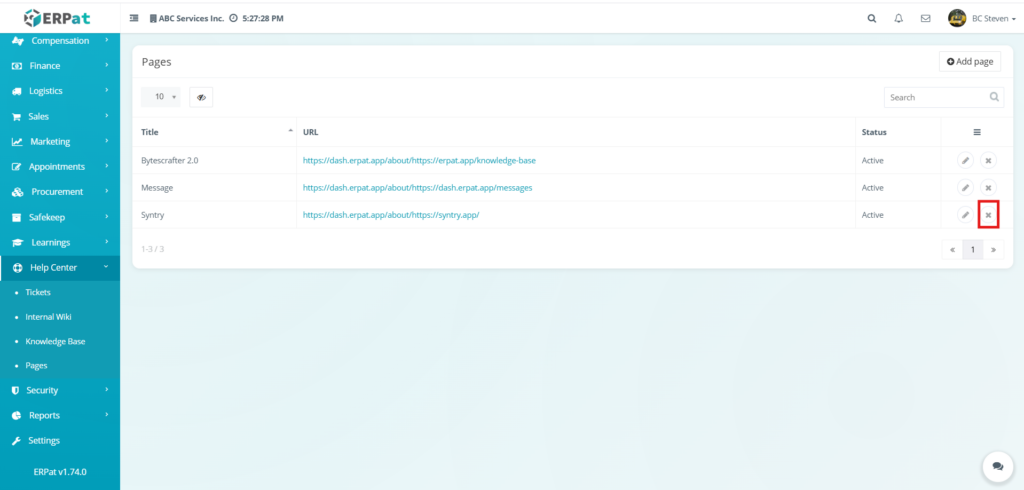
- Locate the page you wish to remove from the pages listing table.
- Click the X icon located under the Actions column for that specific page.
- The selected page would be deleted from the directory.
Steps to Undo a Deleted Page #
STEPS
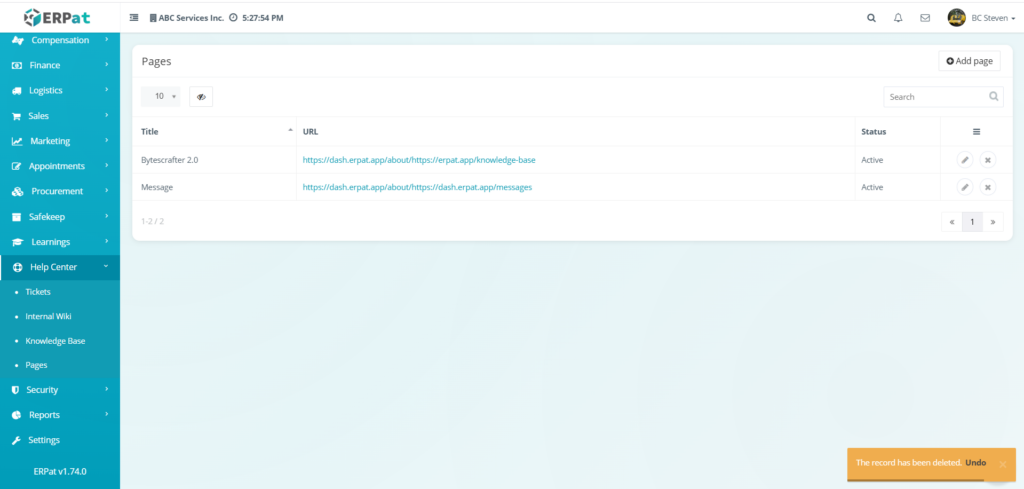
- Locate the notification toast that appears at the bottom-right of the screen immediately after clicking delete.
- Click the Undo link within the orange notification box.
- The deleted page would be restored to the listing table with its original title, URL, and status intact.
Notes:
- Pages that was recently deleted can be the only one that can be undo
Best Practices #
- Standardize Page Titles – Use clear and recognizable naming for each resource to ensure team members can quickly identify the purpose of the link.
- Validate Destination URLs – Regularly check that the Slugs (URLs) are active and correct to prevent broken links within the Help Center.
- Provide Contextual Content – Use the rich-text editor to include a brief summary of what the page contains, helping users understand where the link will take them.
- Audit Accessibility Levels – Frequently review the “Internal use only” settings to ensure sensitive internal resources are not exposed to unauthorized users.
- Manage Visibility Status – Set outdated or temporary resources to Inactive instead of deleting them to maintain a record of the resource without cluttering the user directory.
- Maintain an Organized Directory – Periodically review the full list of pages to remove duplicates and ensure only essential web resources are listed.
Audit & Logs #
All create, update, and delete actions for pages are logged for audit and compliance purposes within the ERPat System.
Last Updated: [March 6, 2026] Module Owner: Help Center IS – ERPat System


