Overview #
The Customization Module is used to configure system behavior, communication templates, dashboard layout, and document formatting within the ERPat system. It allows administrators to control how the system looks, sends notifications, and generates outputs such as emails, invoices, vouchers, and estimates.
This module ensures consistency in system communication, improves usability through dashboard personalization, and standardizes company documents across different modules.
Key Features #
- Centralized system customization management
- Email template configuration
- Notification control and recipient management
- Dashboard layout customization
- Company tag management
- Invoice, voucher, and estimate configuration
- Search and filtering tools
- Real-time preview and editing
- Secure role-based access
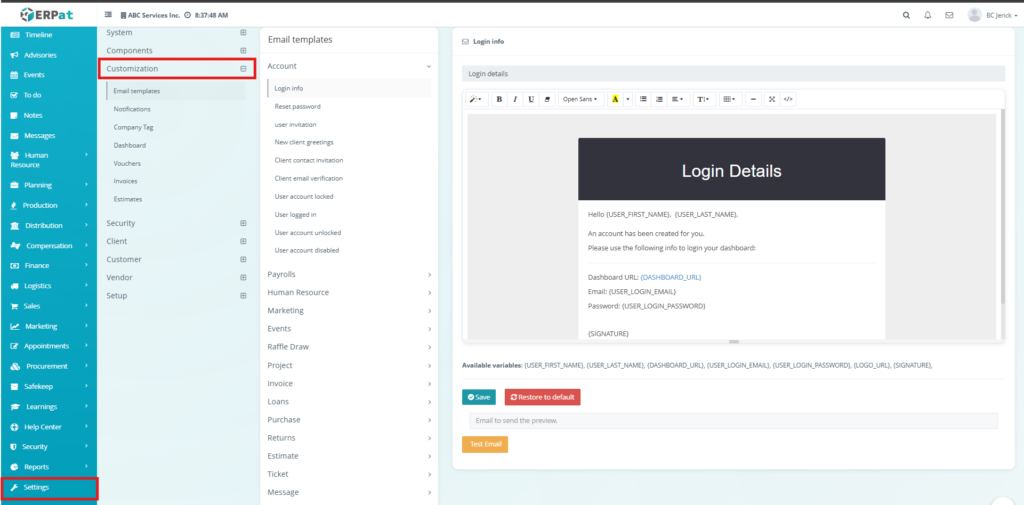
Accessing the Customization Module #
STEPS #
- Navigate to the left sidebar menu.
- Click Settings.
- Select Customization.
- You will be directed to the Customization module showing all available tabs.
Email Templates Tab #
The Email Templates tab is used to manage and customize system-generated emails. These templates are triggered automatically during system events such as account creation, login notifications, and password resets.
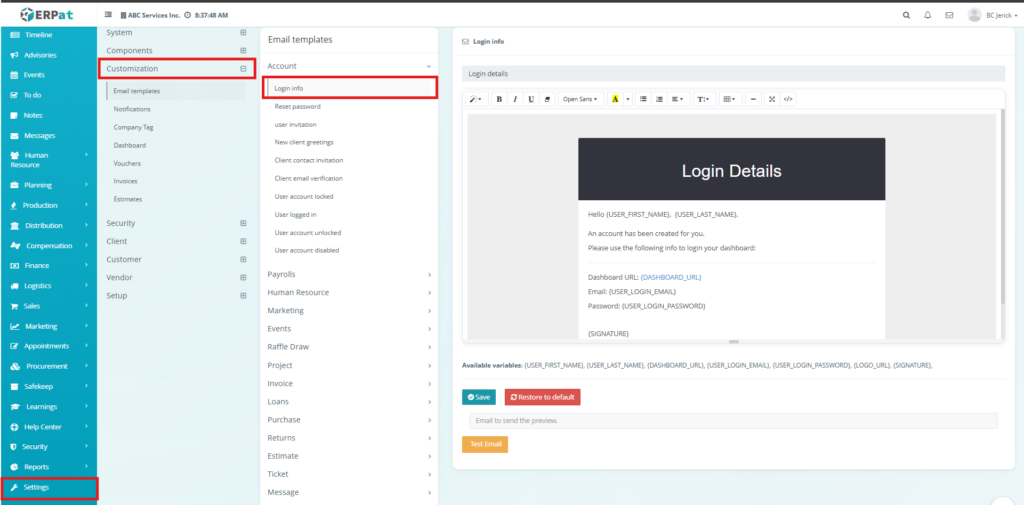
Email Templates Page #
The page displays a list of categories and templates such as login info, reset password, and user notifications.
Each template contains:
- Template Editor – Editable email content
- Available Variables – Dynamic placeholders for system data
Additional Controls #
- Save Button – Saves template changes
- Restore to Default – Resets template to original version
- Test Email – Sends a preview email
Behavior #
Changes apply to all future emails triggered by the system. Variables are automatically replaced with real data during email sending.
Notifications Tab #
The Notifications tab is used to manage how system events notify users. It allows configuration of notification channels and recipients.
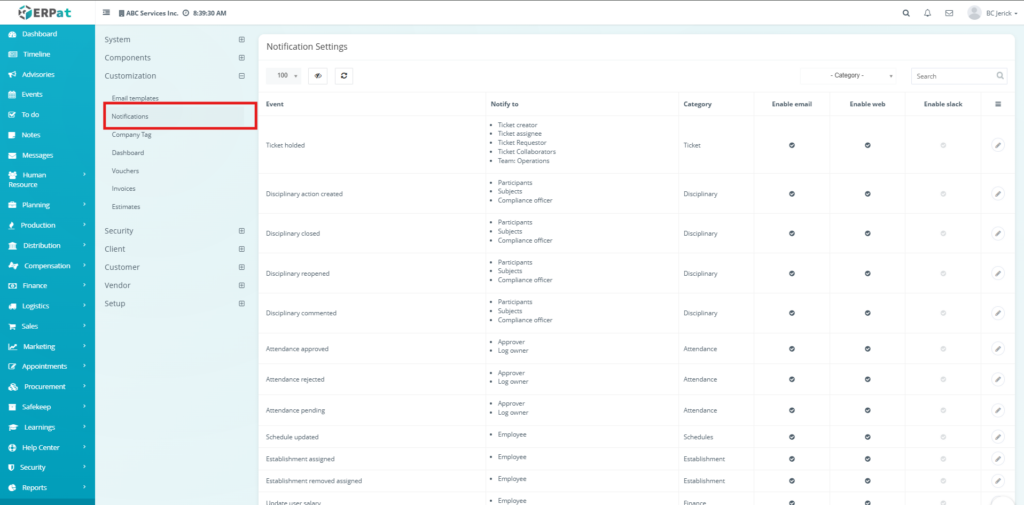
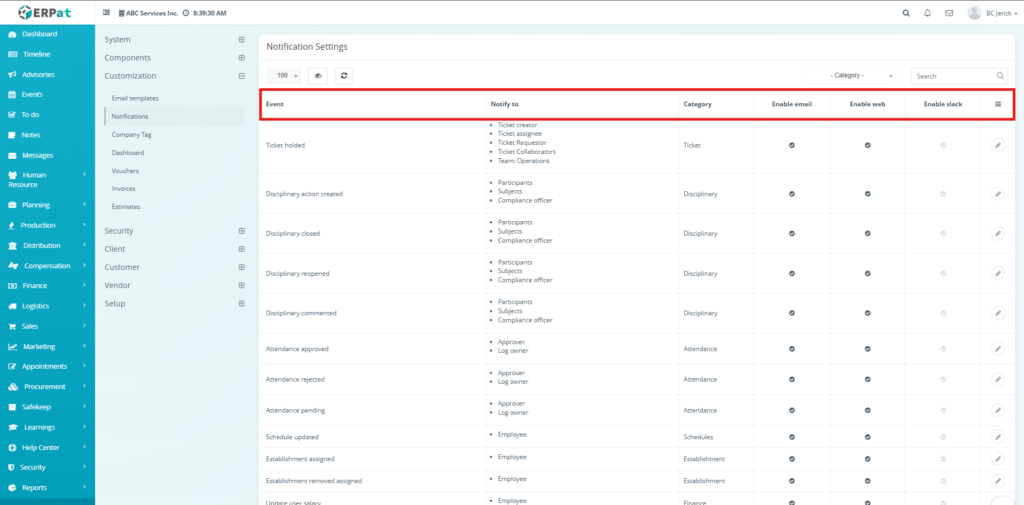
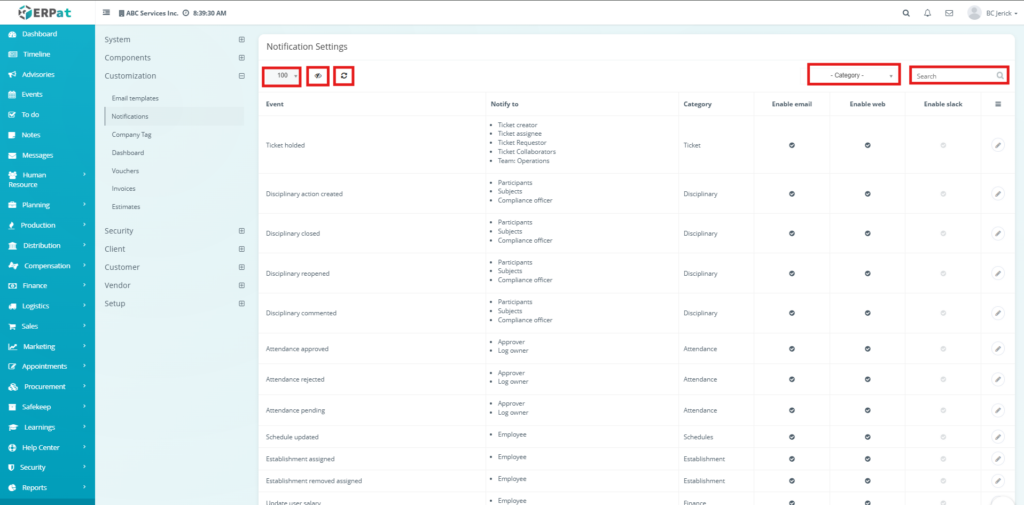
Notifications Listing Page #
The listing page displays all system events with the following information:
- Event – System activity trigger
- Notify To – Users or roles receiving notifications
- Category – Event classification
- Enable Email – Email notification toggle
- Enable Web – System notification toggle
- Enable Slack – Slack notification toggle
- Actions – Edit configuration
Additional Controls #
- Rows per page selector
- Column visibility toggle
- Refresh button
- Category filter
- Search bar
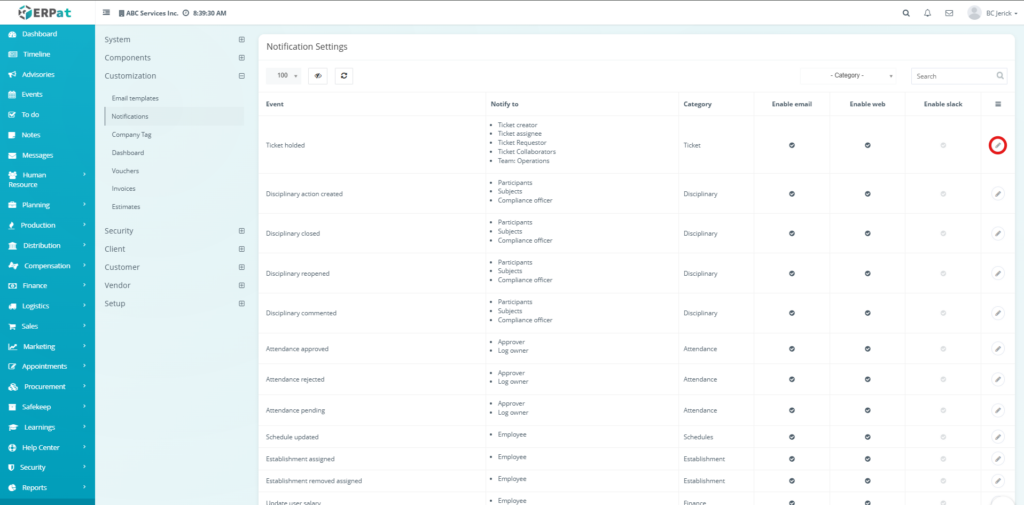
Steps for Editing Notification Settings #
STEPS #
- Locate the event from the Notifications listing page.
- Click the Edit (✏️) icon under the Actions column.
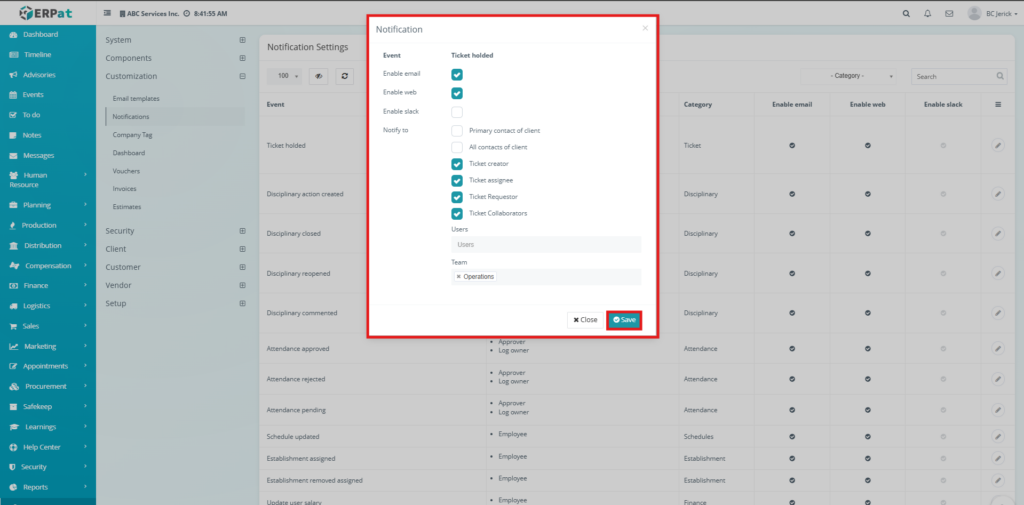
- The notification settings popup will appear.
- Enable or disable notification channels:
- Enable Email
- Enable Web
- Enable Slack
- Select recipients under Notify To.
- Click Save.
Behavior #
Each event can be configured independently. Changes immediately affect how notifications are sent across the system.
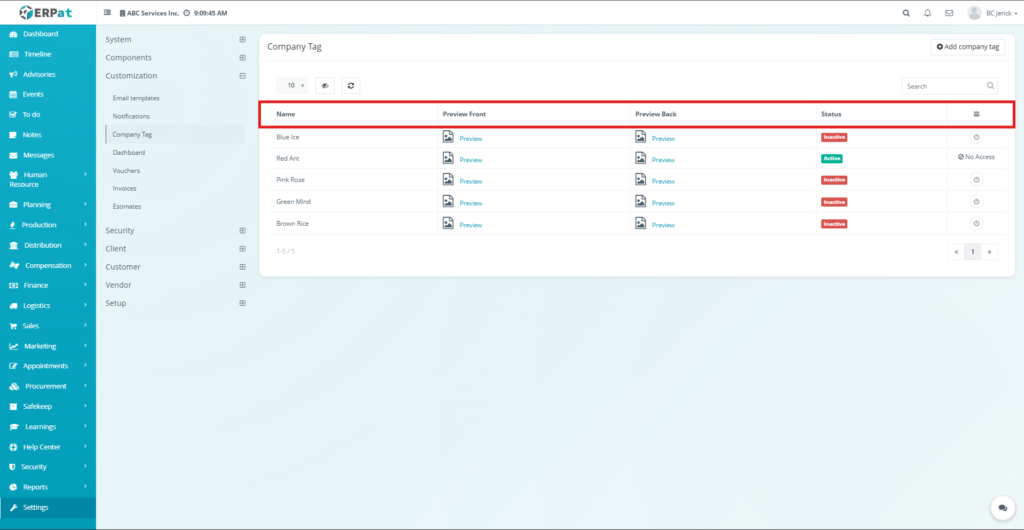
Company Tag Tab #
The Company Tag tab is used to manage company tags including their design and activation status. These tags may be used for branding or identification within the system.
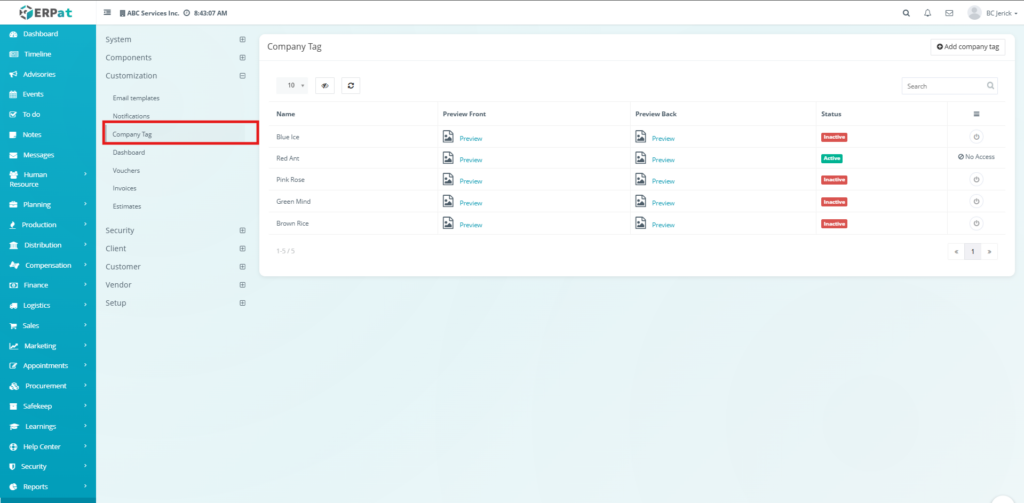
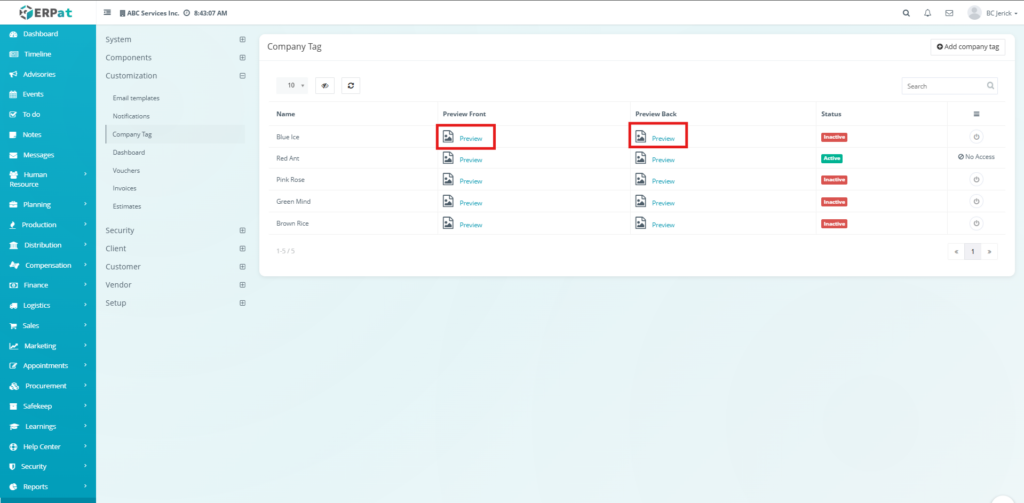
Company Tag Listing Page #
The listing page provides an overview of all company tags with the following information:
- Name – Tag name
- Preview Front – Front design preview
- Preview Back – Back design preview
- Status – Active or Inactive
- Actions – Tag controls
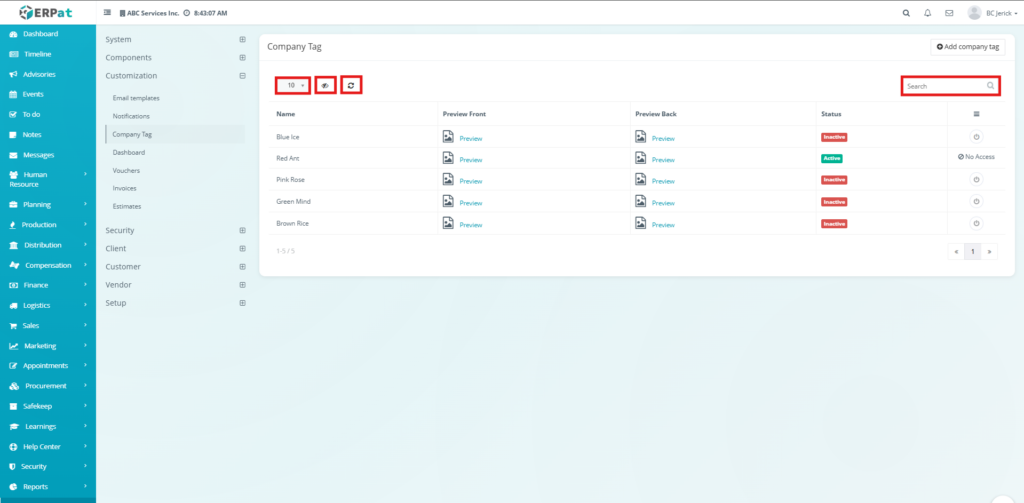
Additional Controls #
- Add Company Tag Button – Create a new tag
- Rows per page selector
- Column visibility toggle
- Refresh button
- Search bar
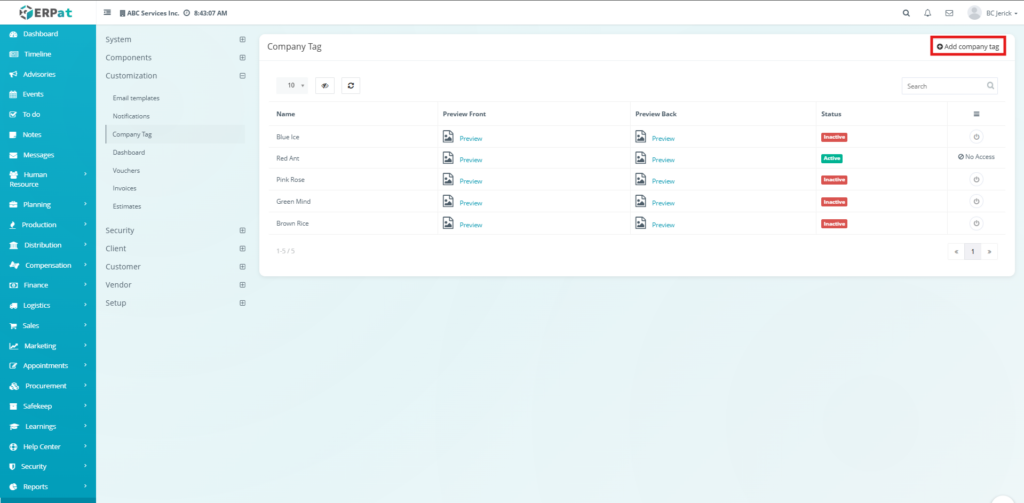
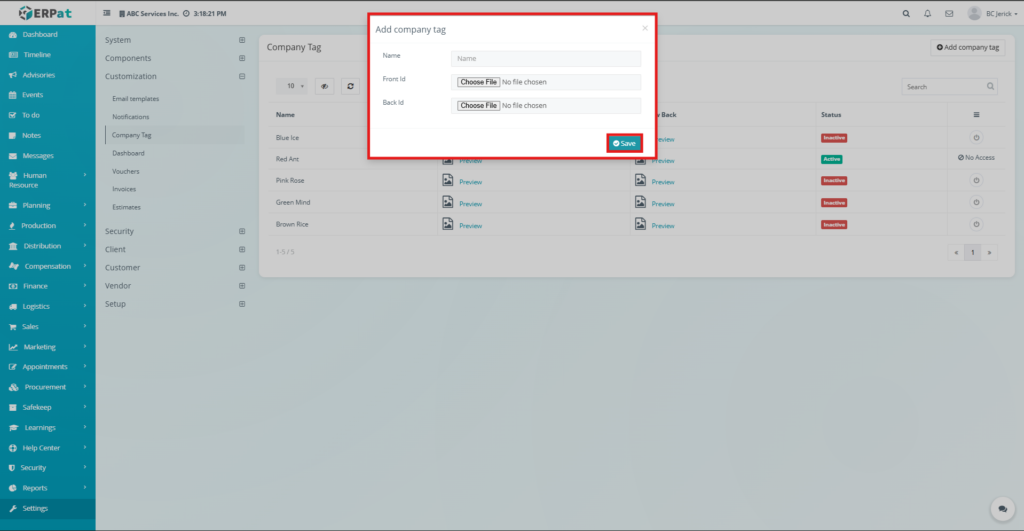
Steps for Adding a Company Tag #
STEPS #
- Navigate to the Company Tag tab.
- Click the Add Company Tag button.
- Fill in the required details.
- Upload front and back designs.
- Click Save.
Steps for Viewing Tag Preview #
STEPS #
- Locate the desired company tag from the list
- Click the “Preview” button under Preview Front or Preview Back
- The system displays the uploaded design for viewing
Steps for Changing Tag Status #
STEPS #
- Locate the company tag from the listing page
- Click the Status toggle button under the Actions column
- The system switches the status between Active and Inactive
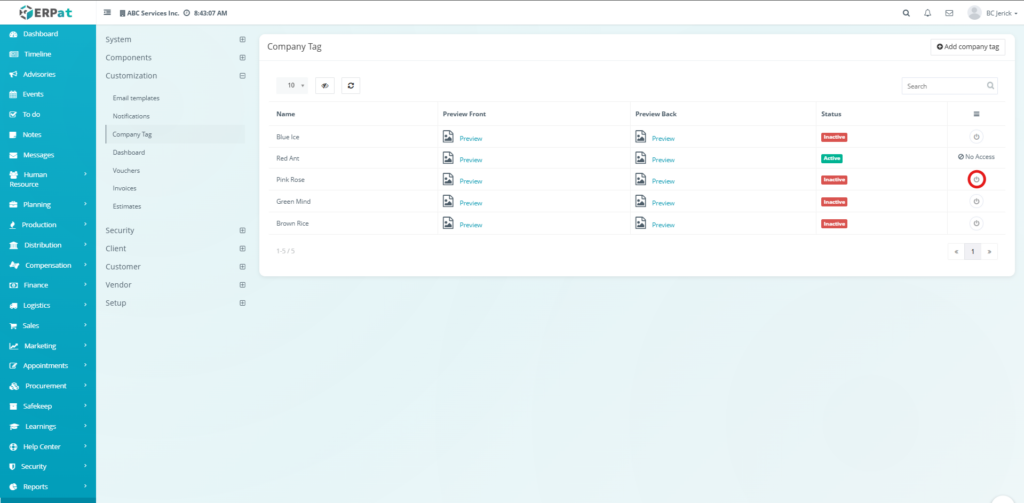
Behavior #
Only active tags are usable within the system. Preview allows verification before activation.
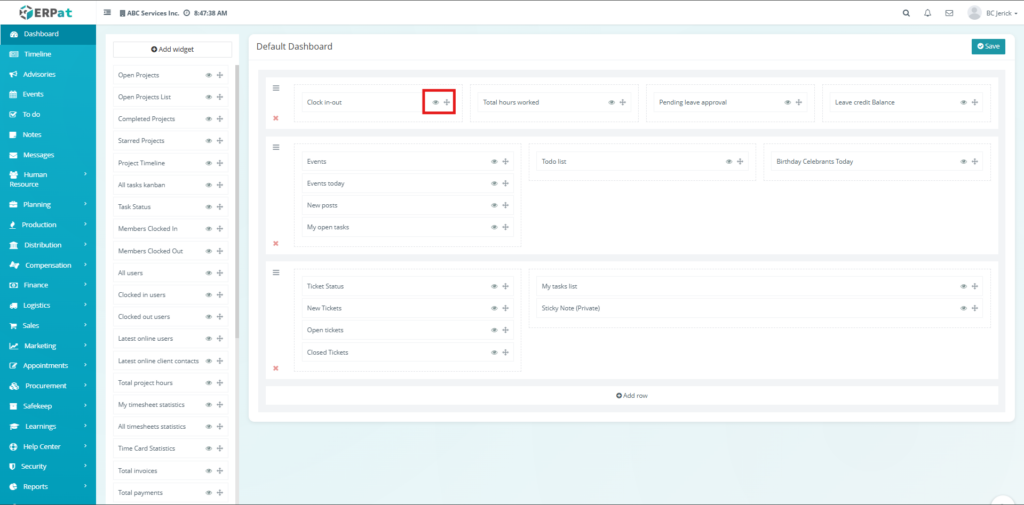
Dashboard Tab #
The Dashboard tab allows customization of the system dashboard by adding widgets and arranging layout structure.
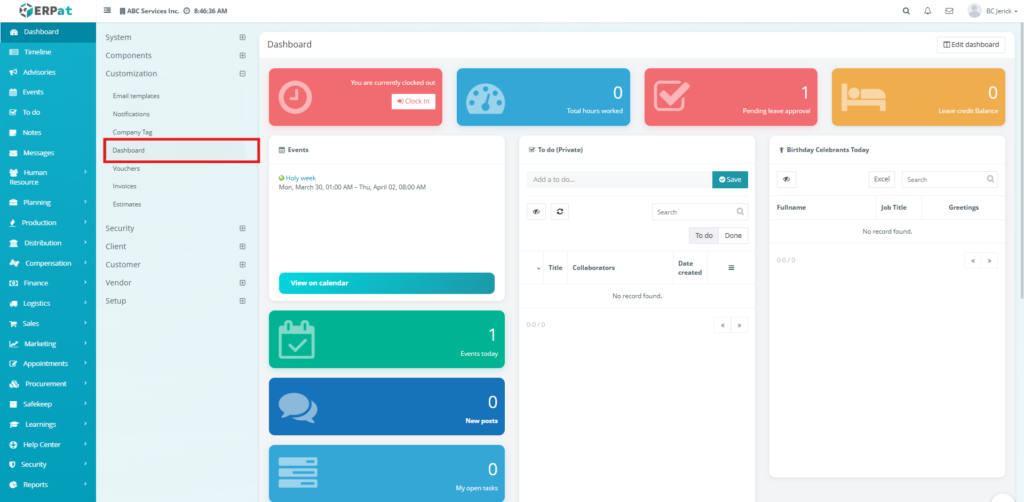
Dashboard Page #
The page contains a widget panel and a customizable layout area.
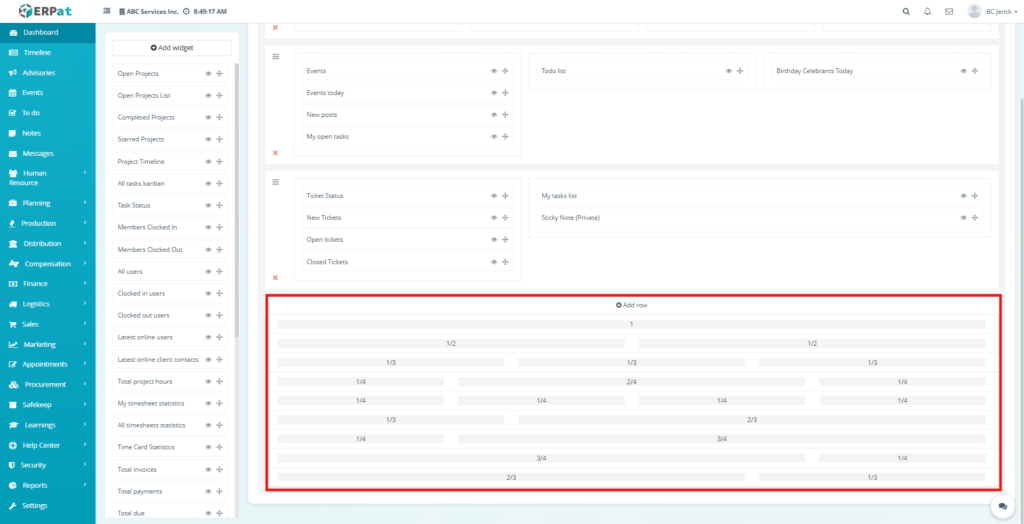
Widgets can be dragged and arranged into rows and columns.
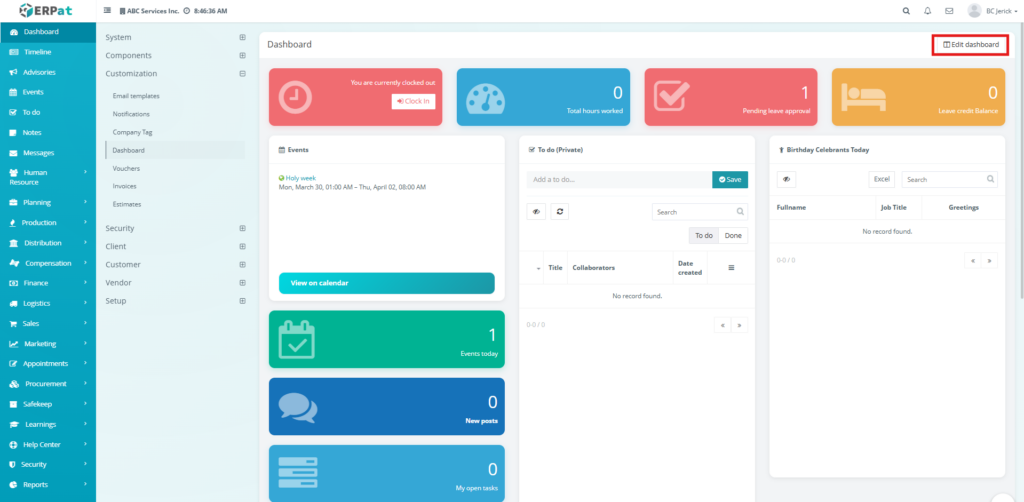
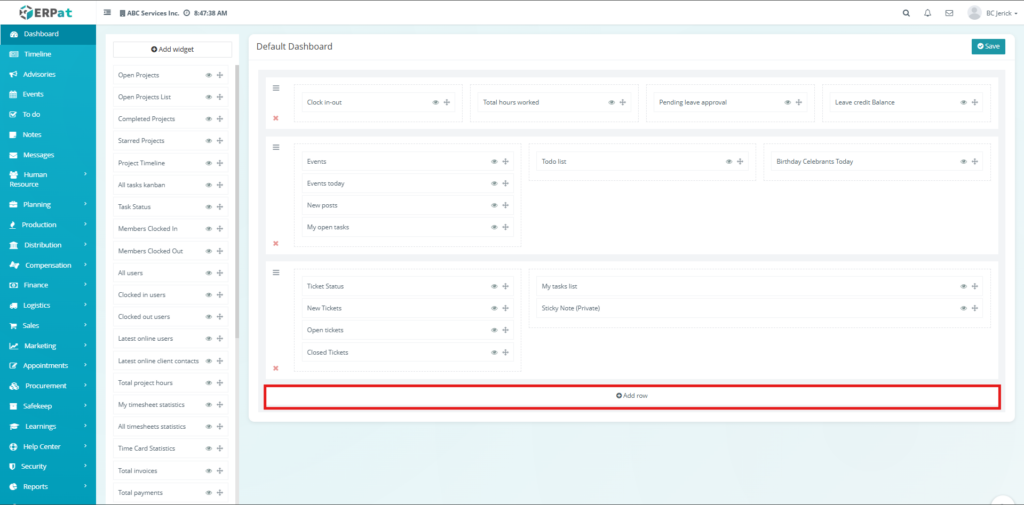
Additional Controls #
- Add Row Button – Add a new layout row
- Save Button – Save dashboard layout
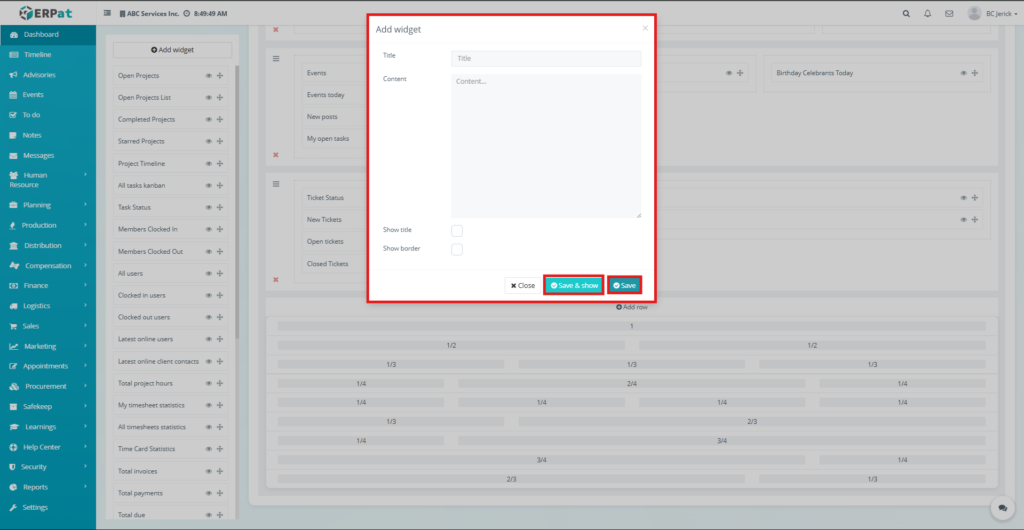
Steps for Adding a Widget #
STEPS #
- Navigate to the Dashboard tab.
- Click Add Widget.
- Enter the widget Title.
- Enter the widget Content.
- (Optional) Enable Show Title and Show Border.
- Click Save or Save & Show.
Behavior #
Widgets can be rearranged or removed. Layout changes apply after saving.
Vouchers Tab #
The Vouchers tab is used to configure voucher numbering and approval workflow.
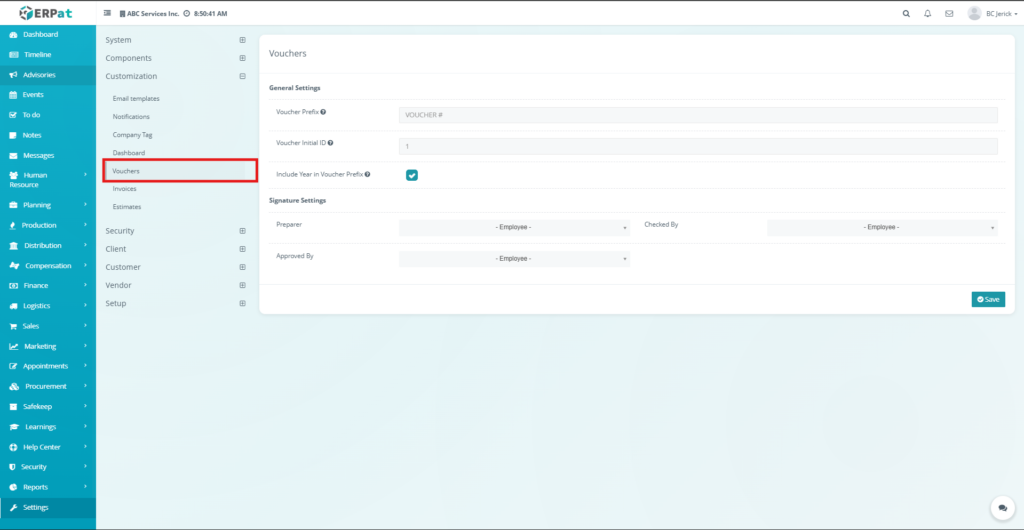
Voucher Settings Page #
- The page contains configuration fields such as:
- Voucher Prefix – Format of voucher number
- Voucher Initial ID – Starting number
- Include Year in Prefix – Toggle option
- Preparer – Assigned user
- Checked By – Assigned verifier
- Approved By – Assigned approver
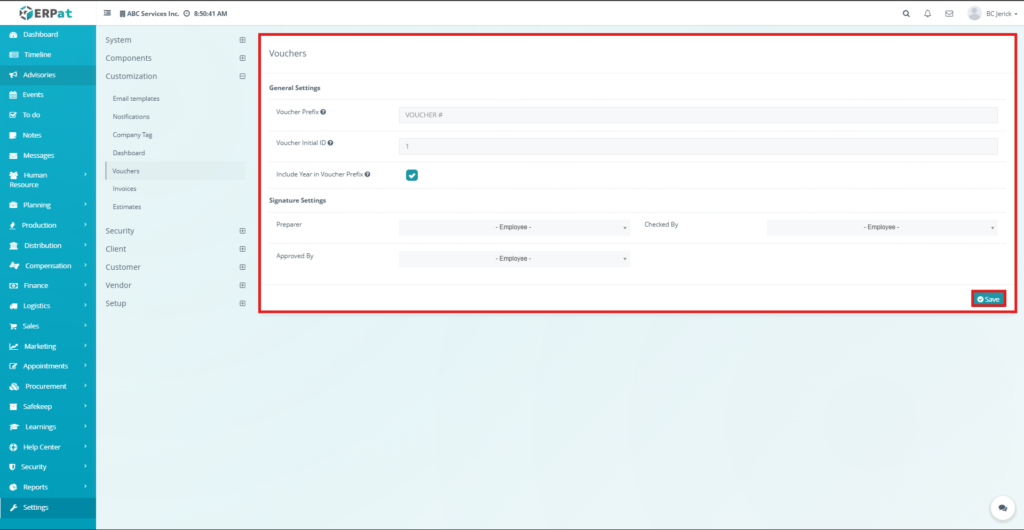
Additional Controls #
Save Button – Saves all changes
Behavior #
Settings determine how vouchers are generated and approved in the system.
Invoices Tab #
The Invoices tab is used to configure invoice formatting, numbering, and payment behavior.
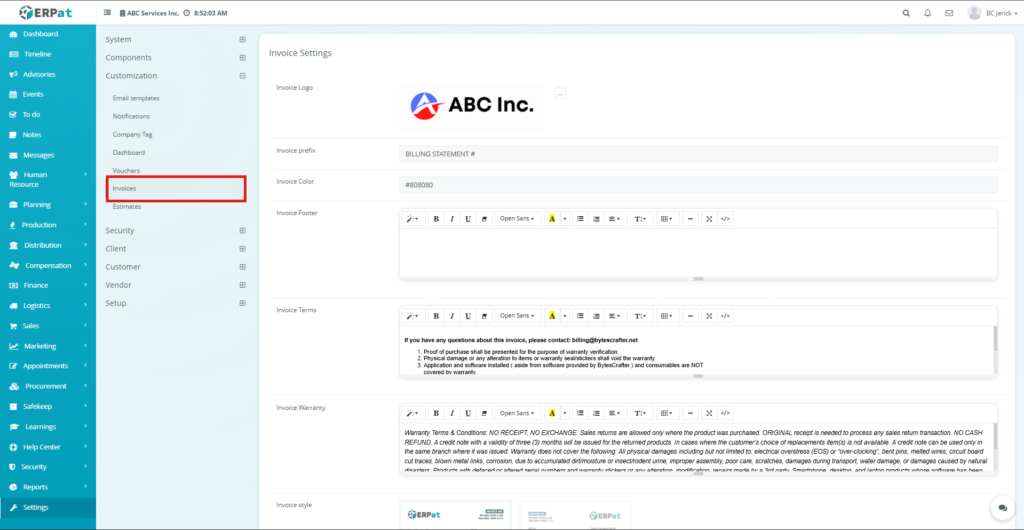
Invoice Settings Page #
- The page includes the following fields:
- Invoice Logo – Company logo
- Invoice Prefix – Number format
- Invoice Color – Theme color
- Invoice Footer – Footer content
- Invoice Terms – Terms and conditions
- Invoice Warranty – Warranty details
- Invoice Style – Layout selection
- Default Due Date – Payment due duration
- BCC Email – Copy email
- Allow Partial Payment – Enable option
- Reminder Settings – Before/after due dates
- Initial Invoice Number – Starting value
- Client Payment Without Login – Toggle option
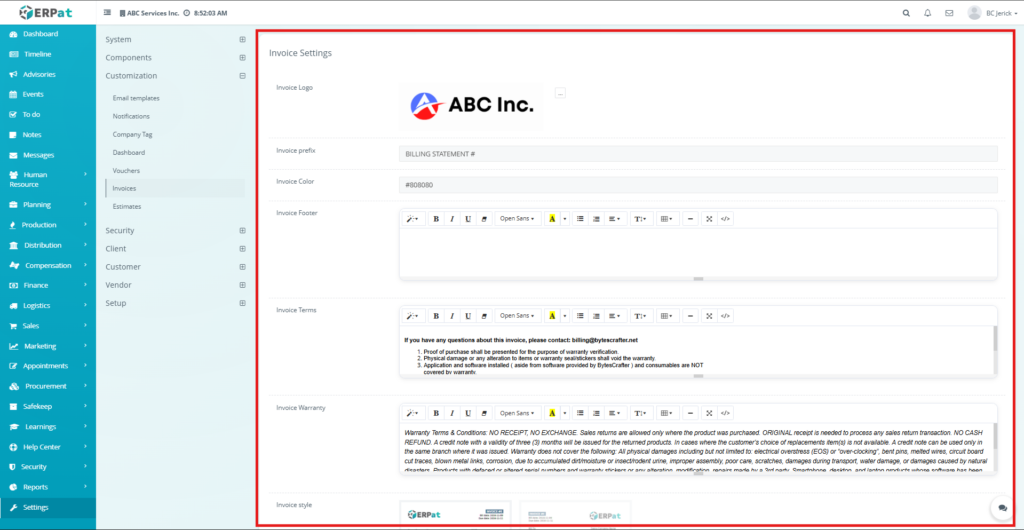
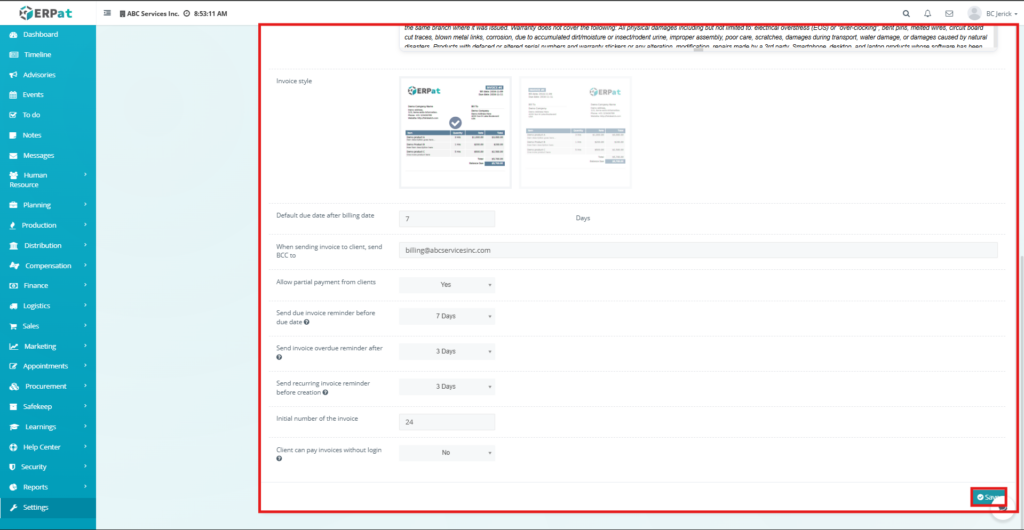
Additional Controls #
Save Button – Saves all invoice settings
Behavior #
Changes affect all newly generated invoices.
Estimates Tab #
The Estimates tab is used to configure estimate formatting and request behavior.
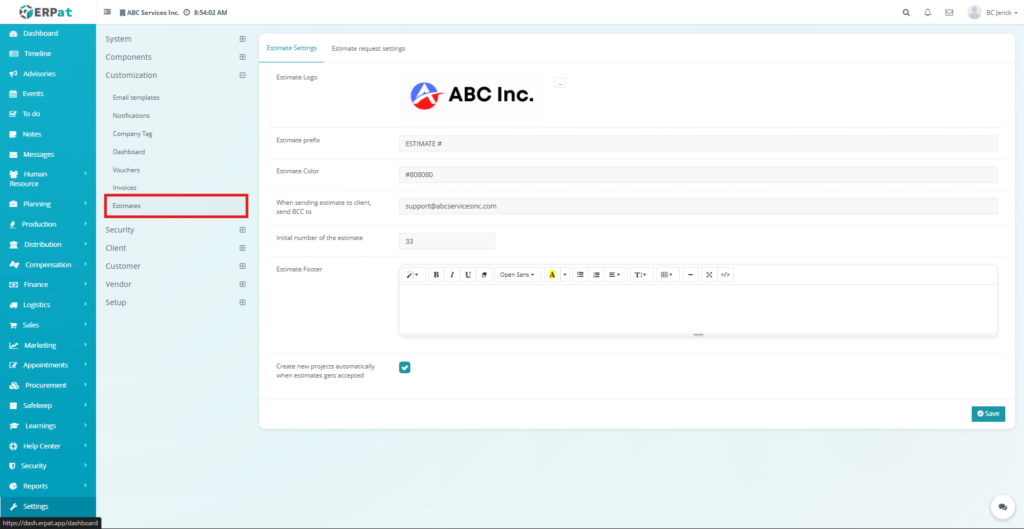
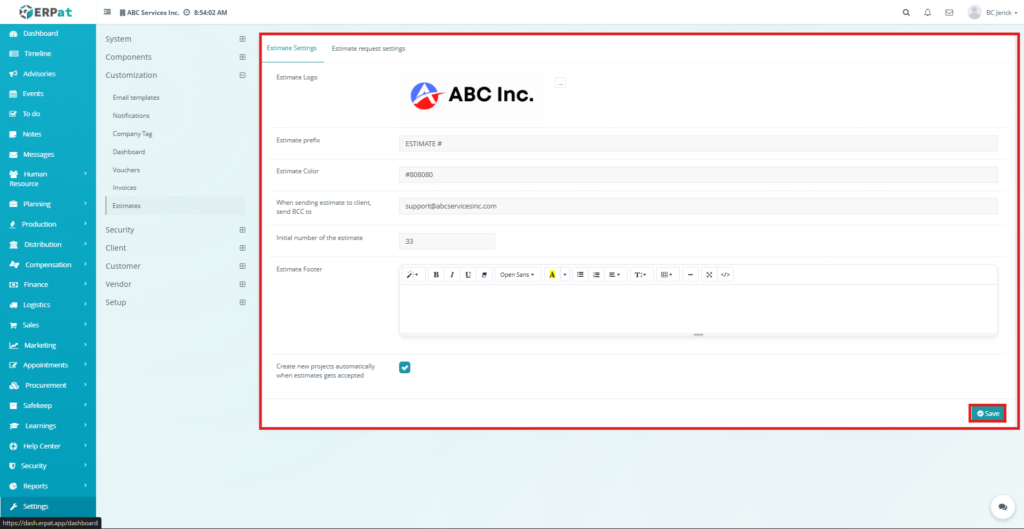
Estimate Settings Page #
The page includes:
- Estimate Logo
- Estimate Prefix
- Estimate Color
- BCC Email
- Initial Estimate Number
- Estimate Footer
- Create Project Automatically – Toggle option
Estimate Request Settings Page #
Hidden Client Fields – Fields hidden from public forms
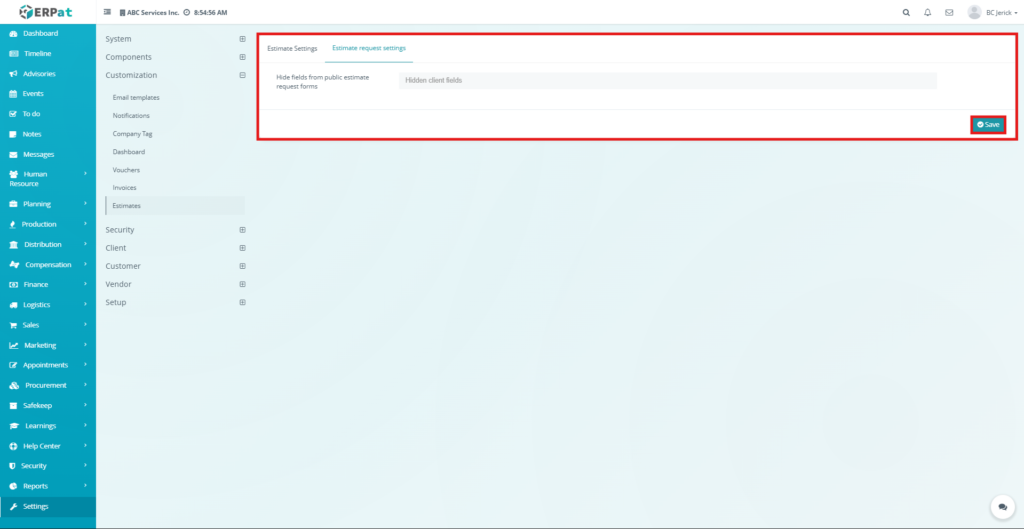
Additional Controls #
Save Button – Saves estimate configurations
Behavior #
Settings control estimate generation and client request handling. Accepted estimates may trigger automatic project creation.
Notes #
- Customization settings should be reviewed before system use to ensure proper configuration.
- Changes affect system-wide behavior and outputs.
Permissions and Access Control #
- Only authorized users can access and modify customization settings.
- Administrative roles typically have full control.
Best Practices #
- Use consistent naming conventions for templates and documents
- Verify email templates before deployment
- Test notification settings before enabling
- Keep numbering formats standardized
- Avoid frequent structural changes to dashboard layouts
Audit & Logs #
All customization changes are tracked within the system for monitoring and accountability.
Last Updated: [March 27, 2026] Module Owner: Settings Module – ERPat System


