Overview #
The Courses Module in the ERPat System provides a structured learning management workspace for creating, managing, and organizing training courses. It allows administrators to create course entries, manage course modules, enroll students, categorize courses, and control student records within the learning environment.
This module centralizes course administration and ensures organized tracking of training content and student participation.
Key Features #
- Create and manage course entries
- Publish courses to the portal
- Edit and delete course records
- Manage course modules
- Enroll and manage students
- Organize courses by categories
- Action button controls for student records
- Structured listing pages for courses and students
Accessing the Courses Module #
- Log in to the ERPat System.
- Navigate to the Learning section from the sidebar.
- Select Courses.
You will be redirected to the Courses Entries page.
Courses – Entries #
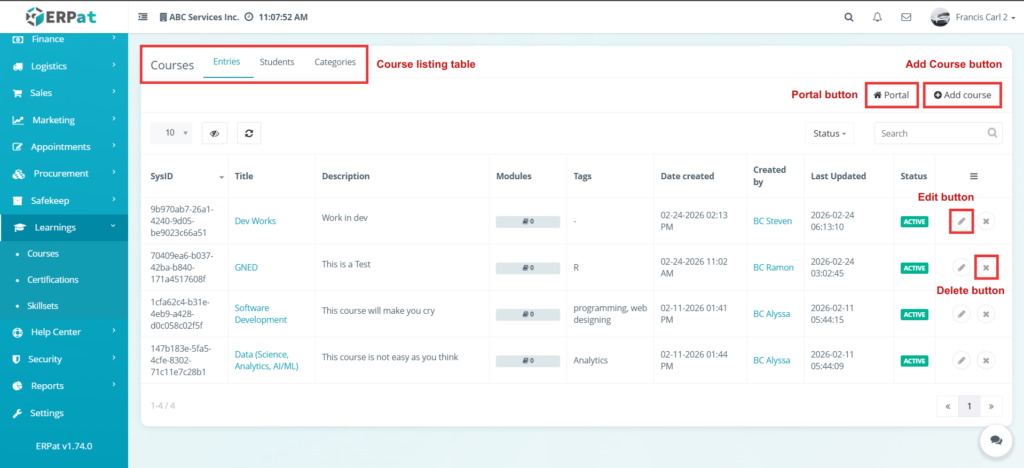
The Entries page displays a comprehensive list of all created courses.
Page Controls and Tools #
- Add Course button
- Portal access control
- Edit controls
- Delete controls
- Modules access
- Table controls and pagination
Steps for Adding a New Course #
STEPS
- Click the Add Course button.
- Fill in the required course information fields.
- Click the Save button.
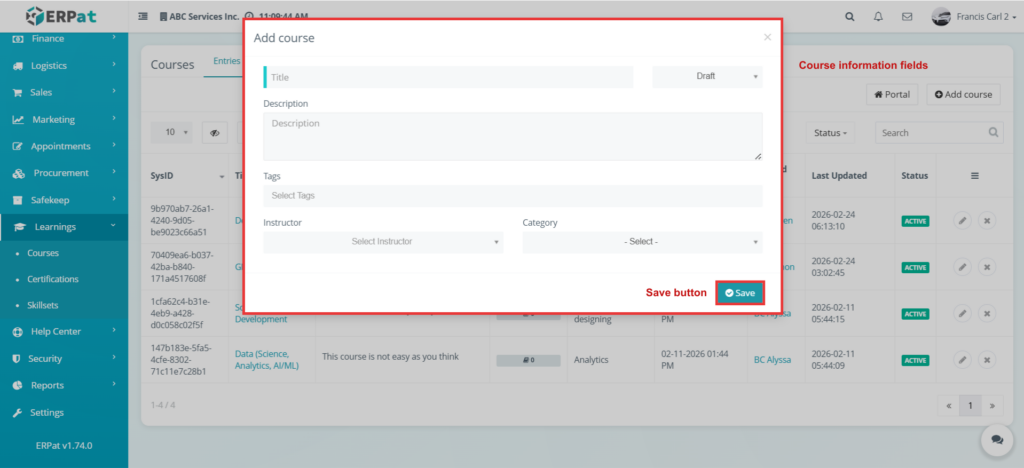
Result #
The newly created course will appear in the Courses Entries listing page.
Courses – Entries – Portal #
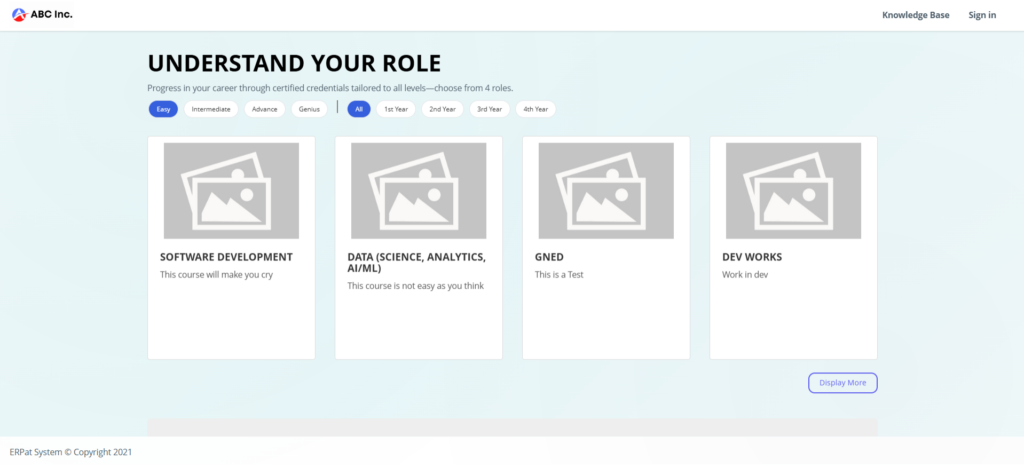
This section controls the visibility or publication of the course to the learning portal.
Steps for Editing a Course #
STEPS
- Click the Edit icon from the course listing.
- Modify the necessary course details.
- Click the Save button.
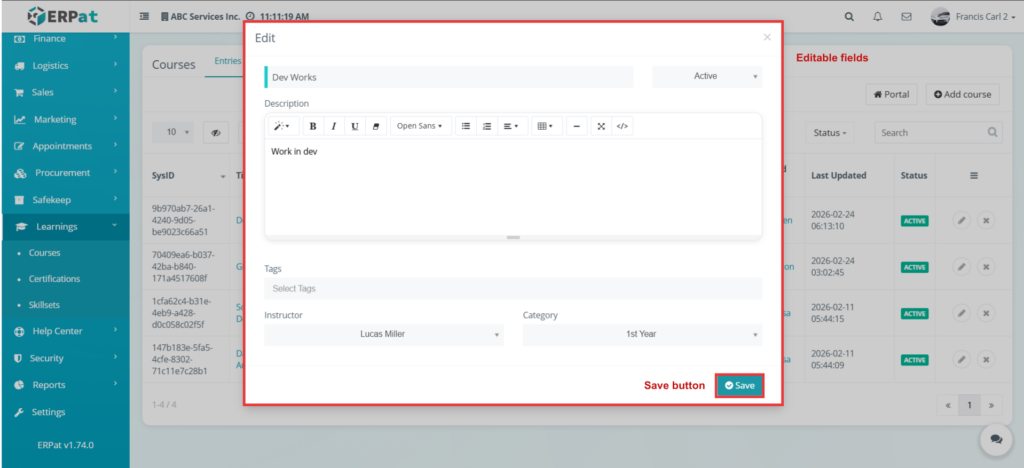
Result #
The updated course information is reflected in the listing page.
Steps for Deleting a Course #
STEPS
- Click the Delete icon from the listing.
- Confirm the deletion.
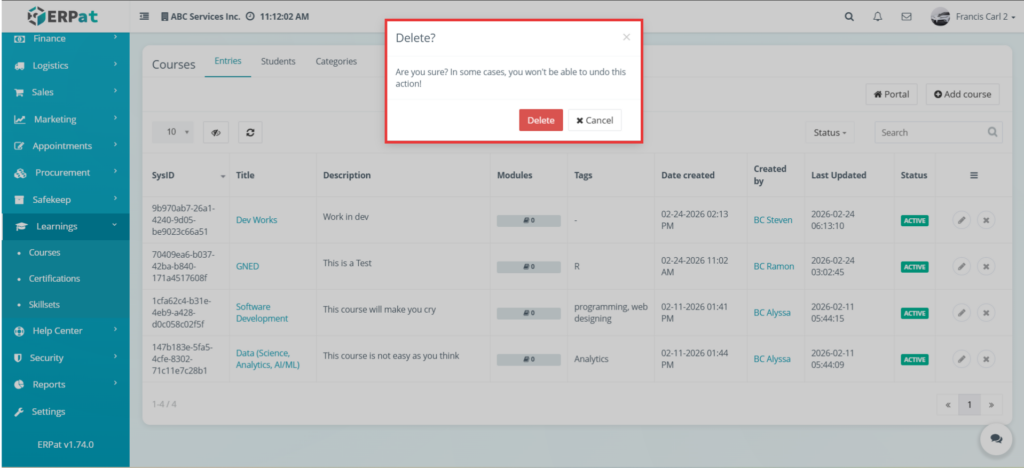
Result #
The selected course record is permanently removed from the system.
Courses – Entries – Modules #
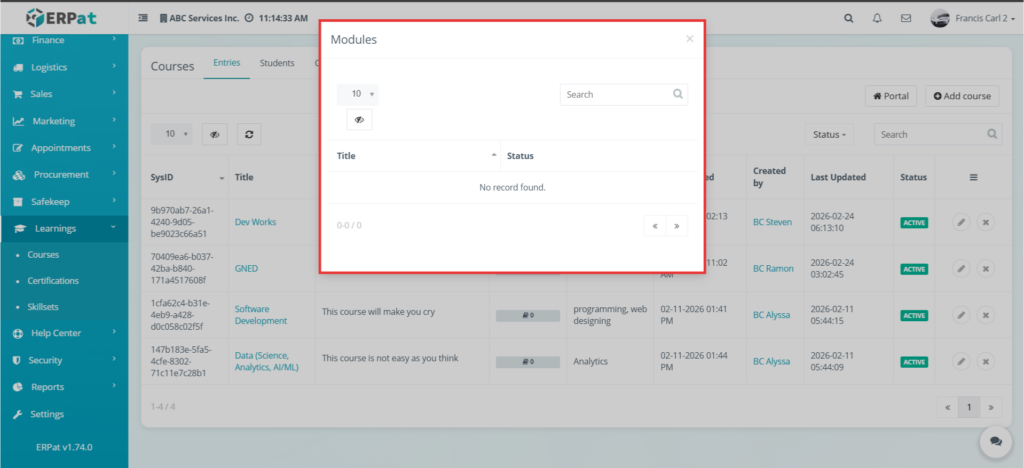
This section manages course modules associated with each course.
Courses – Students #
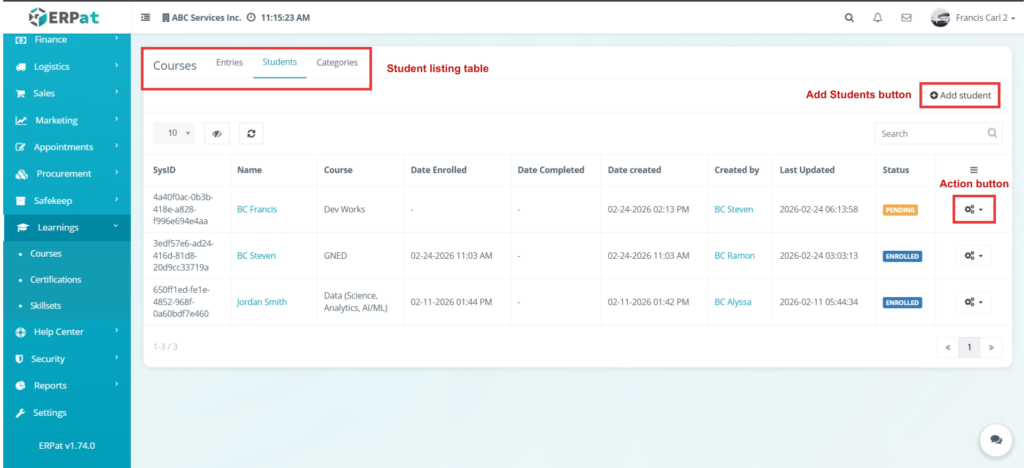
The Students page displays enrolled learners for the selected course.
Steps for Adding Students #
STEPS
- Click the Add Students button.
- Select or input the required student details.
- Click the Save button.
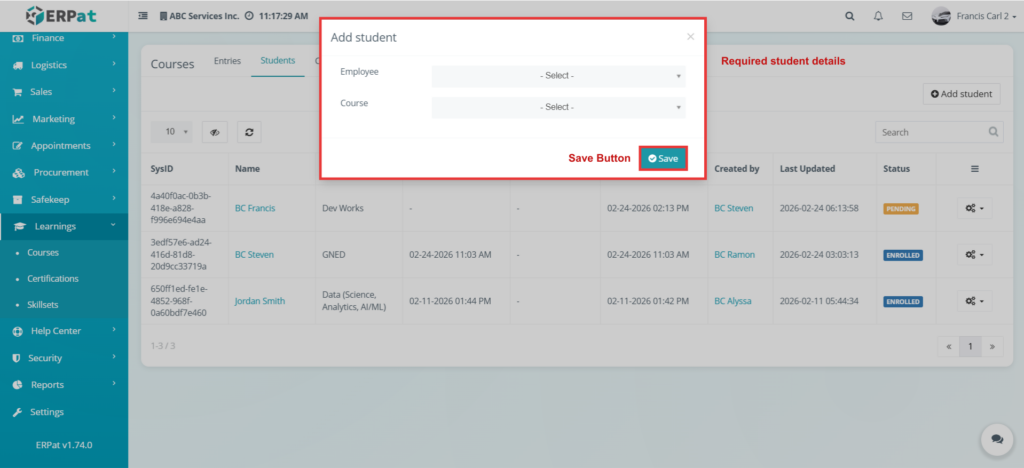
Result #
The selected students are added to the course.
Courses – Students – Action Button #
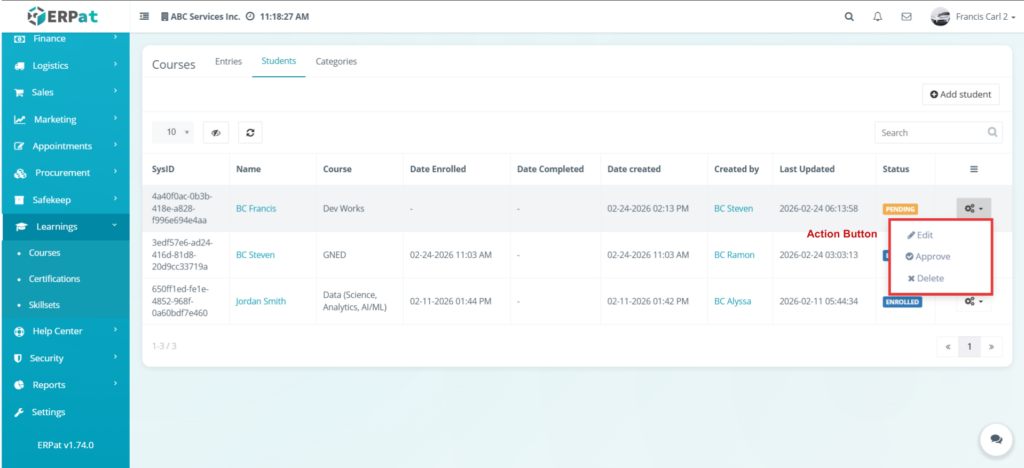
The Action Button provides additional controls for student records.
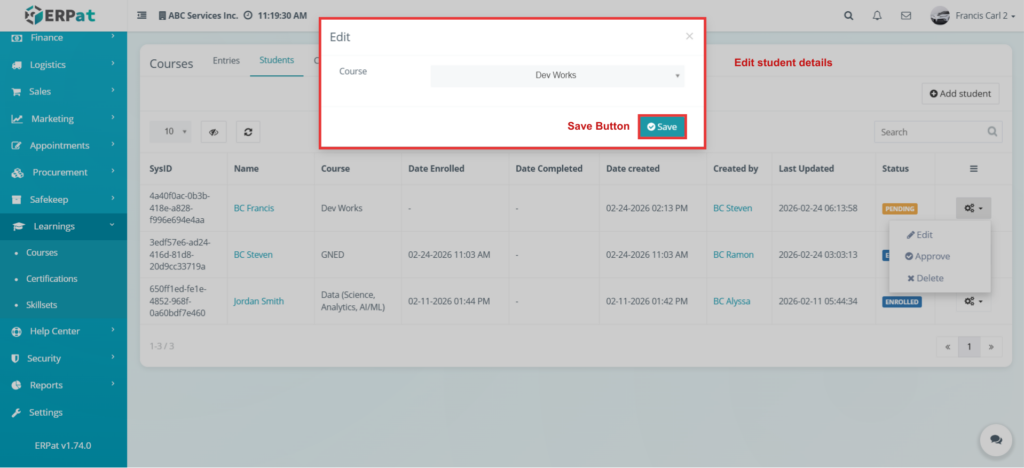
Steps for Editing a Student Record #
STEPS
- Click the Edit option from the Action dropdown.
- Modify the student details.
- Click Save.
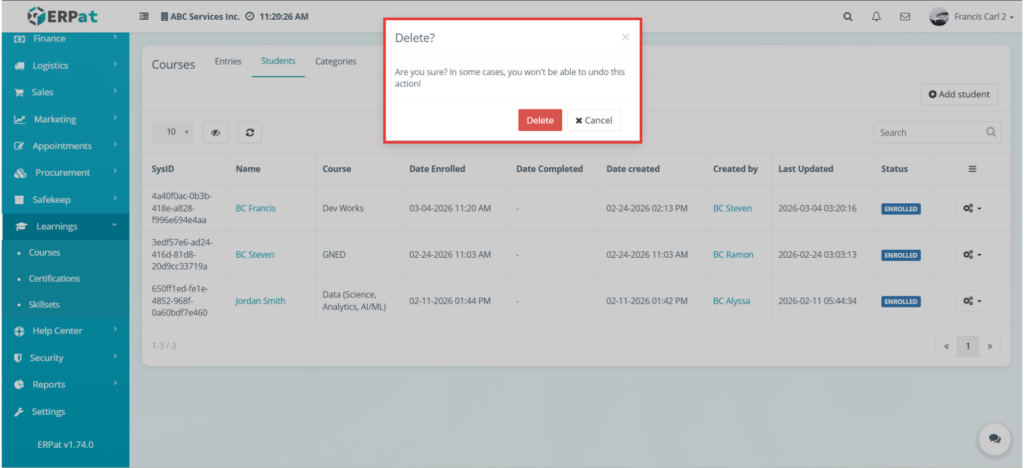
Steps for Deleting a Student #
STEPS
- Click the Delete option from the Action dropdown.
- Confirm the deletion.
Courses – Categories #
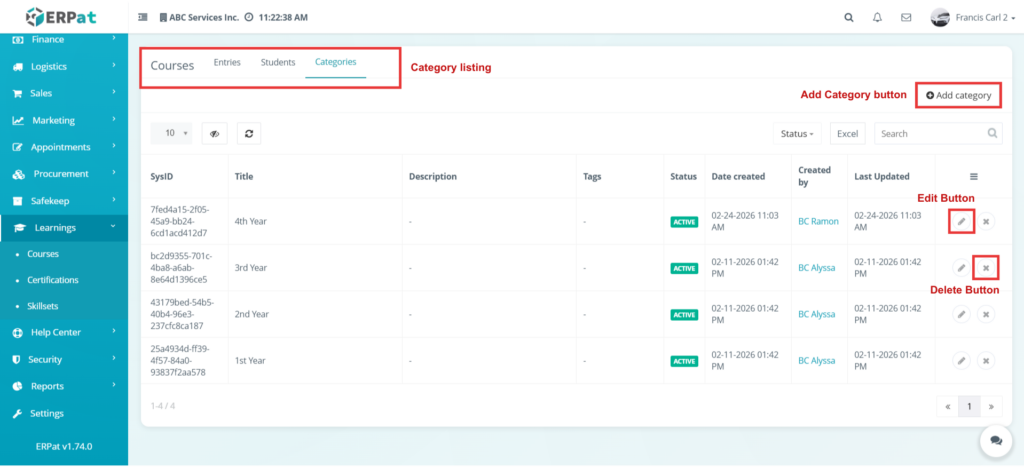
The Categories page organizes courses into structured classifications.
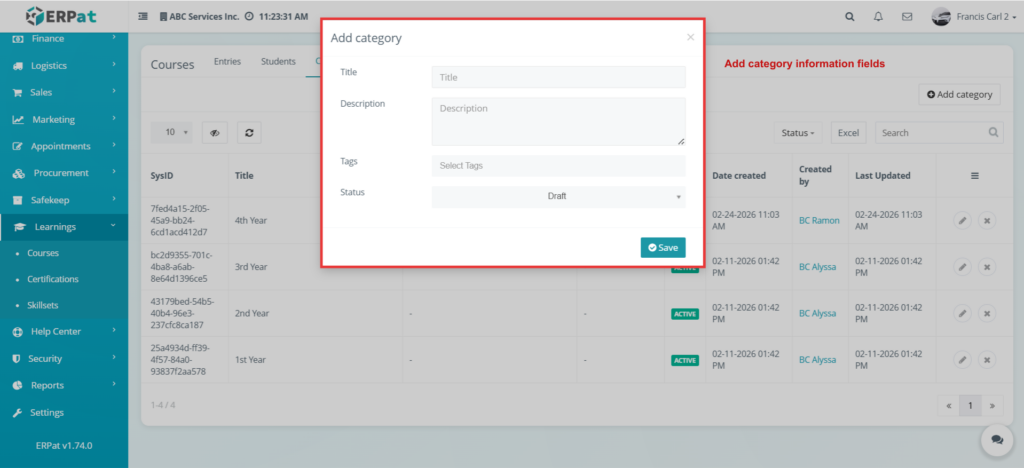
Steps for Adding a Category #
STEPS
- Click Add Category.
- Enter the required details.
- Click Save.
Steps for Editing a Category #
STEPS
- Click the Edit icon.
- Modify the details.
- Click Save.

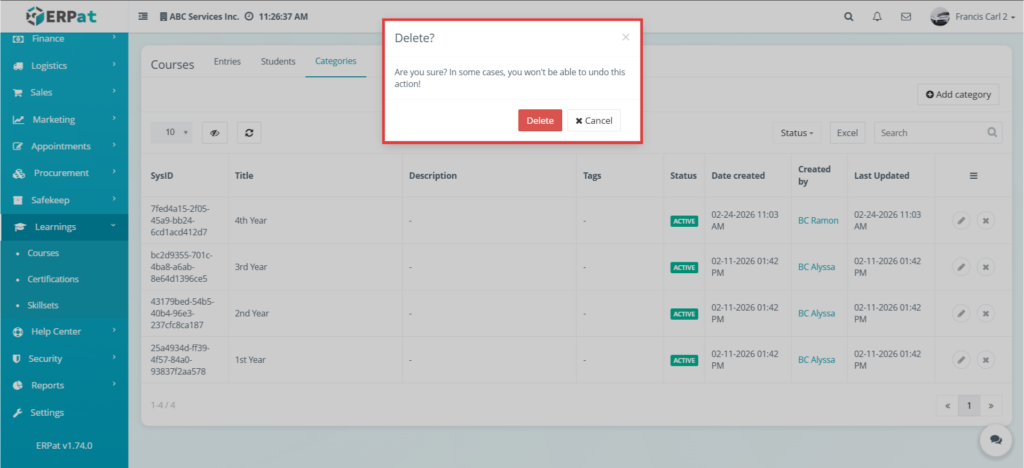
Steps for Deleting a Category #
STEPS
- Click the Delete icon.
- Confirm deletion.
Permissions and Access Control #
- Course management access is restricted to authorized learning administrators.
- Add, Edit, and Delete functions are controlled by assigned system roles.
- Student enrollment permissions depend on user access level.
Audit & Logs #
All course-related actions are logged with timestamps and user attribution to ensure accountability and system traceability.
Last Updated: [March 06, 2026] Module Owner: Learnings IS – ERPat System


