Overview #
The Purchase Orders Module is used to create, manage, and monitor procurement transactions within the ERPat system. It allows authorized users to generate purchase orders, associate them with specific accounts and suppliers, and track purchasing records in a centralized interface.
This module helps organizations maintain accurate procurement documentation, manage supplier transactions, and track purchase statuses throughout the purchasing process. Users can easily search, filter, export, and manage purchase order records from the purchase orders listing page.
Key Features #
• Centralized purchase order management
• Supplier and account assignment for purchases
• Material and item management within purchase orders
• Budget allocation tracking for purchase transactions
• Purchase order preview and printing
• PDF generation and download for purchase orders
• Direct email delivery of purchase orders to vendors
• Purchase status monitoring and cancellation
• Search and filtering tools for quick lookup
• Record viewing, editing, and deletion
• Secure role-based access for procurement management
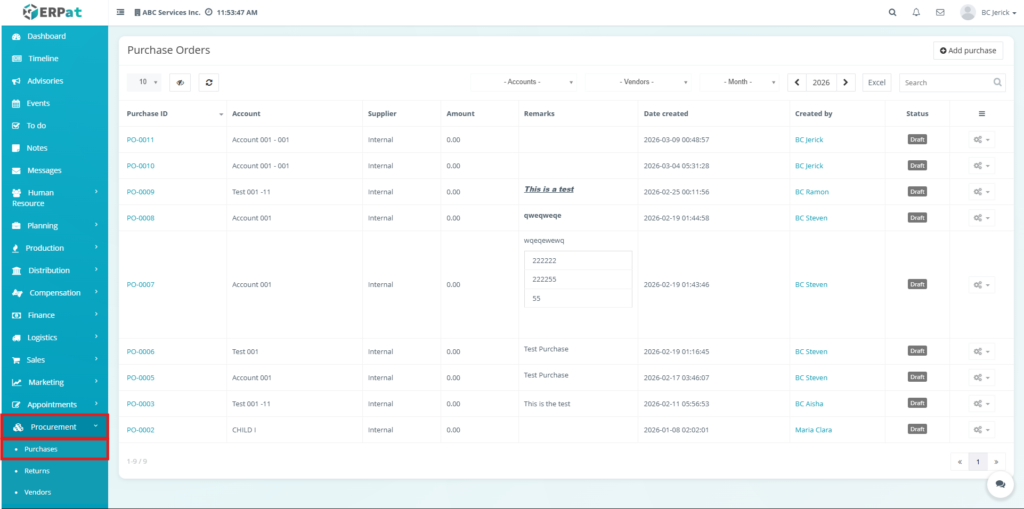
Accessing the Purchases Module #
- Navigate to the left sidebar menu.
- Click Procurement.
- Select Purchases from the dropdown menu.
You will be directed to the Purchases page, displaying all recorded purchase orders.
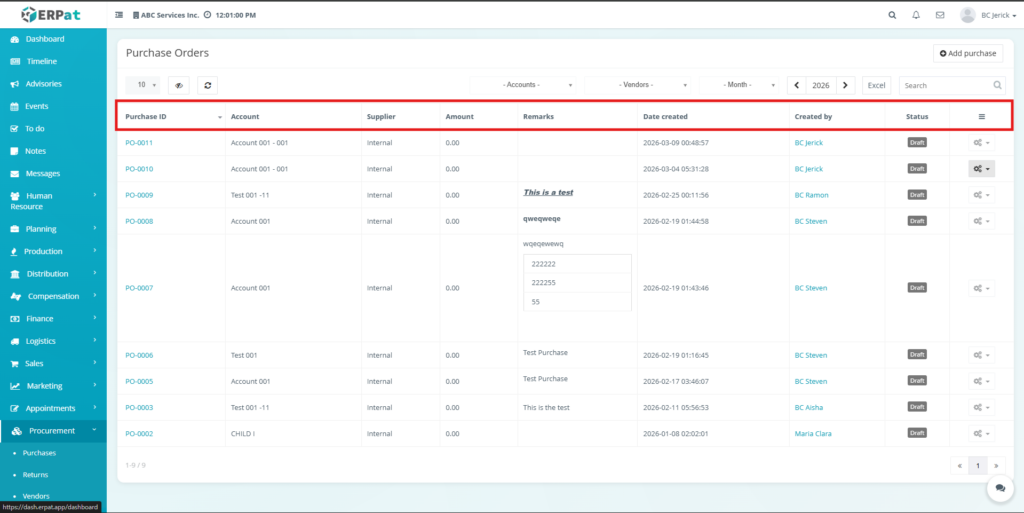
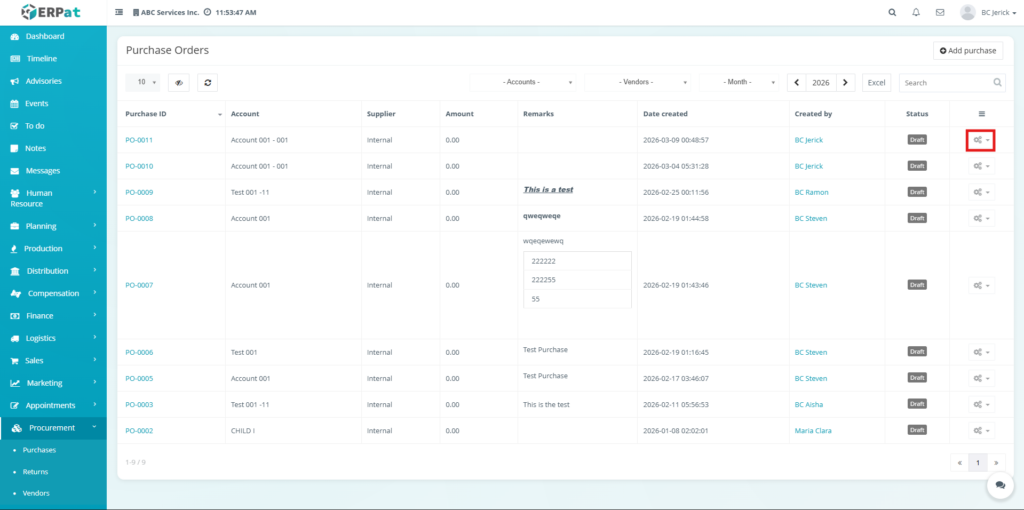
Purchases Listing Page #
The listing page provides an overview of all purchase records with the following information:
• Purchase ID – Unique identifier assigned to the purchase order
• Account – Financial account associated with the purchase
• Supplier – Vendor providing the goods or services
• Amount – Total purchase order amount
• Remarks – Additional notes related to the purchase
• Date Created – System-generated creation timestamp
• Created By – User who created the purchase order
• Status – Current purchase order status
• Actions – View, Edit, or Delete controls for the purchase record
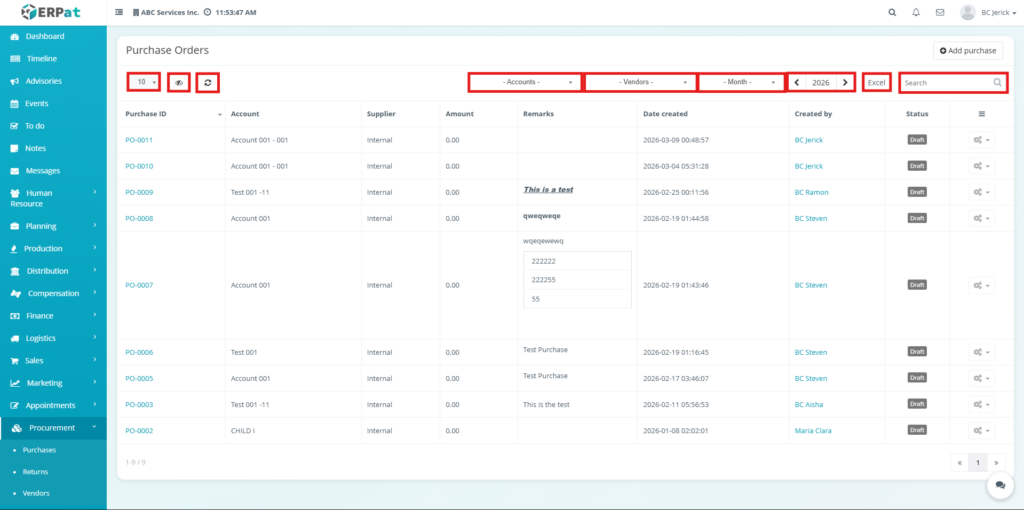
Additional Controls #
- Add Purchase Button – Create a new purchase order
- Account Filter – View purchase orders associated with a specific account
- Vendor Filter – Filter purchase orders by supplier
- Month Filter – Display purchases from a selected month
- Year Navigation – Browse purchase orders by year
- Excel Export – Export purchase records into Excel format
- Search Bar – Quickly locate purchase orders using keywords
- Refresh Button – Reload the list of purchase records
- Column Sorting – Sort purchase records based on specific columns
- Pagination Controls – Navigate between multiple pages of records
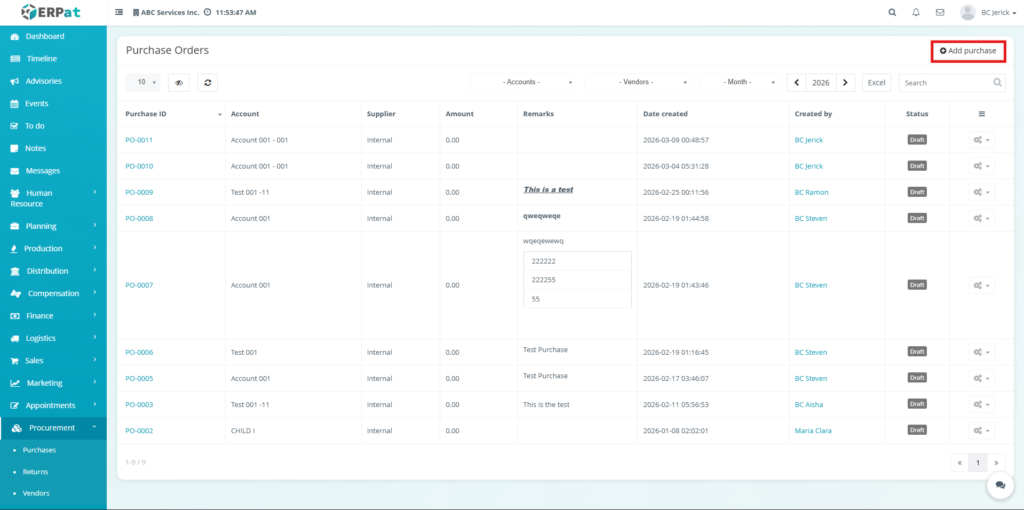
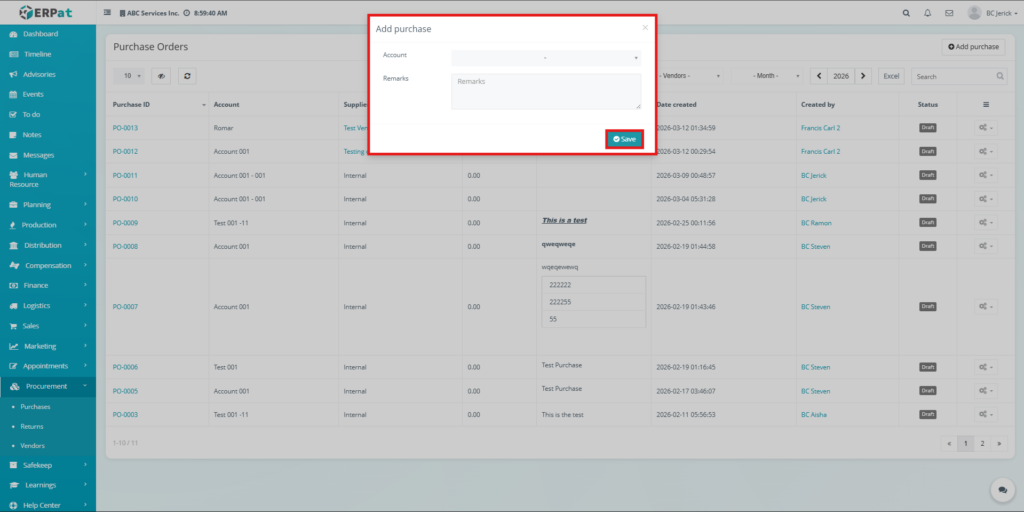
Steps for Adding a New Purchase Order #
STEPS #
- Navigate to the Procurement → Purchases module.
- Click the Add Purchase button located in the upper right corner.
- A purchase creation page will appear.
- Enter the required purchase information.
- Click Save to create the purchase order.
Viewing a Purchase Order at Purchase tab #
Users can open a purchase order using either the Purchase ID or the View action from the listing page.
When either option is selected, the system redirects the user to the Purchase Order Details Window, which is the main interface used to manage and review the selected purchase order.
STEPS #
- Navigate to Procurement → Purchases.
- Locate the purchase order from the listing table.
Open the purchase order using either method:
Method 1 – Purchase ID #
Click the Purchase ID from the purchase table.
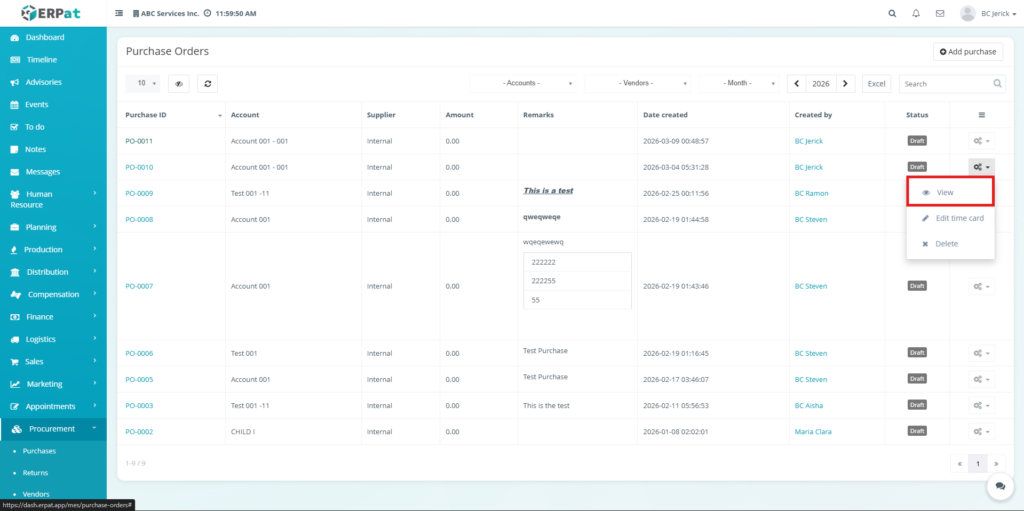
Method 2 – View Action #
- Click the Settings (⚙️) icon under the Actions column.
- Select View from the dropdown menu.
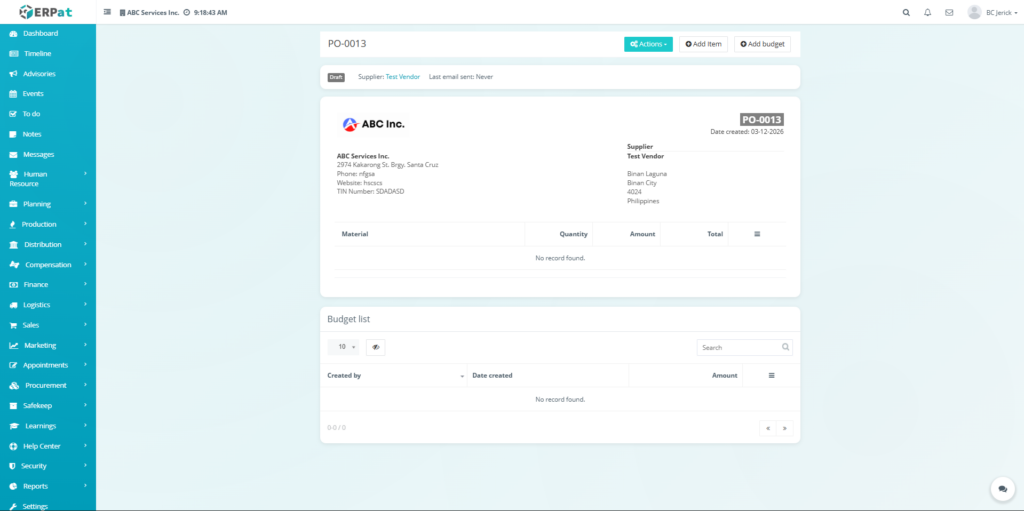
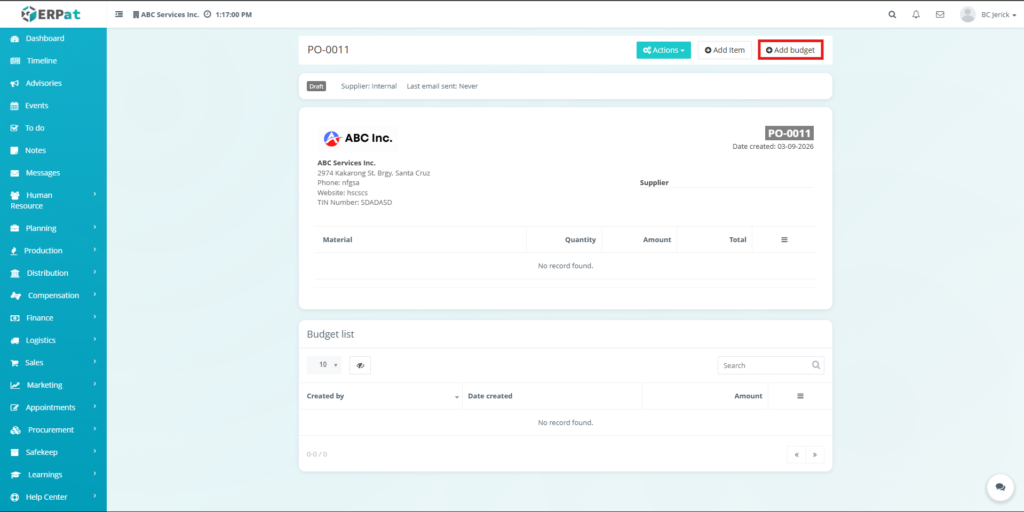
Purchase Order tab Details Page #
The Purchase Order Details Page displays detailed information about a specific purchase order.
The page contains the following sections:
- Purchase Order Header
Displays the purchase ID and purchase status.
- Supplier Information Section
Shows supplier company information and related contact details.
- Material Table
Displays items associated with the purchase order including:
- Material
- Quantity
- Amount
- Total
- Budget List Section
Displays any budget records related to the purchase order.
- Action Controls Button
Provides management actions available for the purchase order.
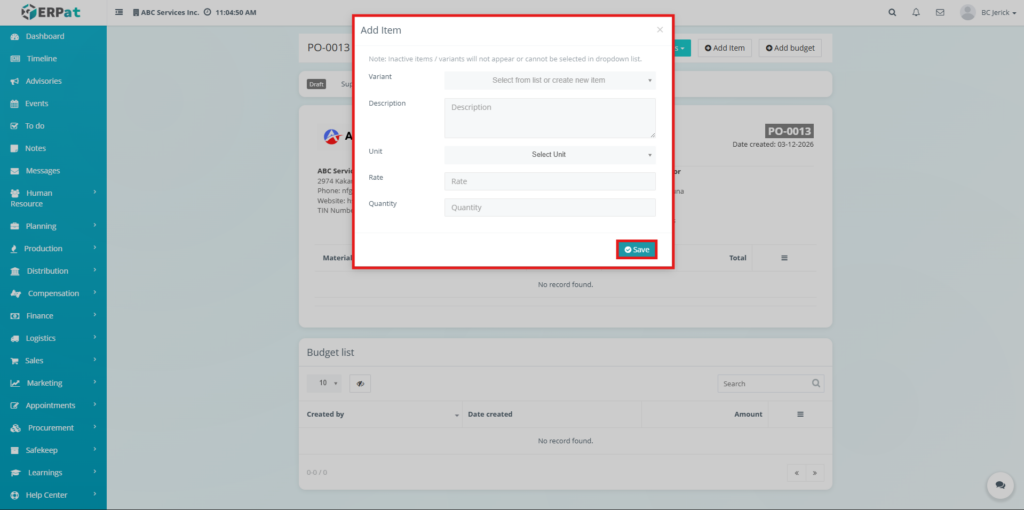
Add Purchase Item in Purchase Orders #
The Add Item function allows users to add materials or products associated with the purchase order.
STEPS #
- Open the Purchase Order Details Window.
- Click Add Item.
- Enter the material information such as:
- Material name
- Quantity
- Amount
- Click Save.
Result #
The item will be added to the Material Table and included in the purchase order total.

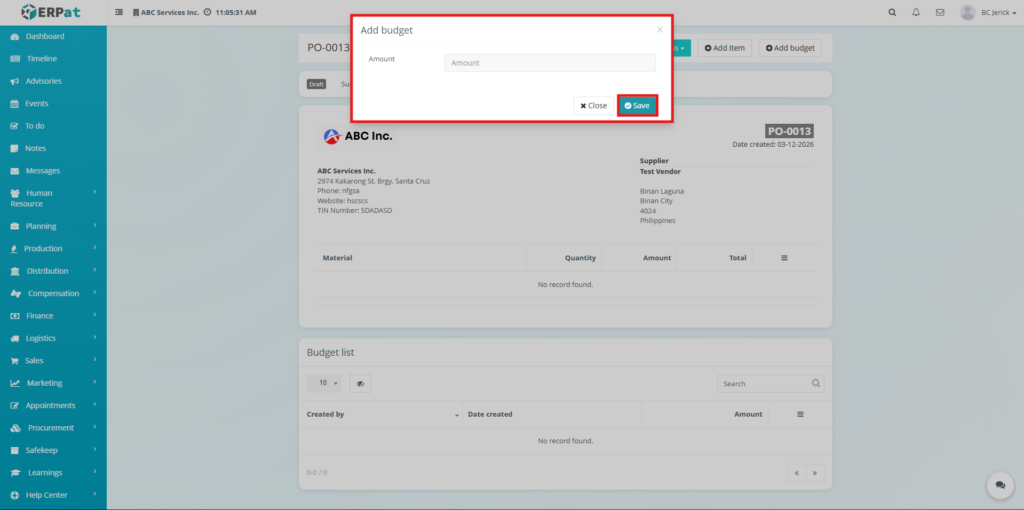
Add Purchase Budget in Purchase Order Details Window #
The Add Budget feature allows users to record financial allocations related to the purchase order.
STEPS #
- Open the Purchase Order Details Window.
- Click Add Budget.
- Enter the budget details.
- Click Save.
Result #
The new budget entry will appear in the Budget List Section.
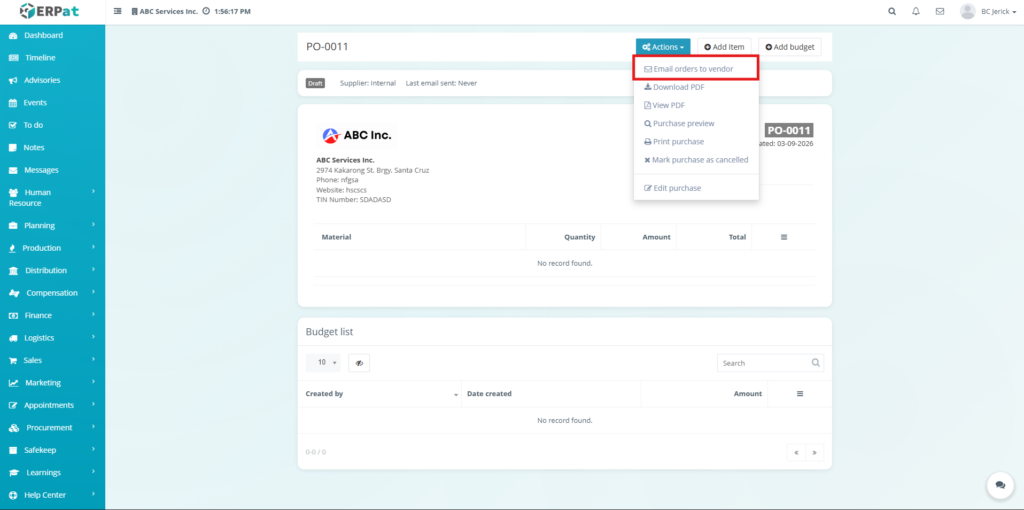
Purchase Document Actions #
The purchase order includes document and communication options available from the Actions dropdown menu.
Email Orders to Vendor #
This function allows users to send the purchase order directly to the vendor through email.
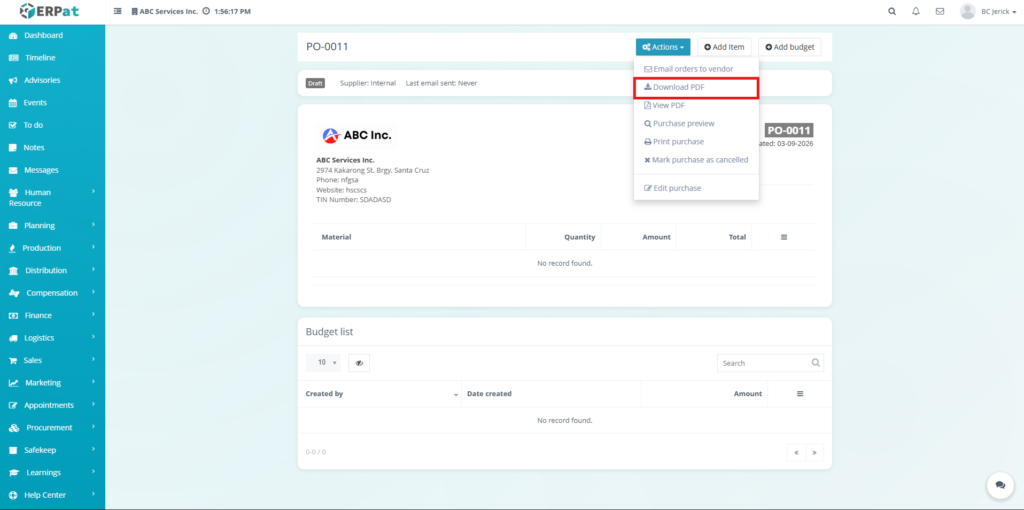
Download PDF #
This option allows users to download the purchase order as a PDF document.
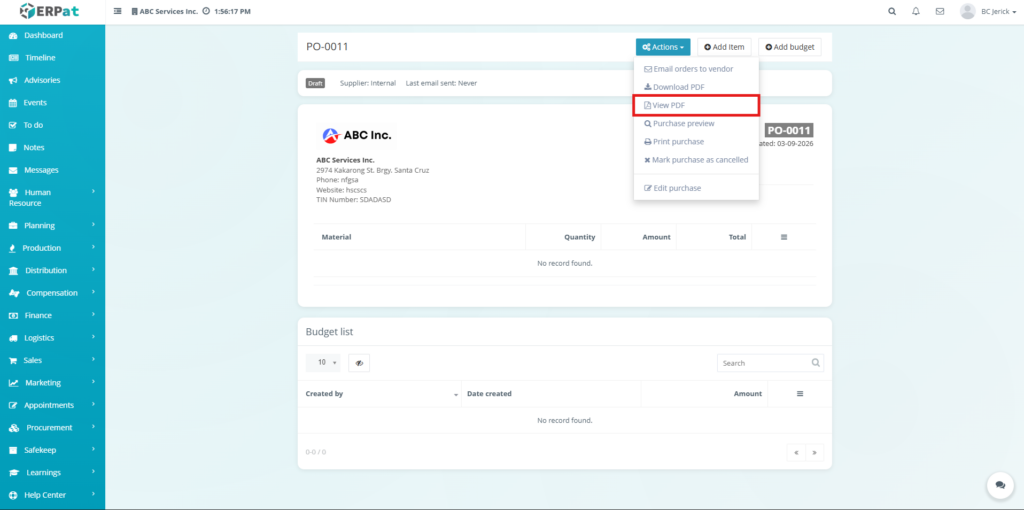
View PDF #
The View PDF option allows users to preview the purchase order document without downloading it.
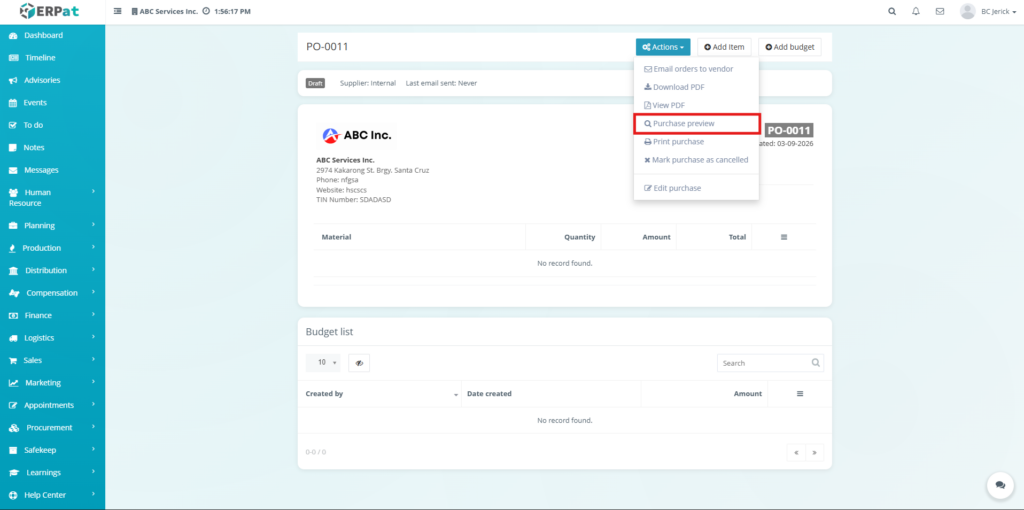
Purchase Preview #
This function allows users to preview the purchase order layout before printing.
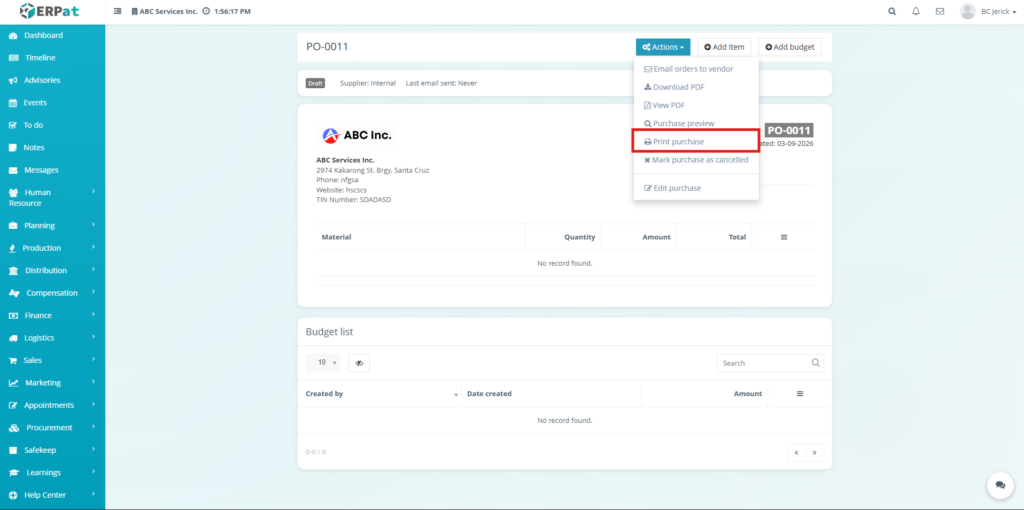
Print Purchase #
This feature allows users to print the purchase order directly.
Mark Purchase as Cancelled #
This option allows users to cancel a purchase order.

Steps for Viewing/Delete Action buttons #
Each purchase order includes an Actions dropdown menu that allows users to perform operations on the selected record.
- View – Open the purchase order details page
- Delete – Remove the purchase order from the system
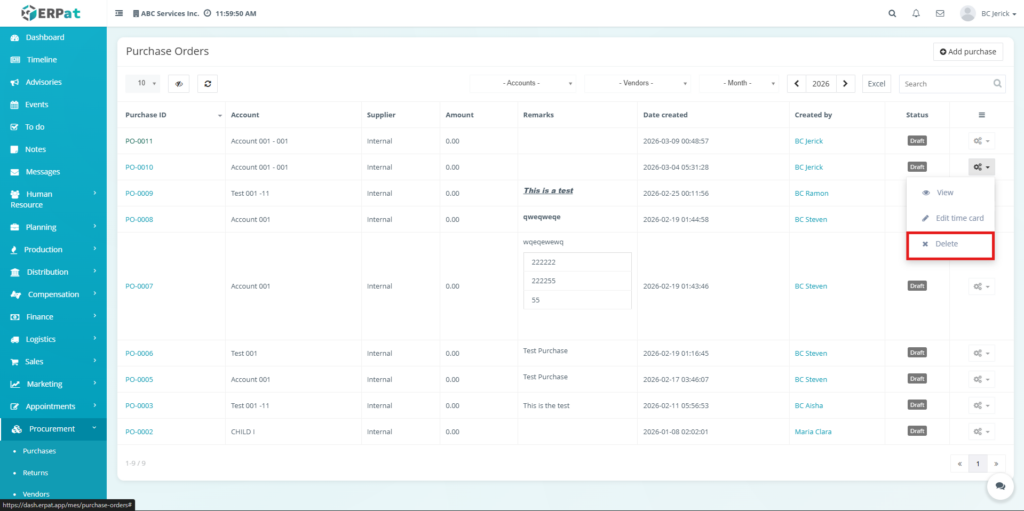
Steps to Delete a Purchase Order in Listing table #
STEPS #
- Locate the purchase order record in the listing table.
- Click the Settings (⚙️) icon under the Actions column.
- Select Delete from the dropdown menu.
- Confirm the deletion when prompted.
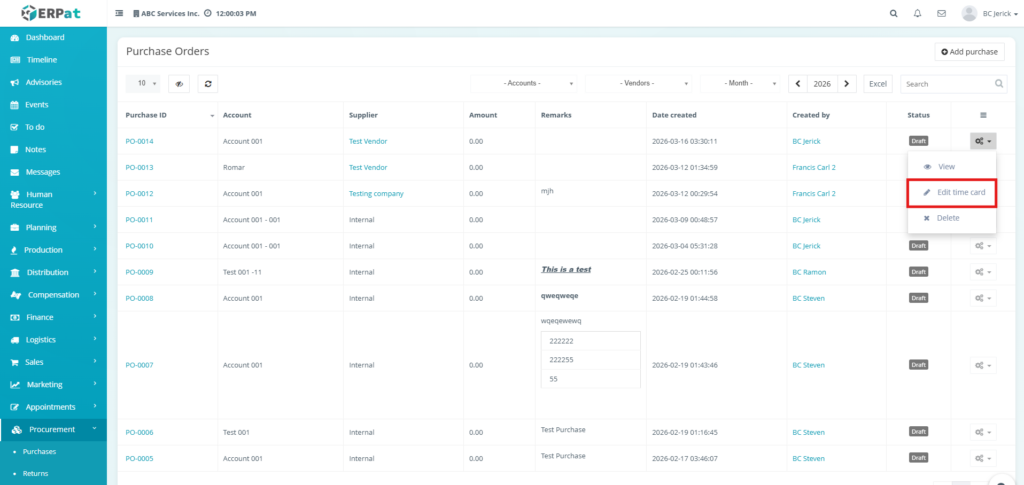
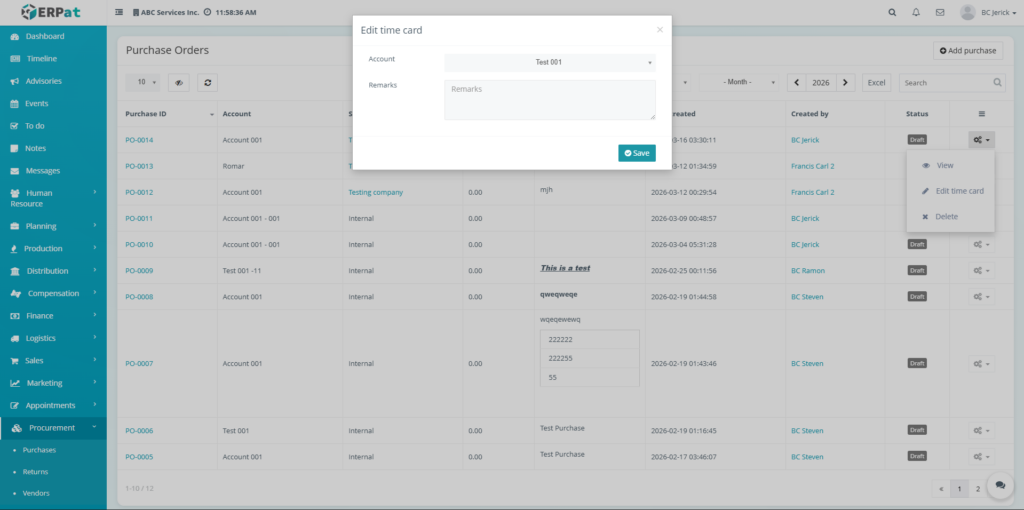
Steps to Edit time card in Listing table of Purchase Order #
STEPS #
- Confirm the deletion when prompted.
- Locate the purchase order record in the listing table.
- Click the Edit time card icon under the Actions column.
- Enter the details.
- Click Save.
Search and Filtering #
Users can quickly locate purchase orders using built-in filtering and search tools:
- Use the Search field to find purchase orders by purchase ID, supplier, account, or remarks.
- Use the Accounts dropdown filter to display purchase orders associated with a specific account.
- Use the Vendors dropdown filter to view purchase orders related to a specific supplier.
- Use the Month filter to display records created within a selected month.
- Use the Year selector to browse purchase records by year.
Permissions and Access Control #
- Authorized users can create and manage purchase order records.
- Users may edit or delete purchase orders depending on role permissions.
- Administrative roles typically have full access to procurement management features.
Best Practices #
- Always assign the correct account and supplier when creating purchase orders.
- Provide clear remarks to make purchase records easier to track.
- Regularly review purchase records to maintain procurement accuracy.
- Avoid deleting purchase orders that may be required for financial or audit records.
- Use the Excel export feature when generating procurement reports.
Audit & Logs #
All create, update, and delete actions related to purchase orders are logged within the ERPat system to ensure traceability and accountability.
Last Updated: March 16, 2026 Module Owner: Purchase Orders Module (ERPat System)


